Page 1 of 2
1983 Mini Project!
Posted: Sat Jun 15, 2013 11:30 pm
by knock.mini
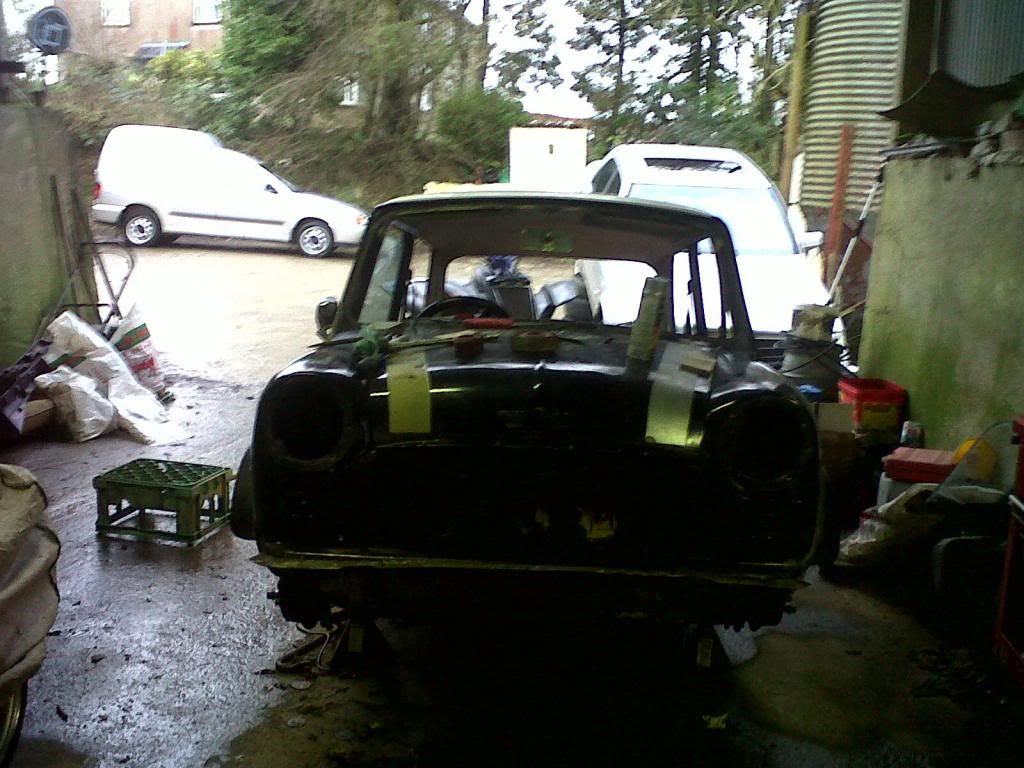
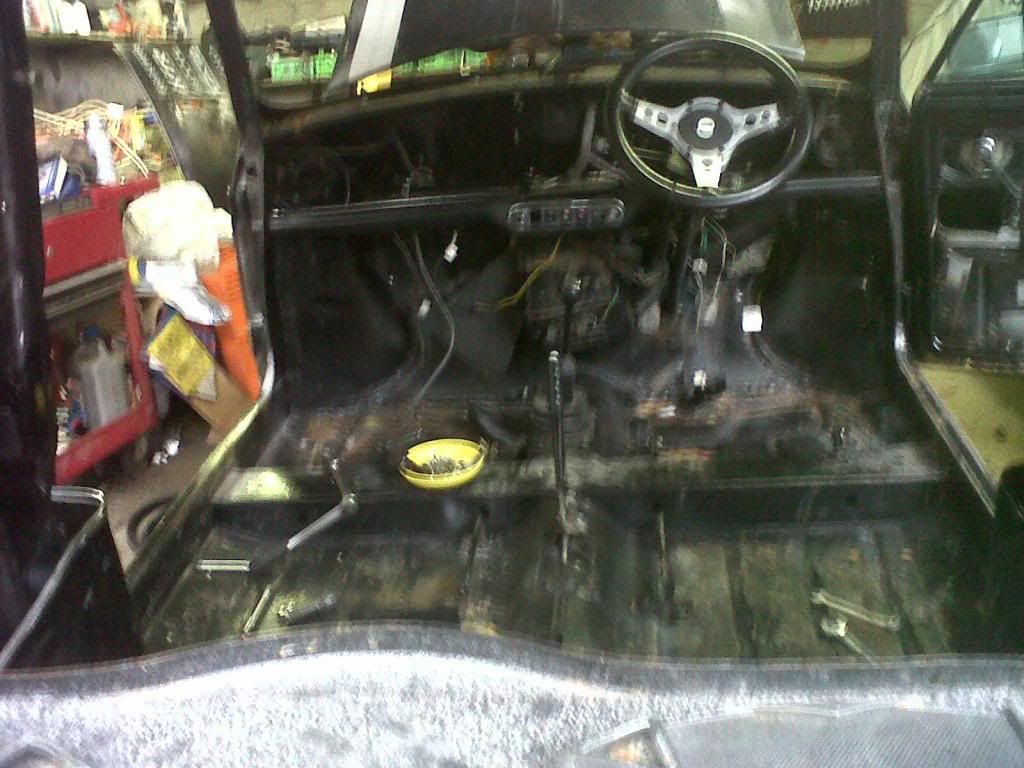
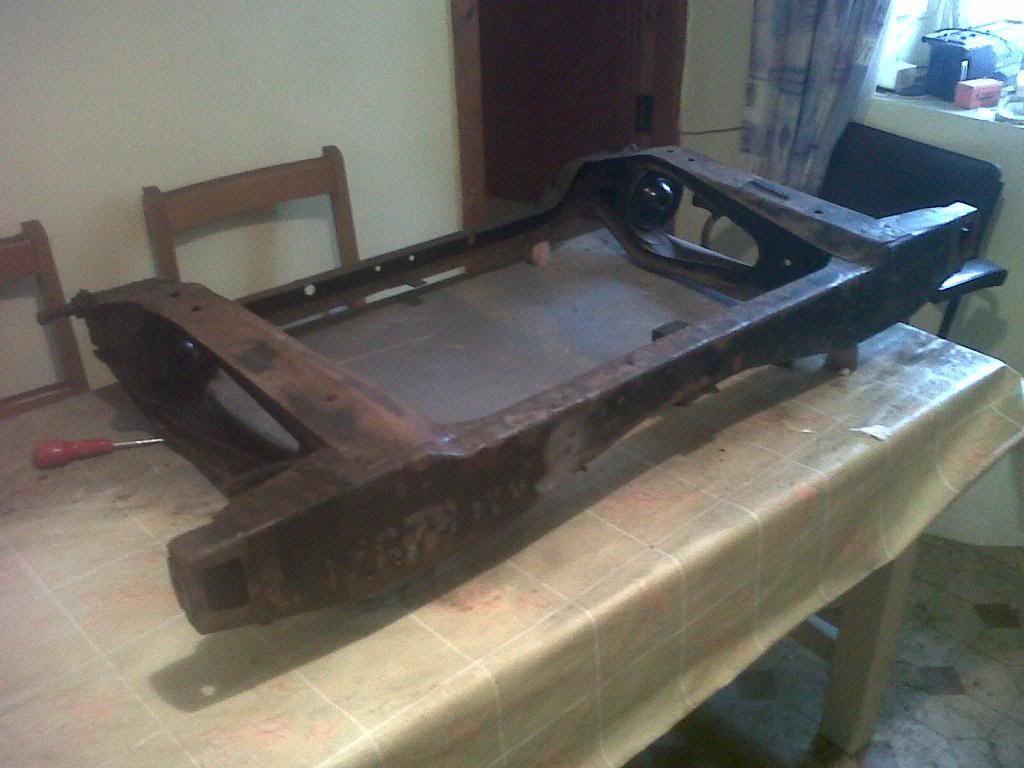
Hi my name is Kieran, i bought the car in 2011 and had a post of bits of it on this before so i said id make a new one and do it right.. It originally looked really solid and not much welding to do. I was wrong.. as i stripped the car i found myself listing panels i needed.. I took the subframes out and found out there was a ball of fiber glass in the corners of the boot floors so ordered them today.
I will have some pics up tomorrow of what i done so far and what i plan to do. Didnt work on the car in ages.. but im back. Lets do this!
Kieran Cotter Co.Kerry.
Please give yer thoughts and comments


Re: Project:1983 leyland mini..HELP
Posted: Sun Jun 16, 2013 10:40 am
by knock.mini
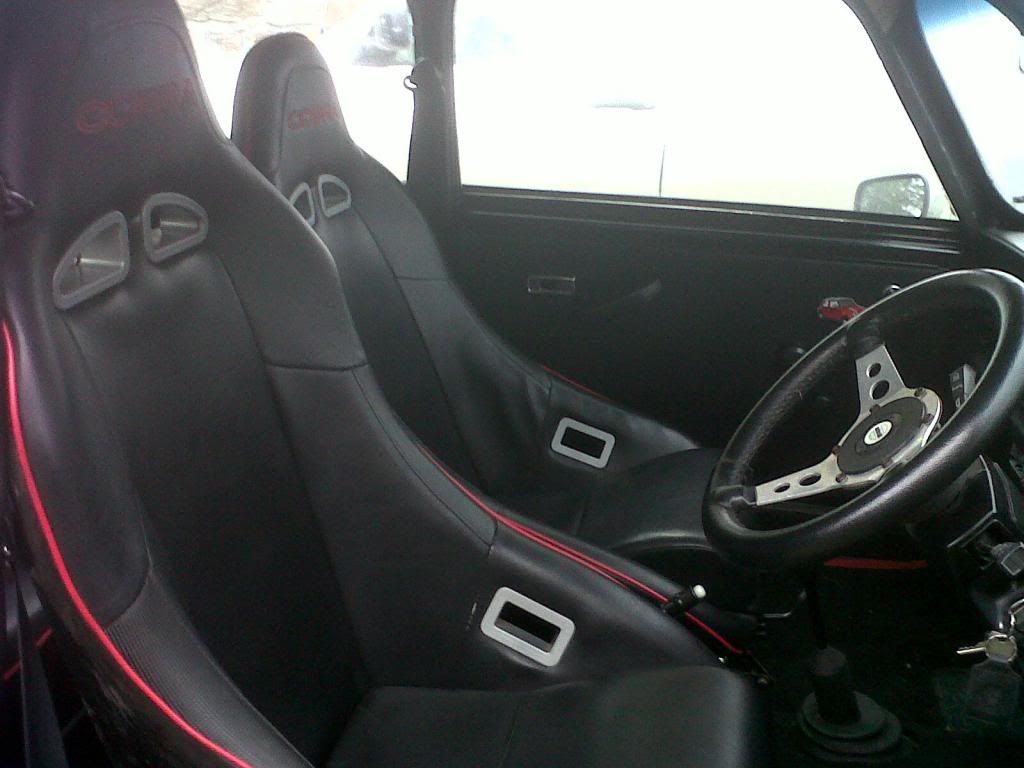
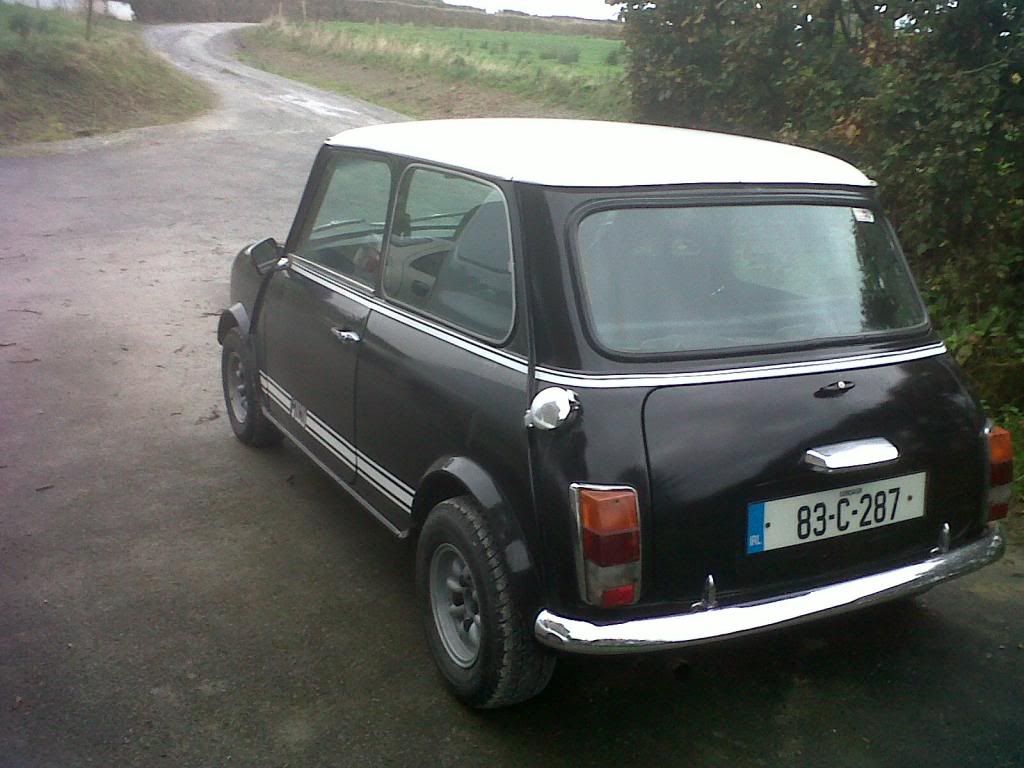
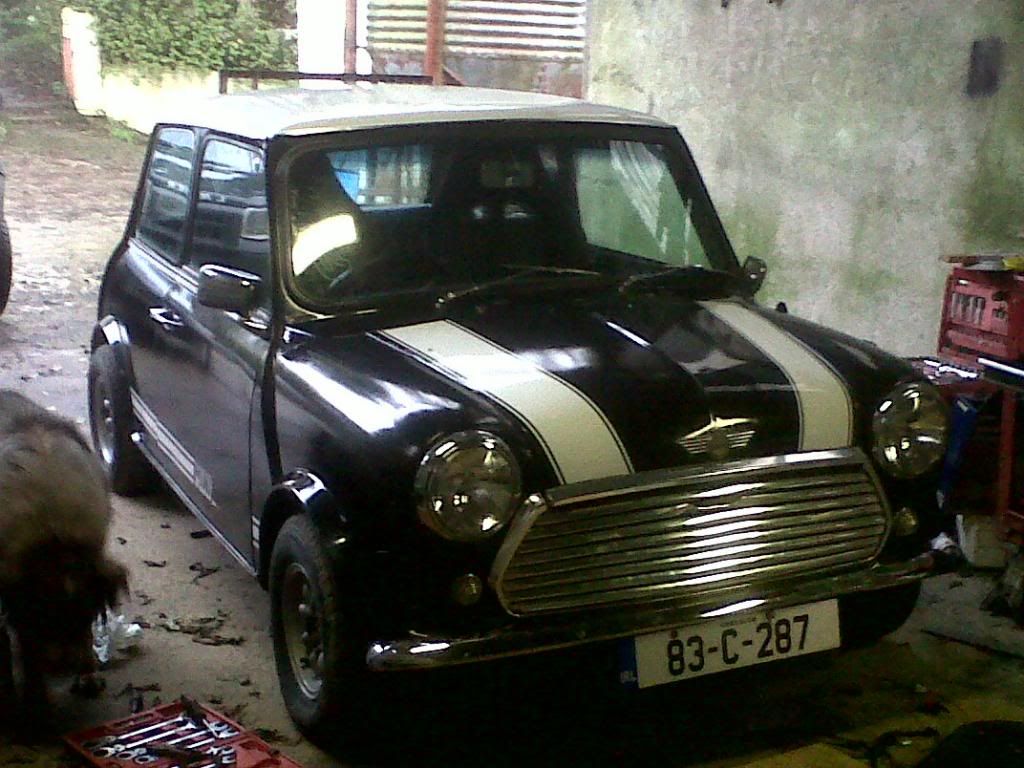
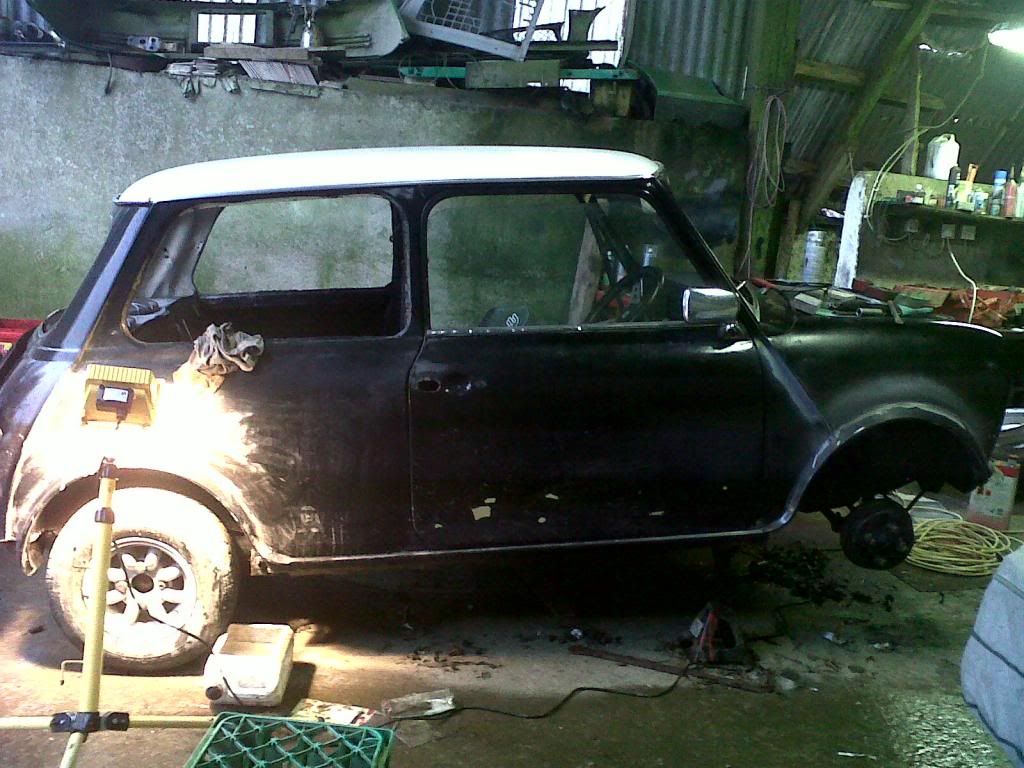
I took off those spots and the car looked good now, i had the 998cc engine running and was pretty nippy!.. i started the strip down after this.
thankfully the floor was okay as it was wax oiled in the past
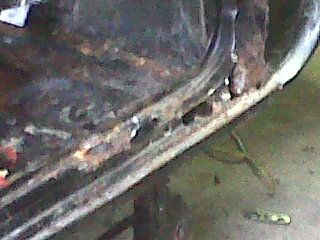
when i took off the doors i found this under a layer of filler that was added to the list haha
Re: Project:1983 leyland mini
Posted: Sun Jun 16, 2013 10:43 am
by knock.mini
the arches were cracked in places so replace the filler with flexable fillers
Re: Project:1983 leyland mini
Posted: Sun Jun 16, 2013 11:44 pm
by knock.mini
Next came the engine, i sold this engine and a 1275 maybe be on its way
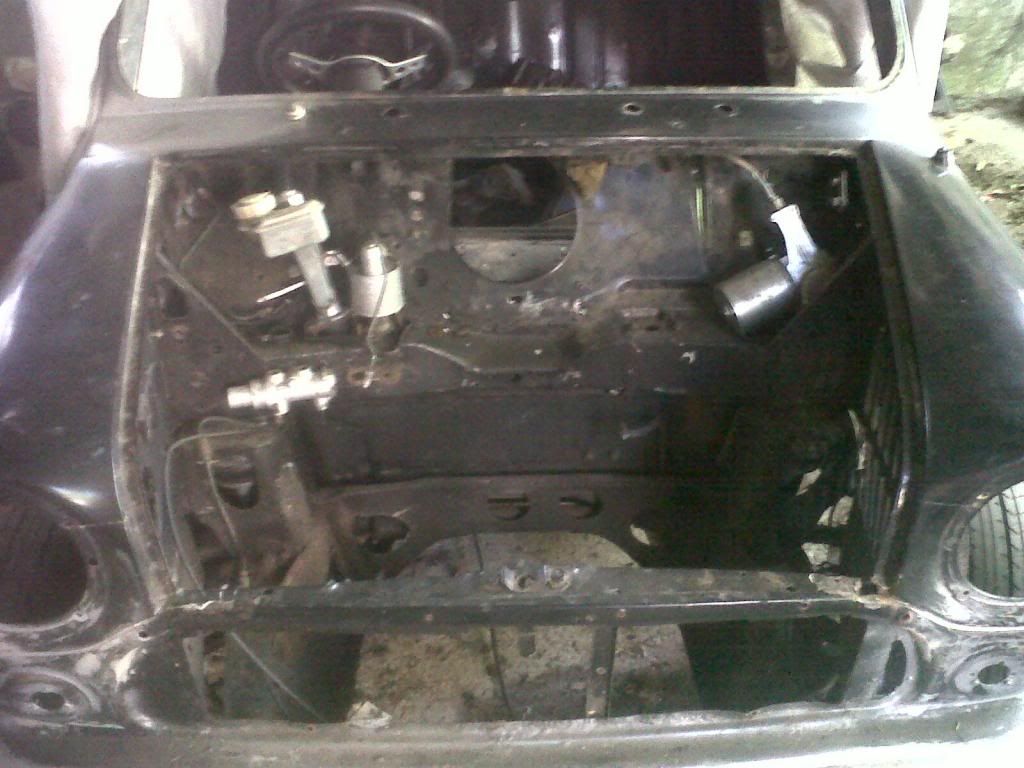
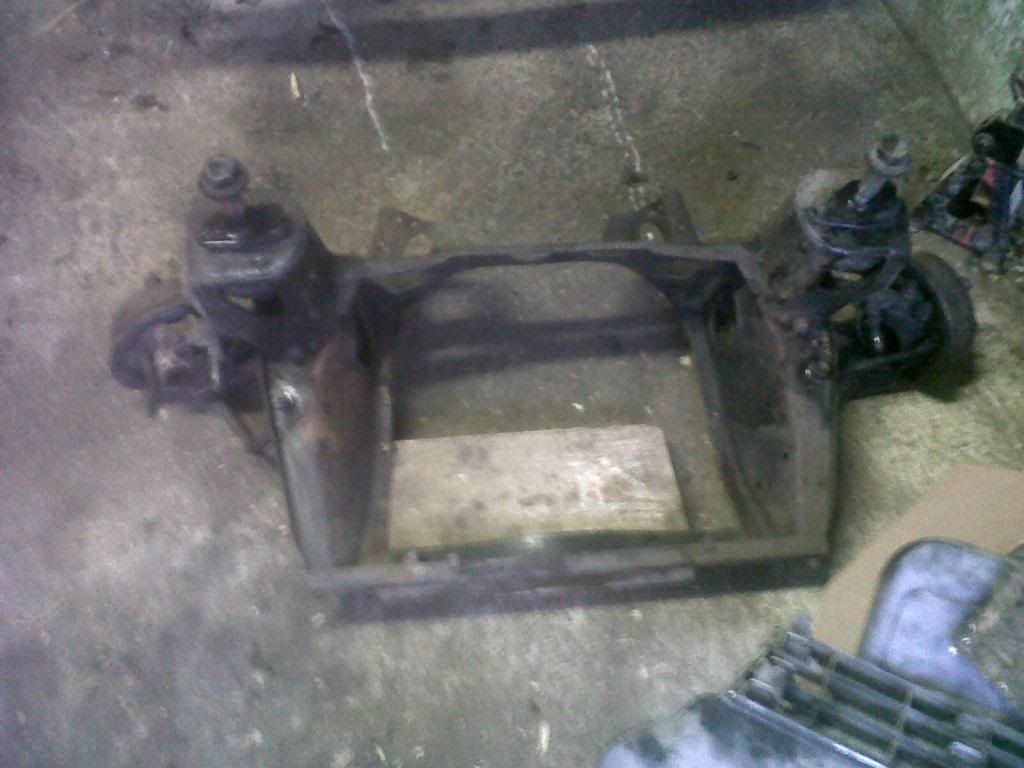
at this stage i was heading down a very long route of putting it back together, i did the right thing and took out the subframes and stripped them of rust and gave them a good painting.. the rear sbframe is still a working process
there was alot of rust on the front subframe especially the back.. the rear is worse thats why its not done yet haha.. i bought new hi los annd new shocks aswell. i have a heap of panels that il take a pic of tomorrow.
Re: Project:1983 leyland mini
Posted: Mon Jun 17, 2013 12:03 am
by knock.mini
Re: Project:1983 leyland mini
Posted: Mon Jun 17, 2013 7:15 pm
by knock.mini
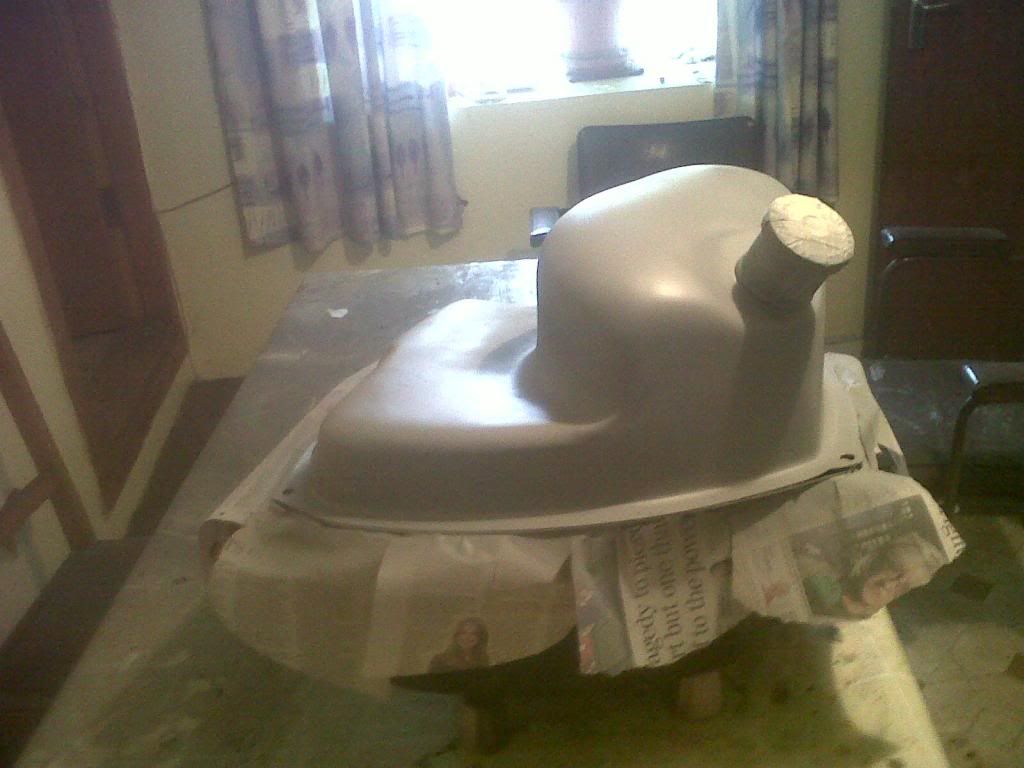
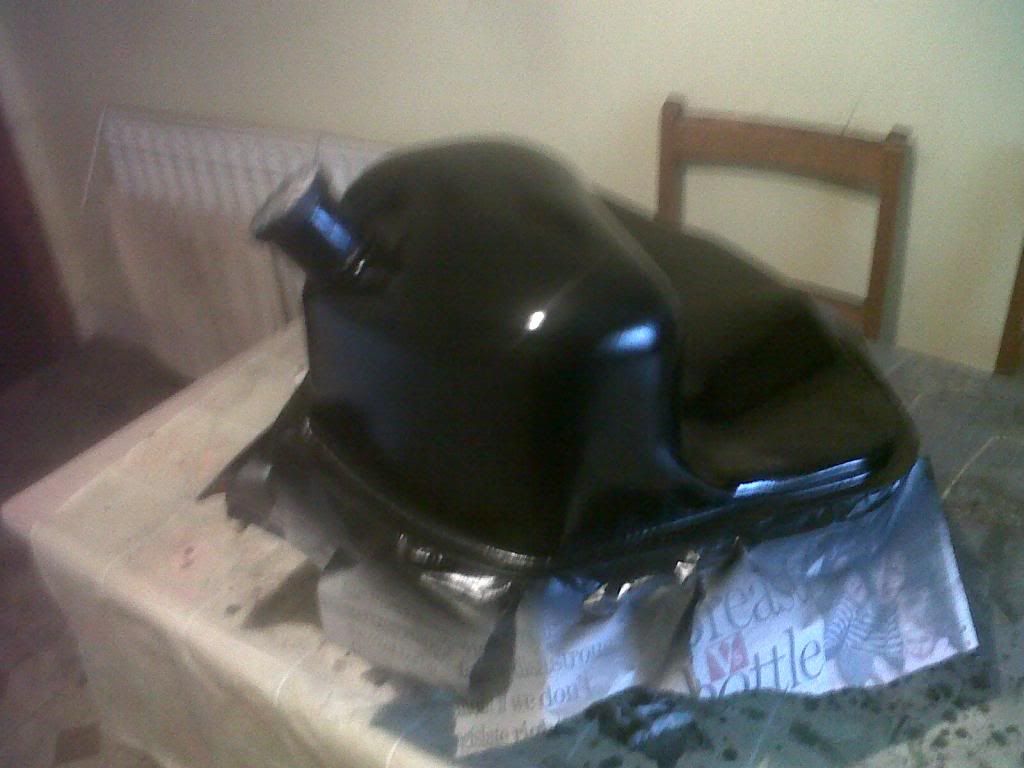
touched up on my fuel tank today.. there was only light surface rust so some sanding and priming and painting made a nice job of it.
will be doing the other side tomorrow but said id throw a pic up now

Re: Project:1983 leyland mini UPDATE
Posted: Thu Jun 27, 2013 11:24 pm
by knock.mini
just a quick update of my parts room in the house I work on stuff in.. tight for space!
Getting the rear subframe blasted because its just too rough and also got new bushes for everything and a scuttle panel.
just a quick question, after something is blasted can you put primer straight onto it and paint or is it more complicated than that.
please comment and share your views.
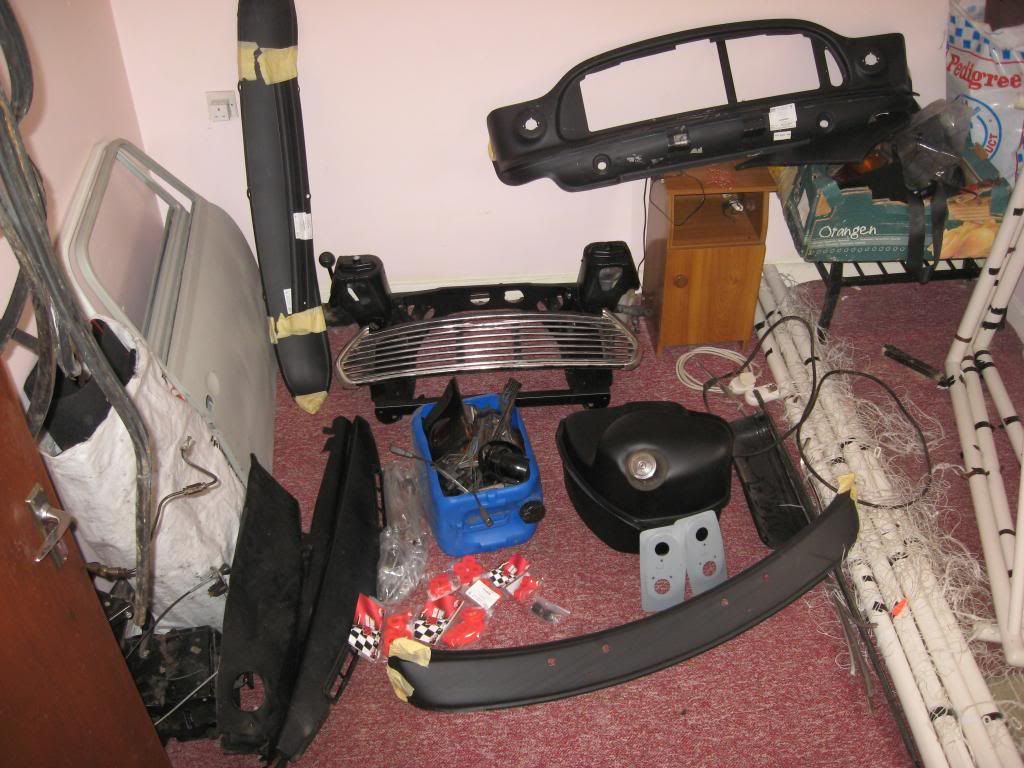
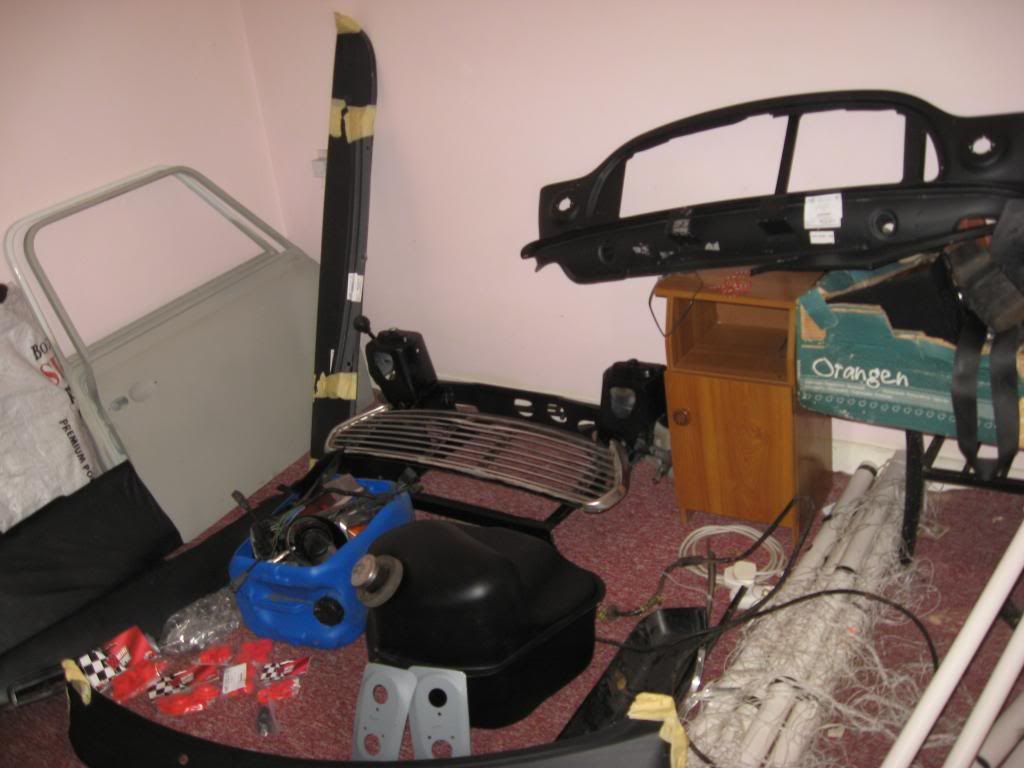
all boxed up.
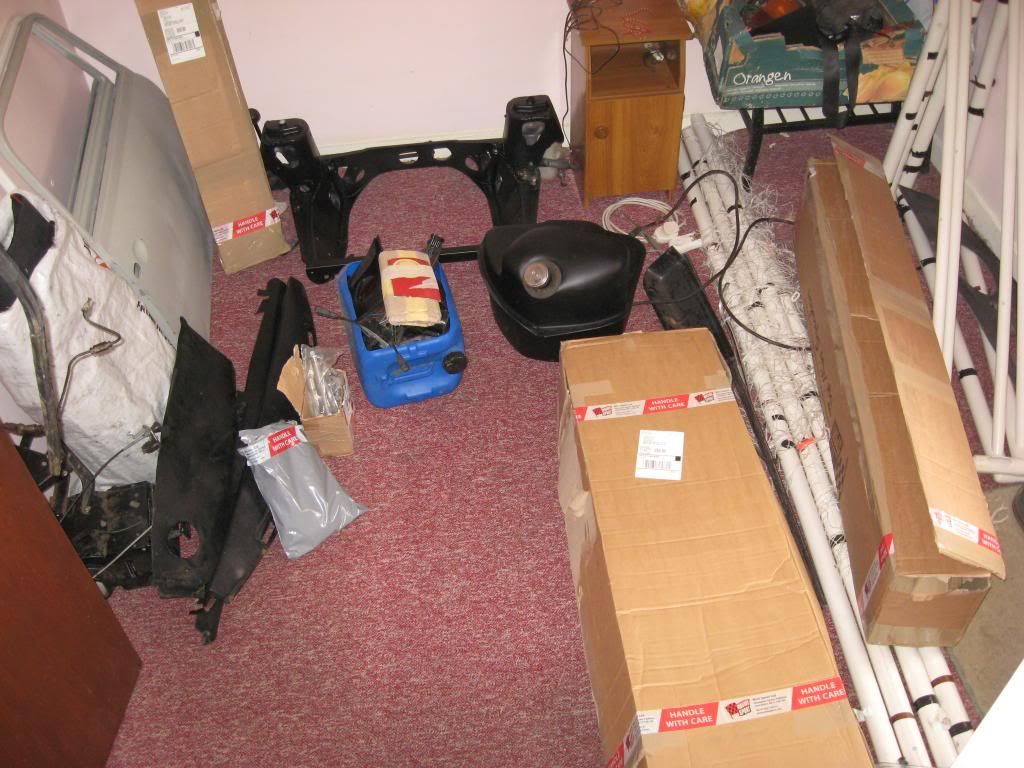
hopefully the aim is to have the car painted before i go back to school in september but must start the welding yet! was supposed to be doing it at a place i work at but the boss left for another garage so now out of a job and welder! painting it a light grey with a very low stance and white roof.
Re: Project:1983 leyland mini
Posted: Sat Jun 29, 2013 12:47 am
by The Marcos Graveyard
Whenever I've had parts sandblasted they were finished in primer by the place that did the blasting.
Re: Project:1983 leyland mini
Posted: Sun Jun 30, 2013 1:48 pm
by woody
I got my woody etch primed straight after blasting. Unless you have a perfectly dry envoiriment it will start rusting straight away.
Re: Project:1983 leyland mini
Posted: Tue Jul 02, 2013 9:06 pm
by knock.mini
the guy who sandblasted iot for me told me to paint on rust primer with a brush.. and i did that and now going to prime with a can and paint.. is this correct? this rust primer stuff was like a zinc coating he said it will save it from rust
Re: Project:1983 leyland mini
Posted: Mon Jul 08, 2013 6:21 pm
by knock.mini
Gave the two subframes a paint today with oxide enamel pant to keep the rust away .. will have some pics up tomorrow and will start building the subframes back up again.
Please give your thoughts and comments
Kieran Cotter
Re: Project:1983 leyland mini
Posted: Tue Jul 09, 2013 9:49 pm
by knock.mini
pic of the rear subframe blasted.. didnt get the radius arms blasted because they arent so bad and will clean them up for paint tomorrow..
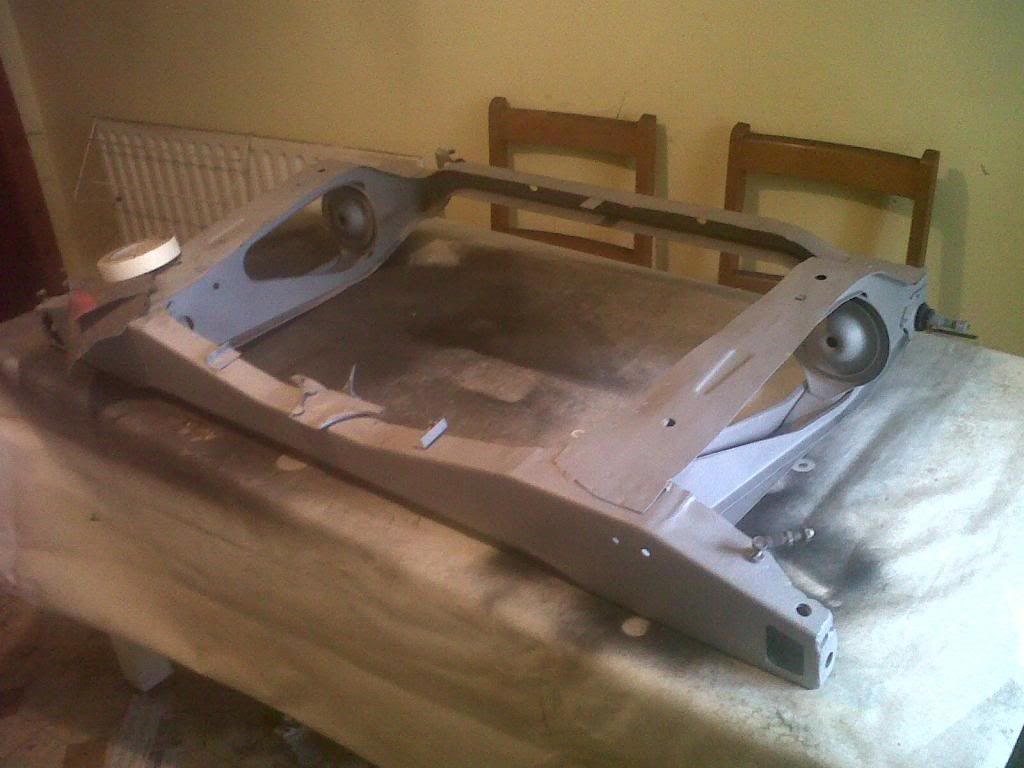
pic of the two subframes they are today
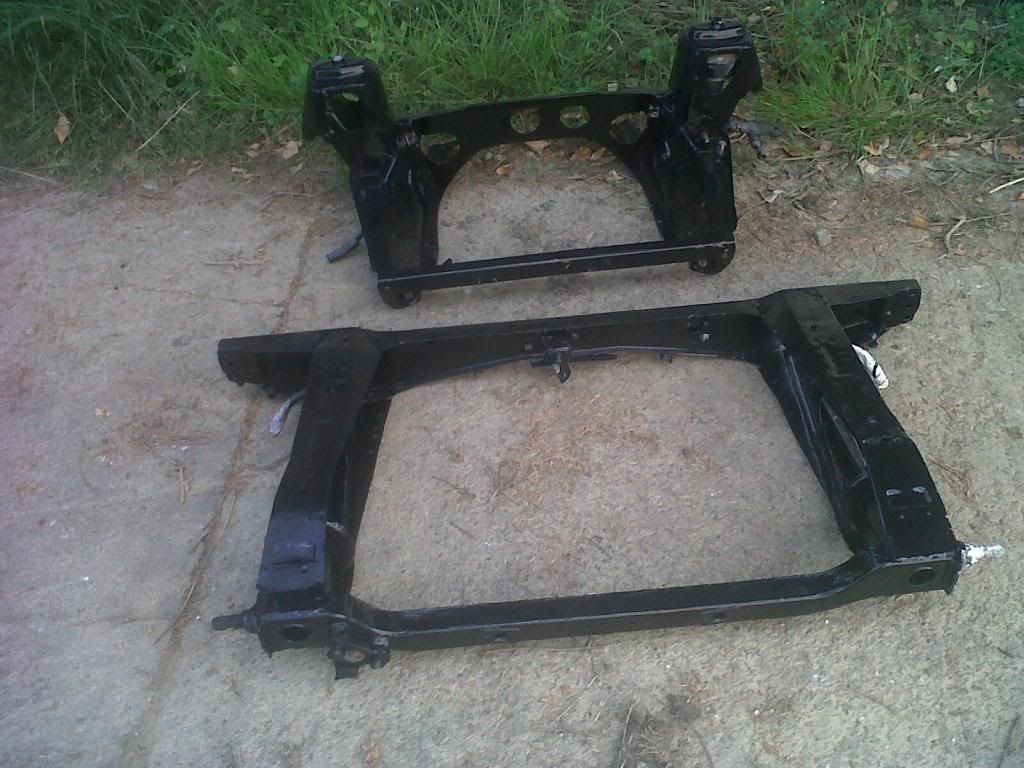
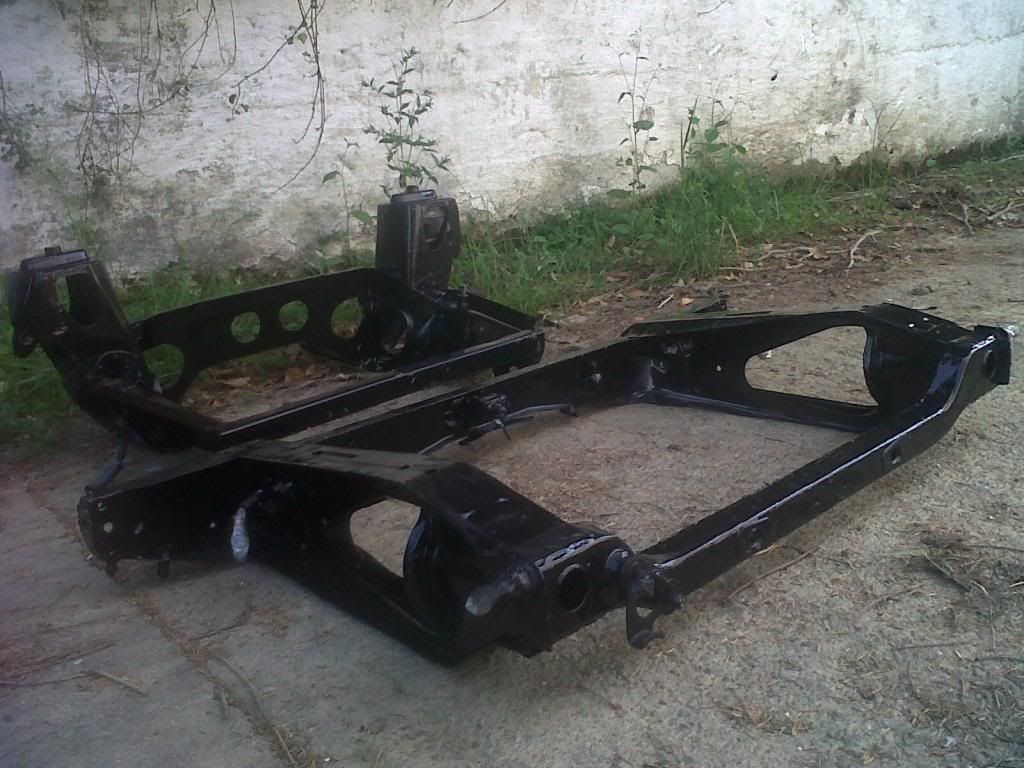
if yer wondering what the white stuff is on the rear subframe its just dust
do ye think this rust primer and enamel paint and stuff wpuld save it from rust? please leave comments
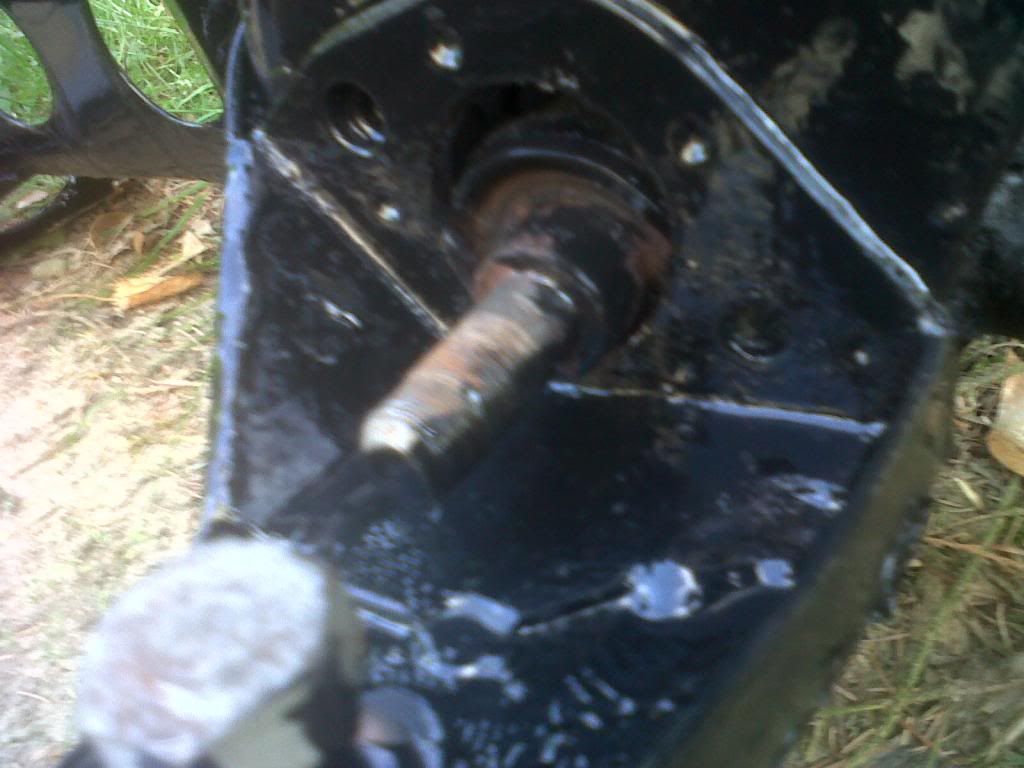
i also have a bolt stuck in the front subframe here and is solid stuck.. the other side came out with a bare tap of a hammer but this side is solid.. what should i do!! please help!

Thanks for viewing and please give advice or comments.. If anyone can help me on where all the spot welds are in panels and stuff that would be great!
Re: Project:1983 leyland mini:HELP
Posted: Wed Jul 17, 2013 12:05 am
by knock.mini
Can anyone one atall gove me advice on the stuck bolt?! should i heat it or what? not bothered about saving the bolt as i have new ones
Re: Project:1983 leyland mini
Posted: Thu Jul 18, 2013 2:25 pm
by davem
What exactly are you talking about? The nut for the brake line? Or the bottom arm?
Re: Project:1983 leyland mini
Posted: Thu Jul 18, 2013 4:44 pm
by knock.mini
the bottom arm bolt.. i dont care about damaging the bolt i have new ones but i dont want t damage the subrame either.. what u suggest i do?
Re: Project:1983 leyland mini
Posted: Thu Jul 18, 2013 7:44 pm
by denisg1973
cot shaft and when arm off leave soak in diesel for a night then hammer it out
Re: Project:1983 leyland mini
Posted: Thu Jul 18, 2013 10:57 pm
by knock.mini
il try that tomorrow so.. thanks

Re: Project:1983 leyland mini
Posted: Fri Jul 19, 2013 1:13 am
by The Marcos Graveyard
Just to let you know, that isnt a bolt, its the upper suspension arm shaft, there are two needle roller bearings in the top arm that seize onto the shaft due to lack of grease and regular servicing.The shaft will be splined as a result, you will more than likely need a top arm rebuild kit GSJ3774. The bearings can be difficult to remove but there is a special tool for the job.
Re: Project:1983 leyland mini
Posted: Fri Jul 19, 2013 5:47 pm
by knock.mini
yeah yeah i get you.. i have the rebuild kit alright.. sure i wouldnt need a new top arm no?.. thansk for advice and comments
Re: Project:1983 leyland mini
Posted: Sat Jul 20, 2013 12:08 am
by woody
You may need a top arm yet, sometimes the shaft won't come out. Best to cut the shaft and remove it from the subframe so you don't damage it. Then you can soak it and put it in a vice to beat it out.
Re: Project:1983 leyland mini
Posted: Sat Jul 20, 2013 4:28 pm
by knock.mini
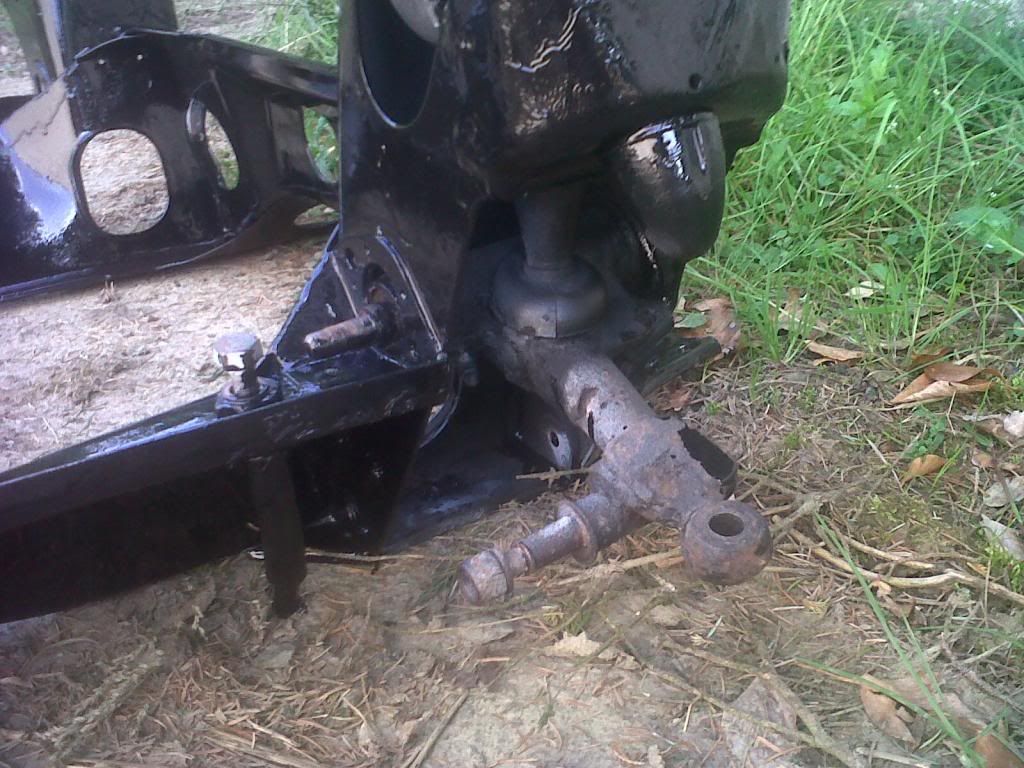
yeah i must still do that yet.. do ye know about hi los? i have some and putting them on the rear subframe at the moment and there is a pipe shaped think to attach it to the adjustable cone and on the standard trumpet shaped think theres a ball on the end to go into the radius arm bit but the hiu los dont..?.. is there a way to take out this ball on the end of the trupet? i think i should use pics tp explain!

Re: Project:1983 leyland mini
Posted: Sat Jul 20, 2013 7:36 pm
by daniel garry
the ball is the knuckle joint, you can take it off the old 1 and put it on the hilo
Re: Project:1983 leyland mini
Posted: Mon Jul 22, 2013 12:11 am
by knock.mini
not a hope its seized altogether.. yera i have it ordered now
Re: Project:1983 leyland mini
Posted: Mon Jul 22, 2013 6:53 pm
by knock.mini
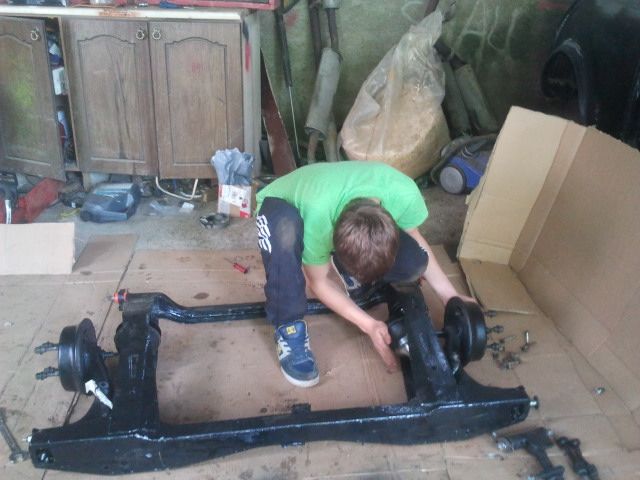
have all the parts for subframe to put back together cleaned up..
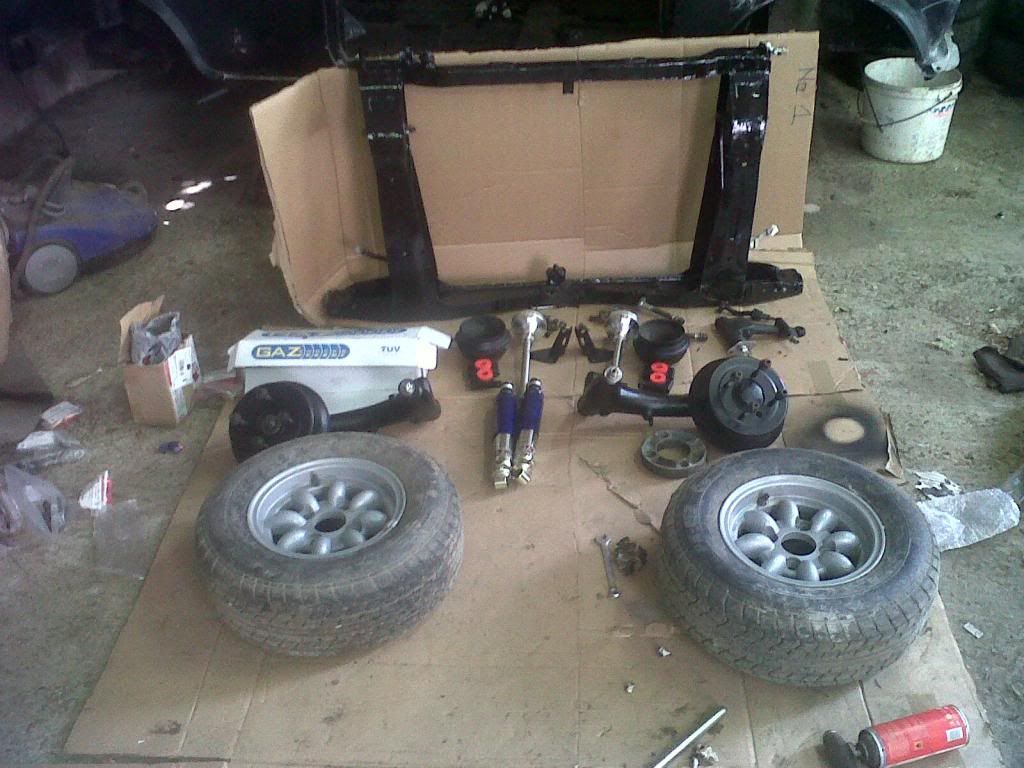
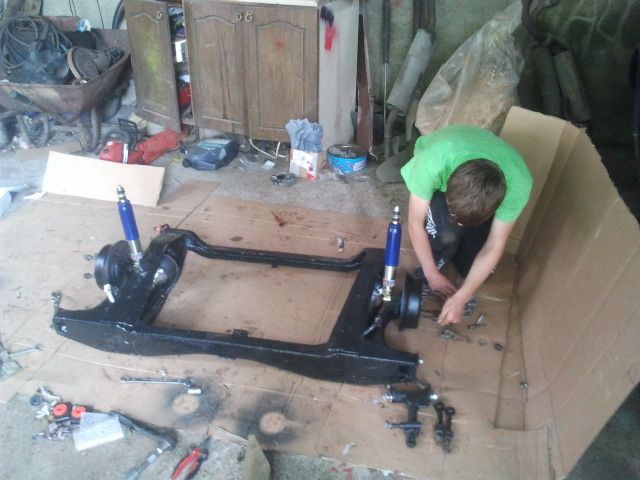
have her all build up now, looks good with all new bushings and no play in anything so happy out its put in storage ready for the car in the future
Re: Project:1983 leyland mini
Posted: Mon Jul 22, 2013 8:03 pm
by scotty_1987
Lookin good pal, I see you've become a baller

...good stuff dude
!!


