Page 1 of 9
92 mini aka bibsi
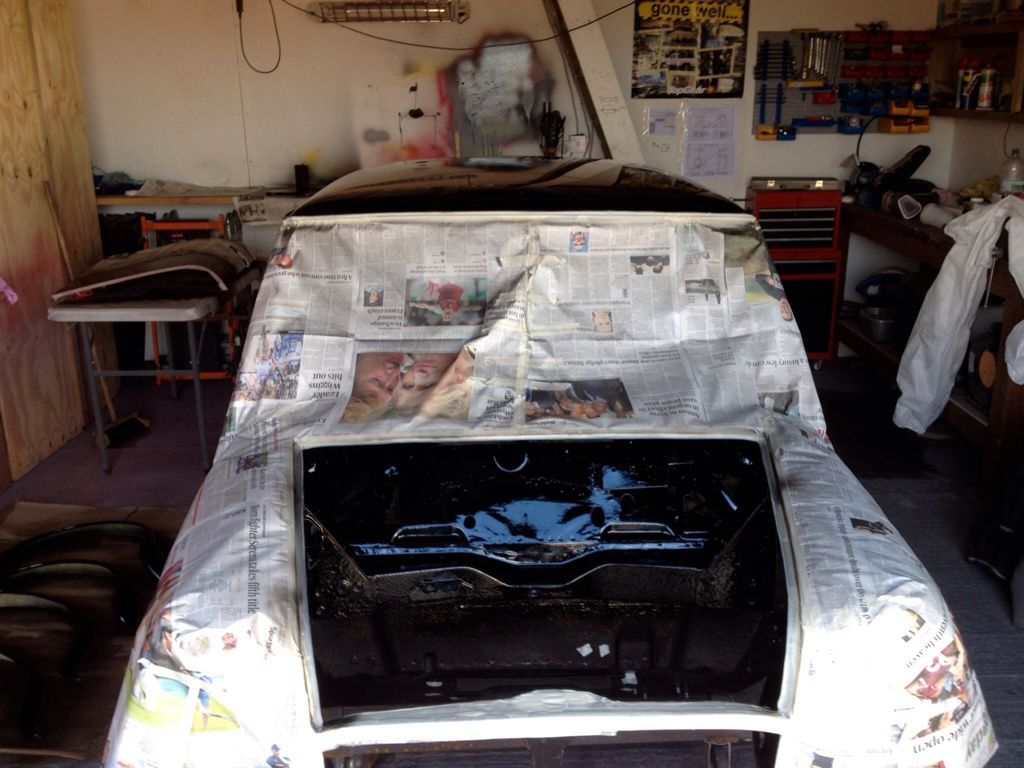
Posted: Fri Feb 08, 2013 5:30 pm
by coolmini
Re: 92 mini aka bibsi
Posted: Fri Feb 08, 2013 5:36 pm
by CB_Phil
Some nice work, best of luck w/the rest of the build
Re: 92 mini aka bibsi
Posted: Fri Feb 08, 2013 6:07 pm
by coolmini
Sorry the car is actually finished since X-mas. What a present to myself.
Only getting to documenting it now.
Anyways:
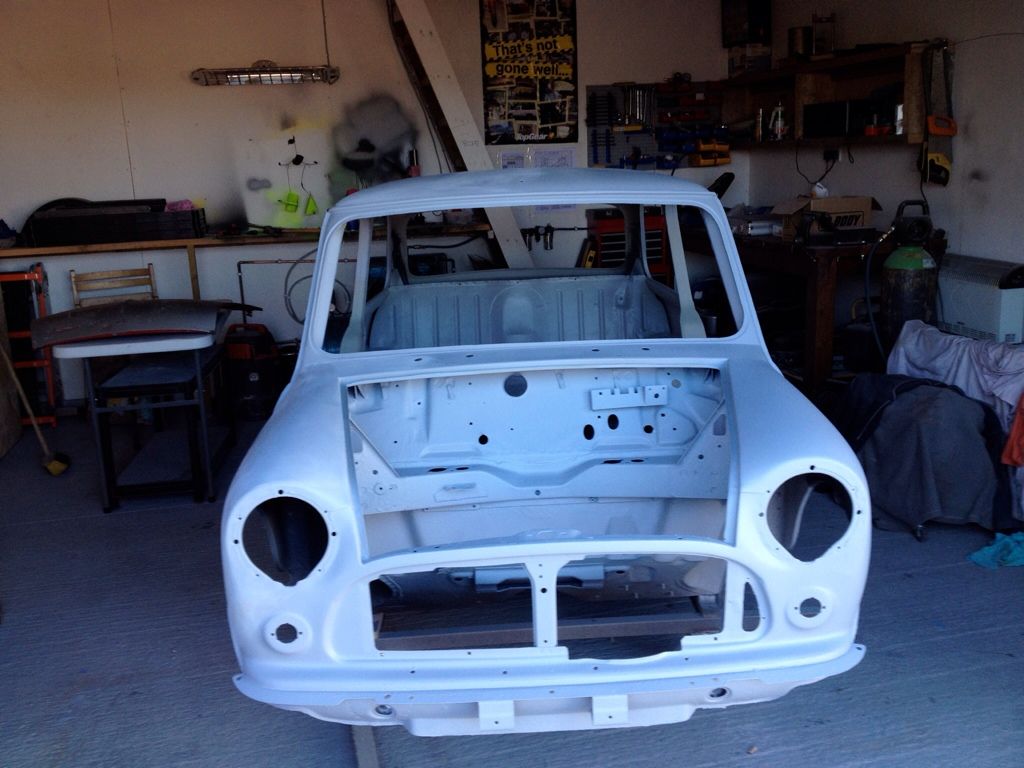
Some more pics of the build:
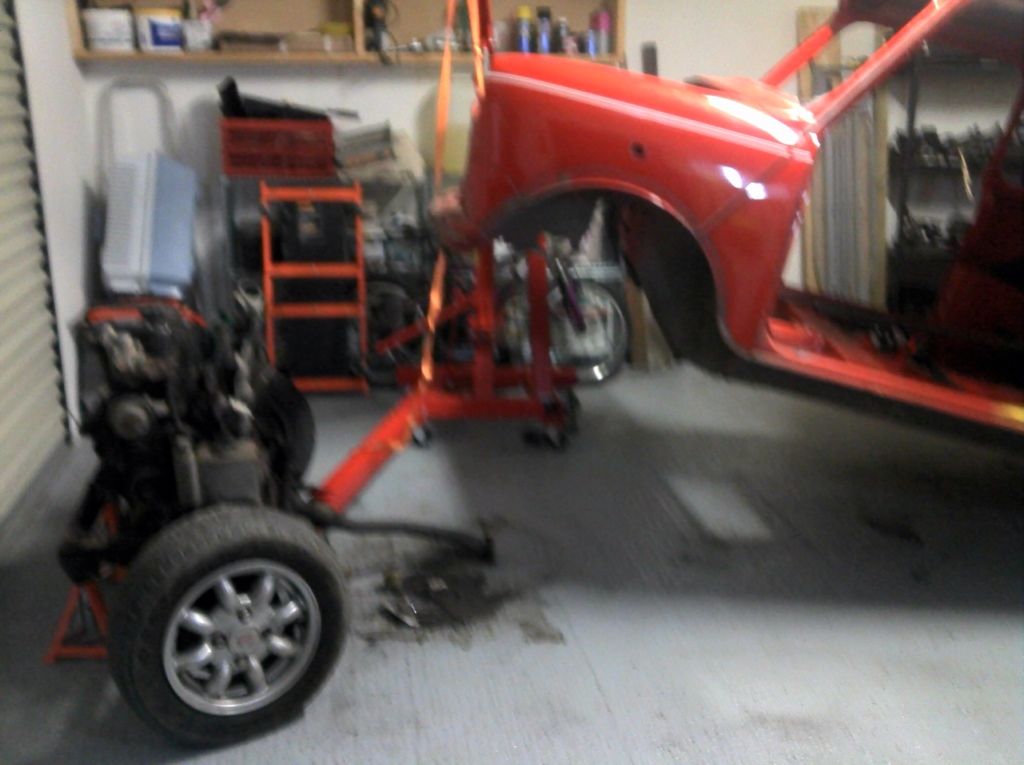
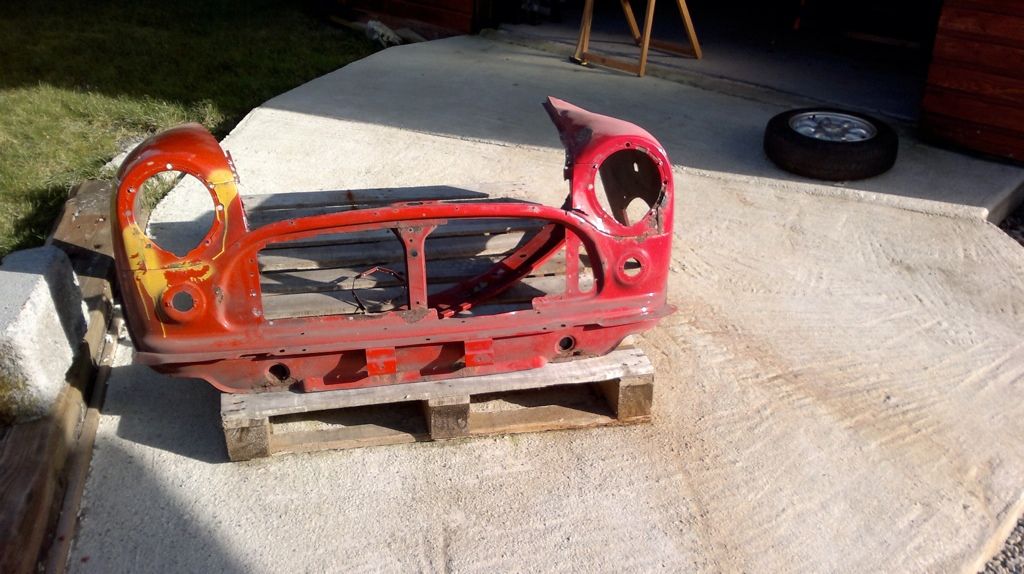
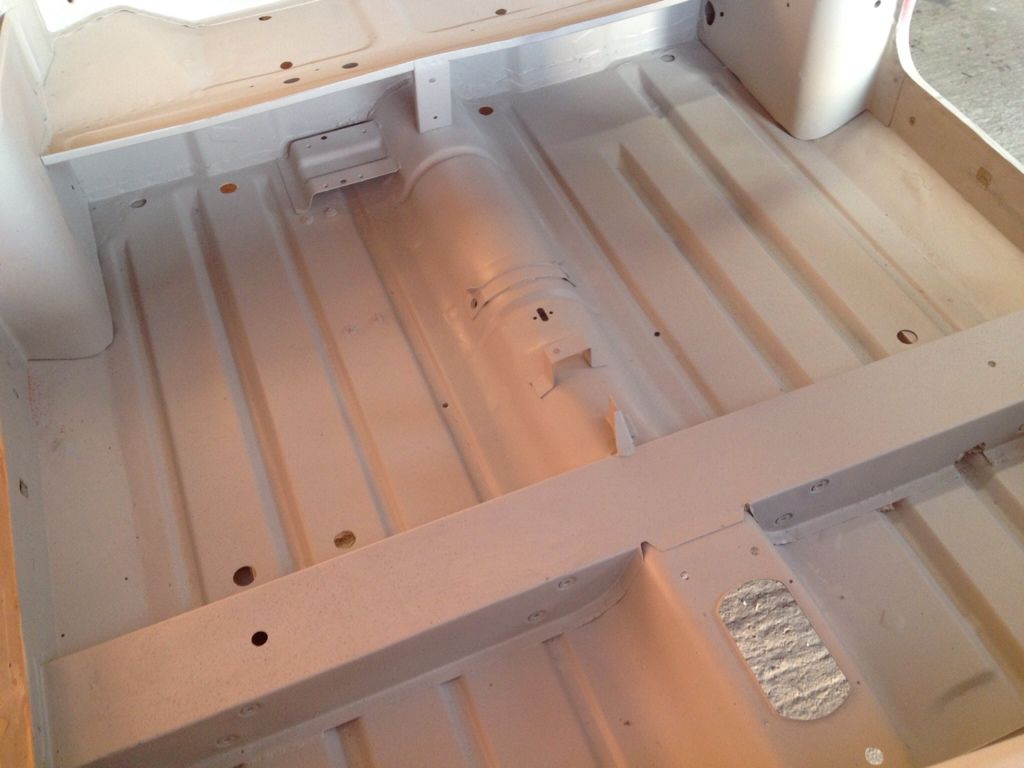
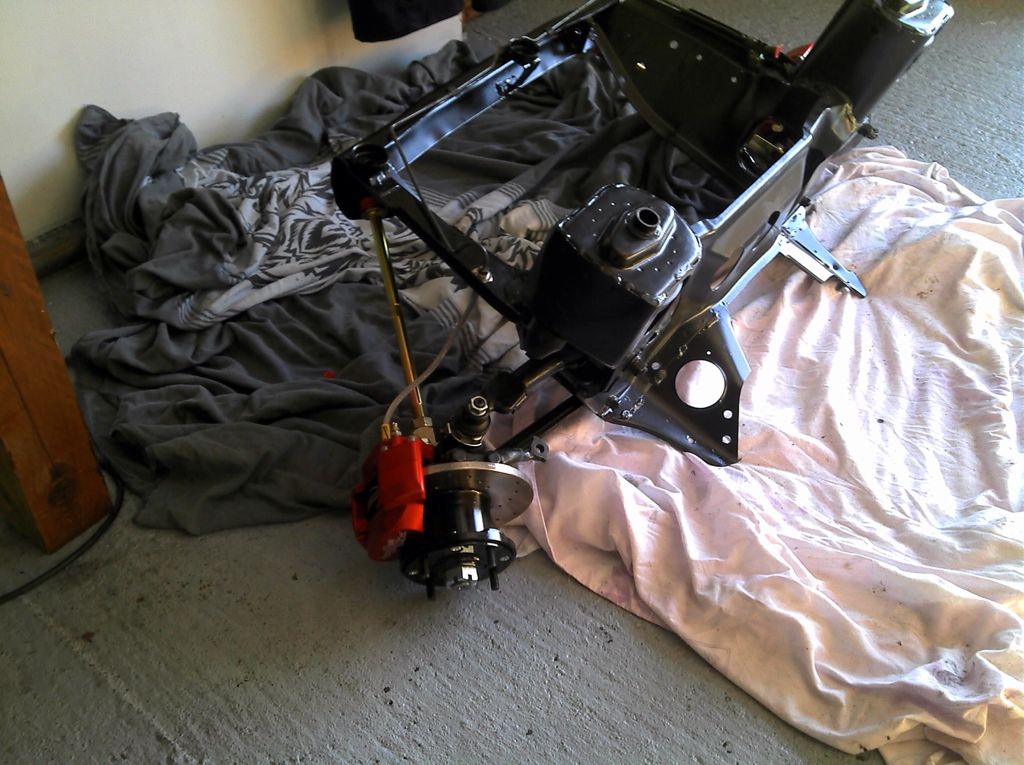
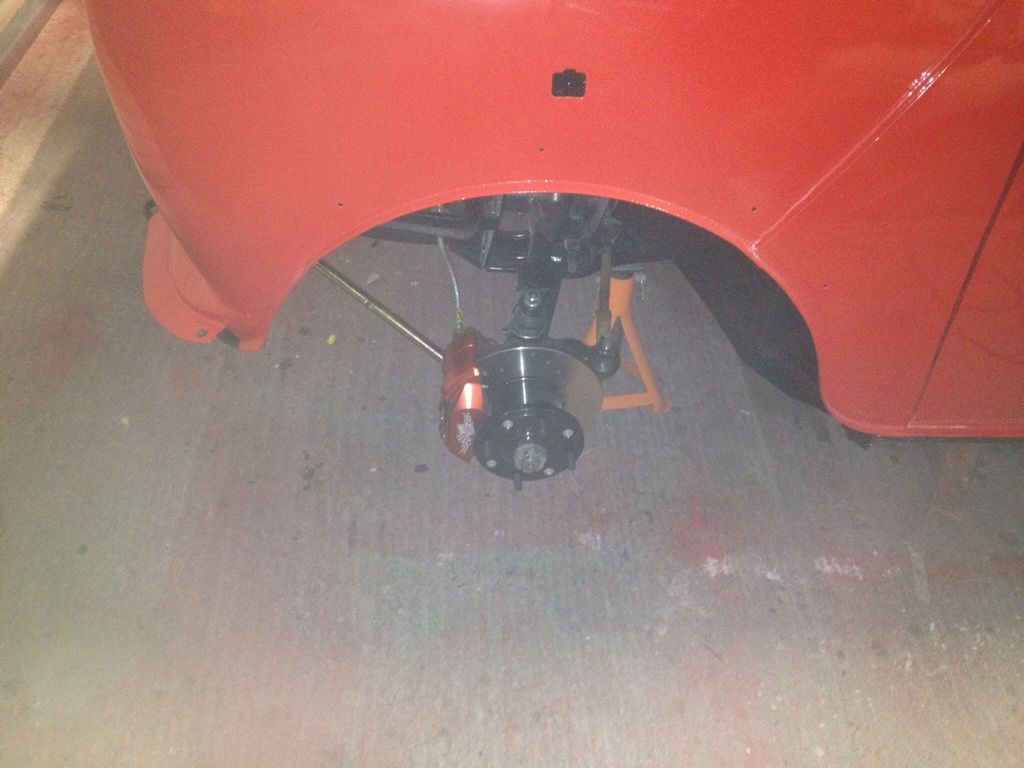
rebuild subframe with some nice bits
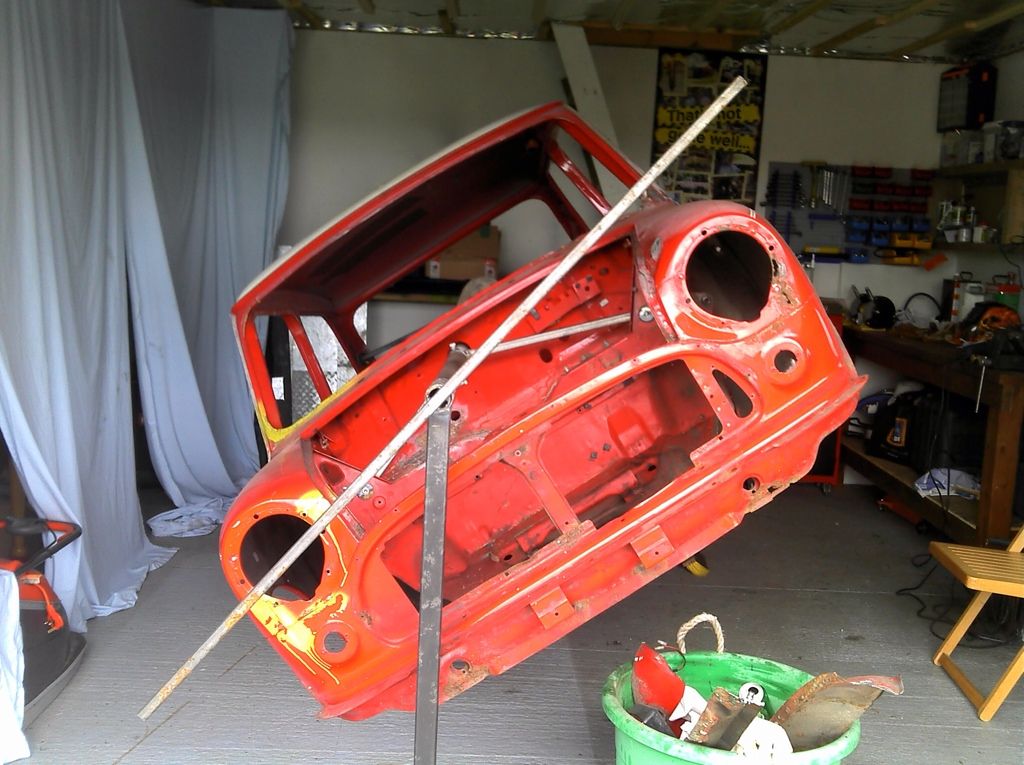
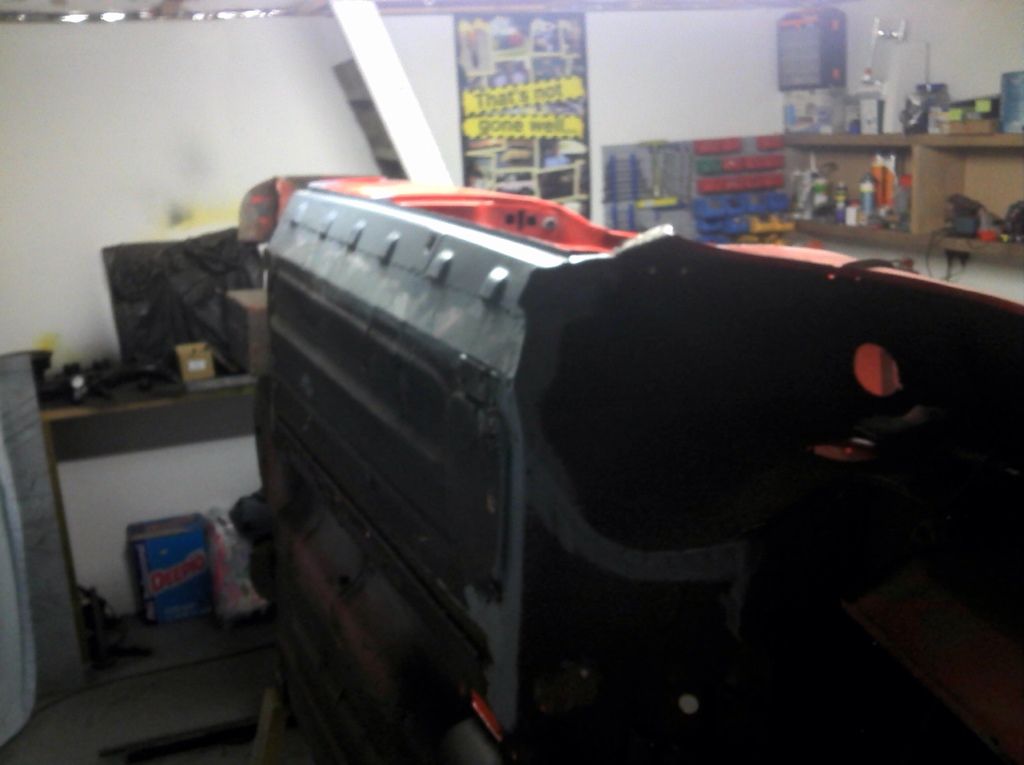
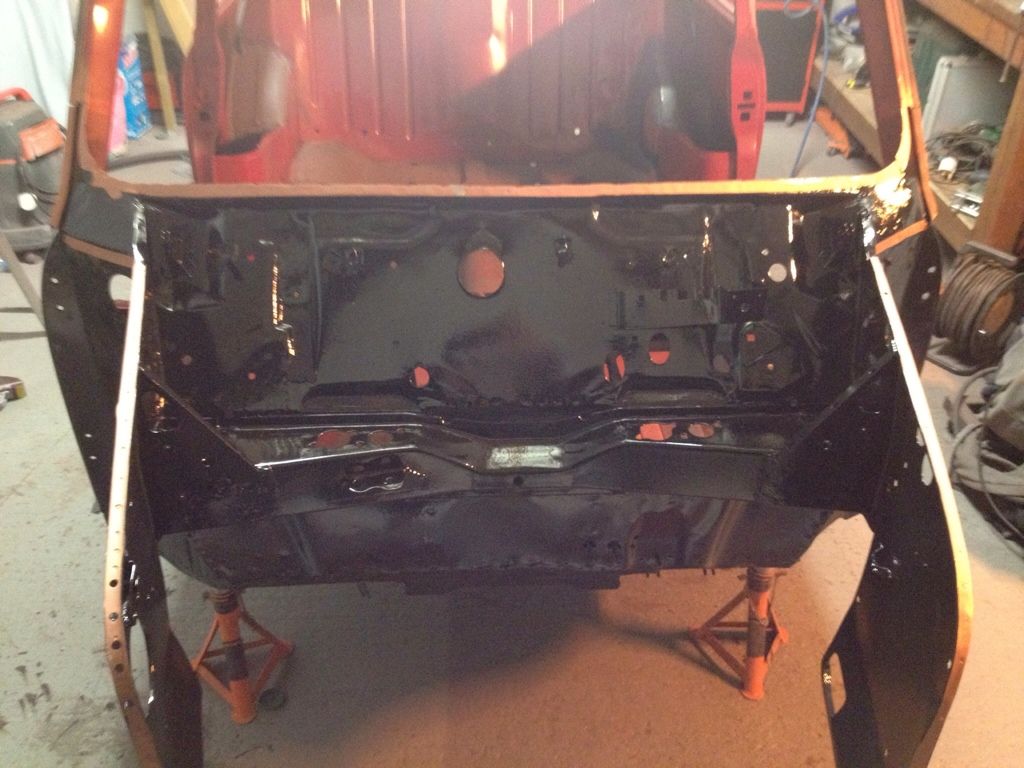
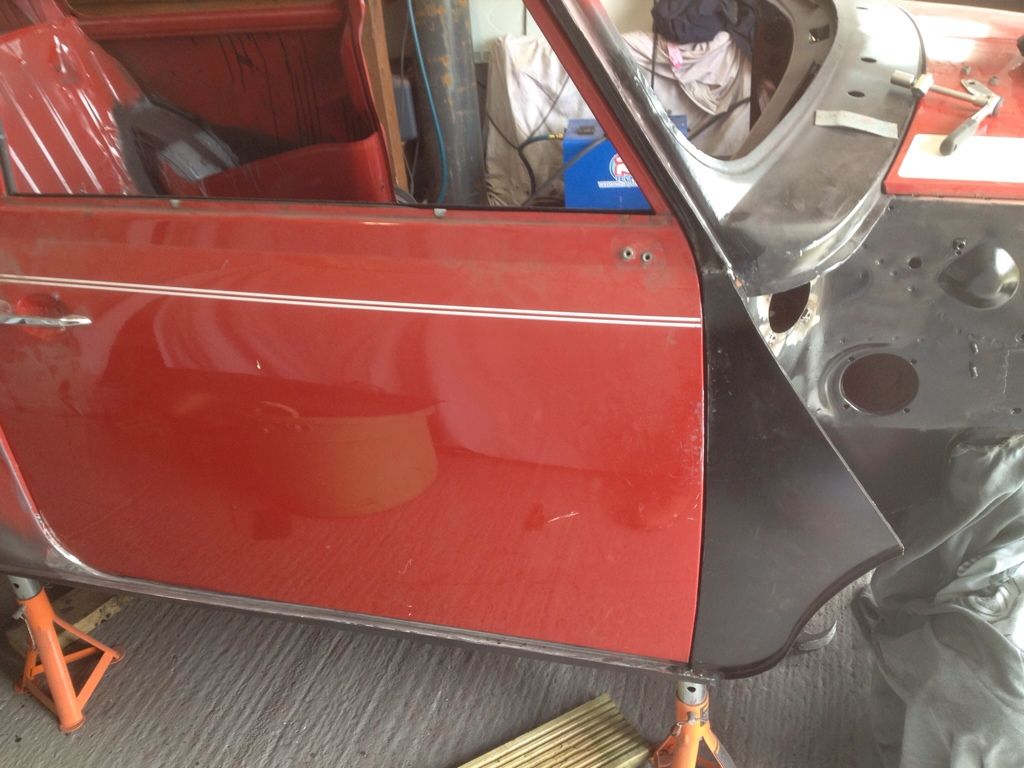
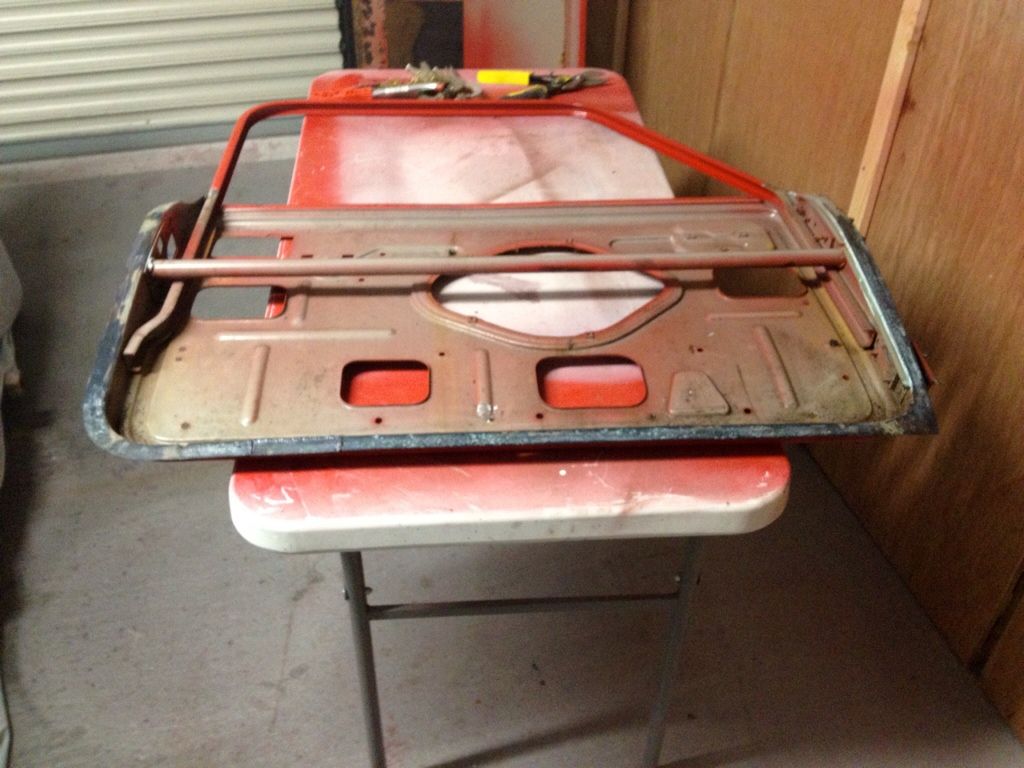
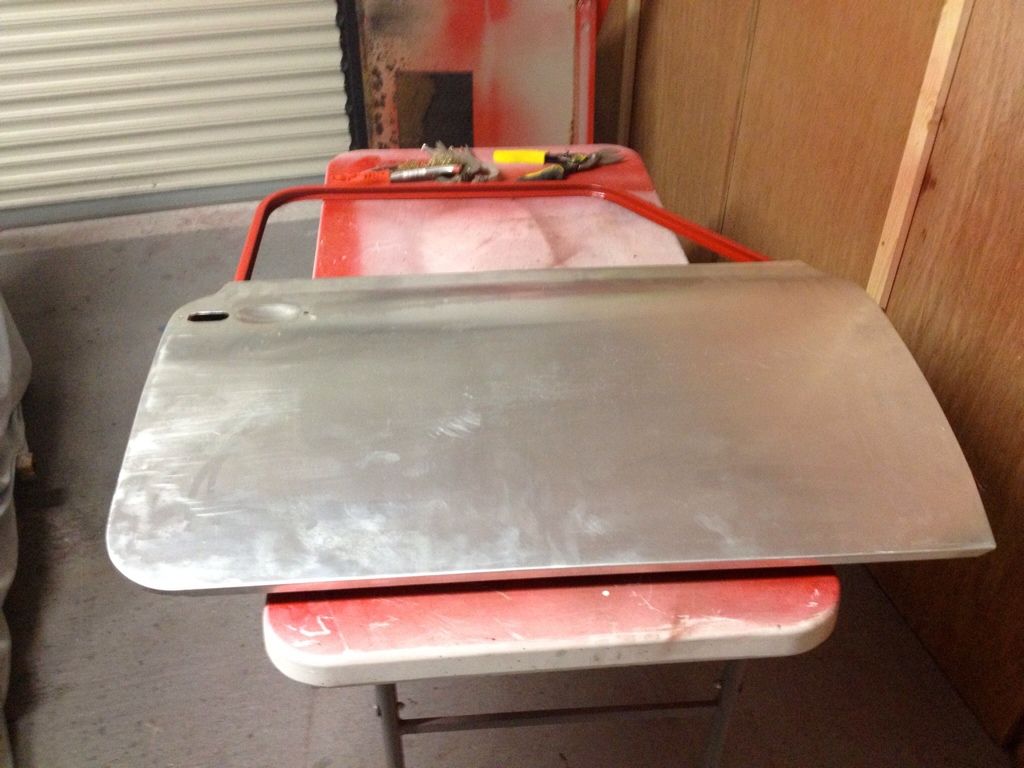
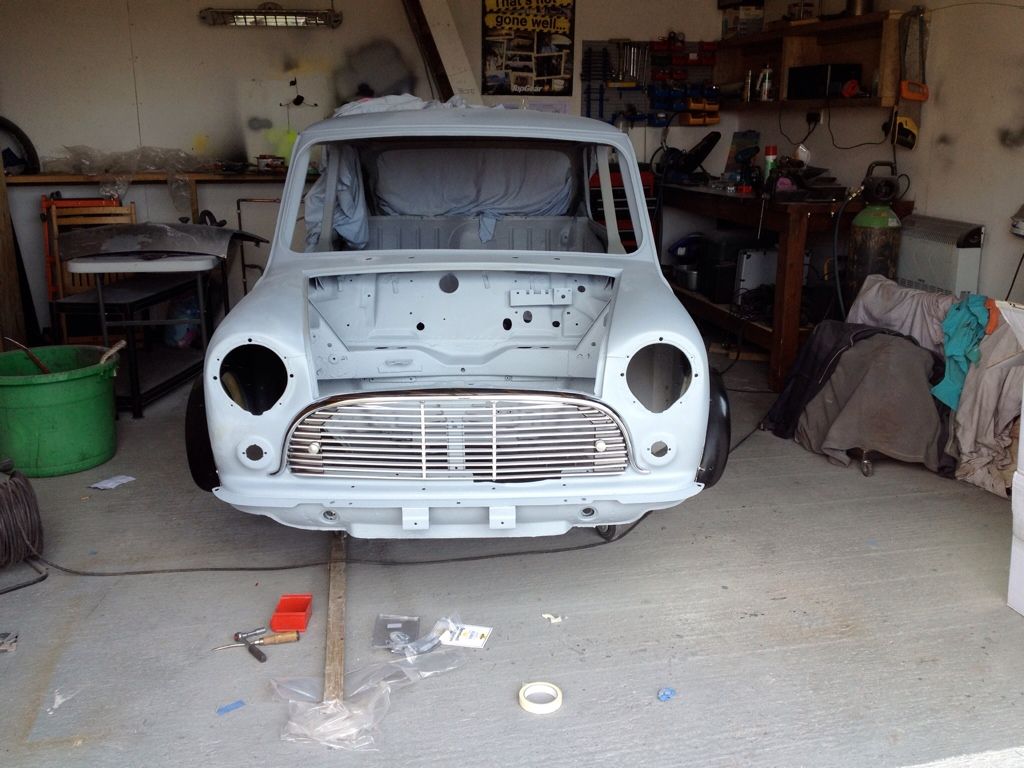
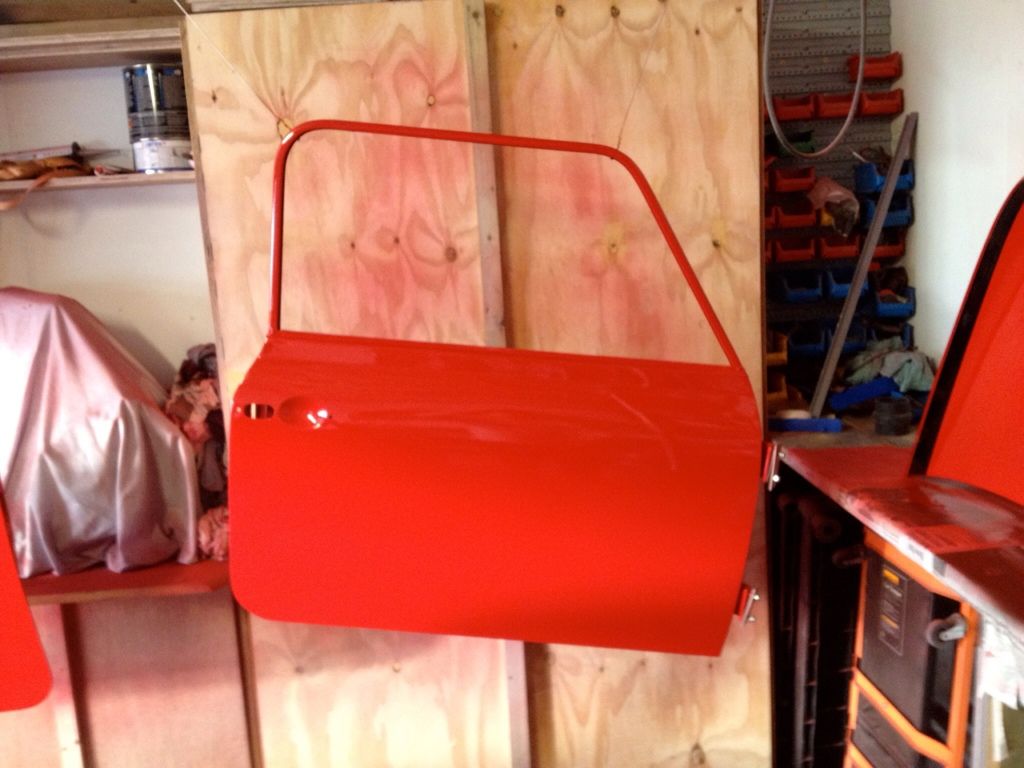
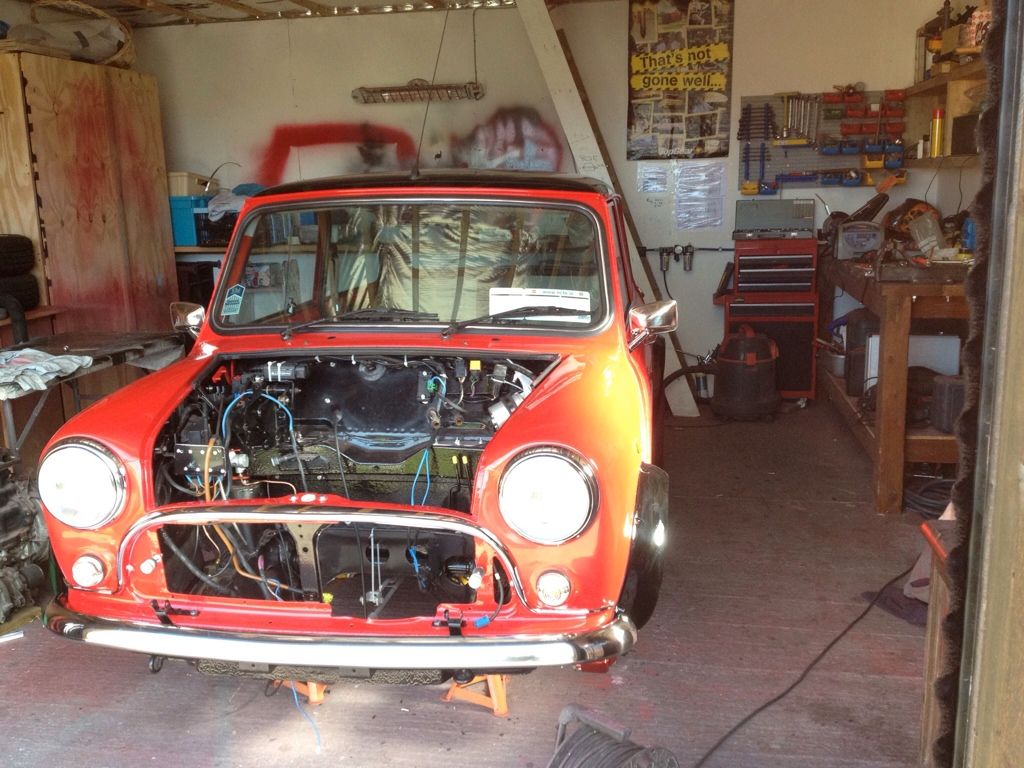
 Rebuilding the car with some refurbished and new bits
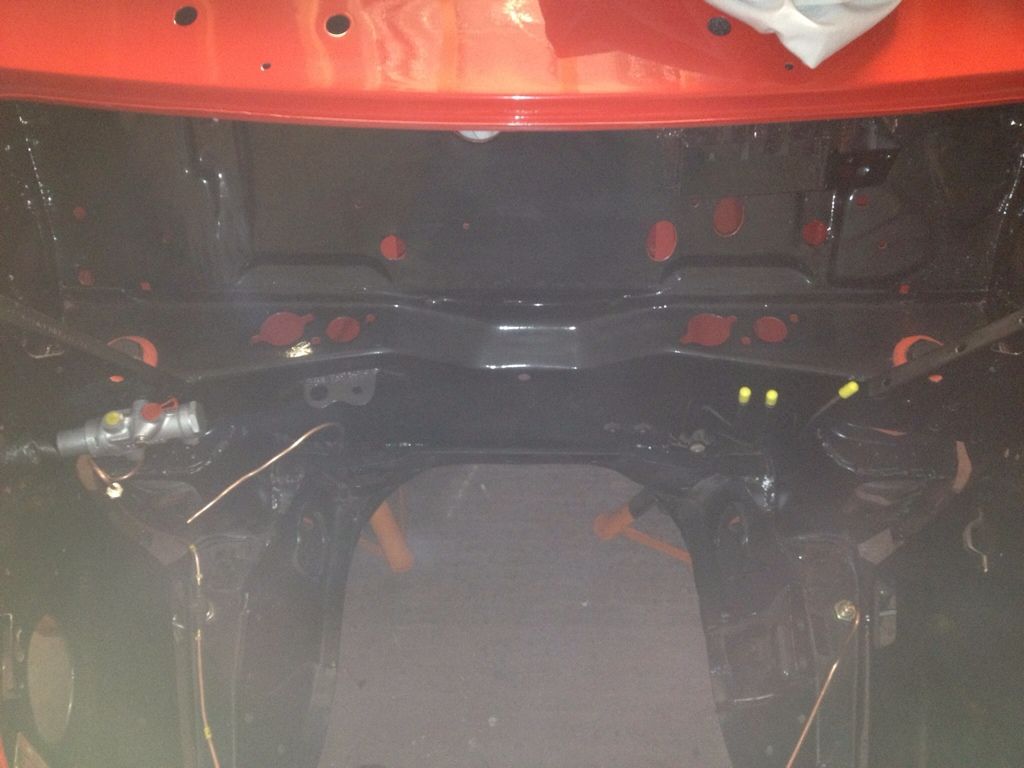

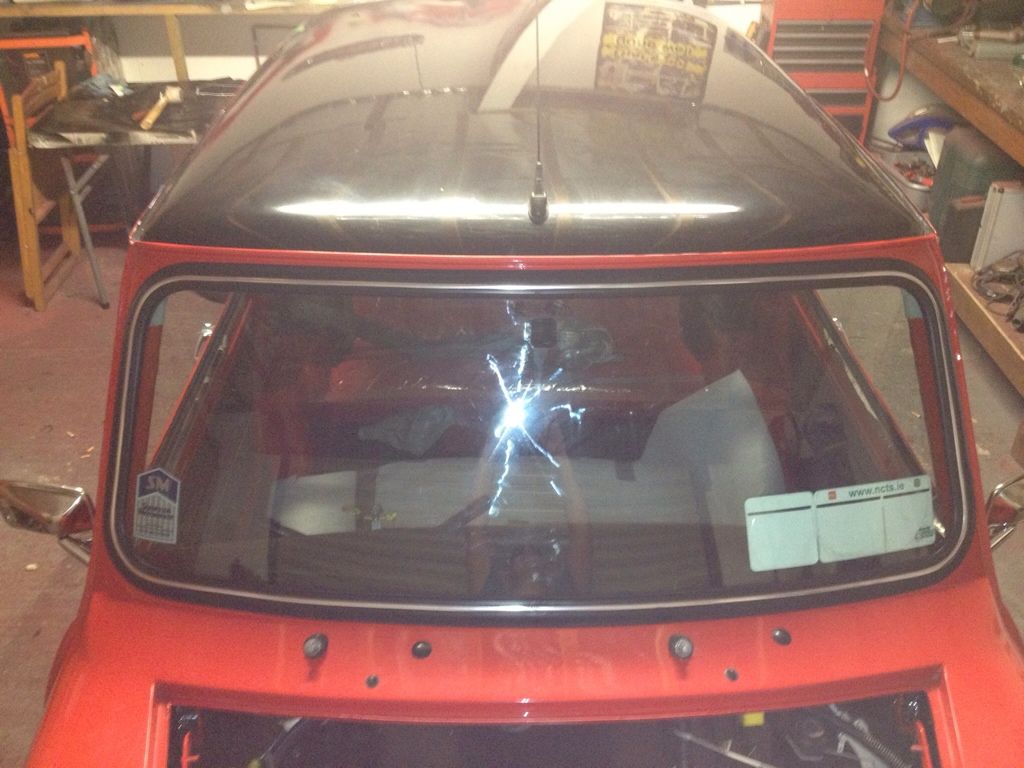
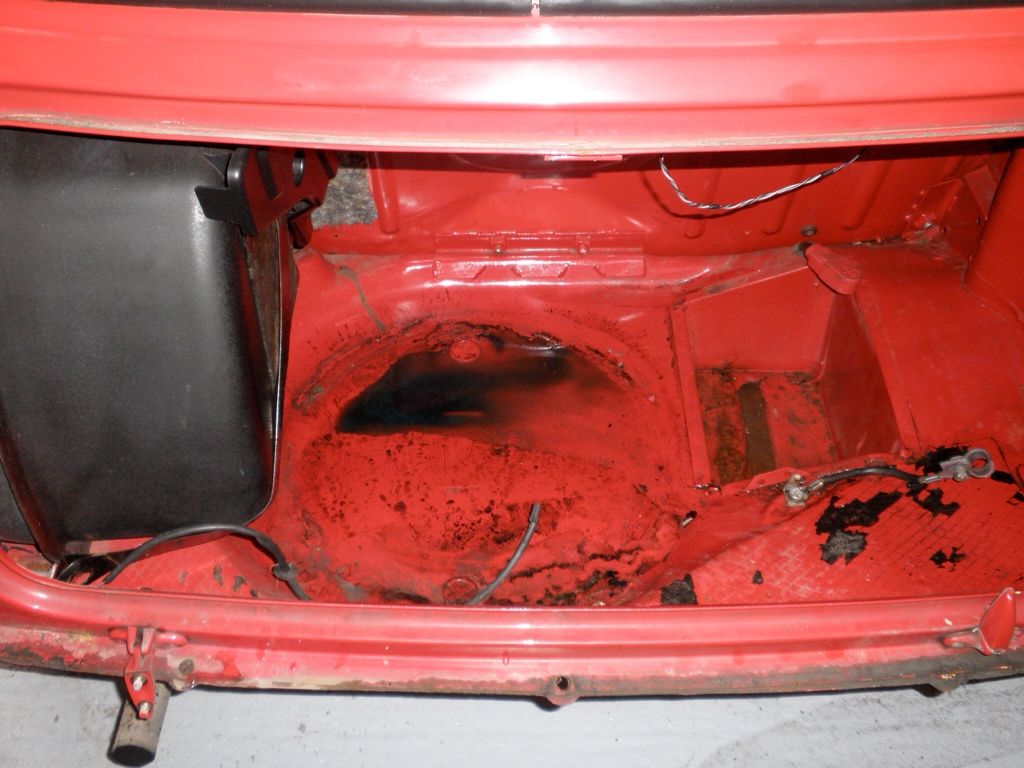
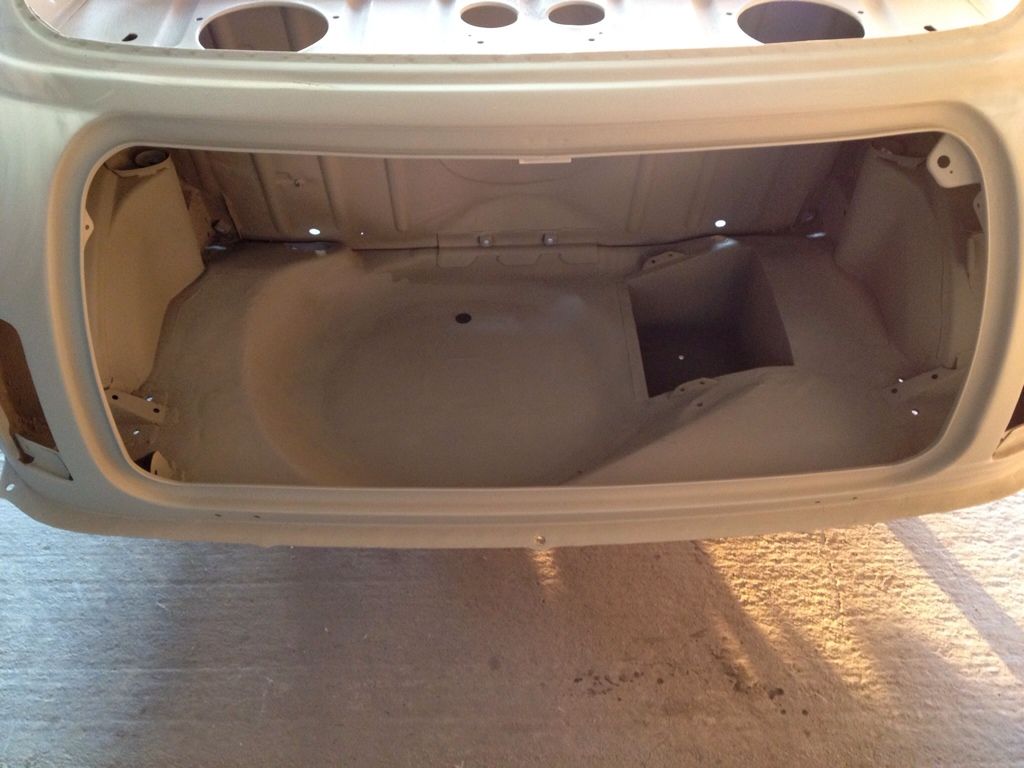
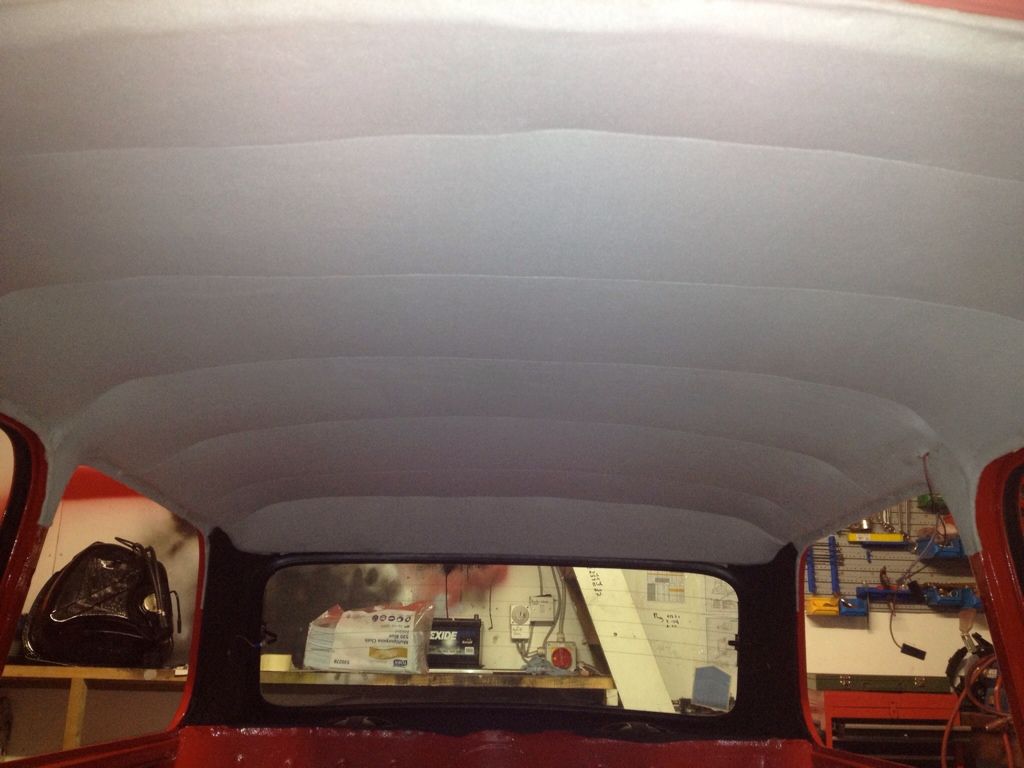
 Inside bibsi
refurbished dash (sanded and painted with clear coat)
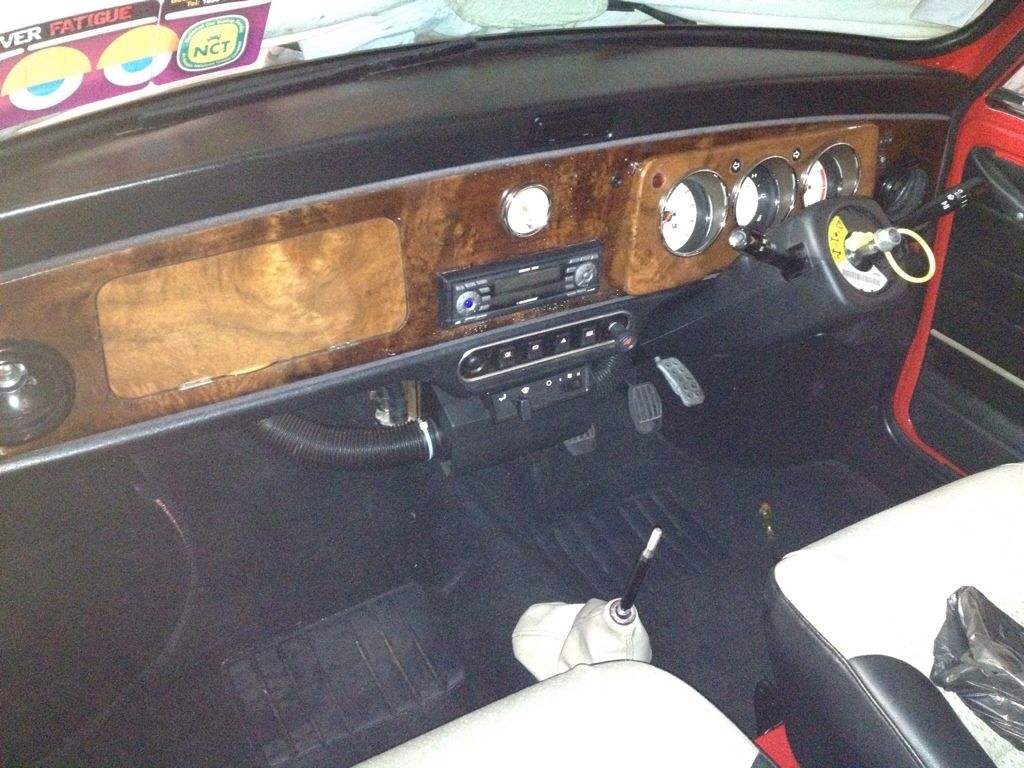
Seat are from a mpi cooper
Headlining was made from fleece by my mum, Thank god she's good at that sorta stuff cause the old one had it.
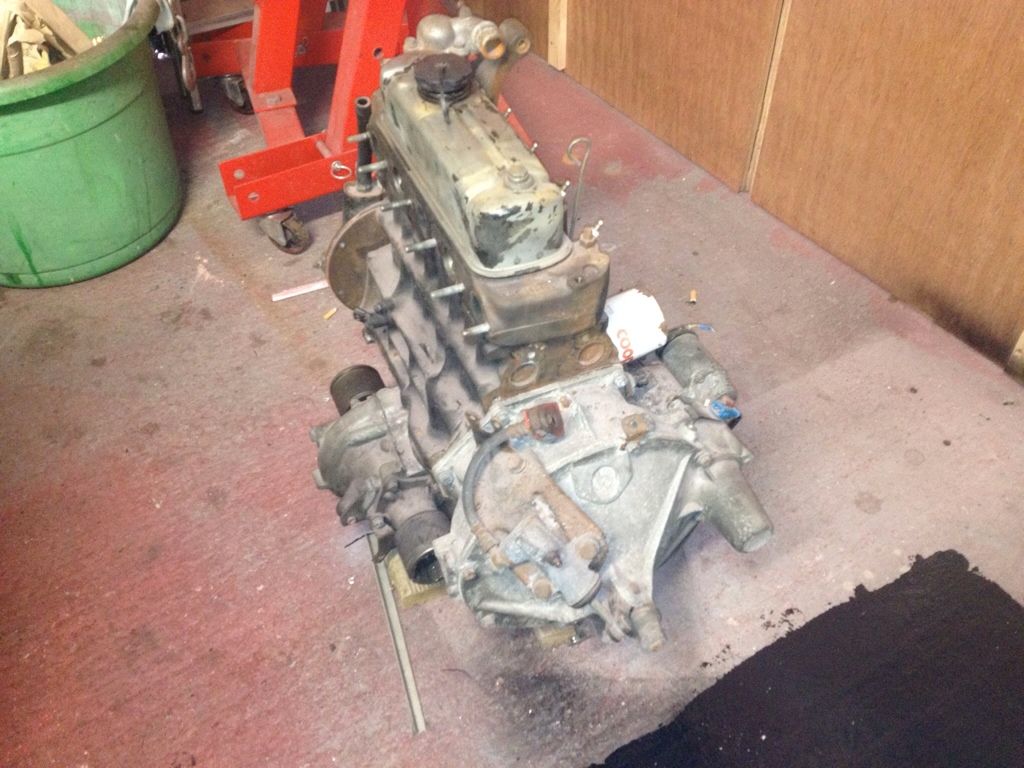
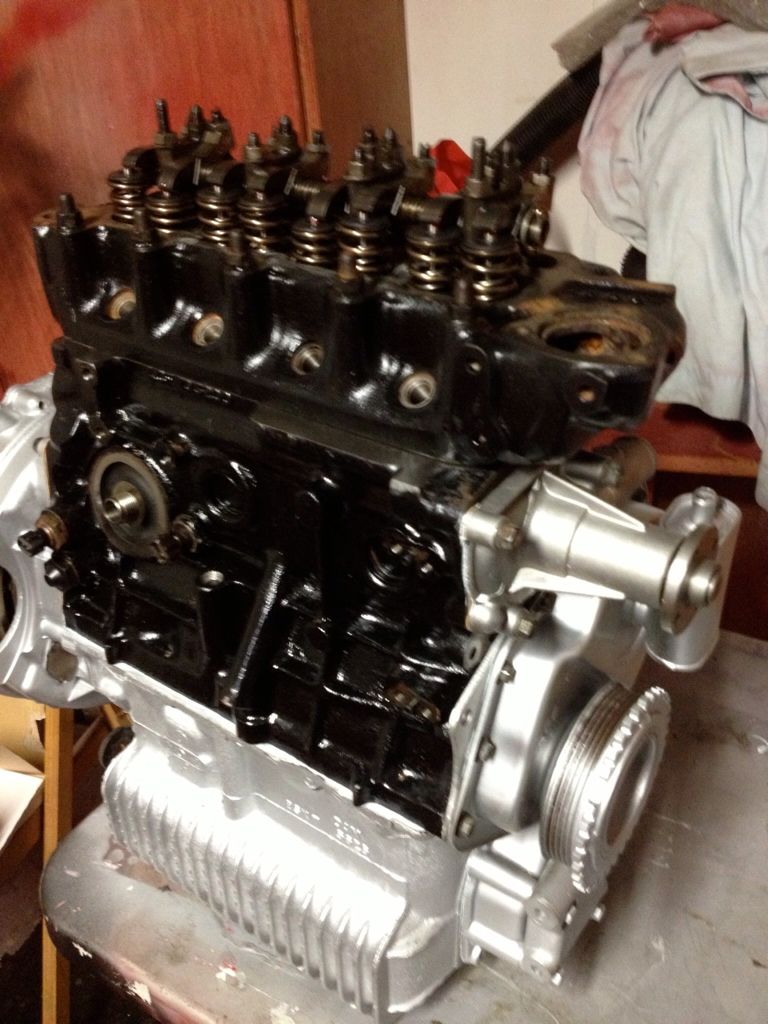
 Engine rebuild:
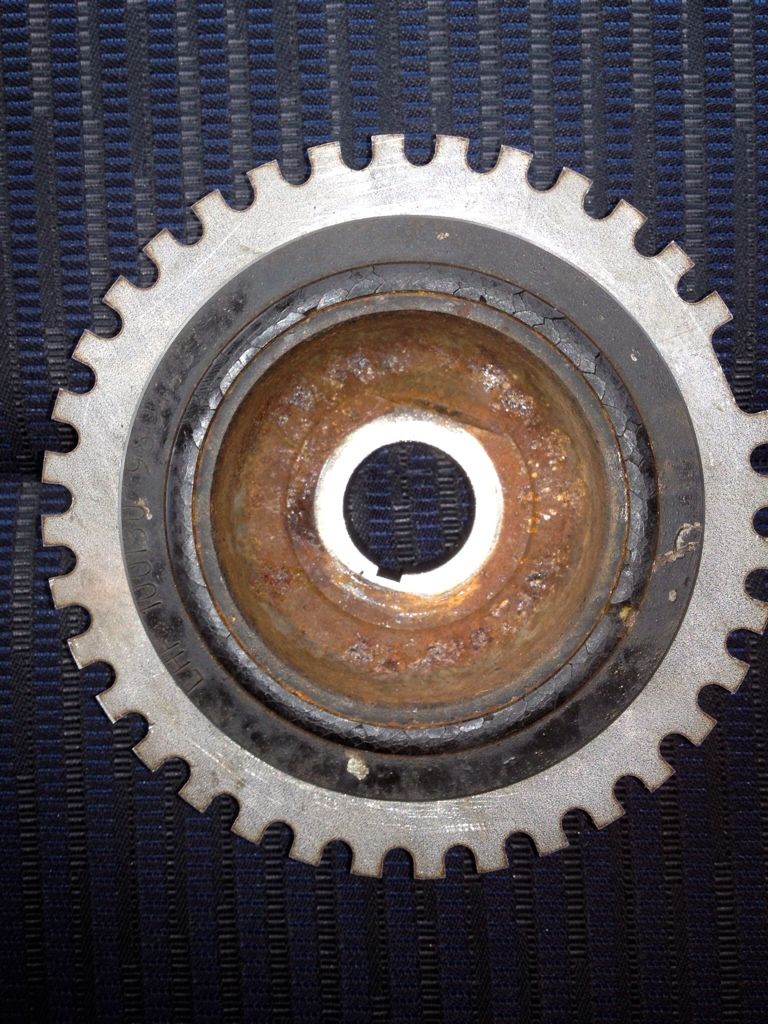
Trigger wheel for the fuel injection
old engine in sorry state from a mpi
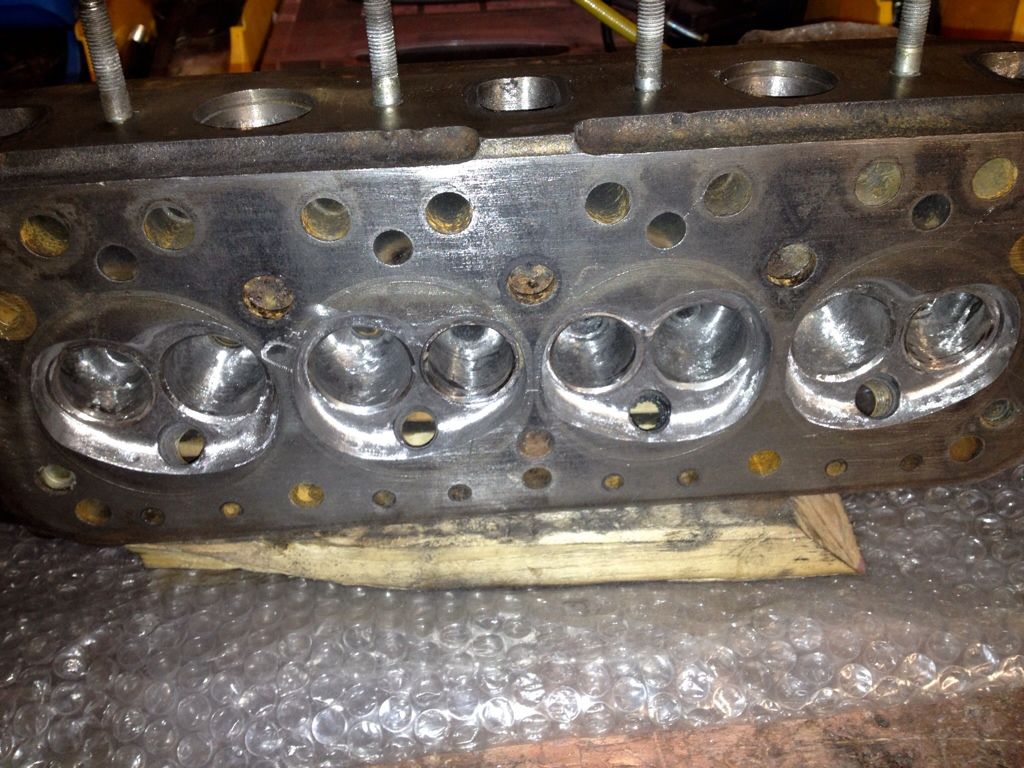
Grinding head per the yellow bible
Engine back together after being bored to 1293, gear box rebuilt by Ray in galway
head got some new stainless steel race valves and 3 angle valve seats, double springs 220lbs, bronze guides.
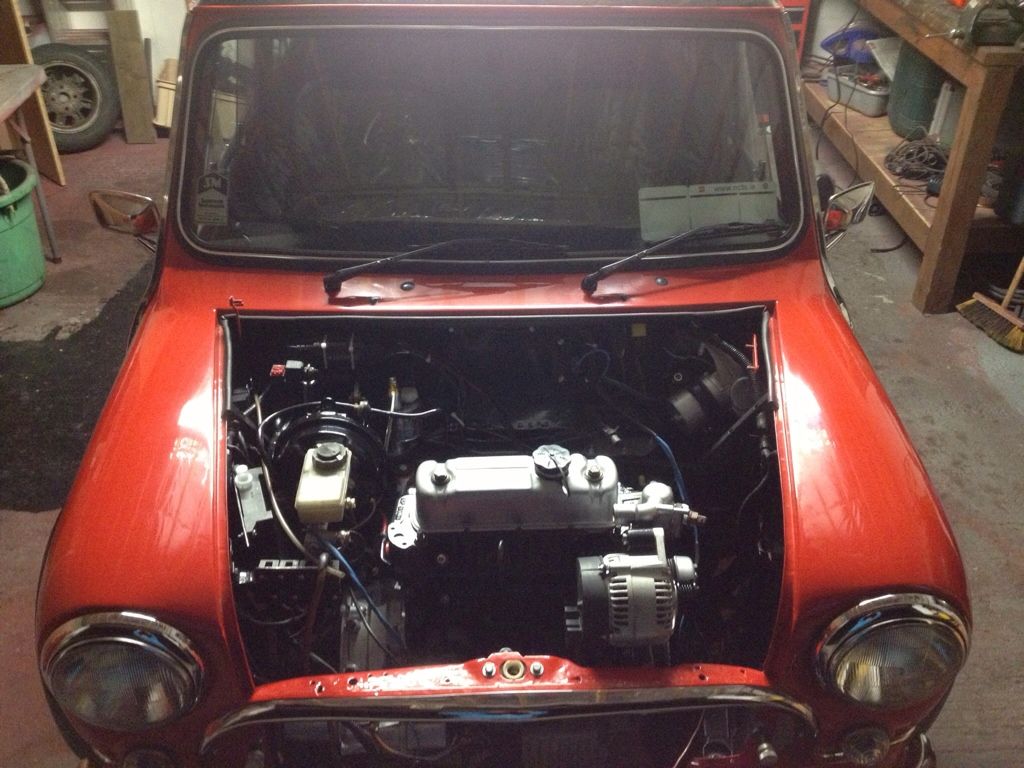
Engine back in the bay
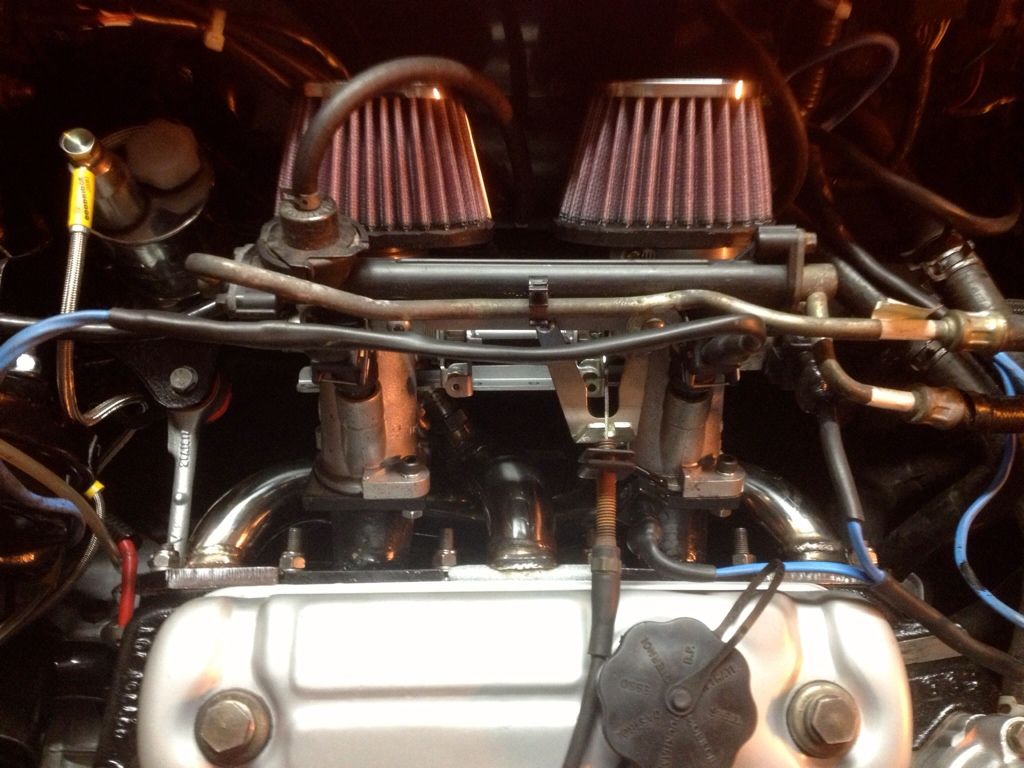
throttle body setup. came from triumph 995i bike, manifold is my own design
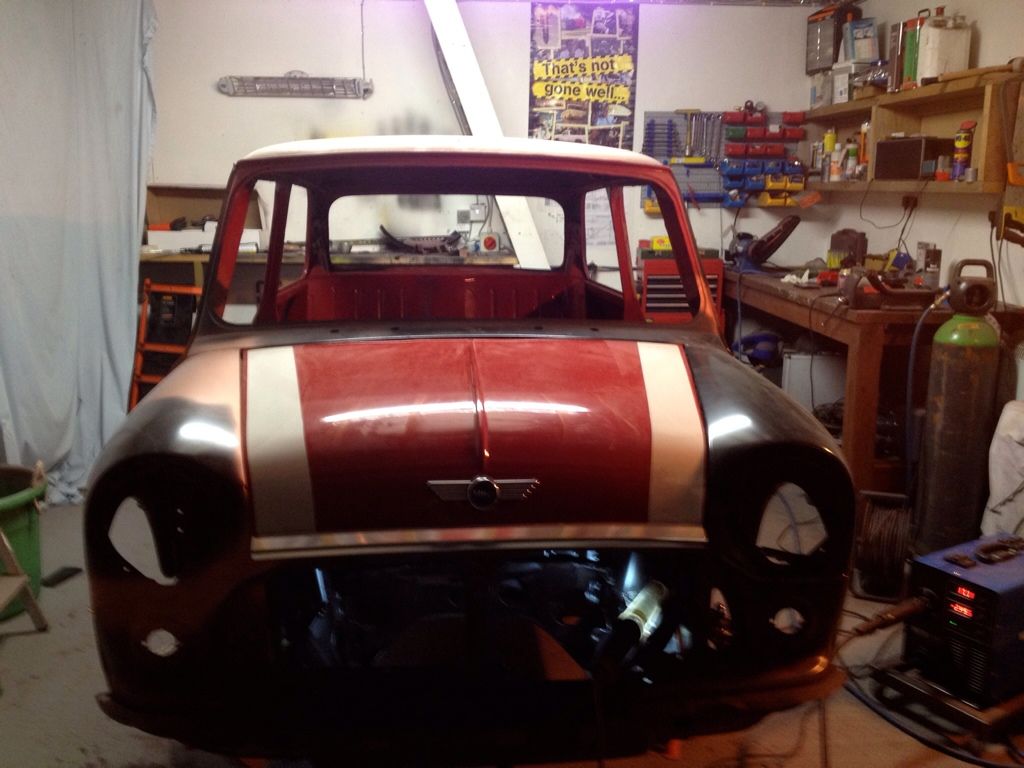
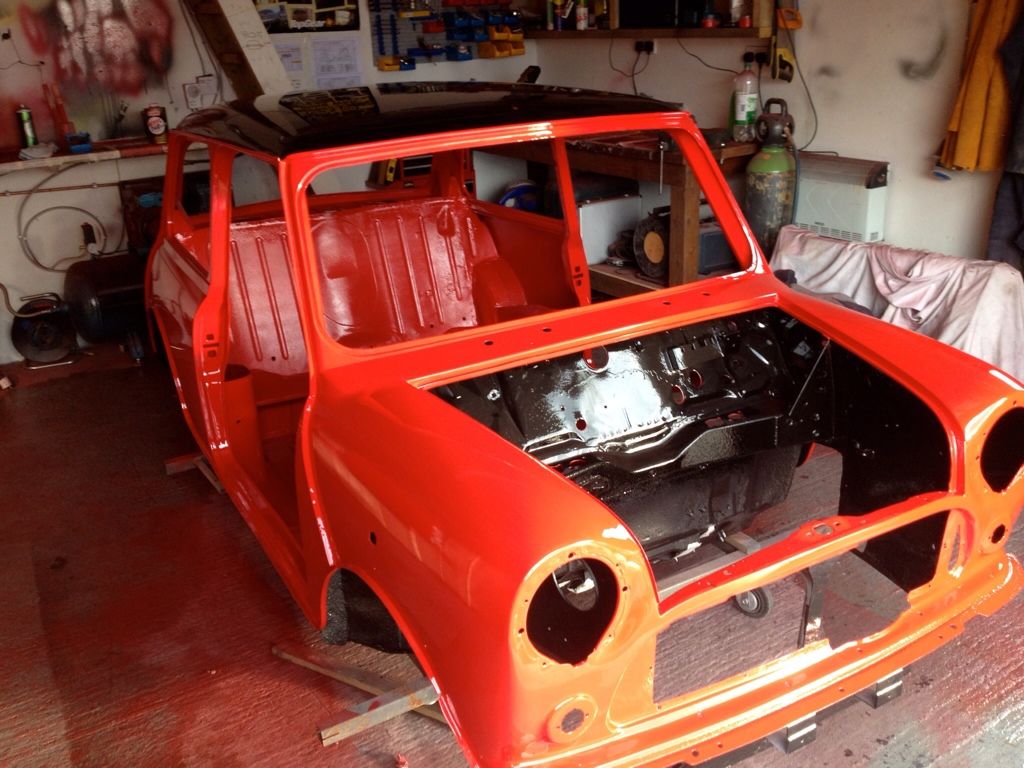
Bibsi nearly finished
pickup sensor for the ecu
Car was transported up to Enfield to Westward, mus say he's a top man and dialed in the ecu for me.
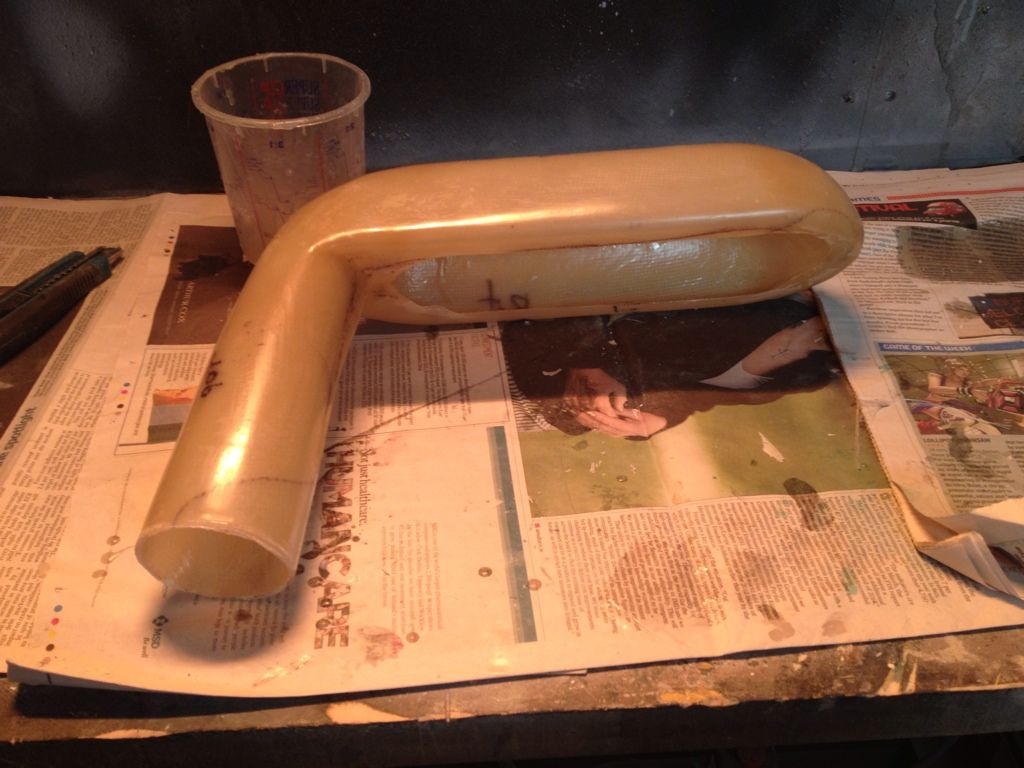
however the car was a bit loud with those air filters so i had a go at making an air box with velocity stack etc from fiberglass

Air box
Air box fitted and painted and fitted

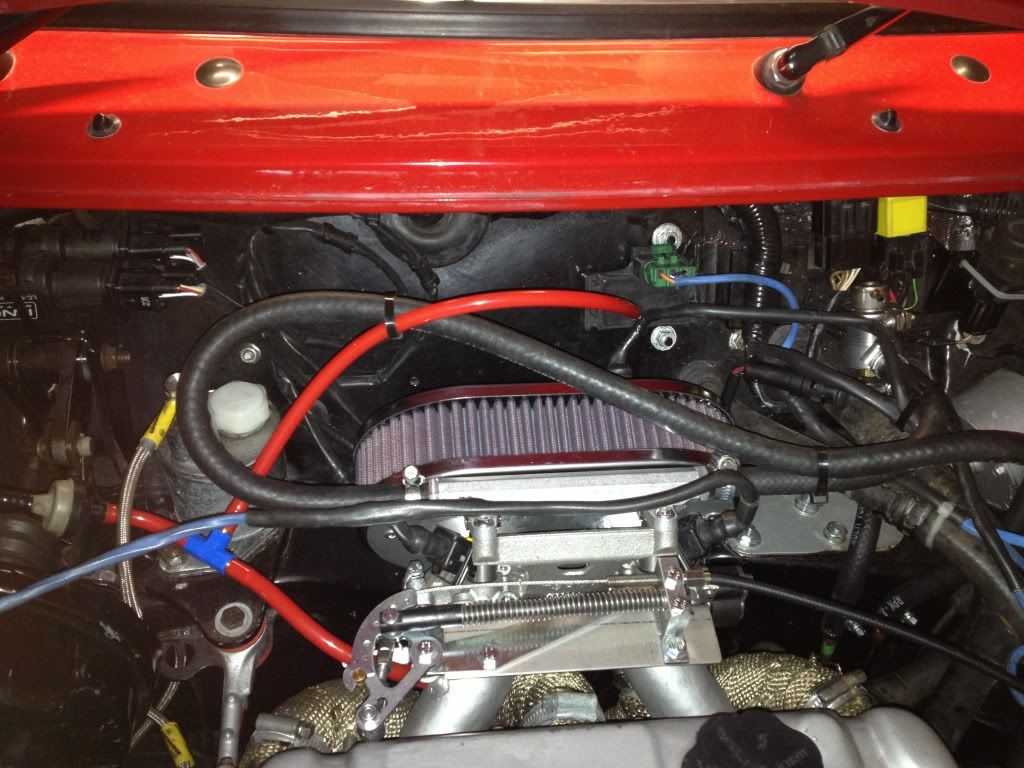
Didn't like the fit nor that the filter is beside the head so i had some aluminum piping from an intercooler setup left over.
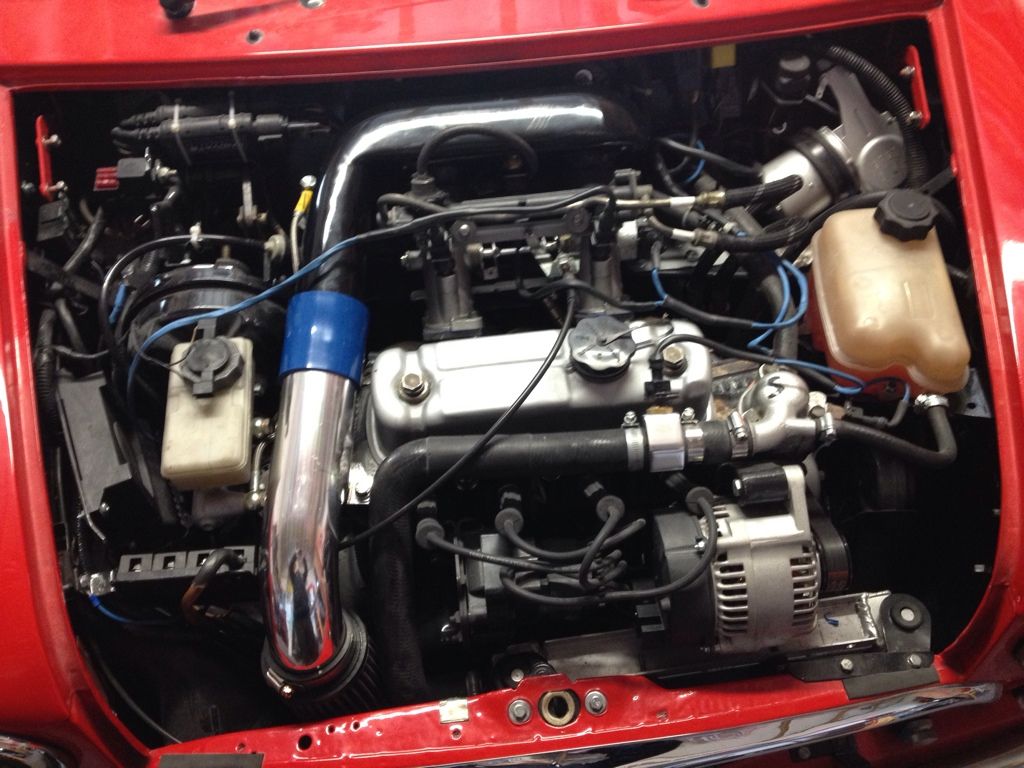
unfortunately it didn't help the noise much but it seems to have improved torque.
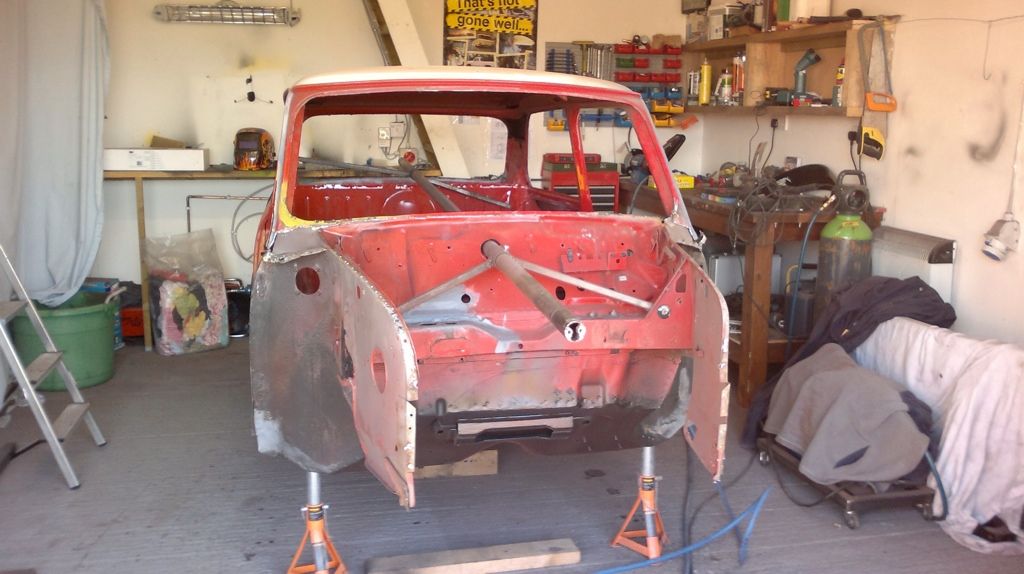
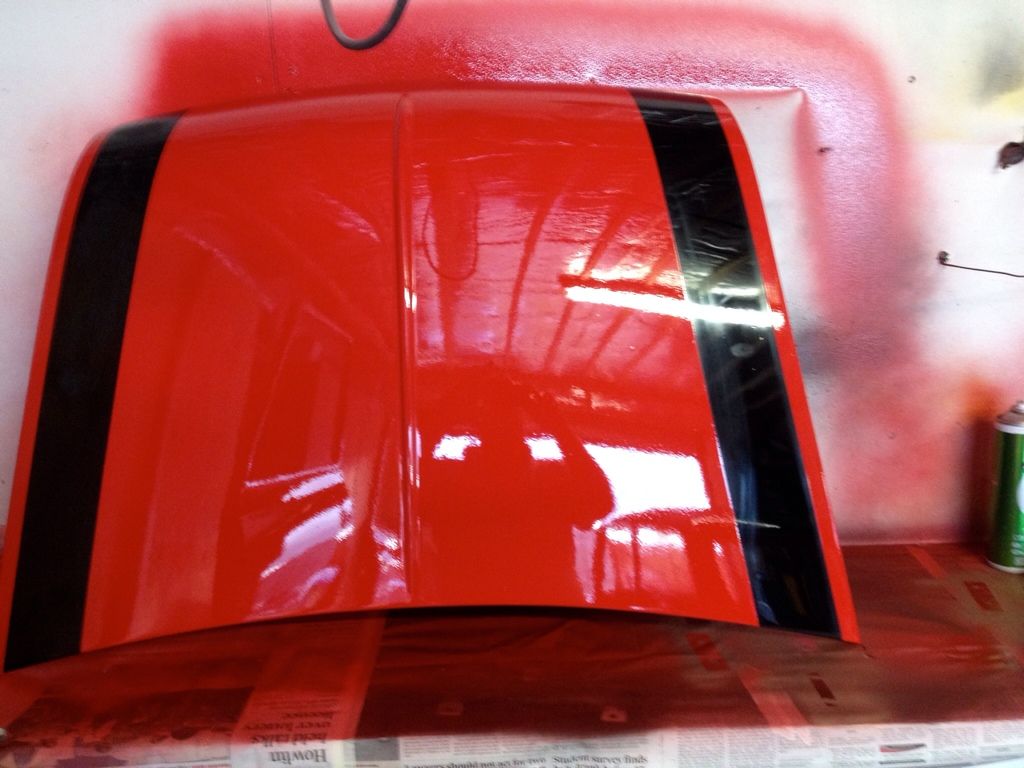
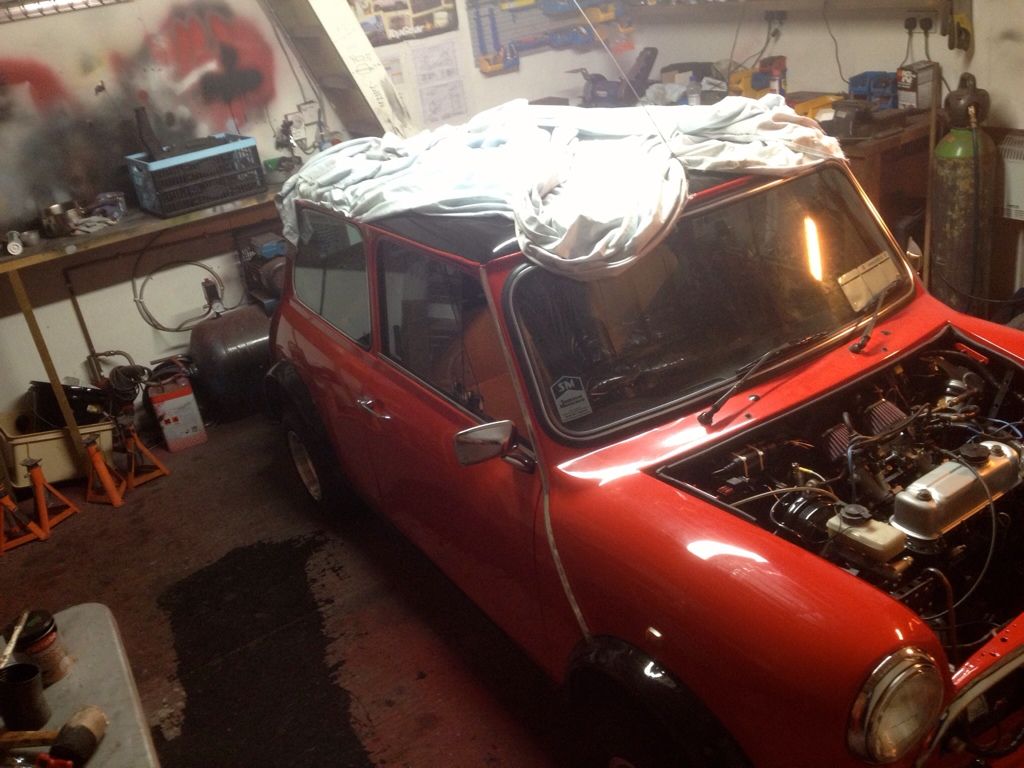
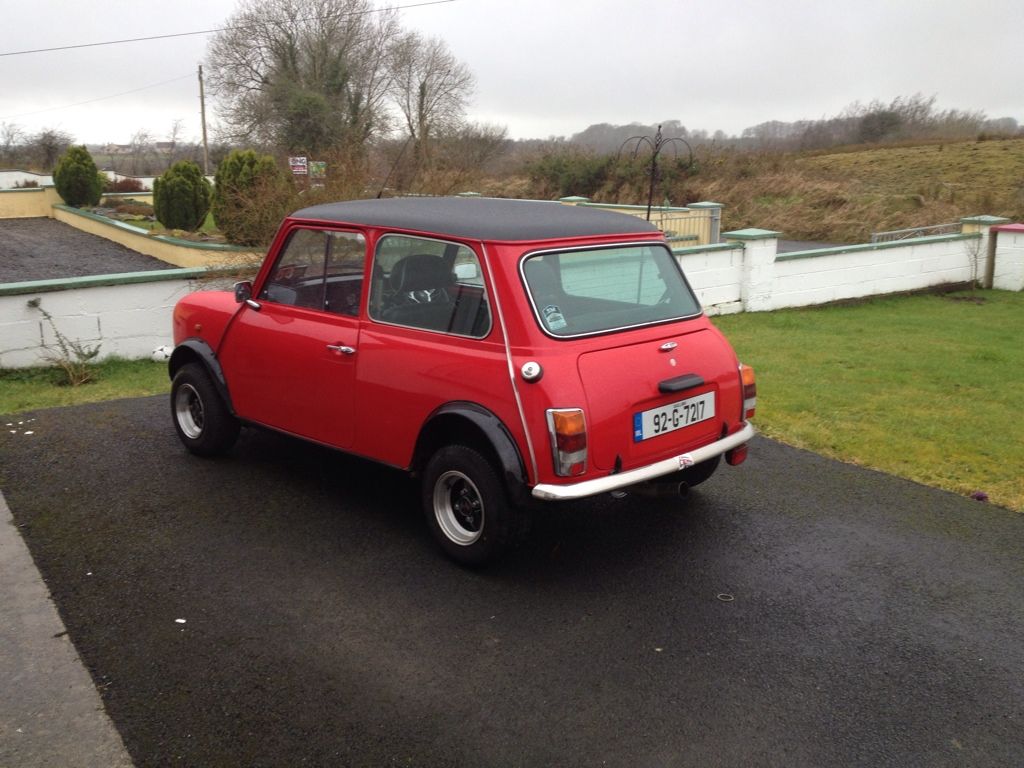
Car in its final stages, road legal at this stage nct in all first time round. am chuffed
Last things to sort out
fit some negative camber brackets and bottom arms as the setup at the moment is standard.
Any advice on settings for fast road use (Camber Caster Toe front and back) would be nice
oh and some sound deadning any hints here would be great too, as part of the rebuild i couldn't reuse the sound deadning as
it was all wet. Don't want to spend a lot on dynamat so any alternatives here would be great.
Thanks for looking, hmm must join the club next......
Re: 92 mini aka bibsi
Posted: Fri Feb 08, 2013 7:07 pm
by Kenneth Murphy
Love the air box dude!!!
Re: 92 mini aka bibsi
Posted: Fri Feb 08, 2013 7:48 pm
by coolmini
Thanks Kenneth,
Took me ages to make had to make a part from styro board.
Sand it prep it etc.
then make a 2 part mold over the part out of fibreglass
Hope for the best split the mold and make the 2 parts and finally join it.
That's the very short version of it.
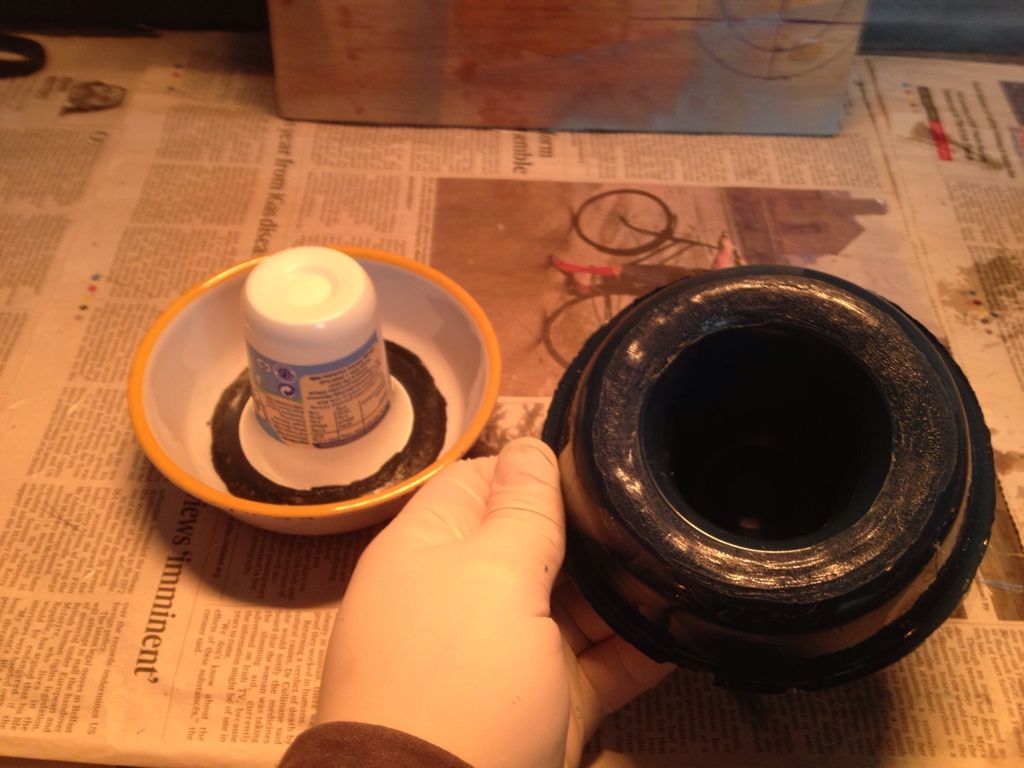
One has to wax the feck outa parts n molds to be able to release the part after.
Re: 92 mini aka bibsi
Posted: Fri Feb 08, 2013 9:14 pm
by minionly
Great work on this mini
Re: 92 mini aka bibsi
Posted: Fri Feb 08, 2013 10:17 pm
by woody
Very nice bit of engineering there, look foward to seeing it in the flesh, be ready for loads of questions.
Car looks very high in the last photo. Set the height first before setting any angles. Settings is going to depend on your driving style and how you want the car to handle. A car that corners well can be twitchy in a straight line when accelerating.
Re: 92 mini aka bibsi
Posted: Fri Feb 08, 2013 10:56 pm
by coolmini
Ohh she's twitchy at 120kph alright
she's got new rubber cones all round and hasn't settled yet
ordered some hilos for rear too. Why is the post man taking so long lol
i was thinking of following geometry
Front:
Caster 4
Camber -1
Toe-out: as per manual?
Rear
Camber: -0.5
Toe in: as per manual?
any guidance
i would like it to handle neutral no under steer, no over steer
Thanks for comments guys
Re: 92 mini aka bibsi
Posted: Sun Feb 10, 2013 8:03 pm
by coolmini
Right got some fatmat on order today, lets see can we make this thing more quiet
It's 87decibels inside the car in 4th gear at 3000rpm, at work that would require earplugs to be worn from a health n savety point of view.
wonder if 1 layer will be good enough, unfortunately that means taking out all the interior again.
Re: 92 mini aka bibsi
Posted: Mon Feb 11, 2013 10:21 am
by macker
Lovely mini, a credit to you and all your hard work!

Re: 92 mini aka bibsi
Posted: Mon Feb 11, 2013 10:22 am
by woody
I would think your fiberglass inlet still allows a lot of induction noise out, put some sound deadining between it and the bulkhead. Also do under the back seat as this is were the exhaust sits.
Re: 92 mini aka bibsi
Posted: Mon Feb 11, 2013 10:22 am
by clubmankev
Nice work. How exactly did you refurbish your dash? Mine has a bit of water staining, I didn't think they could be sanded and painted, what with the plastic veneer?
Re: 92 mini aka bibsi
Posted: Mon Feb 11, 2013 8:01 pm
by coolmini
thanks macker
woody i was going to do the whole inside, Floor pans front and back, fire wall, bulk head from the inside, wheel wells and the back seat bottom and back, and a section in the boot also, that should kill the noise.
kev
The venier is actually a 0.5mm layer of venier nut timber glued onto what looks like some sort of mdf in my case. This then was coated in a plastic clear coat.
What i did was use paint stripper to get rid of all the plastic clear coat. Be Patient at this as you don't want scratches in the venier from removing the clear coat. suppose one could sand it off too but i didn't want to remove the venier by accident with DA Sander.
Anyways after clear coat is gone give it a hand sand with 800 grit, then clean it.
let dry over night after cleaning, then give it a couple of coats of clear cote. be sure to to leave plenty of time after the first coat. if you don't timber has this nasty thing about wanting to release air bubbles into the clear coat so don't make the coats too thick, which is what i did and gave all the white little dots in the dash.
Hop that helps.
Re: 92 mini aka bibsi
Posted: Mon Feb 11, 2013 8:08 pm
by clubmankev
Thanks for that, sounds doable enough!
Its better than laying out for a replacement.
Re: 92 mini aka bibsi
Posted: Thu Feb 14, 2013 11:58 pm
by coolmini
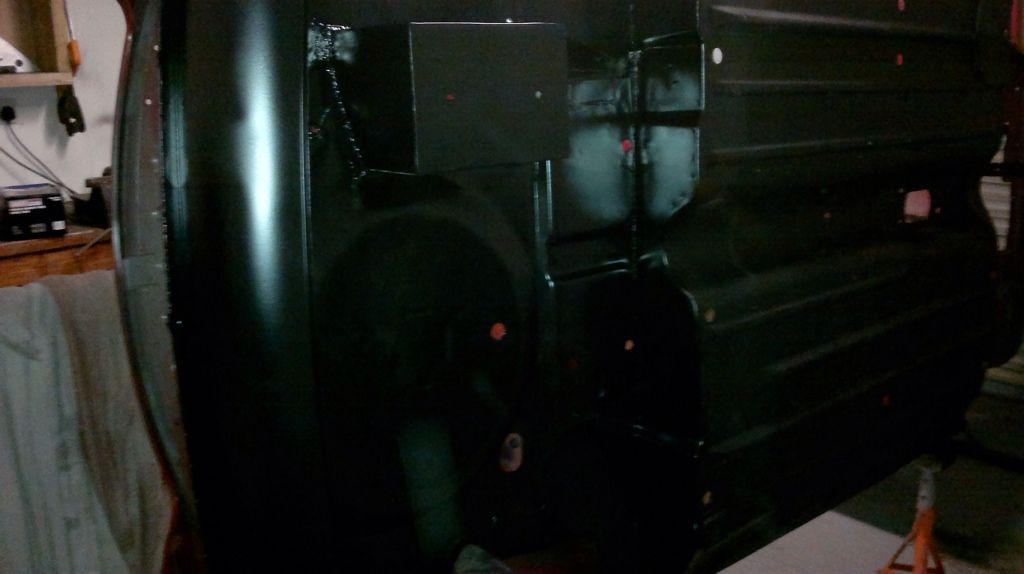
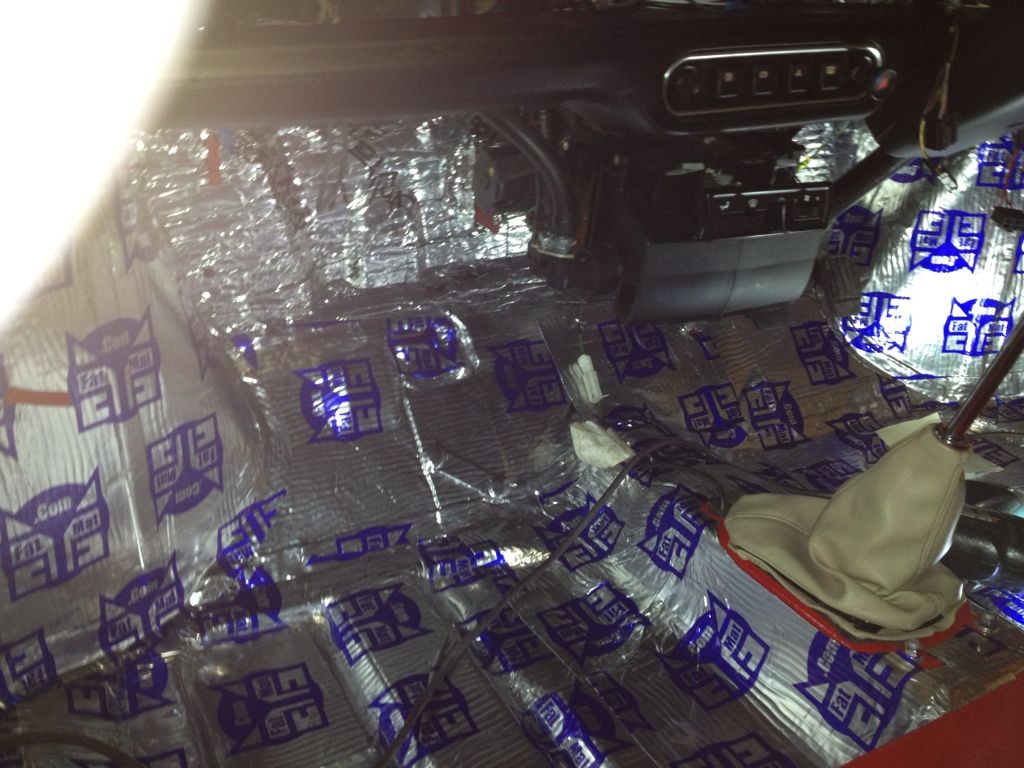
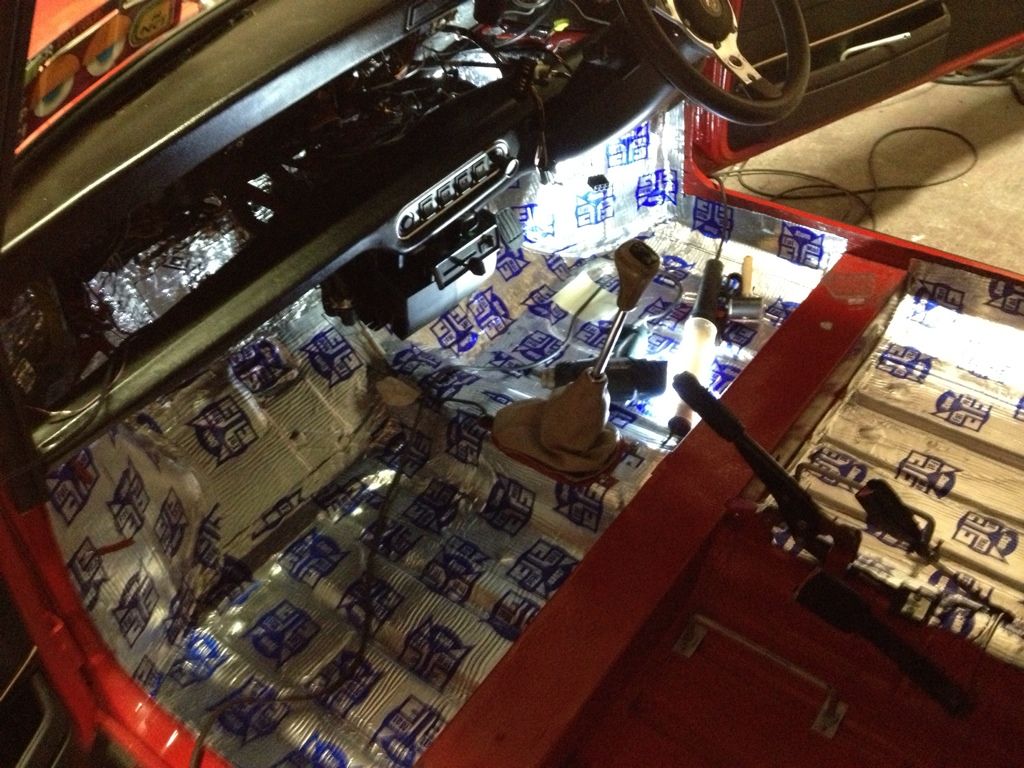
New progress on the whole sound deadening.
It seems to take ages to get on right. Kinda strange taken the whole interior out just to get things more silent.
Re: 92 mini aka bibsi
Posted: Sat Feb 16, 2013 3:32 pm
by StanO'Toole
Thats a lot of sound deadning! If that doesn't solve your problem I think a may just buy ear plugs! Can I ask how much you paid for all that?
Re: 92 mini aka bibsi
Posted: Sat Feb 16, 2013 7:13 pm
by coolmini
I bought 30sqr foot on eBay for 96 euro. Actually have it finished now and used all of the matting. I also used floating floor sound deadening underlay on top off the stuff in the bulk head and front foot well. Result is it reduced the noise by 4.5db according to the iPhone app. It's now drivable without your ears bleeding.
Re: 92 mini aka bibsi
Posted: Sat Feb 16, 2013 7:15 pm
by coolmini
Oh and nearly forgot I did behind the door cards too. Total weight added to the car was 8 kg. less mc Donald for me and I'll loose that weight lol
Re: 92 mini aka bibsi
Posted: Tue Feb 19, 2013 1:06 am
by coolmini
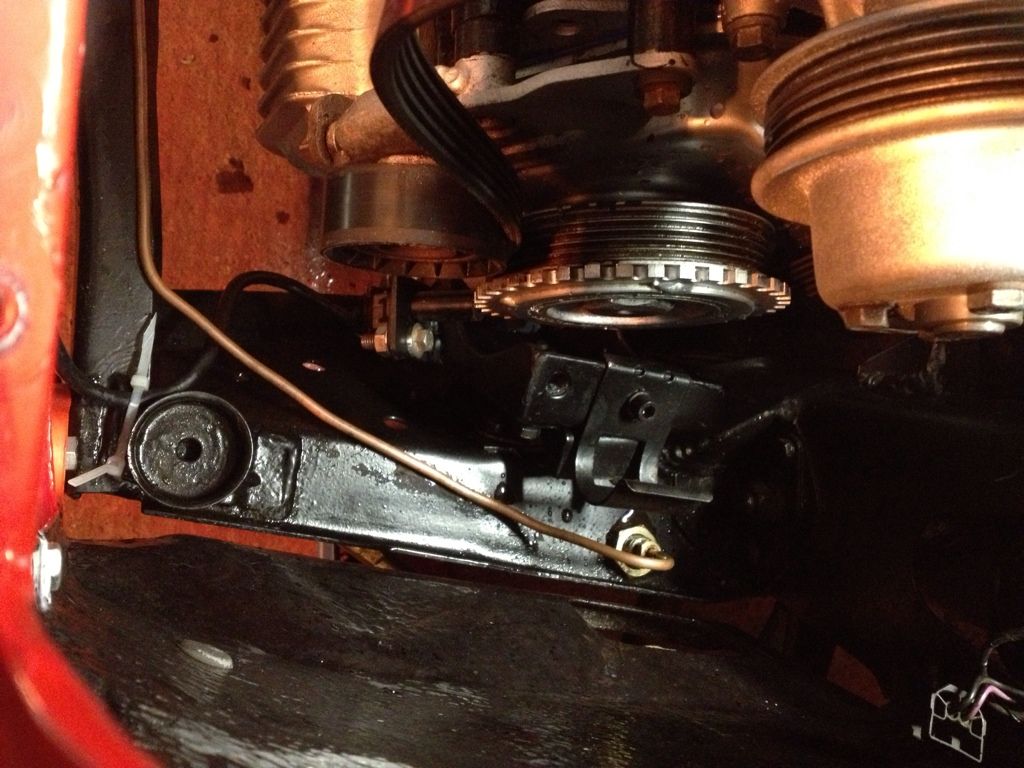
Right this evening it was time to fit some high Los and some negative camber brackets. Turns out one can make the cone compression tool out of a few bits of scrap metal. See pic
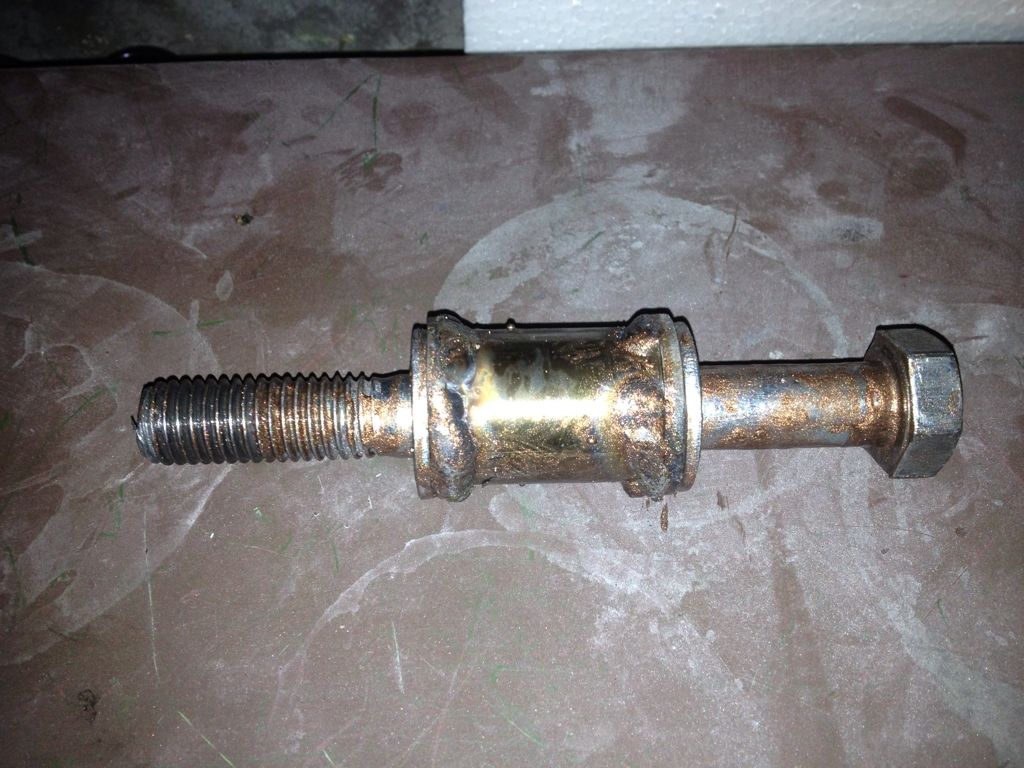
Took tower bolt out with the car sitting on floor. Asked some one to sit in the car. Then screwed in my tool. That way the top arm didn't even need to come out for removing the aluminium cone. Hope that might be usefull for some one else.
Re: 92 mini aka bibsi
Posted: Mon Mar 04, 2013 7:22 pm
by coolmini
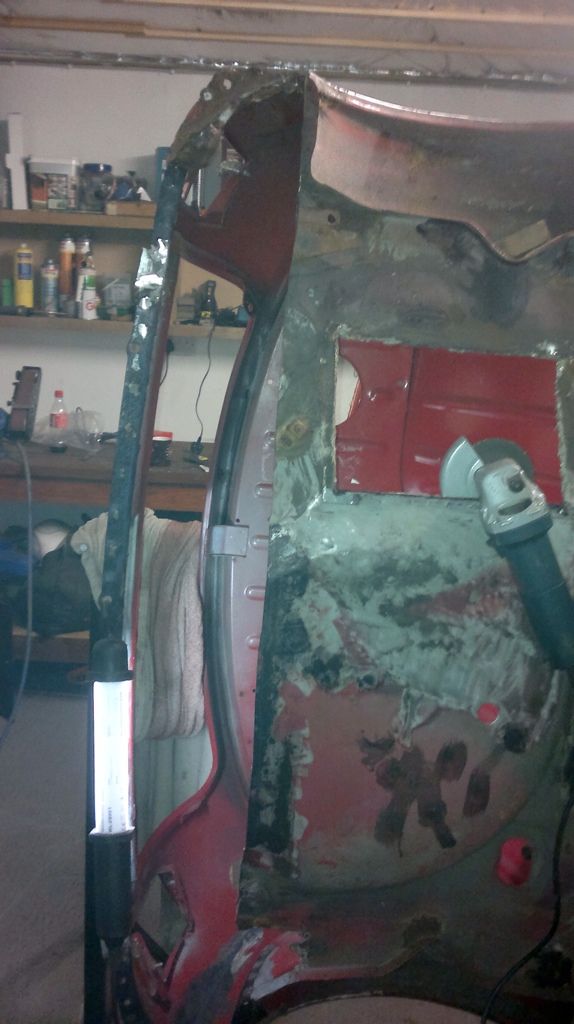
Hi everyone. Some more updates.
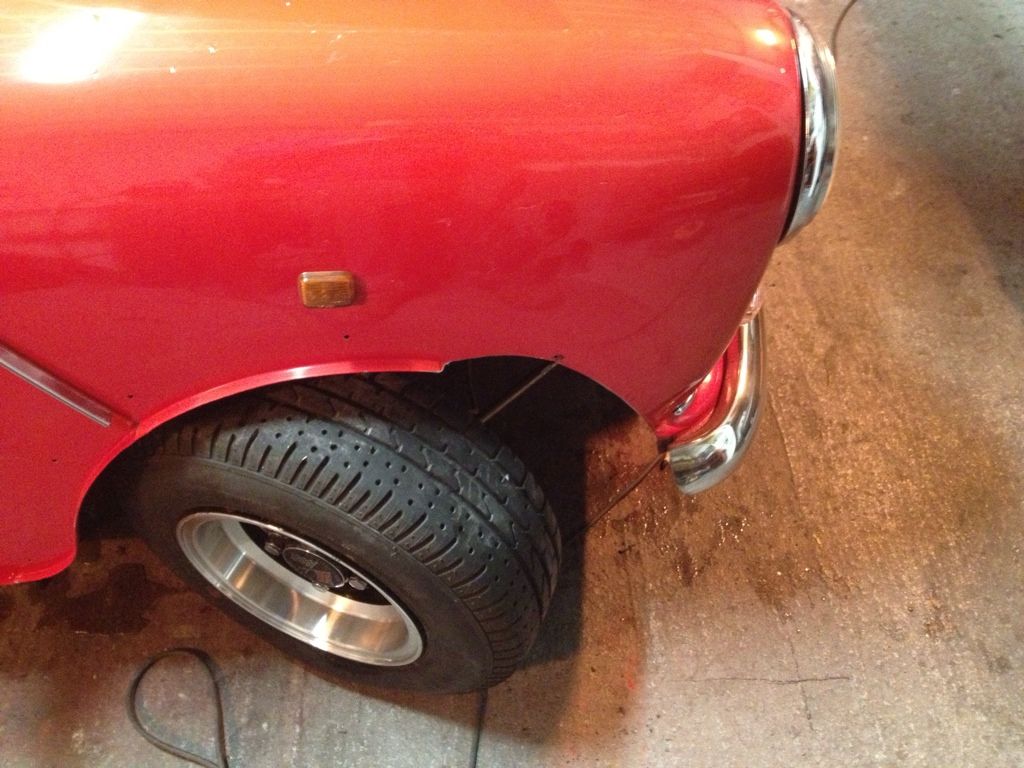
After fitting hi-Lo's the wheels were rubbing the front of the arch. So some modifications had to be done.
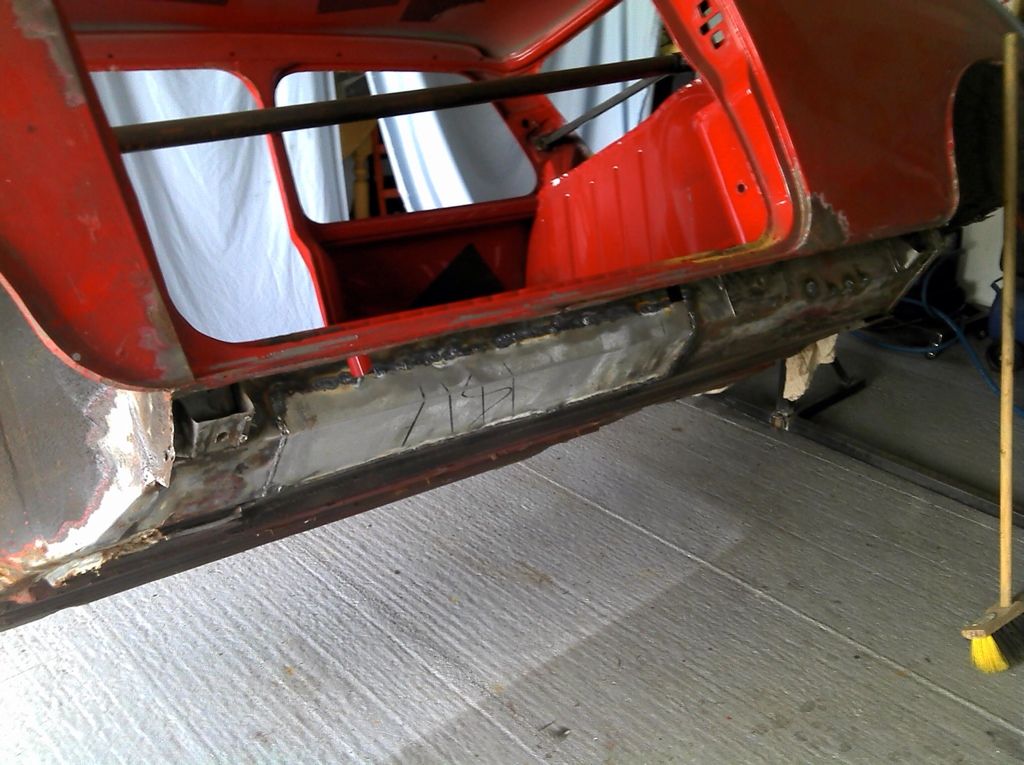
First cut the arch to rough new shape but not too much as one has to bend a new lip .
Then using visegrips bend a new lip.
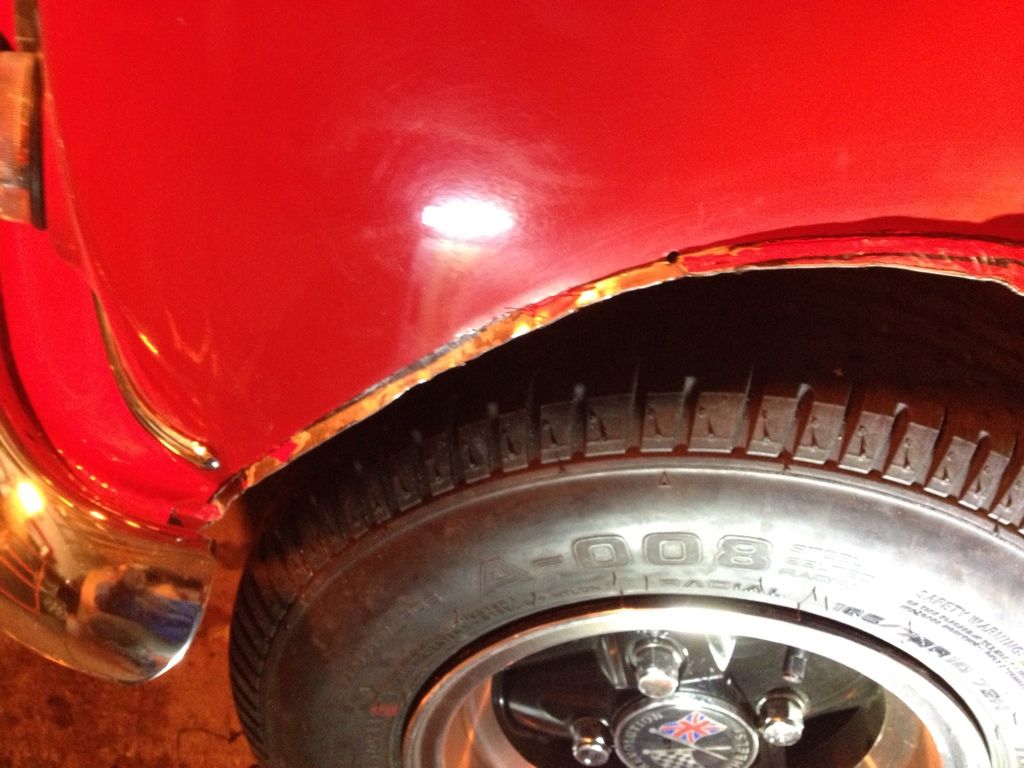
Using dolly and hammer to flatten it and get a nice smooth edge.
Finally paint it. Since the wheel arch extensions are going over this I only brushed on some epoxy paint.
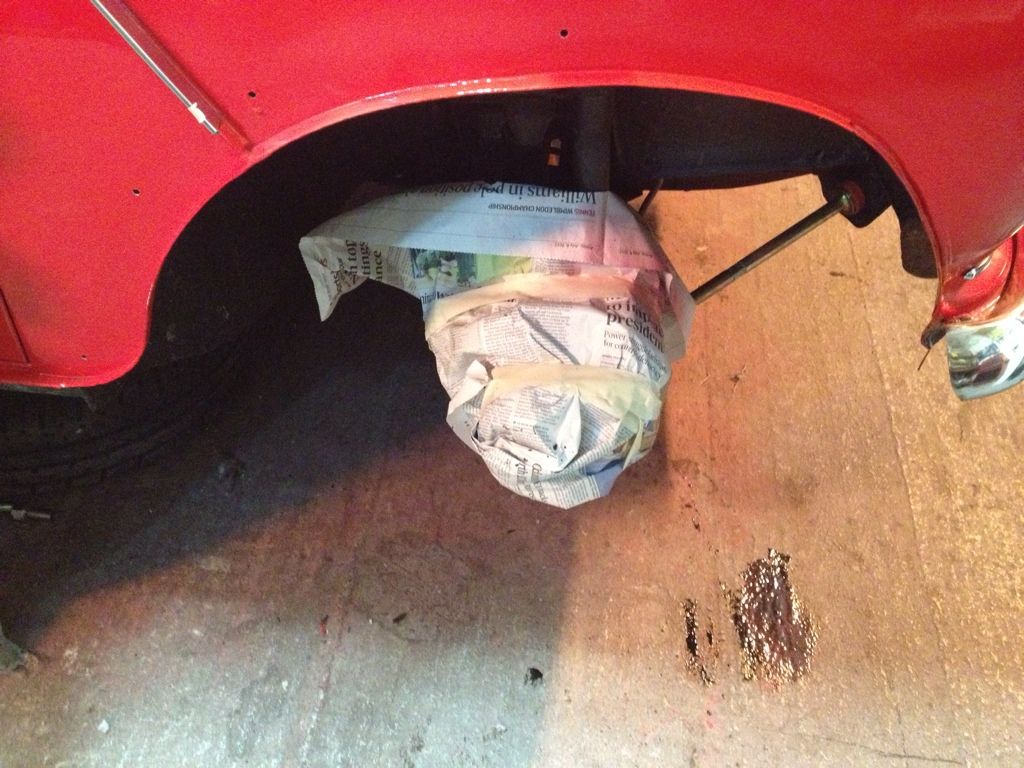
Now I can go back on the road.
Re: 92 mini aka bibsi
Posted: Tue Mar 19, 2013 8:54 pm
by coolmini
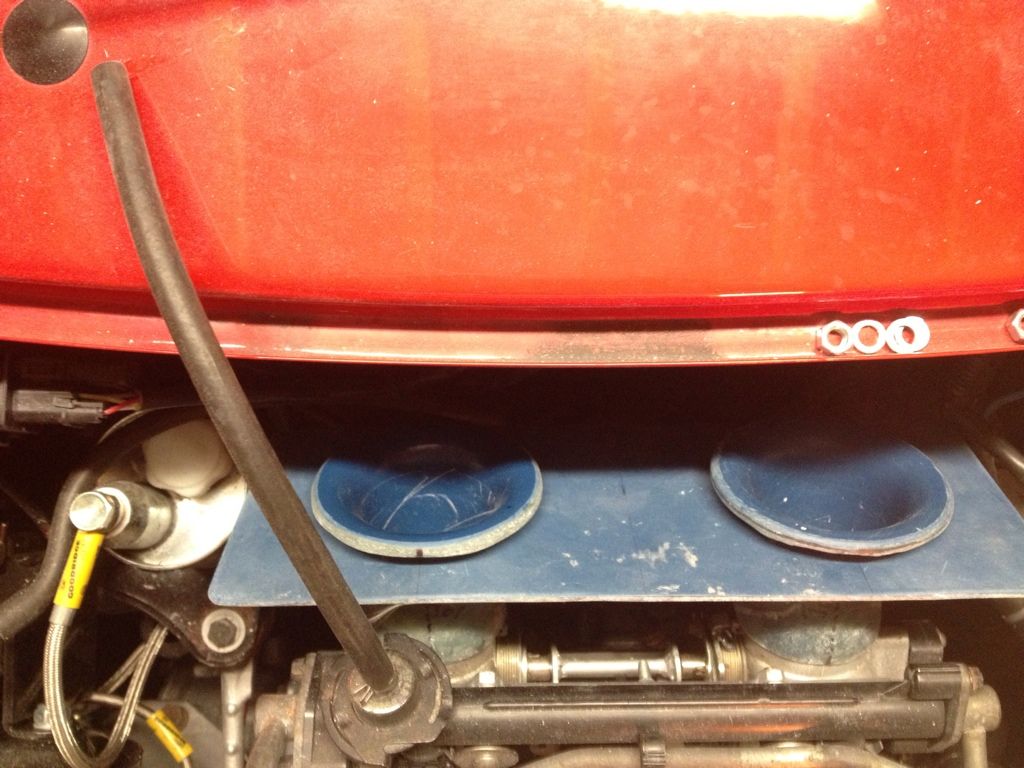
Another good one for all. Had the mini idling for quite a while today with the bonnet closed. After the temps under the bonnet reached 50 degrees she started to pick up revs like going to 2000 rpm.
Putting the long story short the cable connected to the throttle bodies seems to have gotten tighter when hot. I take it it must be the bracket holding the end of the cable must have expanded with the heat thus pulling the go pedal.
And I thought I had plenty of slack on the throttle cable.
Re: 92 mini aka bibsi
Posted: Tue May 07, 2013 11:40 pm
by coolmini
Slight update.
Changed the whole injection setup around for dcoe45 style throttle body. No more balancing of itbs.
Sounds great too. Don't know if this video will work.
Re: 92 mini aka bibsi
Posted: Tue May 07, 2013 11:42 pm
by coolmini
Re: 92 mini aka bibsi
Posted: Fri May 31, 2013 11:51 pm
by kona
Some very impressive work there!!I have canems ecu running on mine too, it hasnt been set up properley though. How much did westward charge for the remap?
Re: 92 mini aka bibsi
Posted: Tue Jul 02, 2013 10:49 am
by coolmini
Hi kona.
I think it was 400 however I spend a lot of time road mapping it after.
Did you install 2 widen and sensors on yours? It's actually not hard to road map the Canems takes about 4 hours to get it 95% right. The only thing is to get the ignition curve spot on one needs the rolling road. The balance between inner and outer you can do yourself. Or pop up to me and I'll give you a hand.