Welcome to the Irish Mini Owners Club Forum. Keep an eye out of on coming events!!!!

Project Lucy

This section is for Mini projects and restorations and also the place to show off your pride and joy.

Moderators: spud1979, The Marcos Graveyard, Moderators

Post Reply
Scoobasteve7
IMOC Paid Member
Posts: 235
Joined: Sun Mar 28, 2010 4:23 pm
Whats your location?: West Cork
Region: Southern
What Minis have you?: 1983 Mini City E
Contact:

Project Lucy

Post by Scoobasteve7 »

Hi everyone.

So my name is Stephen and I've decided it's about time I put up this project I've been working on for a small while now. :)

'Project Lucy' is a car my dad bought for me back when I was 14. I used it to learn to drive in around my house and down my lane.
Being the curious person I am, I asked my dad if I could take it apart to see how it worked having no experience working with cars before. He told me I could if I wanted to and that it was my car and I could do what I wanted with it. He did warn me that if I wanted to get it roadworthy again it would take a lot of time and money to get right and I would need a high amount of patience for it. He wasn't wrong.

So the taking apart piece by piece of the car began.

These are a few of the earliest pictures I have of the car when I got it first.

Image

Image

Image

The first thing taken out was the engine. Thanks to the help of my dad and uncle with an engine crane, the removal process was quick and easy.

Image

Image

After that the seats and carpet were removed. I knew there was a fair bit of that beautiful stuff that every Mini owner has become well accustomed to surrounding various parts of the shell. Yup, rusty fecking holes! On the drivers side wing between the scuttle and the wing was badly effected. There was also a hole in the bottom of the inner sill on the drivers side.

Image

Image

The passenger floorwell also seemed to feel slightly dodgy so the next step was to flip her up onto her side so properly view the damage. Plenty of old twincam corolla rally tires came in fierce handy. :)

Image

Image

The outer sills and inners clearly were wrecked. I peeled them back with a hammer and ordered the new panels we needed to begin the process.

Image

Image

I'm heading to sleep now so I'll update this over the next few days.


User avatar
Billy
IMOC Paid Member
Posts: 4649
Joined: Mon May 09, 2005 12:49 pm
Whats your location?: Roscommon
Region: Western
What Minis have you?: 1967 Morris Cooper, 1967 Austin Mini auto, 1968 Wolseley Hornet x2, 1981 Clubman Estate
Location: Roscommon
Contact:

Re: Project Lucy

Post by Billy »

Well done Stephen on taking the first steps. You have a long road ahead of you but stick with it and you'll get great satisfaction from the restoration, as well as learning about your car which will stand to you when it inevitably will have a few problems along the way.

Keep us updated.

Billy
minimoy
NON Member
Posts: 5
Joined: Fri Feb 10, 2012 10:58 am
Whats your location?: Belfast
Region: Southern
Contact:

Re: Project Lucy

Post by minimoy »

oh yeah, you should be very patient. Like a horologist repairing an automatic watch. But I think you could really have a nice Mini when you're done with the repair! It's a very long way but it's really worthwhile :D
Good Luck and I'll wait for your next message! I'm curious to see the evolution of the Repair ;)
Last edited by minimoy on Fri Feb 17, 2012 8:46 am, edited 1 time in total.
Scoobasteve7
IMOC Paid Member
Posts: 235
Joined: Sun Mar 28, 2010 4:23 pm
Whats your location?: West Cork
Region: Southern
What Minis have you?: 1983 Mini City E
Contact:

Re: Project Lucy

Post by Scoobasteve7 »

Thanks for the replies.

I have a lot more done to the car.

I just need time to type it up for ye! Ha :)

So, the next step was to cut the rust out of the floor or more accurately all the front and sides.

Ya cant beat the Flinstones! Ha

Image

I had more pictures of the new panels in but I lost my phone and most of my pictures I had a few years back. :(

Outer sills and inner sills were welded in, a new corner piece scuttle panel and then I rolled her back down and started sanding the body.

Here's how she looked

Image

Looking back now the next step was probably the worst decision I made.
I wanted my mini to be as rust free as possible and I figured the only way to be sure of that would be to remove all the paint.

Image

Image

Image

So yeah, I took off the one thing that was stopping the roof rusting.

I dont know why sometimes I choose to learn things the hard way! Ha

After that, I flipped her back onto her side and tried to get through all the undersealant.

I used a combination of screwdrivers and wire brushing, cursing and a sanding disk on a mini angle grinder to clean it back to bare metal.

Image

This is where I found the hole in the drivers side rear arch was worse than I had thought.

Image

At this stage the cheap MIG welder I had bought broke and a lad promised me that he would come and do the welding for me. Almost a year later there was still no sign of him...but I'll get to that. :)

For a change of pace I knocked the car back down and began my first filling job ever. There was a small hole just above the rear quater about the size of a euro. Before I knew it I had half the bottom of the car covered!! Ha

Image

I also started to take the rest of the shell back to bare metal.

Image

The next steps were the subframes and rear valence. I'll get to those soon. :)
minimoy
NON Member
Posts: 5
Joined: Fri Feb 10, 2012 10:58 am
Whats your location?: Belfast
Region: Southern
Contact:

Re: Project Lucy

Post by minimoy »

you are very ambitious, I admire that! Once you finish this, you will feel really good I suppose! Have fun :lol:
User avatar
CLUBMANGT
NON Member
Posts: 1076
Joined: Fri Oct 23, 2009 8:59 pm
Whats your location?: Leopardstown
Region: Eastern
What Minis have you?: 86 Mayfair 1000GT
Modifications: 1275 and bar the shell and subframes new everything!! IMOC MEMBER
Location: Leopardstown
Contact:

Re: Project Lucy

Post by CLUBMANGT »

Fair play its never easy :cry:
ALL YOU NEED IS POWER AND LOADS OF IT!!!
Scoobasteve7
IMOC Paid Member
Posts: 235
Joined: Sun Mar 28, 2010 4:23 pm
Whats your location?: West Cork
Region: Southern
What Minis have you?: 1983 Mini City E
Contact:

Re: Project Lucy

Post by Scoobasteve7 »

Right so the next step was the subframes and rear valence. I decided to take the subframes back to bare metal too.

Image

I got a few rattle cans of primer and sprayed the subframe.

Image

Then I sprayed it with three black top coats.

Image

I decided then to take off the rear valence. You can see the rust damaged section at the top of this image.

Image

I assumed that drilling through the spotwelds would just be enough to get the panel to fall off. Sadly I was wrong. I ended up using a cross between a screwdriver, hammer and cutting disk.

Image

Image

Some difference between the old panel and the new panel! :)

Image

I then asked a certified welder to call out and price the welding work for me. He said it would be €1000 minimum. I decided that I'd rather buy a decent MIG and gas for myself. I had no experience welding so it was all new to me.

Here was the first piece I welded using some sections from an old Micra bonnet.

Image

In the process of getting the welder and gas sorted, I got a jar of acid for underneath the car. It was got from a friend of a friend (sounds dodgy! ha). I brushed it on all underneath the car as it was a rust blocker. I dont know what type it was, but even with the door of the garage wide open it still stunk and gave me a headache after 10 minutes!! Strong stuff but it did the job! :)

I trial fitted the rear valence.

Image

I had more of the rattle spray cans left so I decided to use them underneath the body. Cant hurt to have more protection right? :)

Image

Image

Image

Image

Image

I smoothed back the welds that had been done and filled them.

Image

Oh here's a pick of all the inners of a mini minus subframes,engine and running gear. My mother was absolutely delighted to get half the attic back!! Ha

Image


Next step was priming and spraying which was another steep learning curve for me. I'll post that soon. :D
Scoobasteve7
IMOC Paid Member
Posts: 235
Joined: Sun Mar 28, 2010 4:23 pm
Whats your location?: West Cork
Region: Southern
What Minis have you?: 1983 Mini City E
Contact:

Re: Project Lucy

Post by Scoobasteve7 »

Right. so the next step was the primer and painting.

I found this picture of the rear drivers side arch repair sections I welded in. I was very happy with how these came out.

Image

So at this point in time I sat in the only place anyone should sit when deciding the next step to take with a project.
I had a cup of tea dropped out by my mam and decided it would be a great photo and had to plan how would be the best way to set up my garage for spraying without covering everything in overspray.

Image

After much contemplating, I finally decided to rob my grandmothers old curtains for my 'spraybooth' mixed with some wide plastic sheeting set it up.

First off I cut sections of plastic and then got a bunch of screws and screwed them up into the joyces.

Image

Image

Image

Image

Then it was a messy job of deciding what way to lay out the curtains. I didnt realise they would be so heavy but they suited the job perfectly. :) Handy the car is small and my grandparents had a big bay window.

Image

Image

Image

Image

Finally, I got the rest of the parts ready for painting.

Image

Image

Then it was priming time!! :D

Image

Image

Image

Image

Image

Image

Image

Image

Image

Image

Image

The primer went on fine. I only had a couple of runs in it getting used to the spray gun settings and distance.

After a while I felt I had a good area to spray.

Next step was a bit of colour. :oops: namely Flame Red (COF)

Image

I sprayed all the underside with two coats of it first just getting ued to it. It's so nice seeing paint as it's first sprayed on.
The paint was 2k so I had bought an air mask. It did the job fairly well but if I ever decide to go spraying again I will definitely be getting an airfed one next time.

Image

As I had the car on the side I decided to do the roof next. I picked Ford Diamond White for the roof as I think it's a nice traditional white that looks well especially on mk 2 Escorts (and hopefully minis!)

Image

I sprayed on a coat of this and left it dry. Sadly, someone in the meantime of it drying came into the garage to get blocks for the fire and shook the curtain. All the dust that had collected on it settled into the new paint. I was disgusted when I came back from college the following week to find my paint destroyed. There was only one thing for it....


Image

Thats right. Cut it back and do it again.

After another weekend she looked better.

Image

Next up was the rest of the body. Here's how it turned out after the first coat.

Image

Image

In the meantime, some window tint I had ordered on ebay arrived so I decided to give that a go too while the paint was curing.

Image

Image

Before and after

Image

All done!! :)

Image

There were a few bubbles but nothing major. I stored them back up in the attic to keep them safe from being damaged in the garage. This was a bad idea as the changing temperatures up there created more bubbles so now the job doesnt look half as good as it originally did. Ah well, all in the learning process. :)

Next step was starting to put bits back together...and more painting!! Stay tuned. :P

Also if anyone has any questions or comments feel free to post them! :)
As I said I'm doing this all from scratch..first project ever too so bear that in mind!! ;)
clubmankev
NON Member
Posts: 224
Joined: Fri Aug 01, 2008 10:58 am
Whats your location?: Lucan, Dublin.
Region: Eastern
What Minis have you?: 1997 mini cooper
Location: Lucan, Dublin.
Contact:

Re: Project Lucy

Post by clubmankev »

Top work there Steve. I admire your enthusiasm and never say die attitude! Its what living with minis is all about, fair play to ya. West Cork is one of the best spots on the planet, ive seen nearly all of it! Great roads for rolling minis around, that Healy pass and the ring of Beara especially.
MINI
...where size doesn't matter!

Image
Scoobasteve7
IMOC Paid Member
Posts: 235
Joined: Sun Mar 28, 2010 4:23 pm
Whats your location?: West Cork
Region: Southern
What Minis have you?: 1983 Mini City E
Contact:

Re: Project Lucy

Post by Scoobasteve7 »

Thanks clubmankev. Would you believe I have never driven the car on any road ever except up and down my lane at home?
Cant wait to take it out. First spin will be tackle all the stages of the West Cork Rally all going well, just at a nice relaxing pace though! :)
Cant wait to take it down by Ring stage although part of me will be thinking sea water means salt...ah well!! ha

Right so update time.

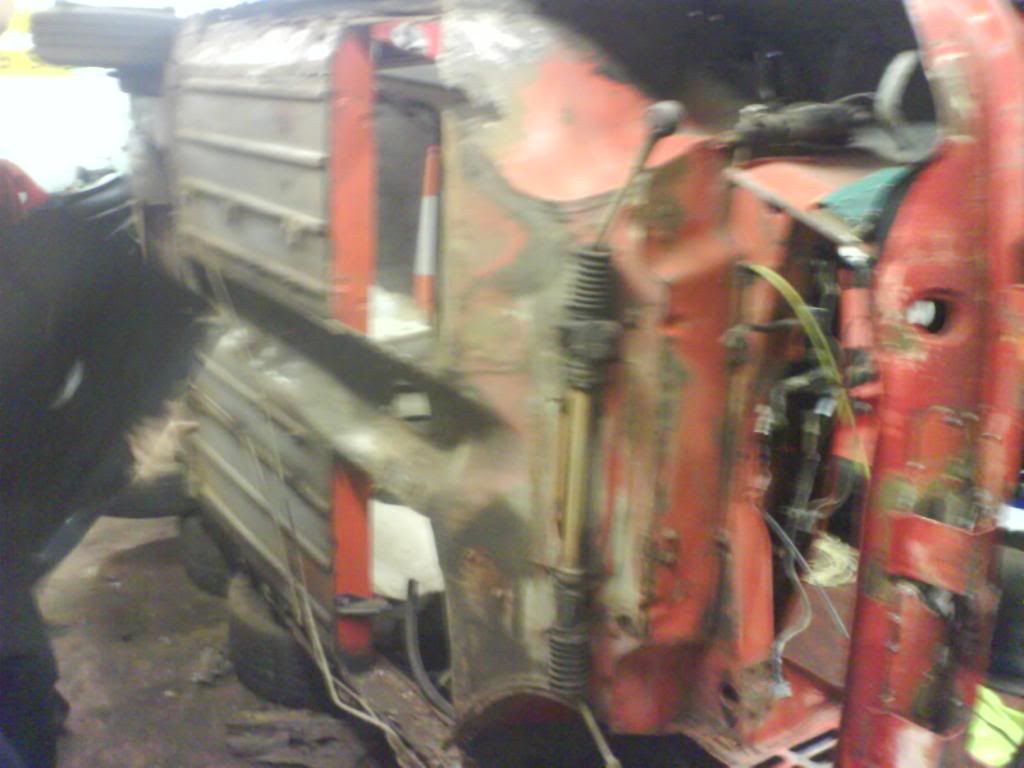
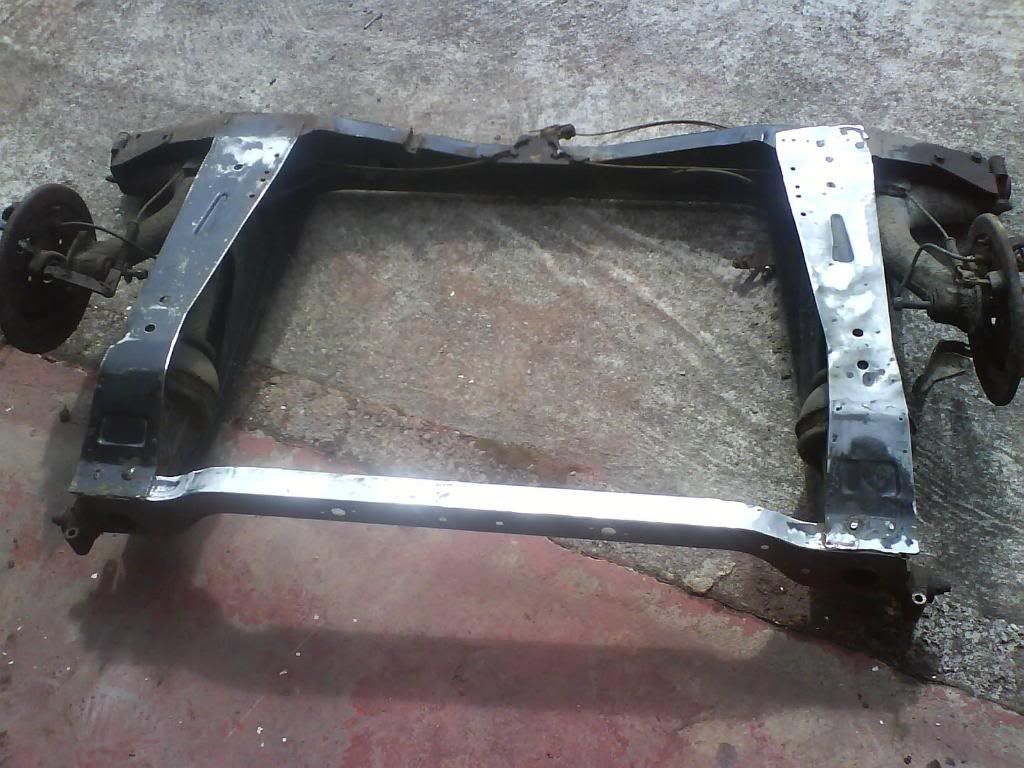
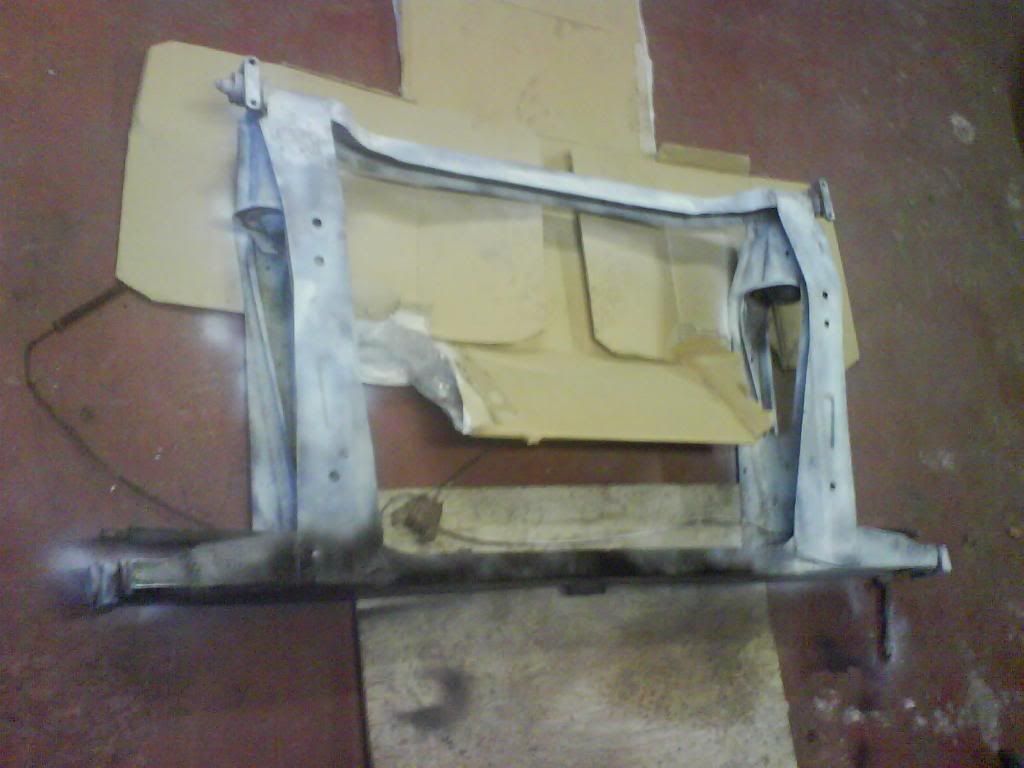
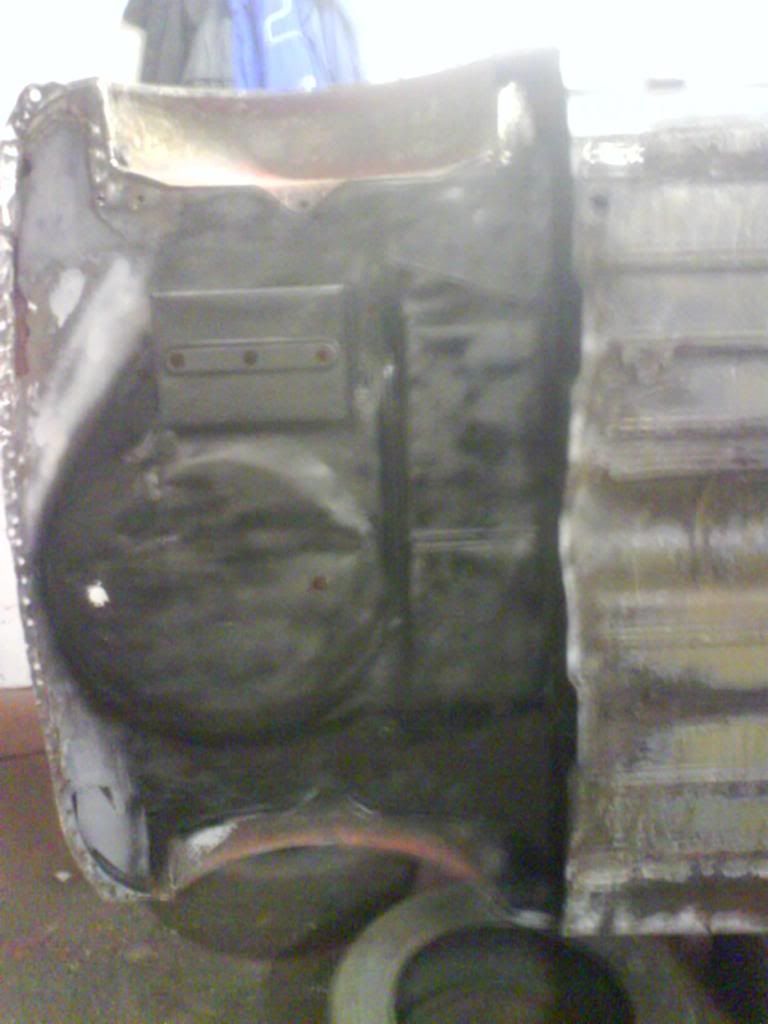
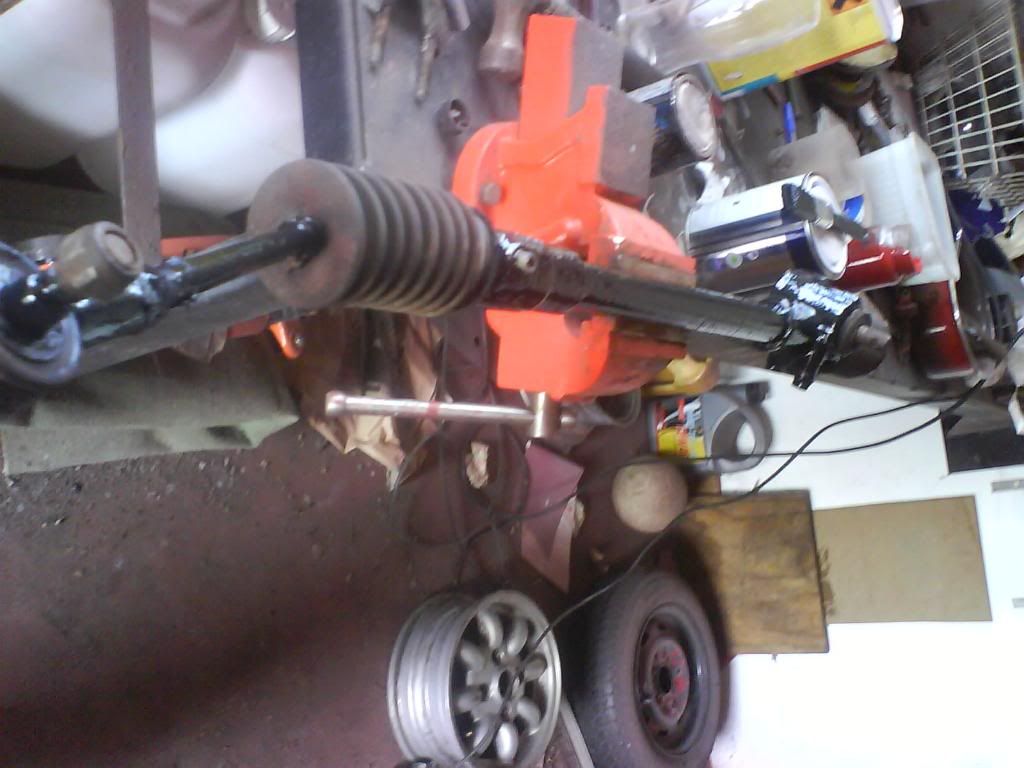
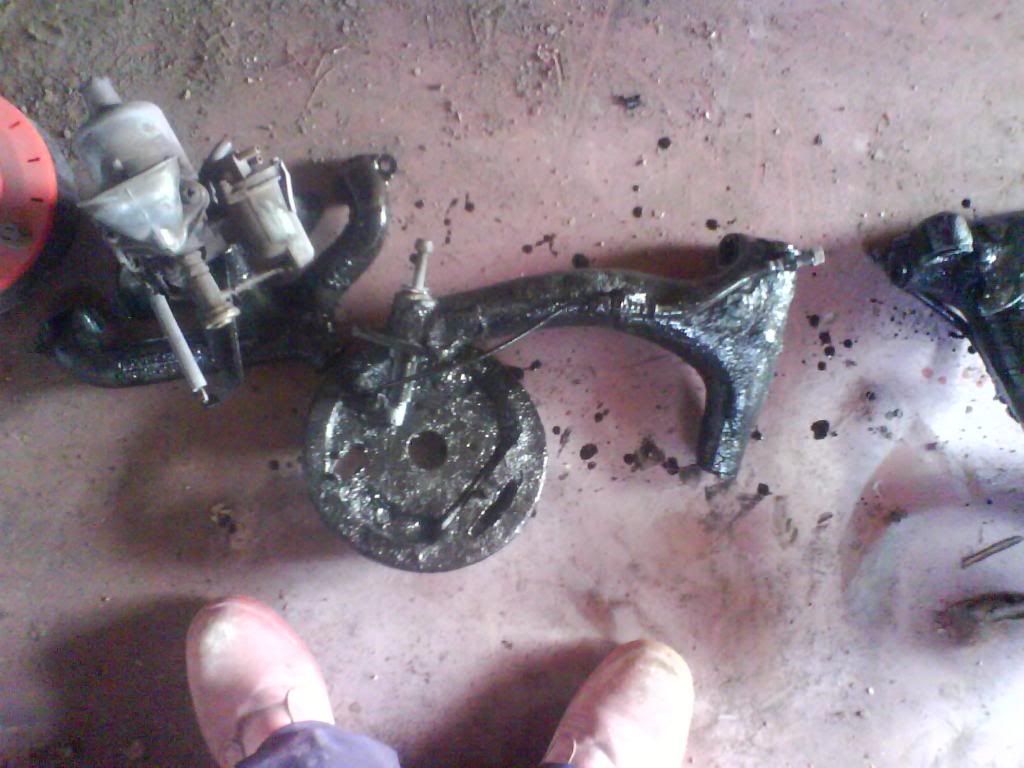
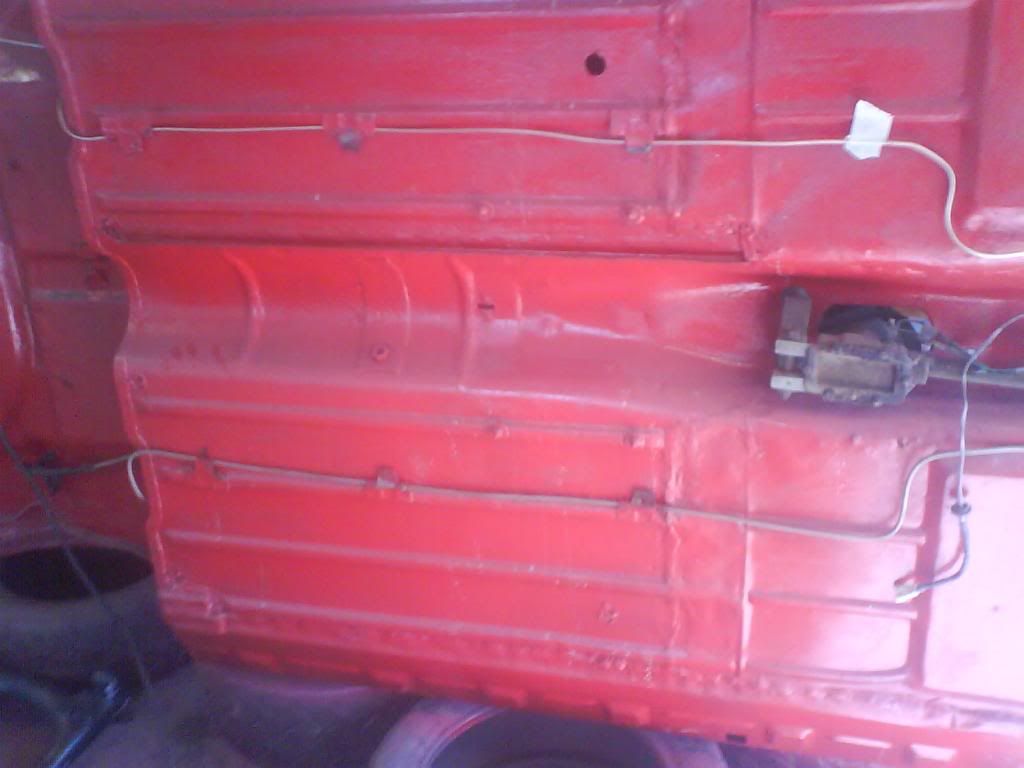
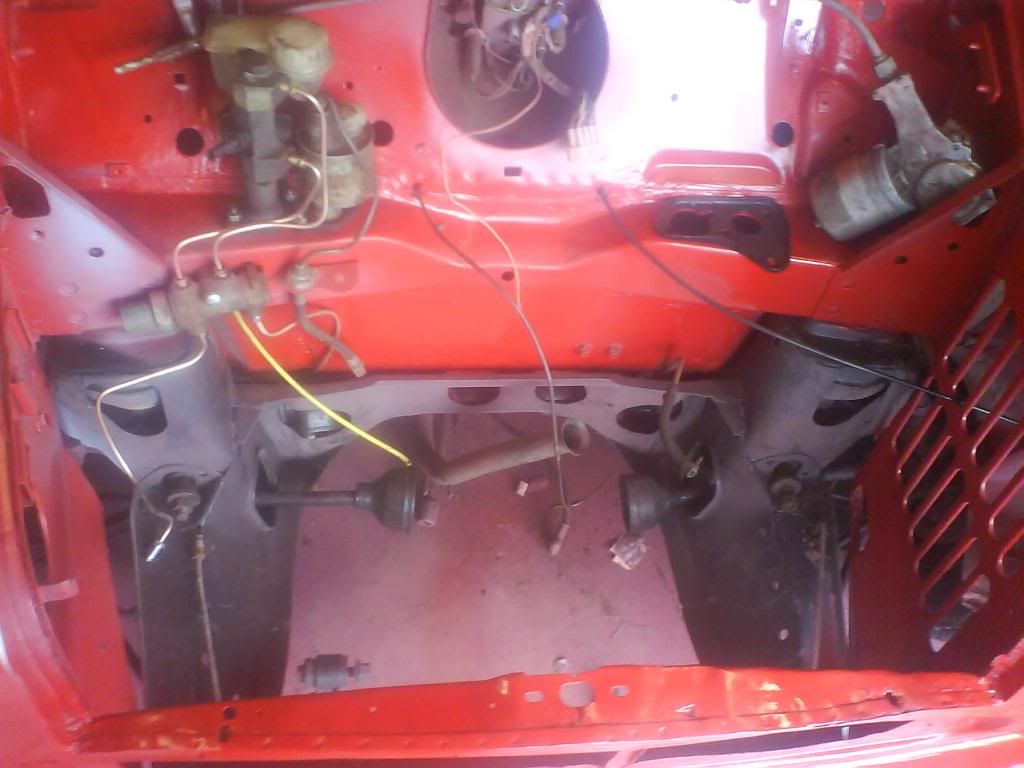
I gave the steering rack,under the carb and the rear radius arms a lash of black paint to keep them youthful. :)

Image

Image

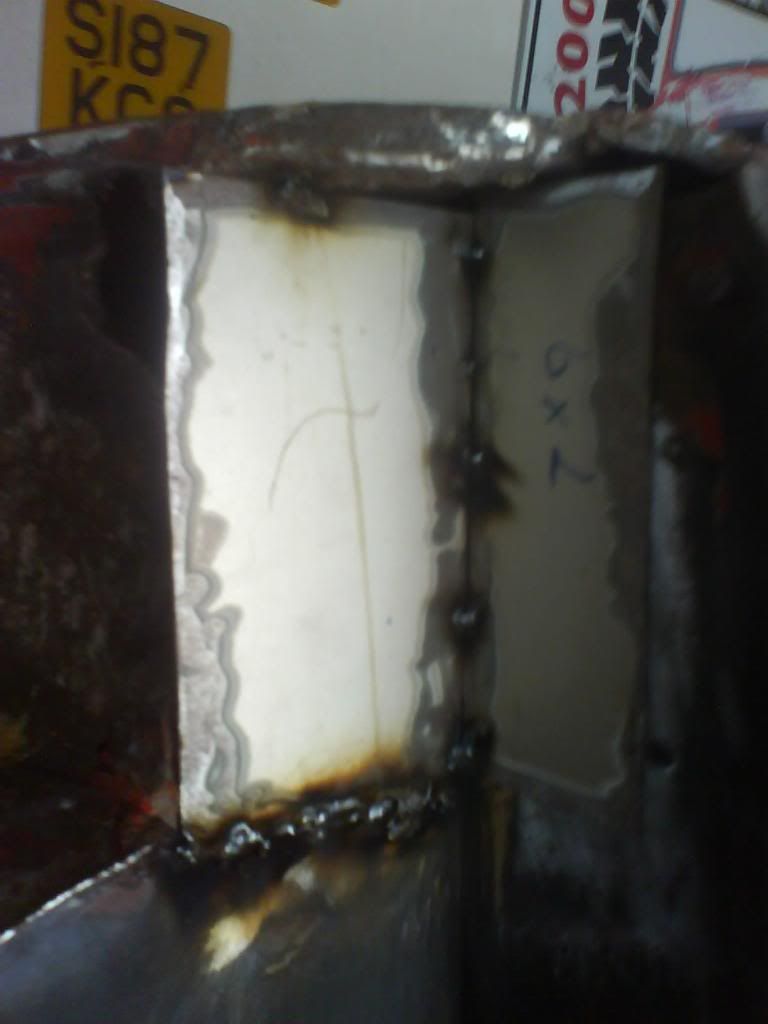
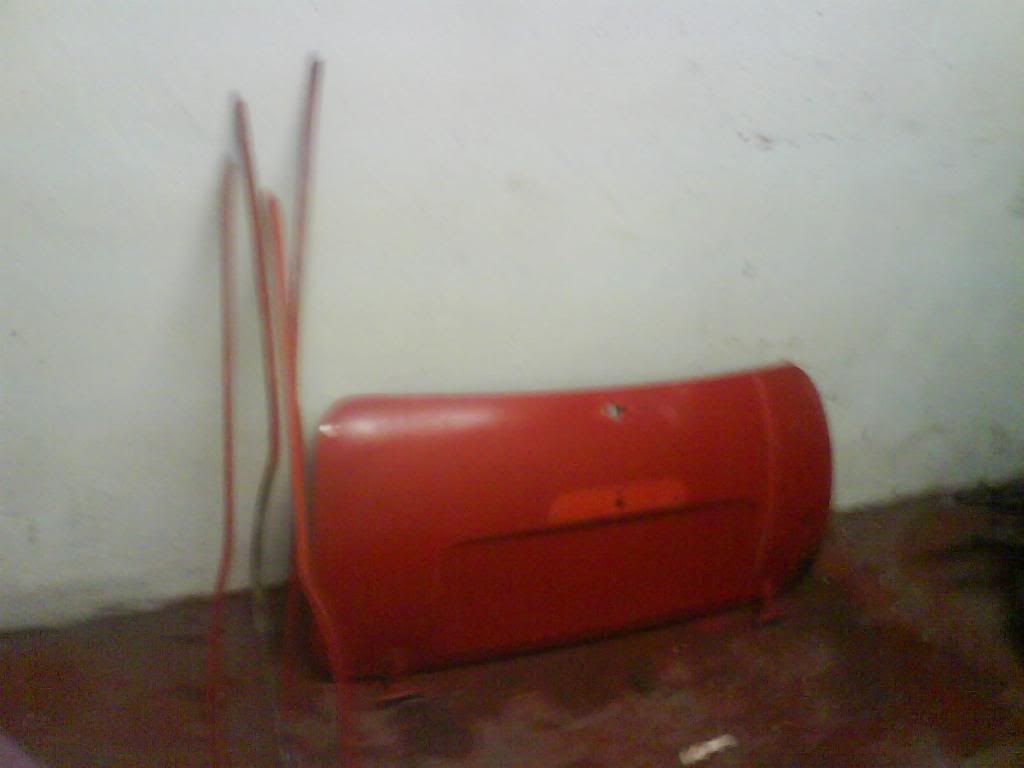
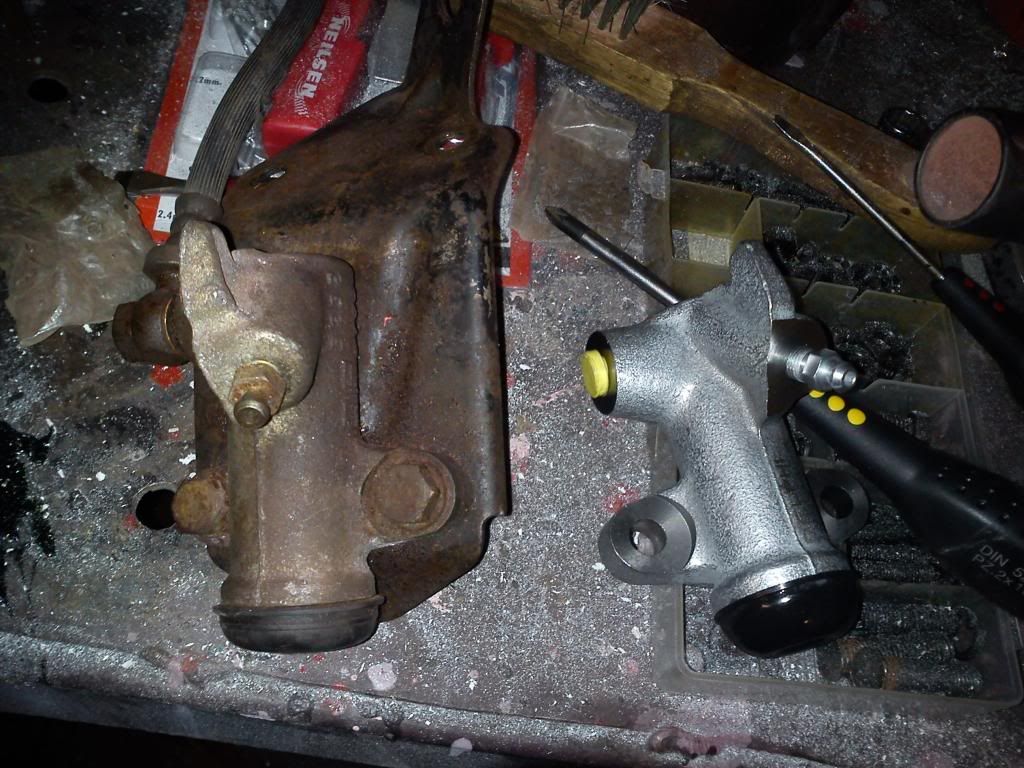
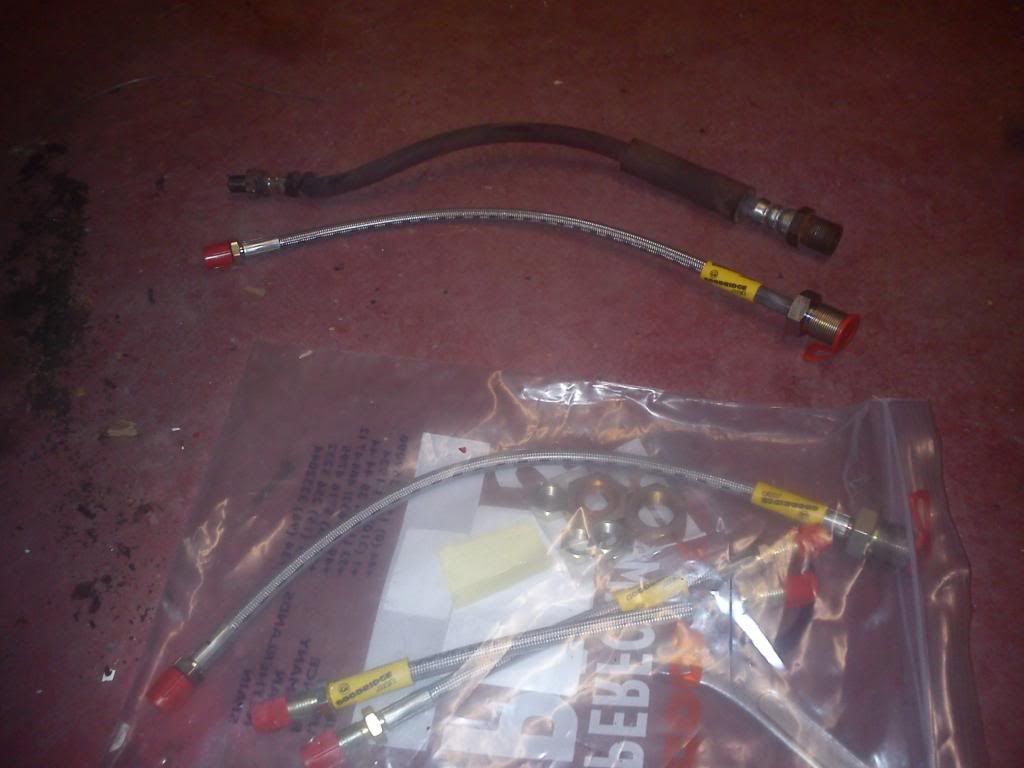
I also took the brake lines up to Deasys Auto factors in Cork. They made up new brake lines for me for the entire car. (except for two that I forgot to take..one was strapped to the front subframe and the other was still attached to the brake or clutch master cylinder).

Image

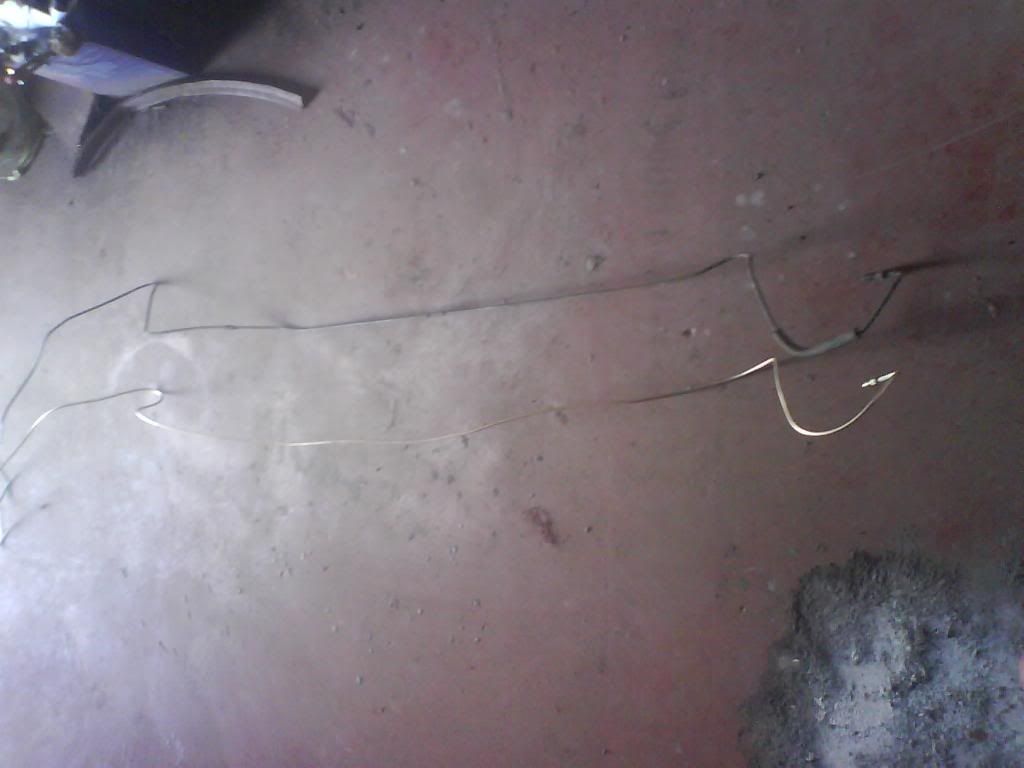
The new copper piping is fierce easy to manipulate. The man in the shop told me that it's like that until you run the fluid through it, then a chemical reaction occurs and it will be just as hard as the old steel pipes. Pretty cool stuff! :)

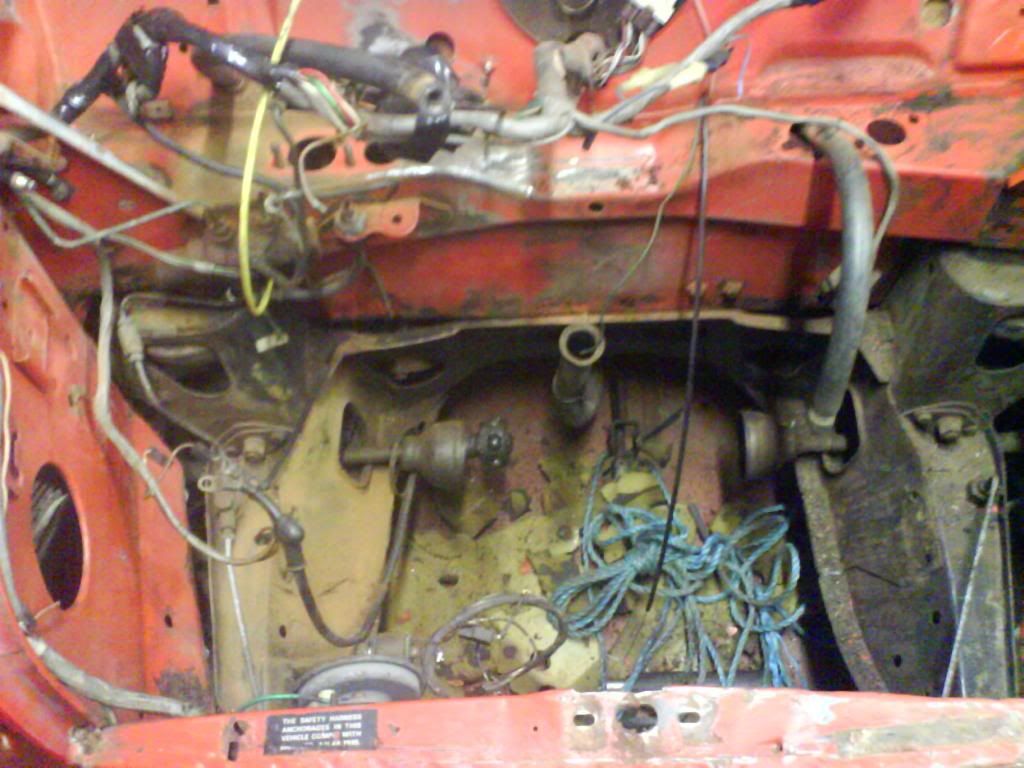
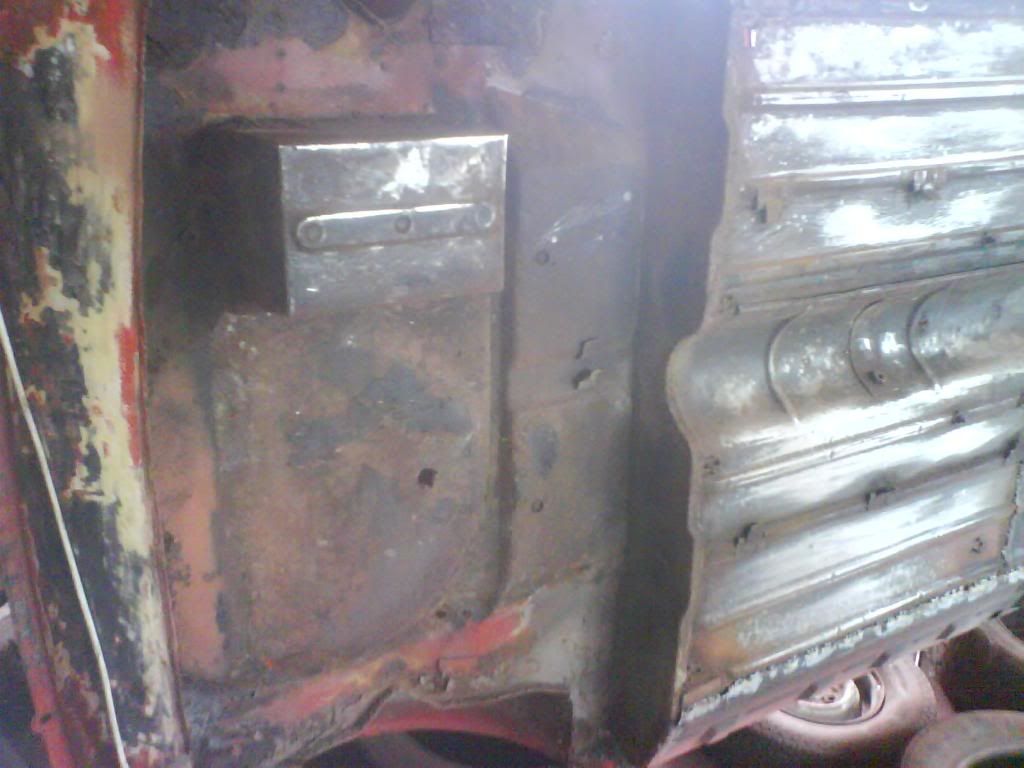
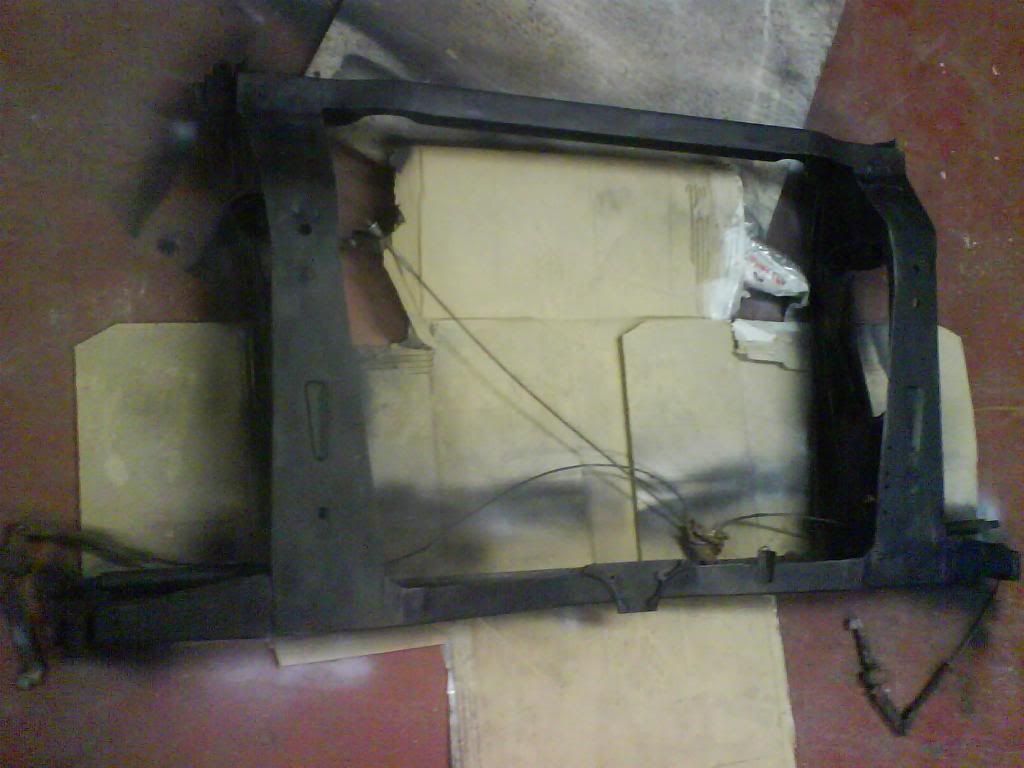
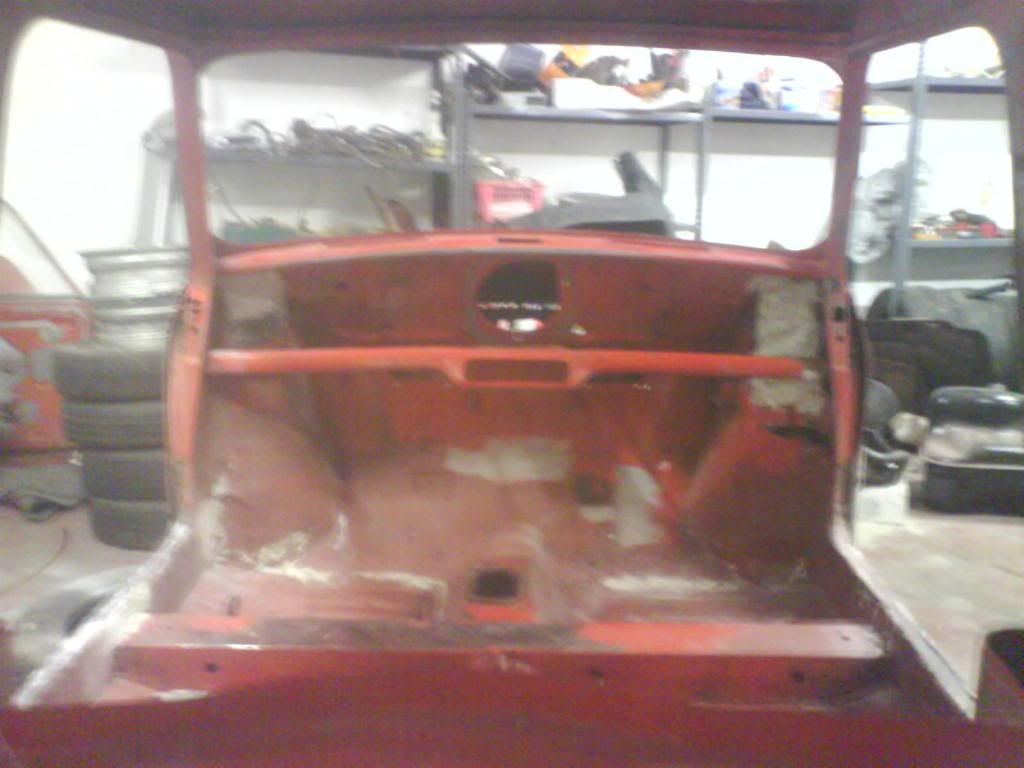
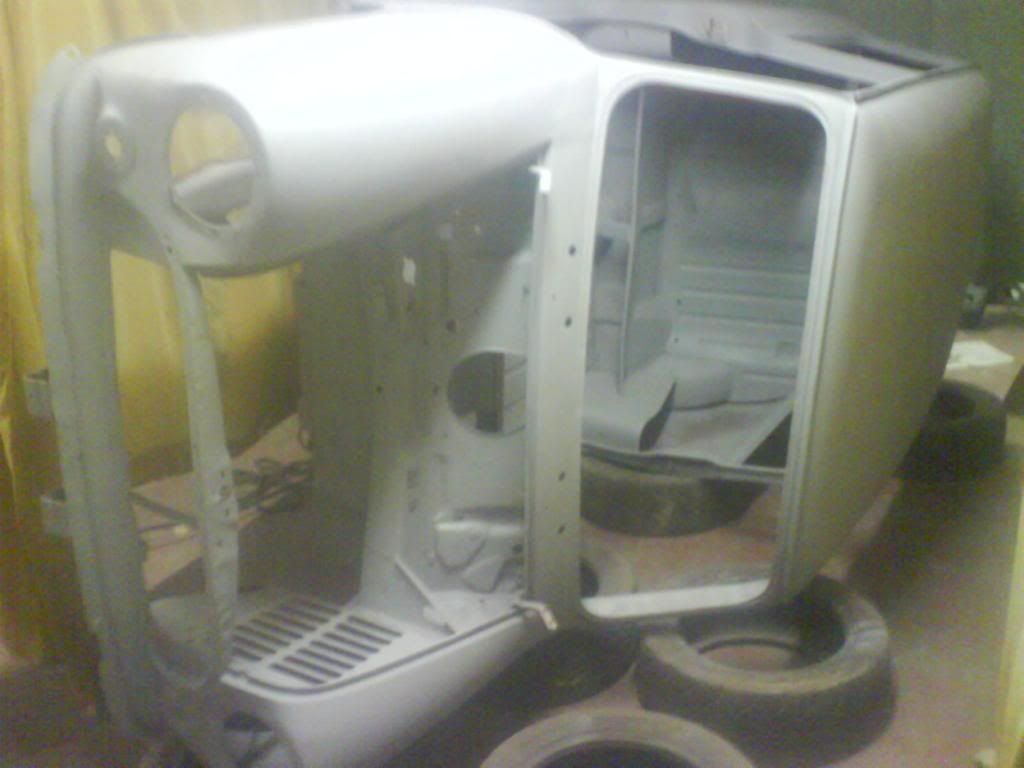
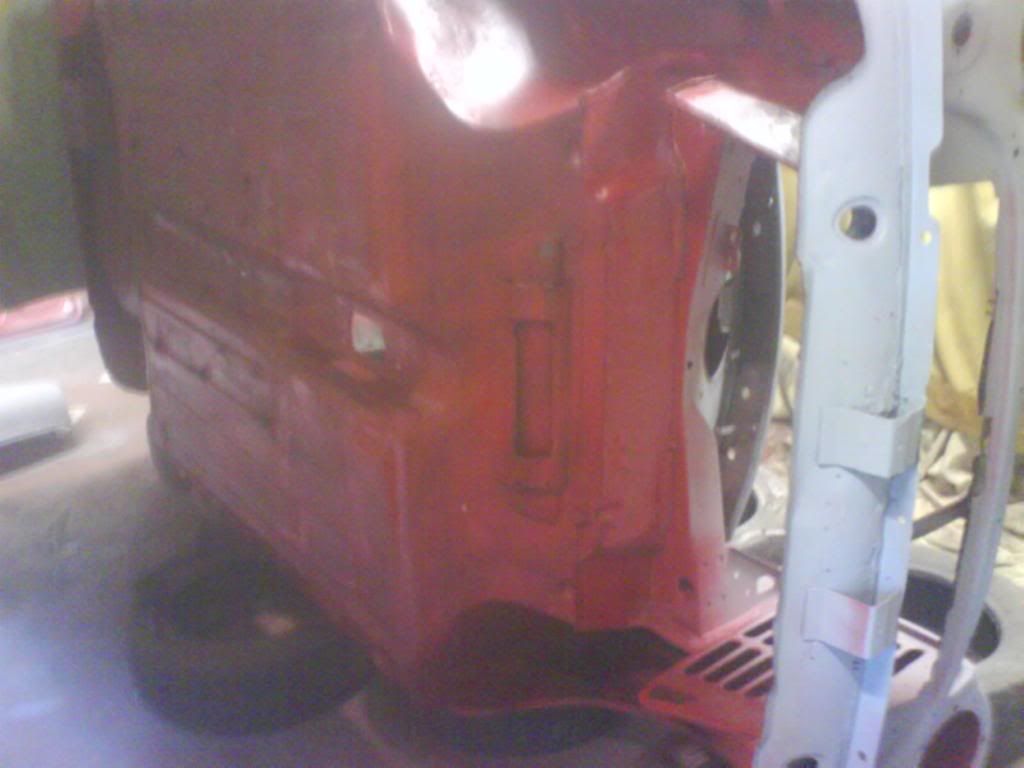
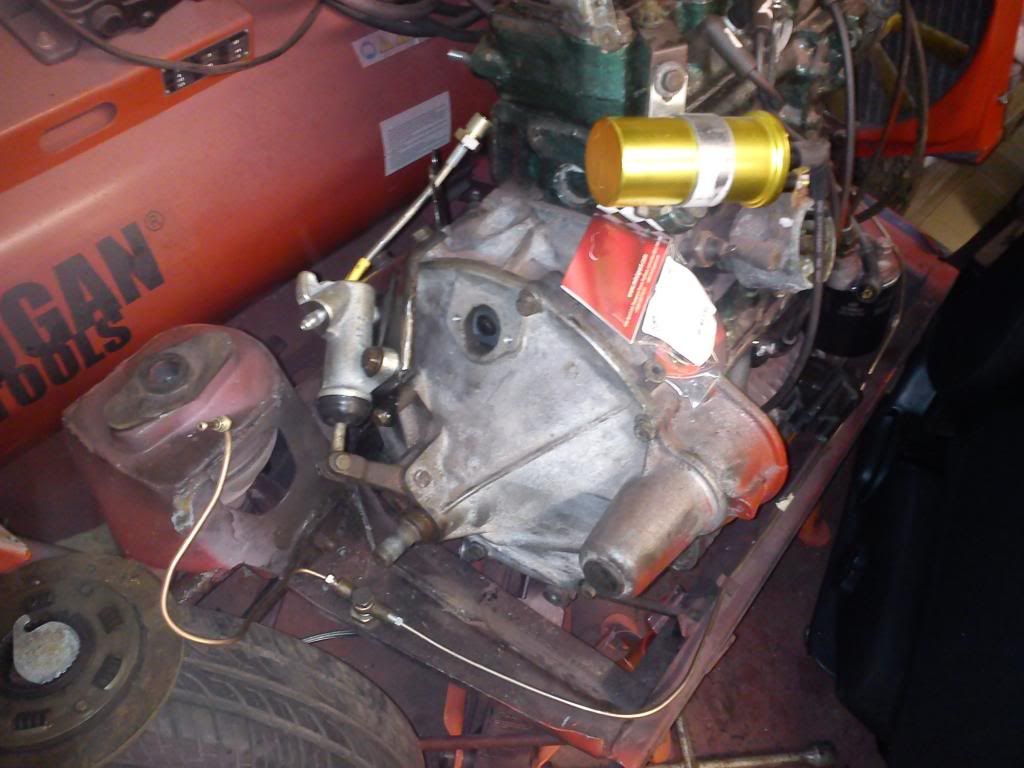
So I started putting in everything to begin with under the car...

Image

Image


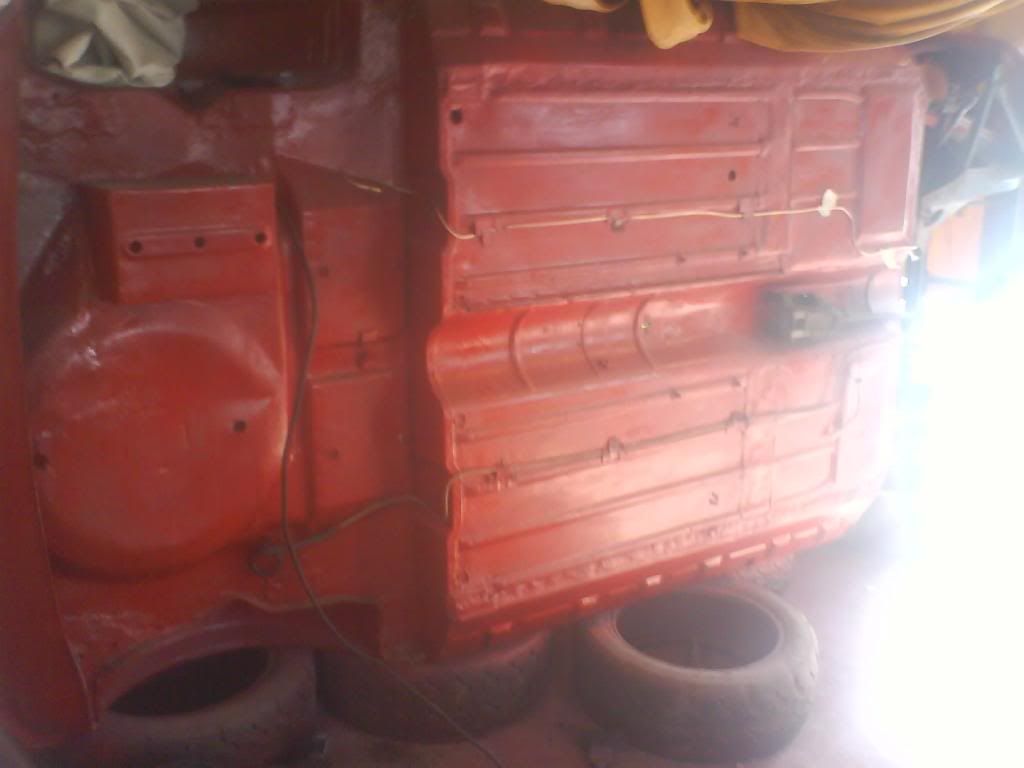
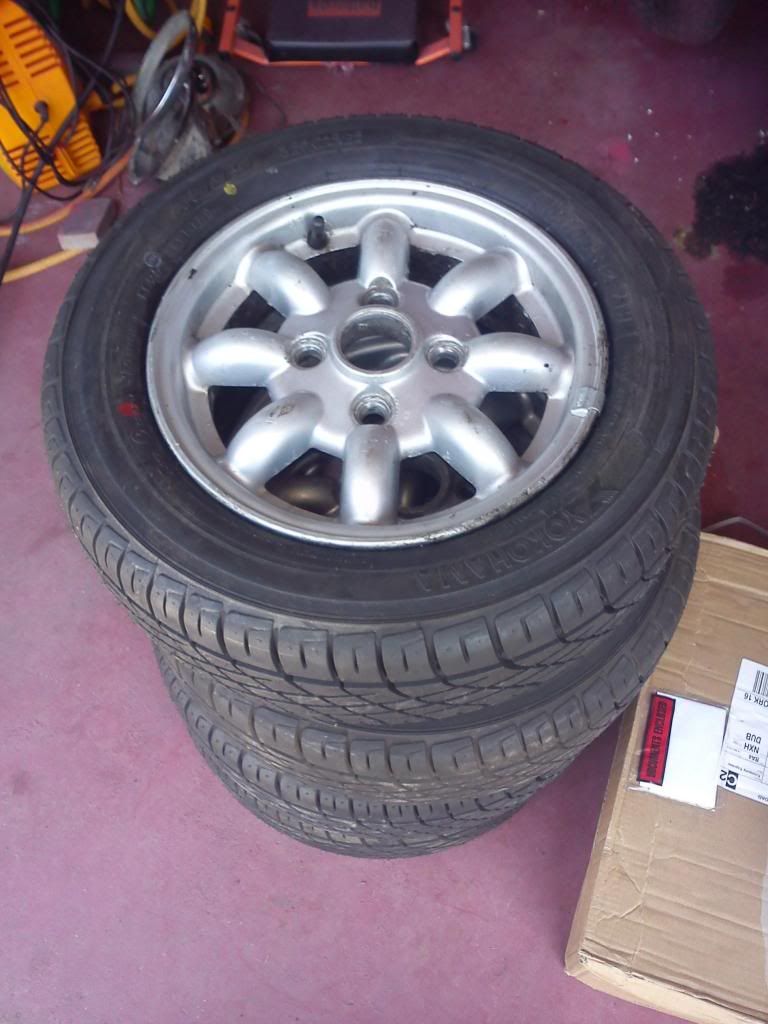
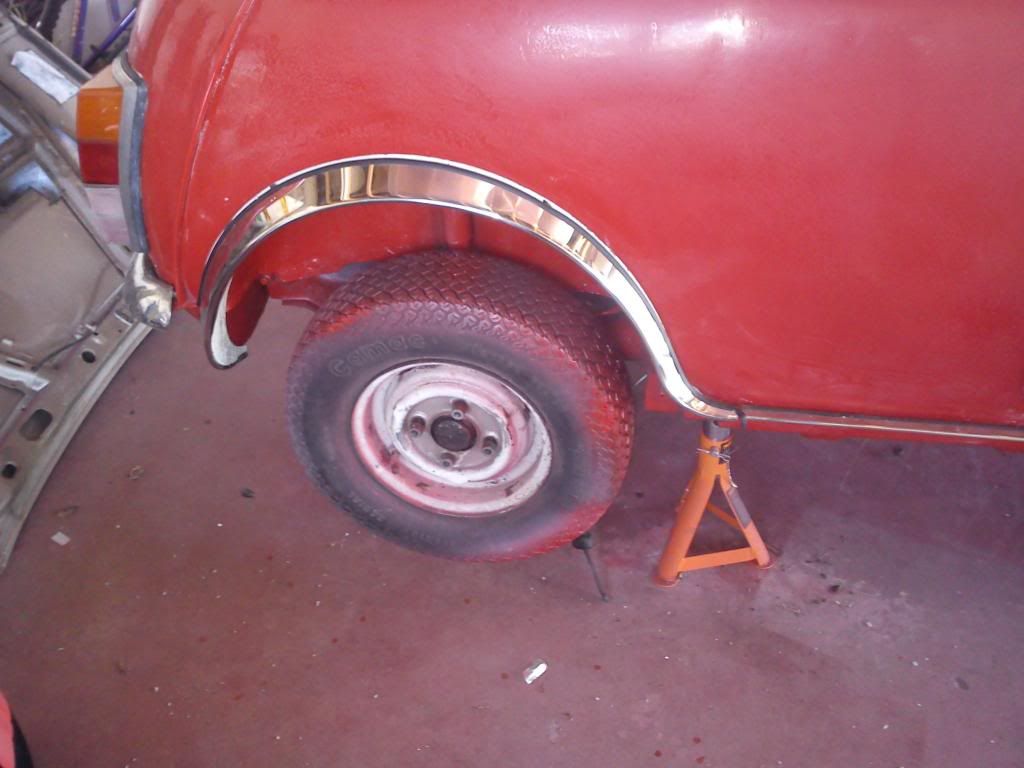
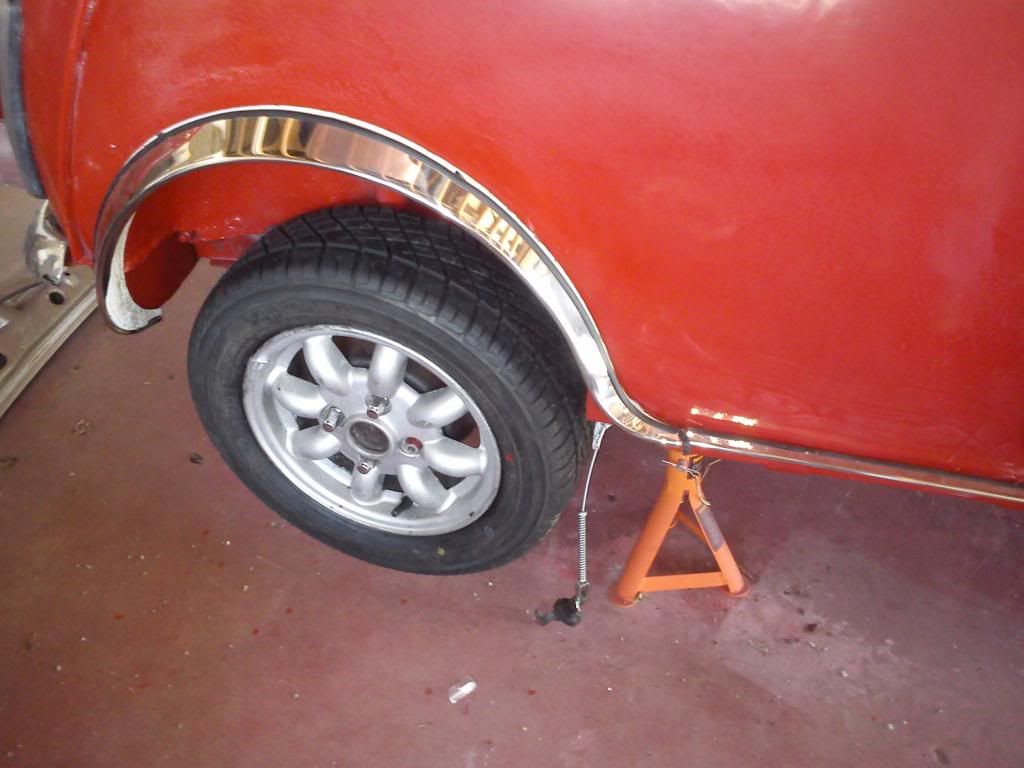
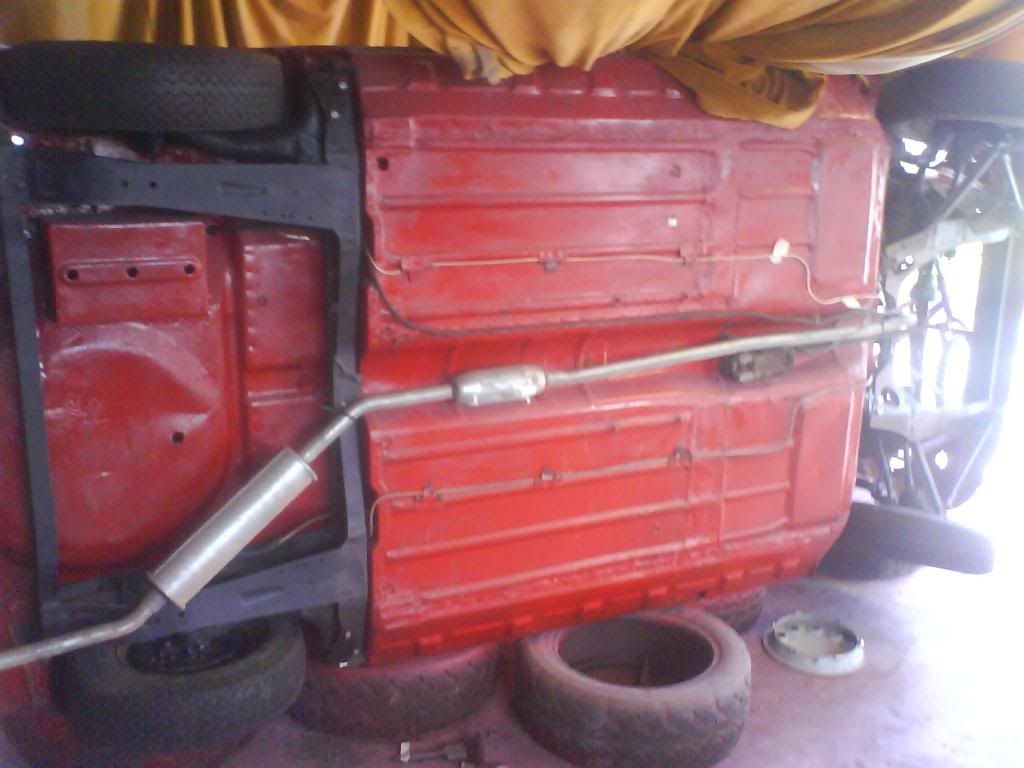
Then I fitted back in the subframes,exhaust and tyres.

Image

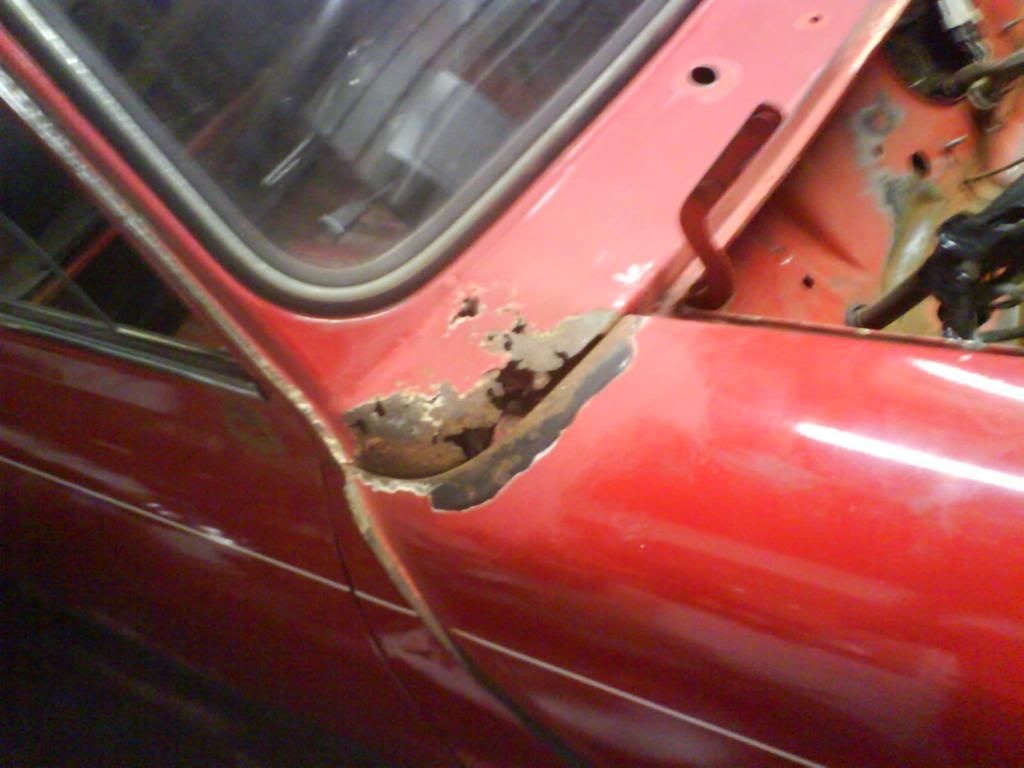
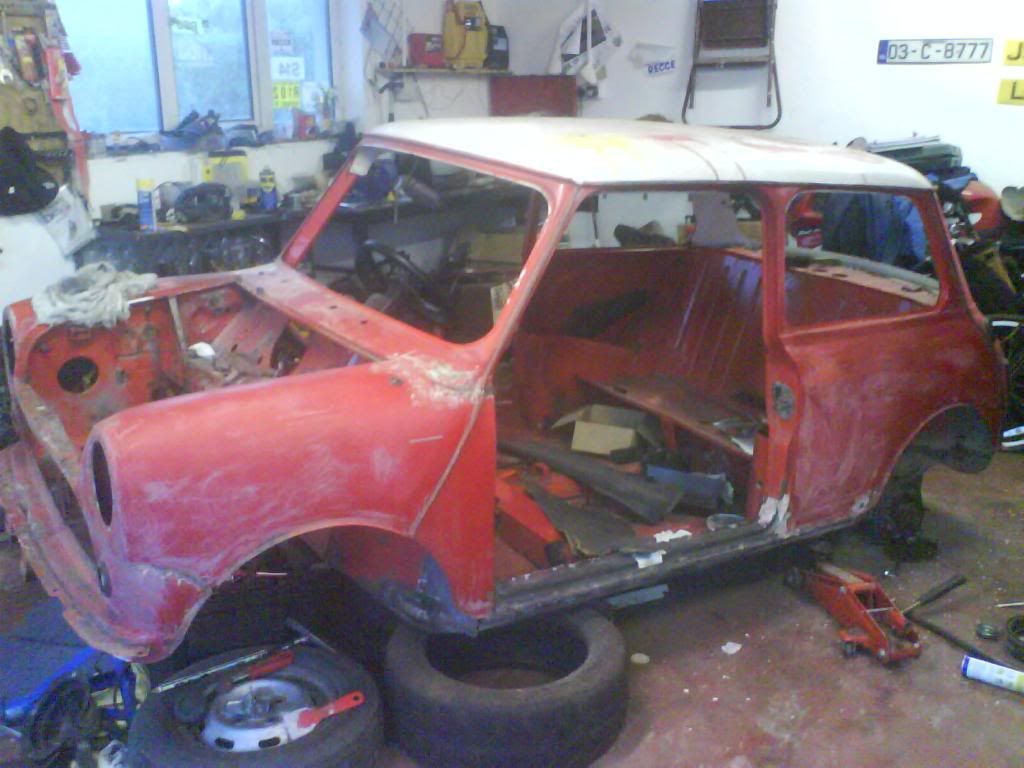
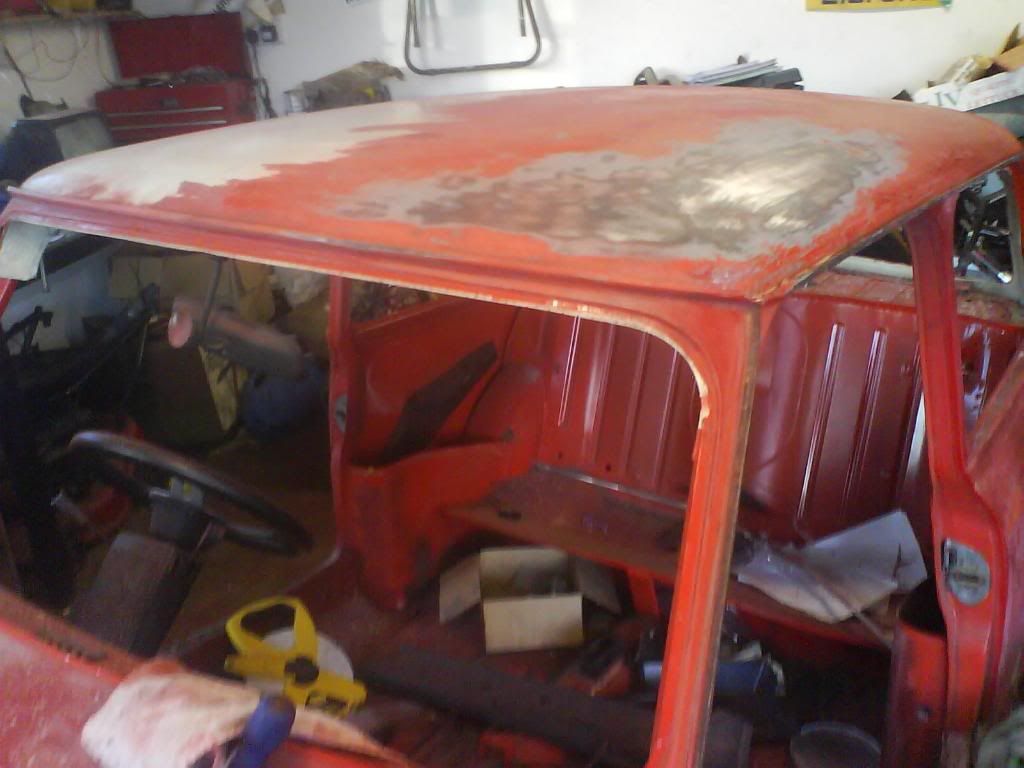
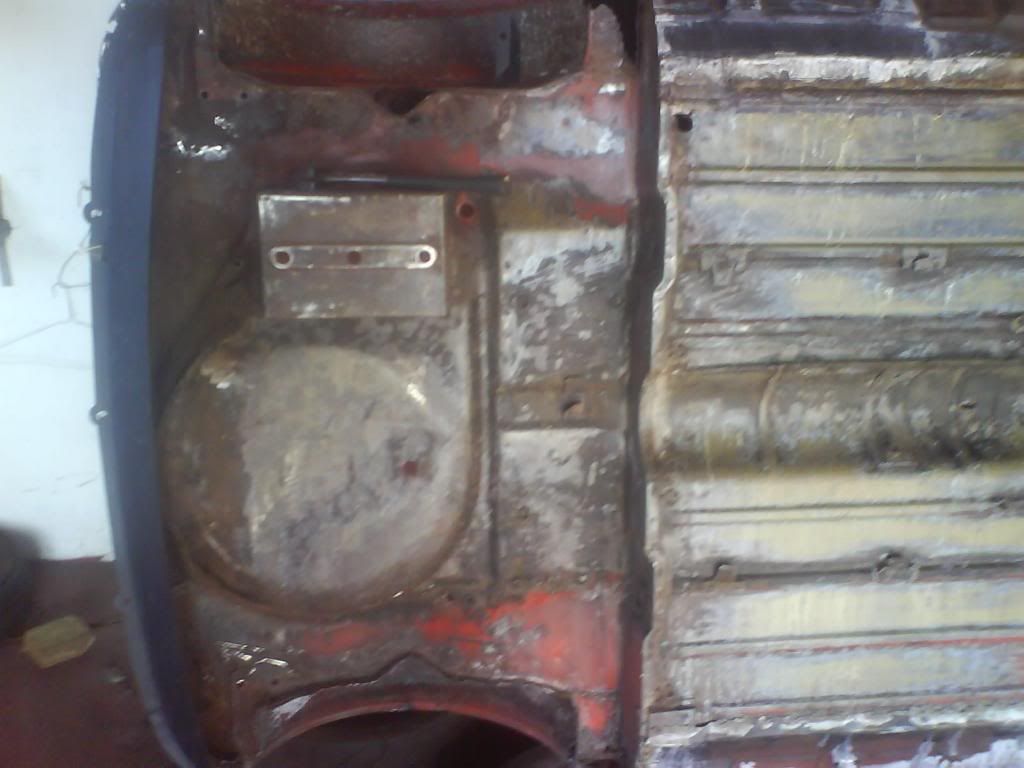
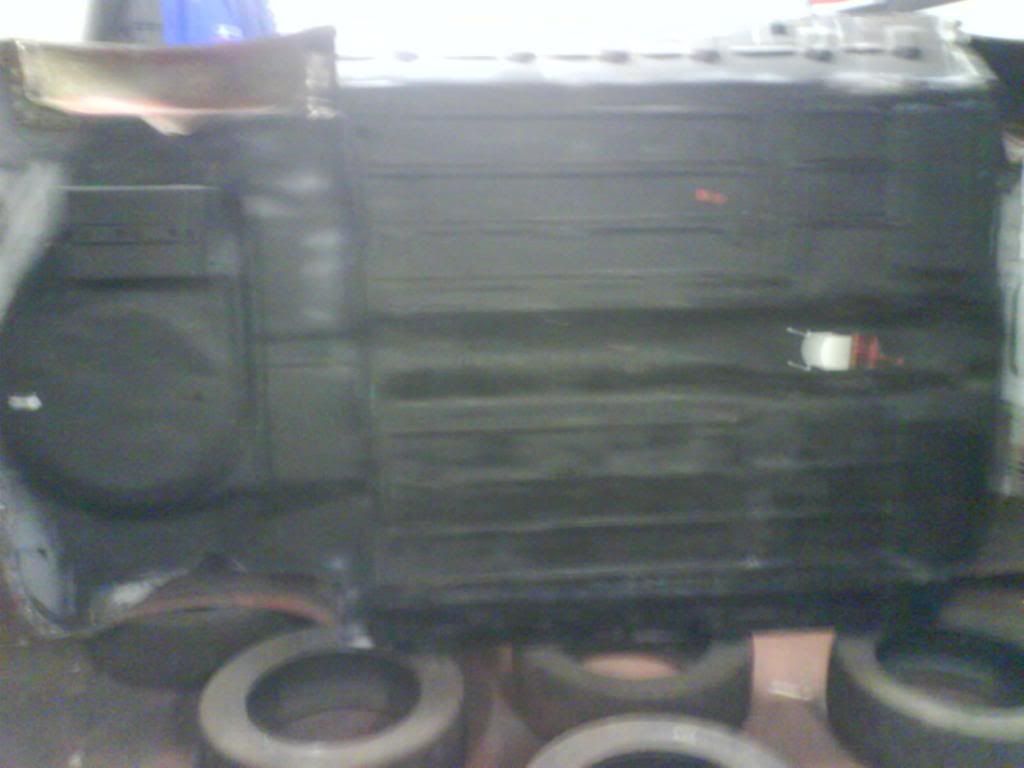
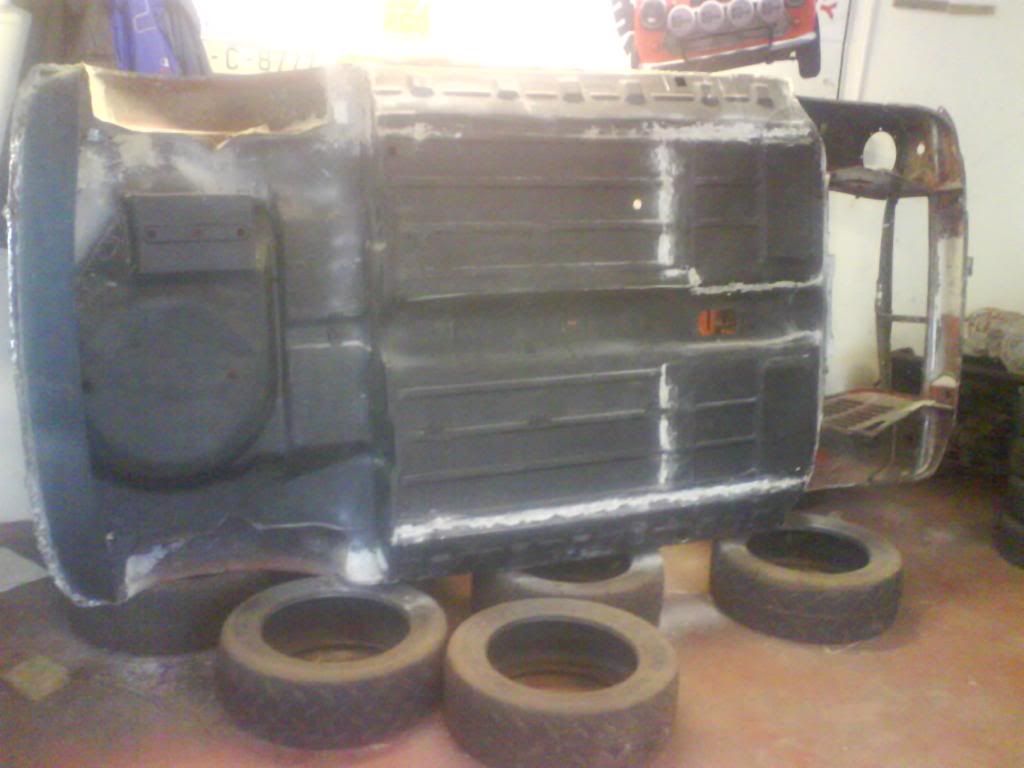
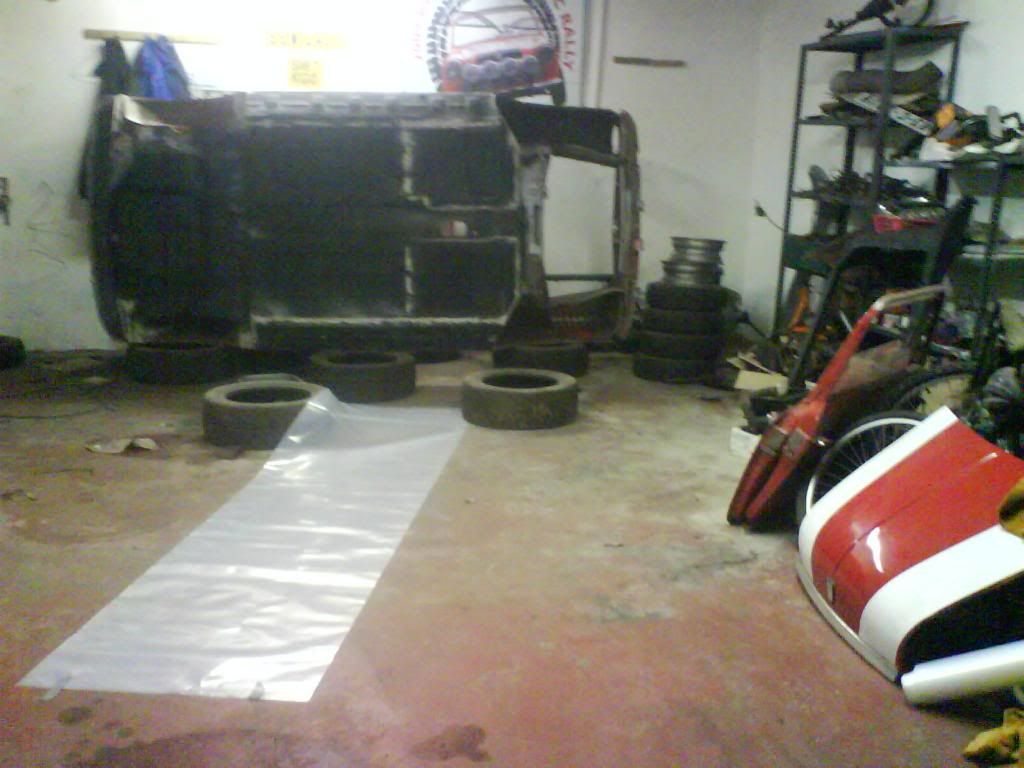
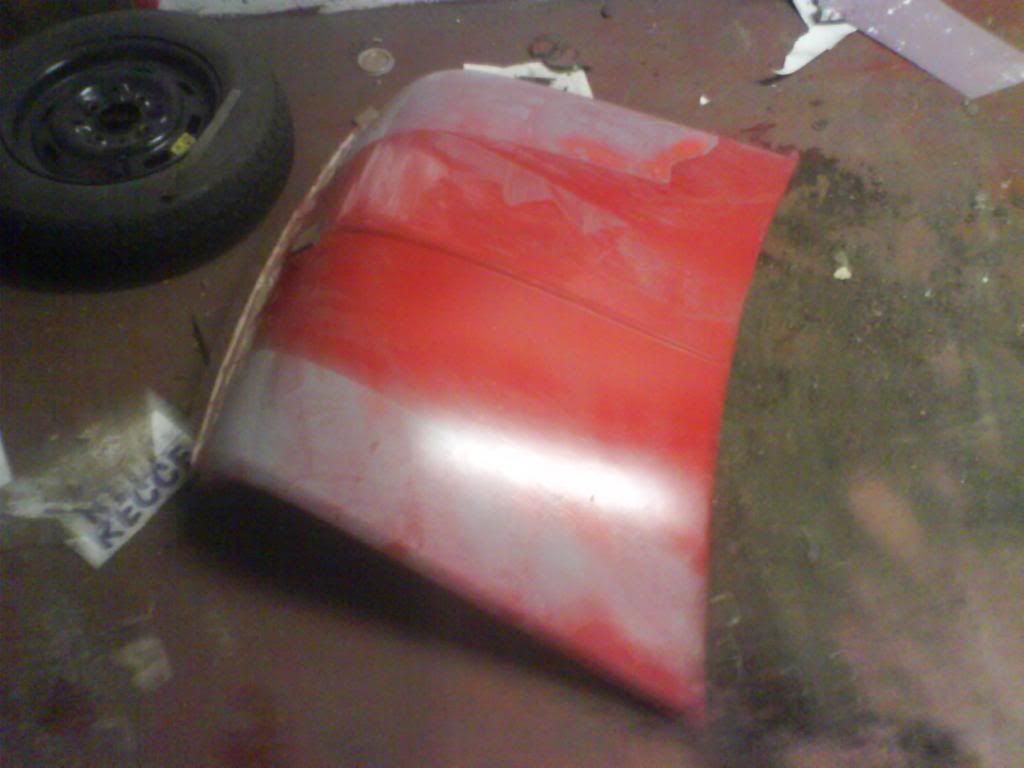
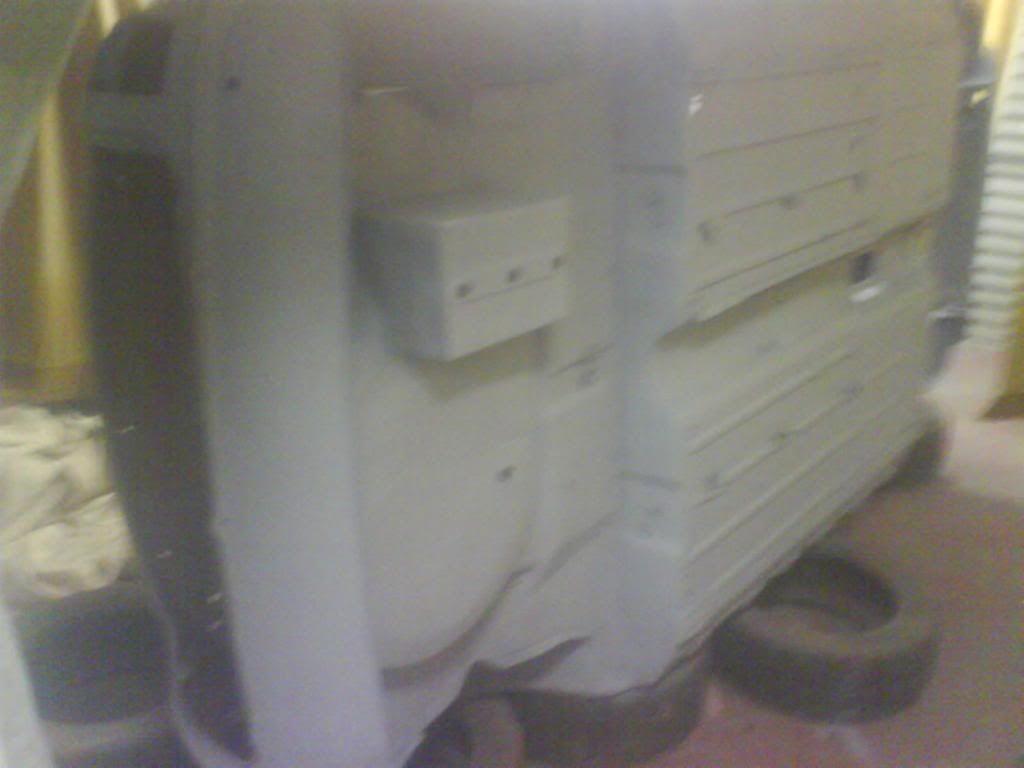
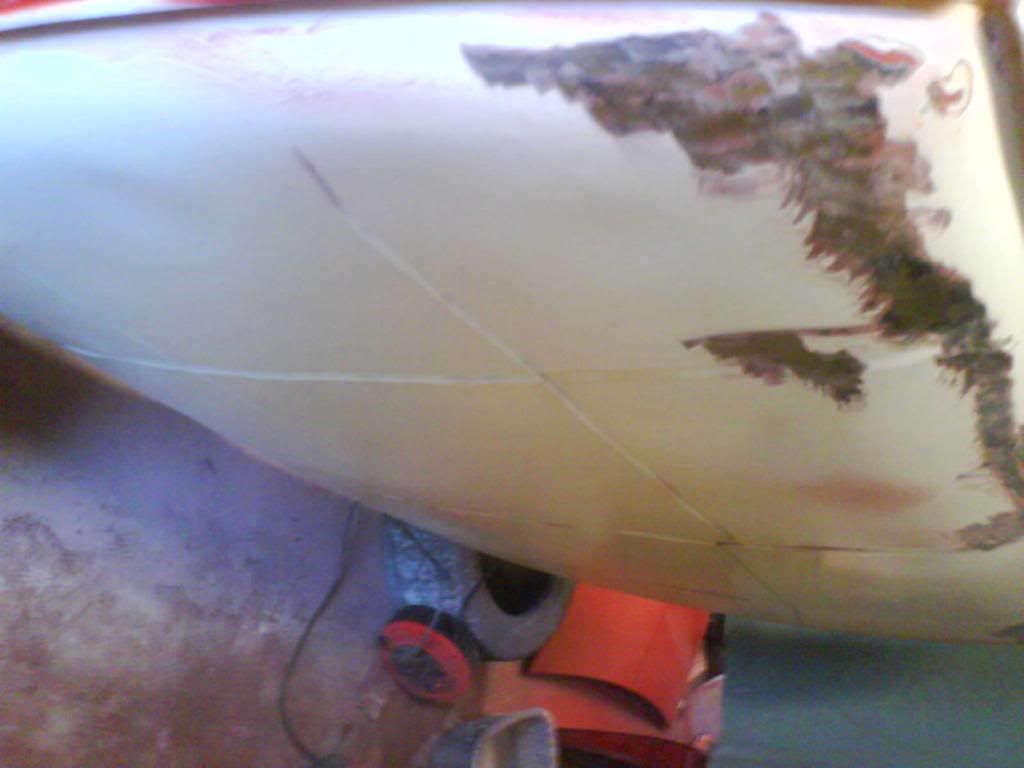
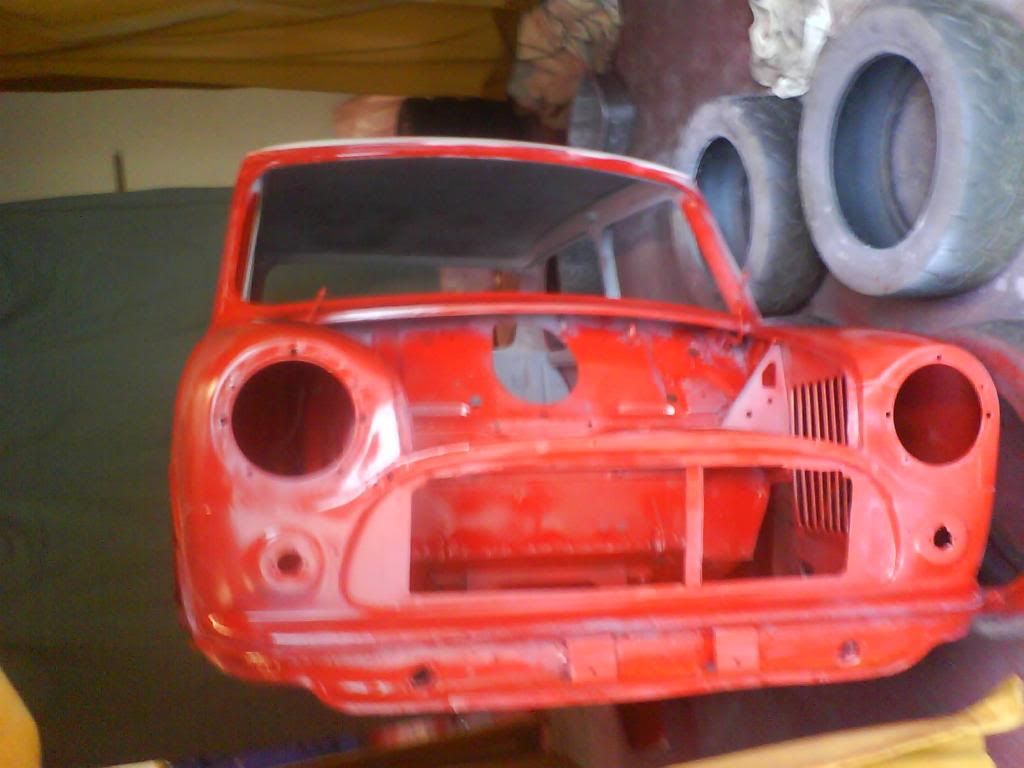
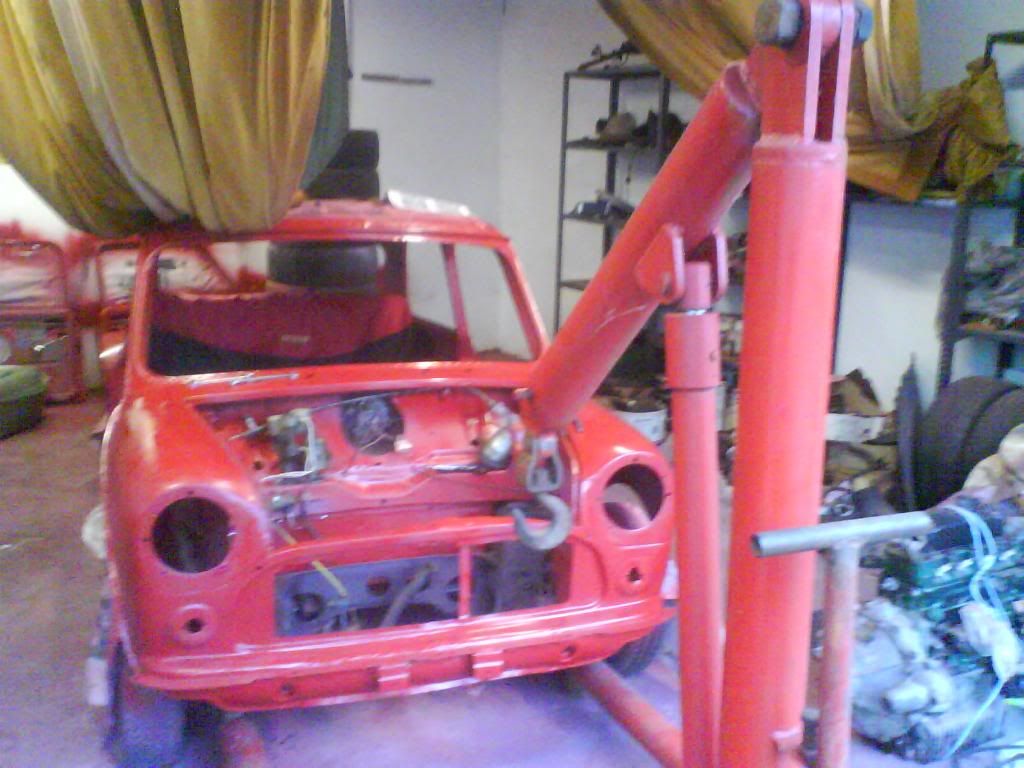
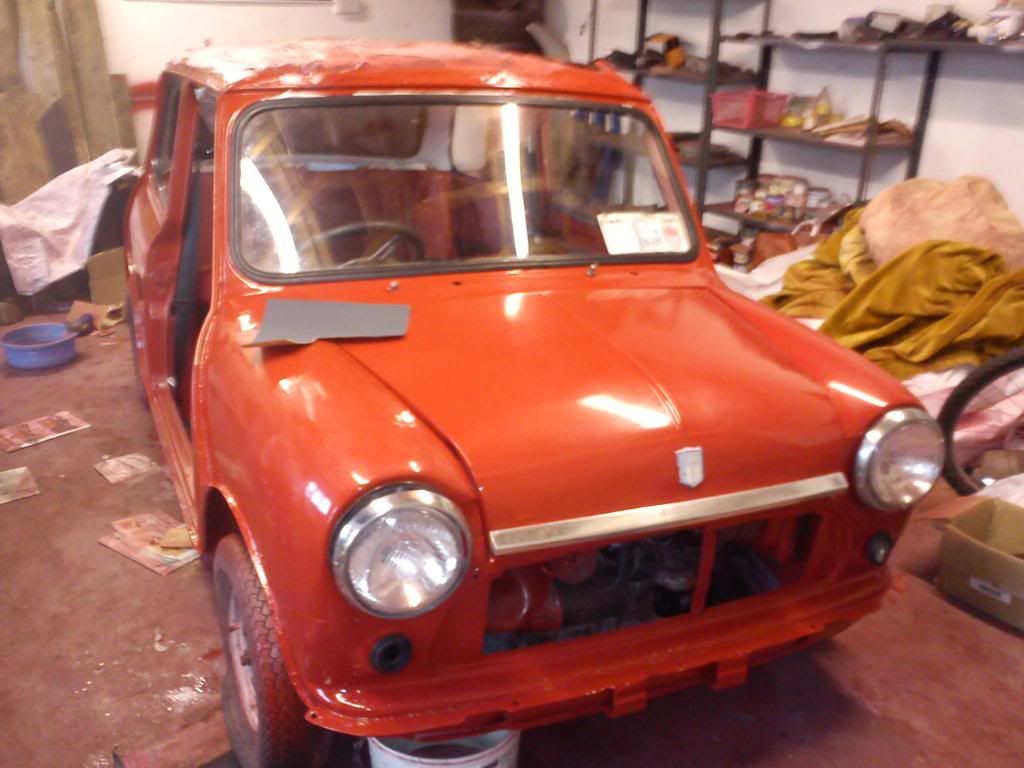
I rolled it back down onto four wheels. This point in time I was unhappy with a few flaws in the paint work so I decided to try and fix it. I should have just left it alone!! But anyway here what I did.


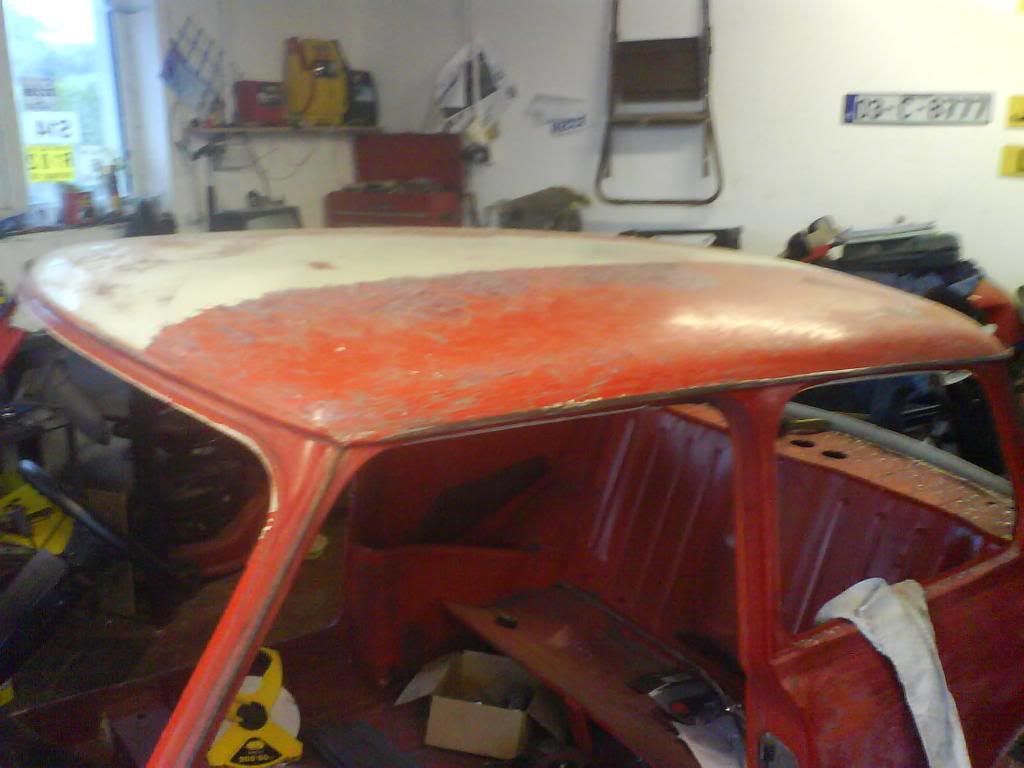
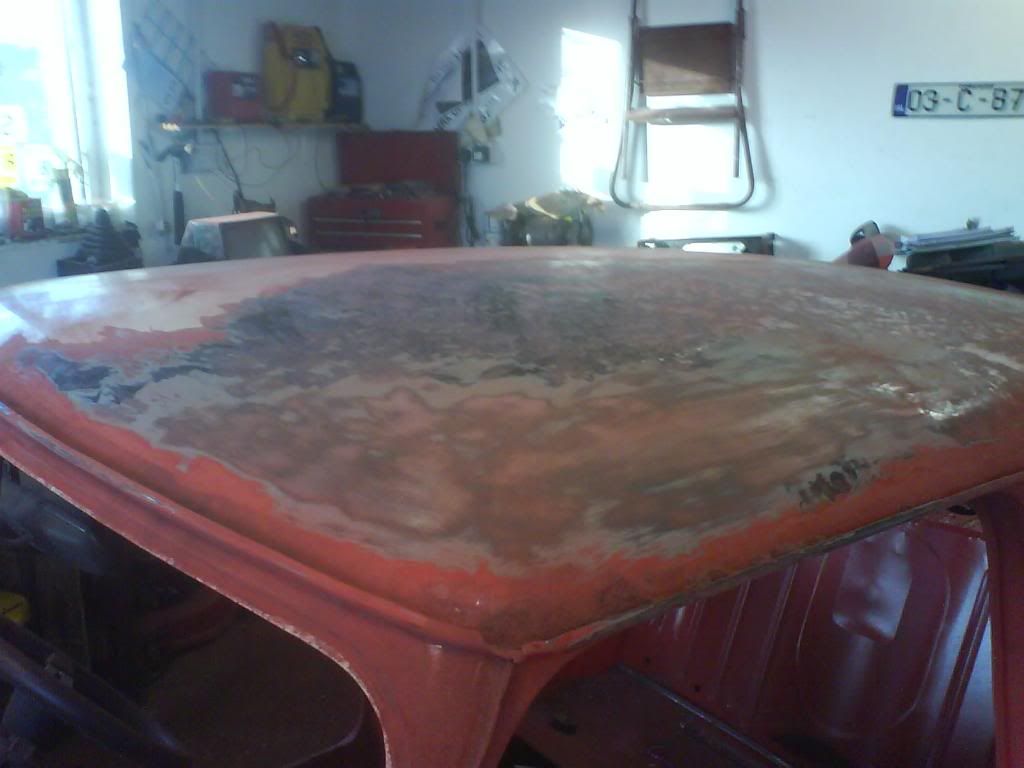
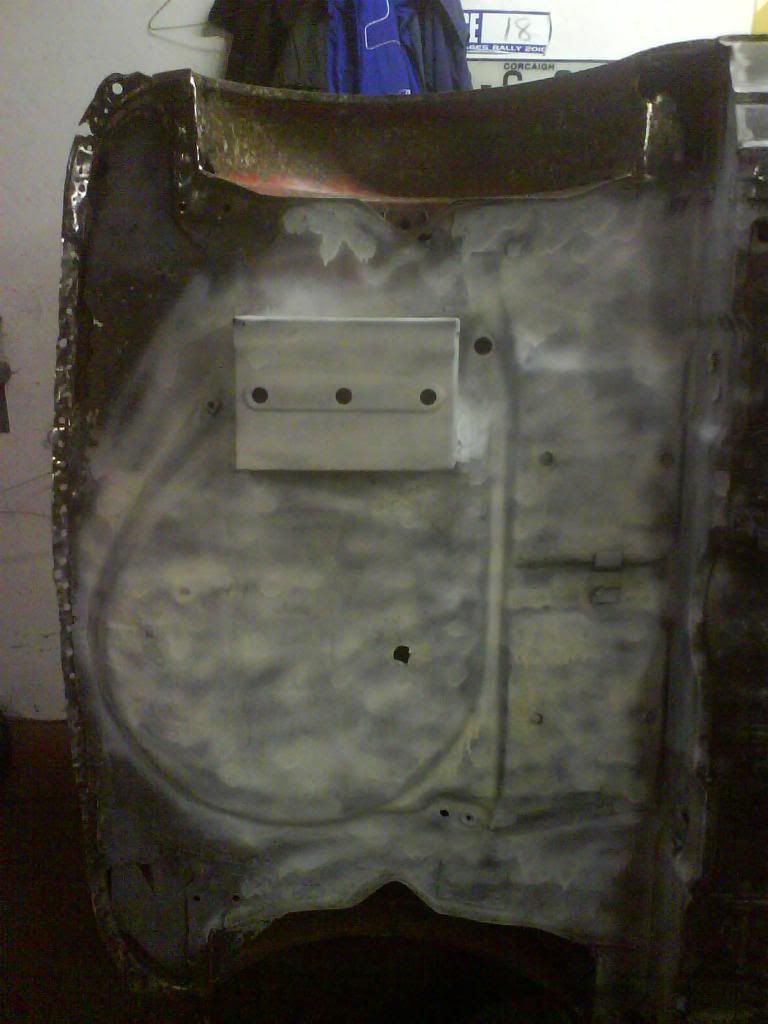
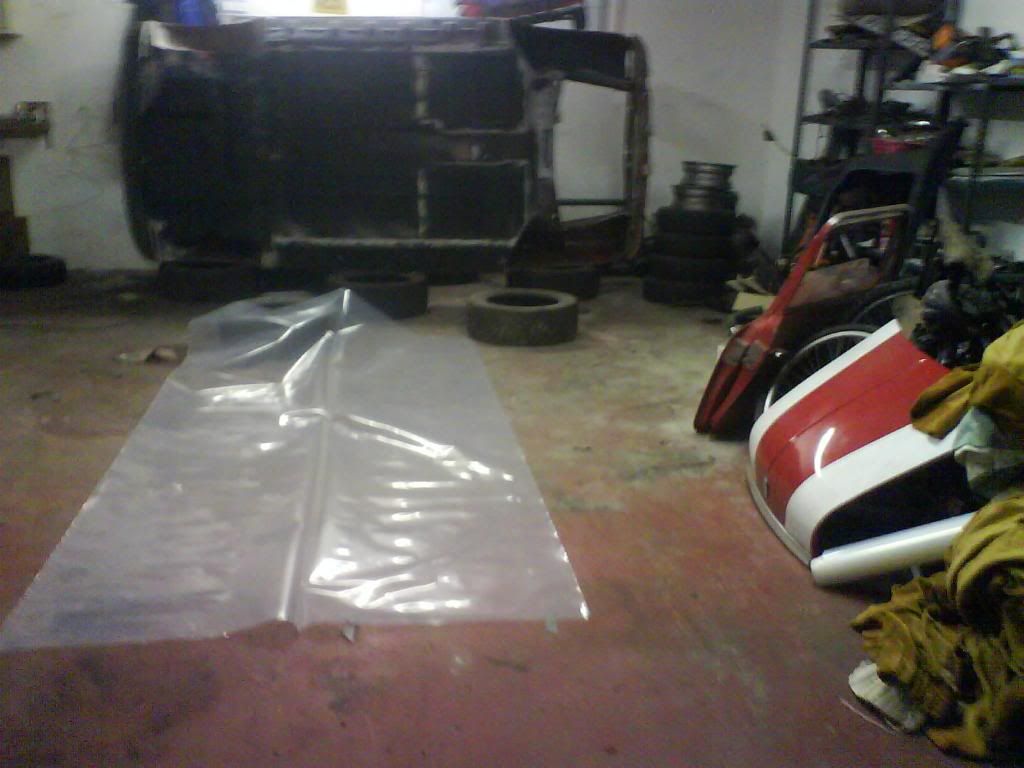
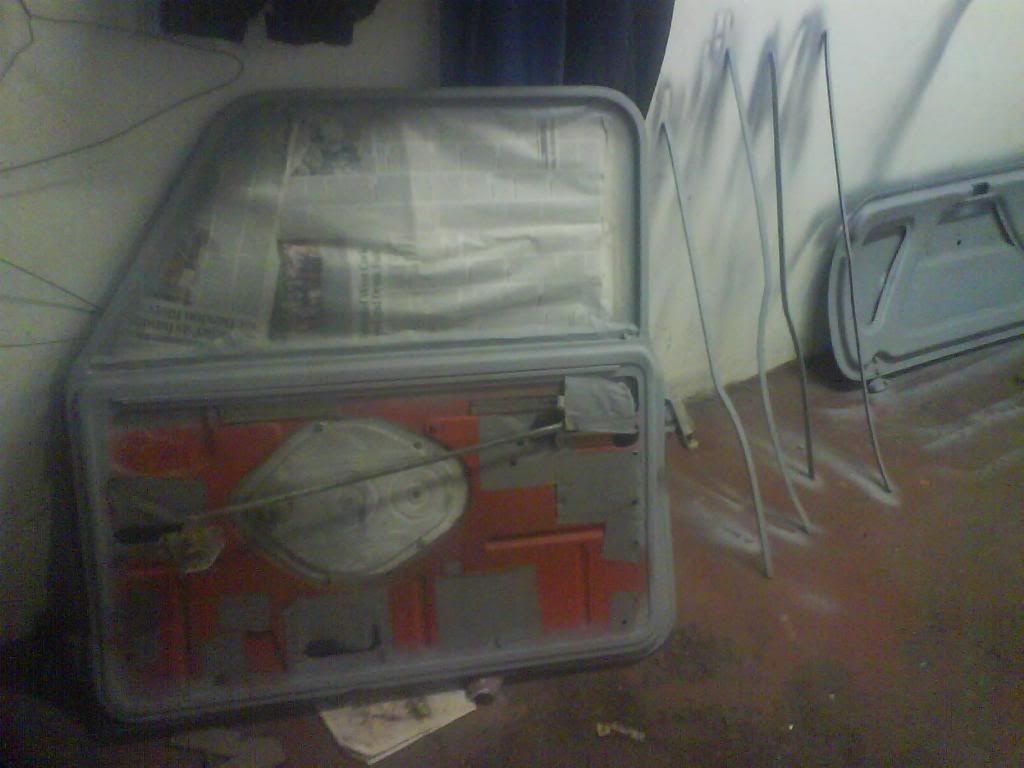
There was a few imperfections around the car so I decided to wet sand it back smooth it more and prime it again.

Image

Image

Image

Image

Image

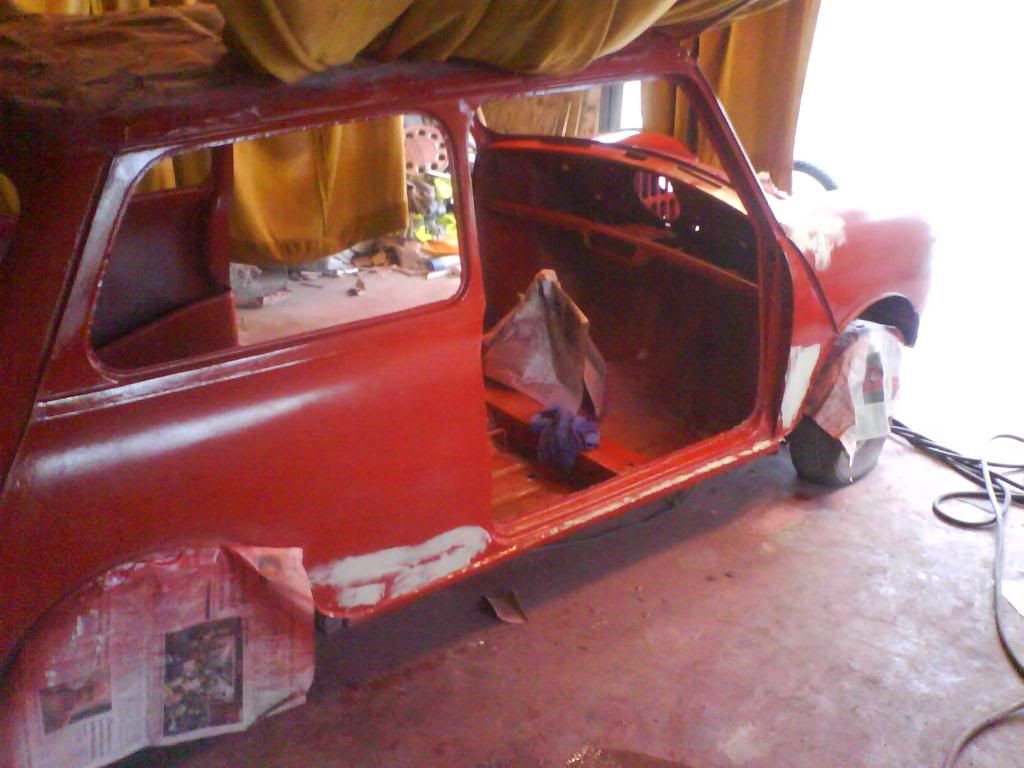
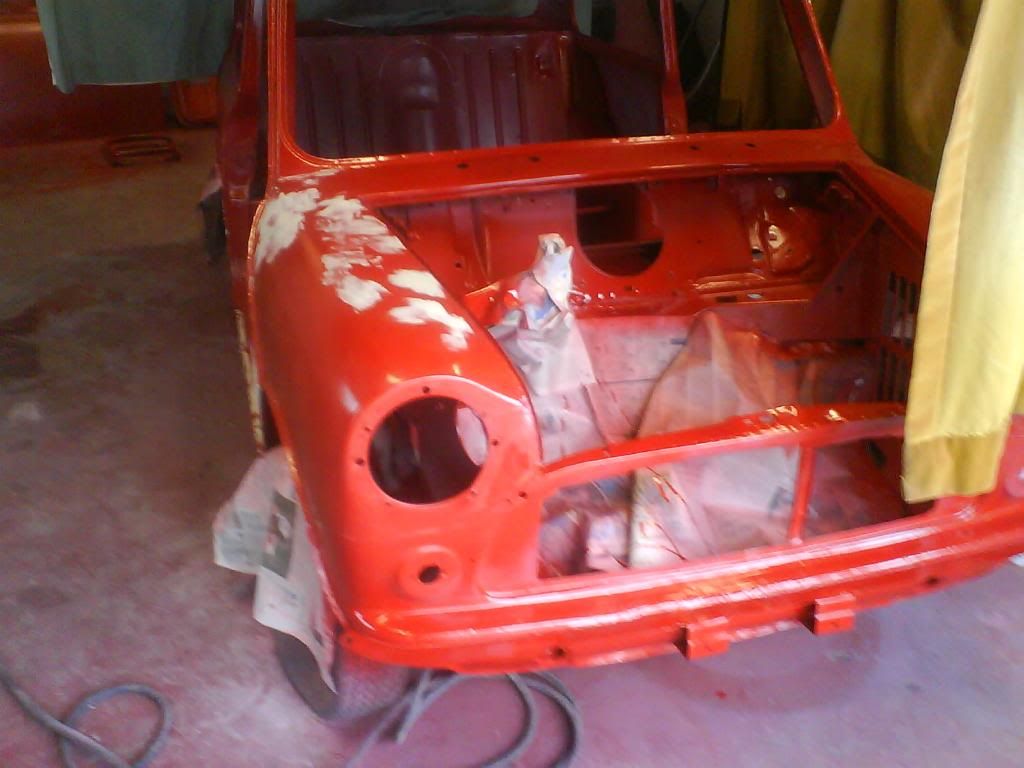
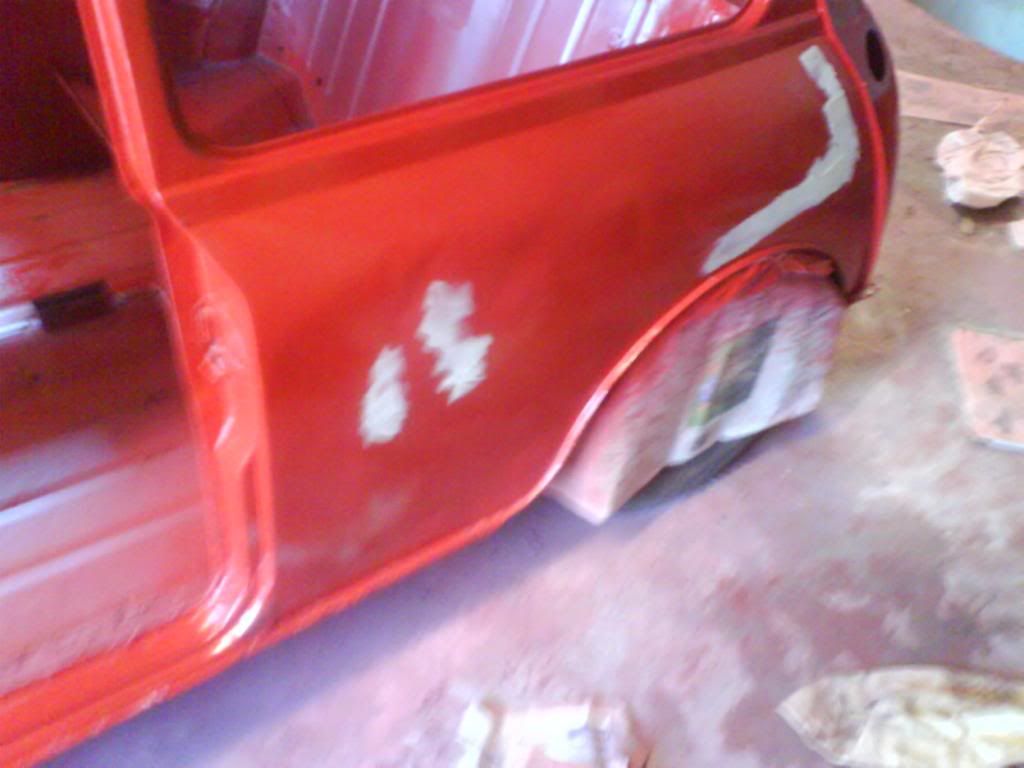
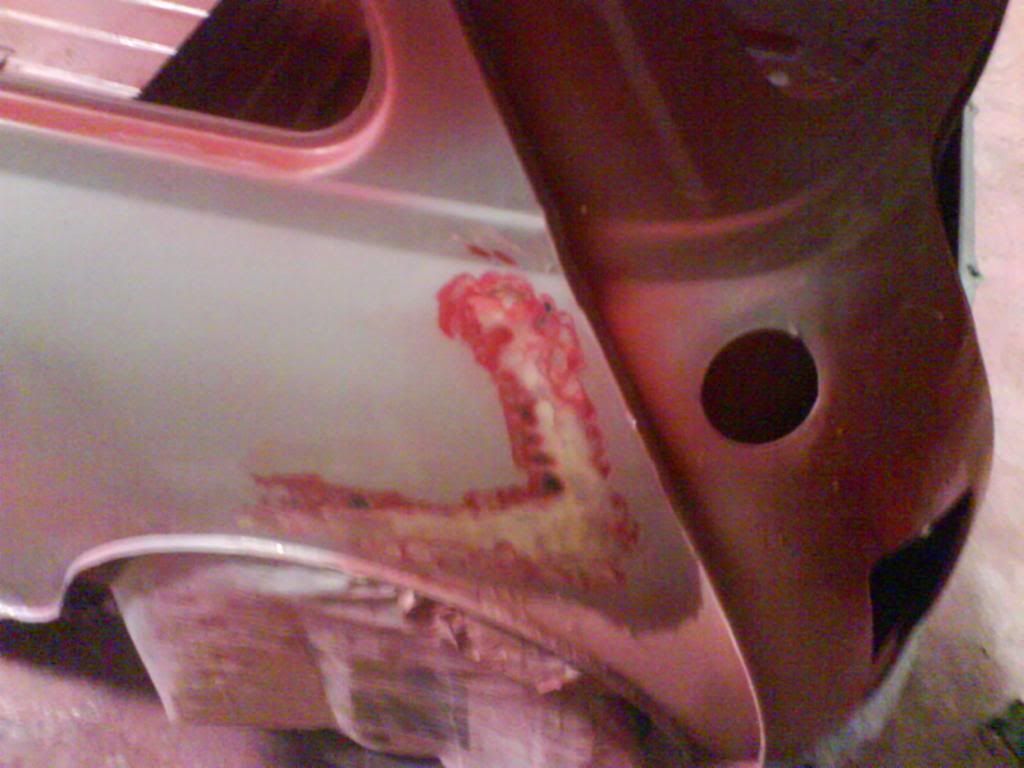
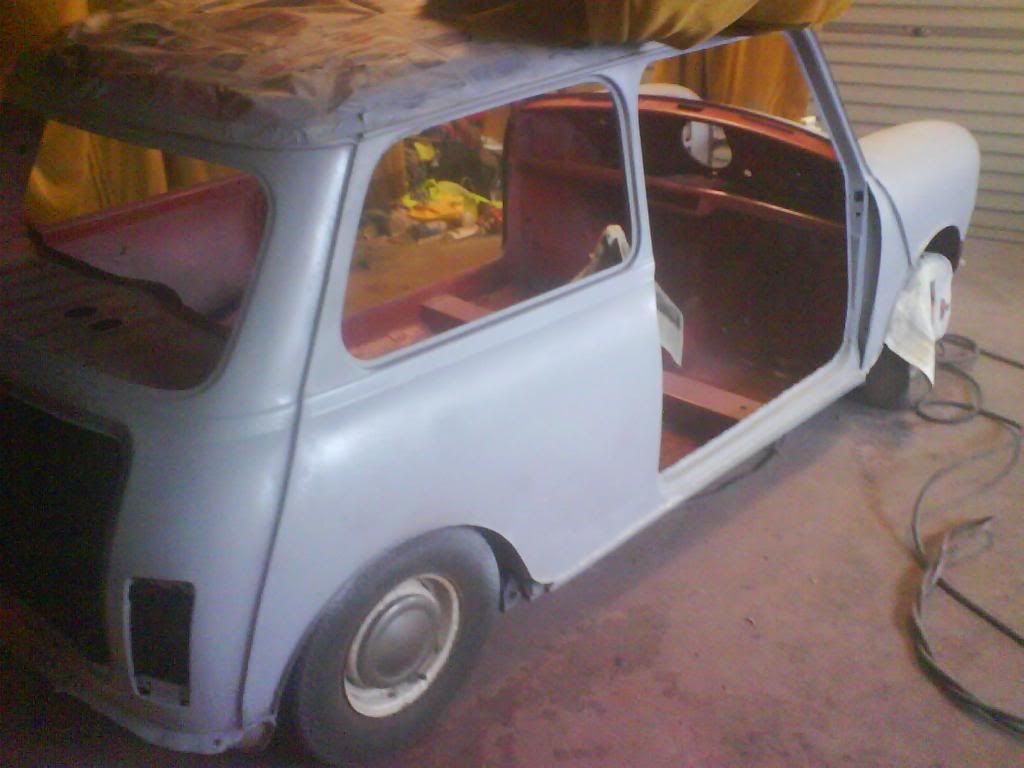
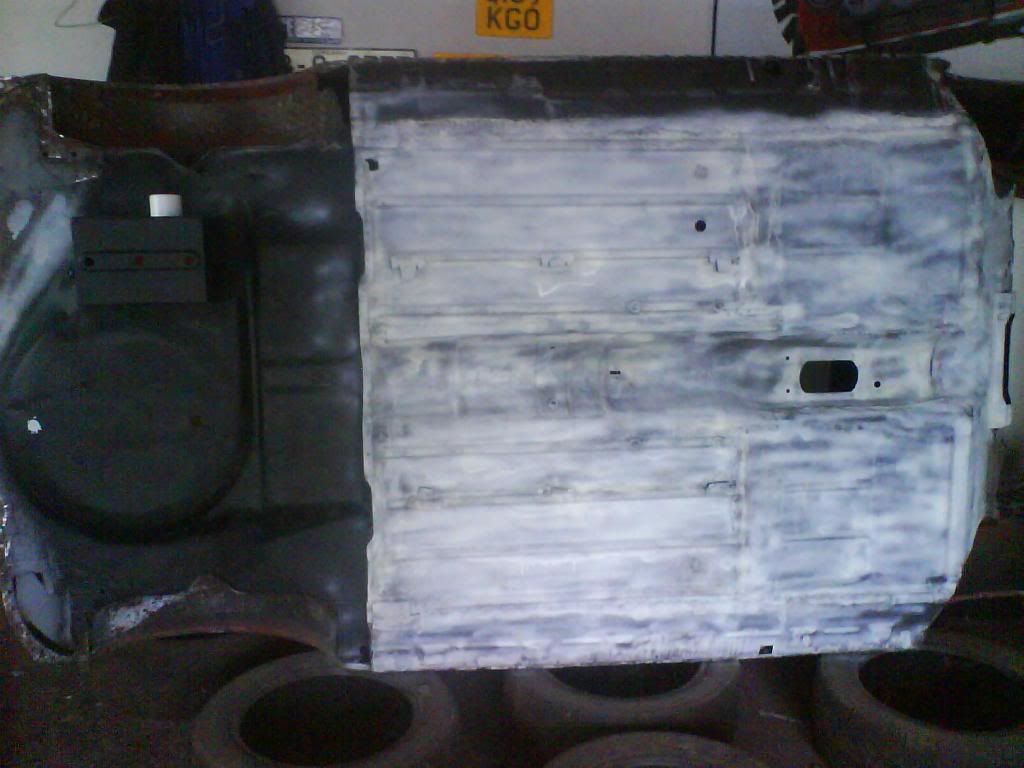
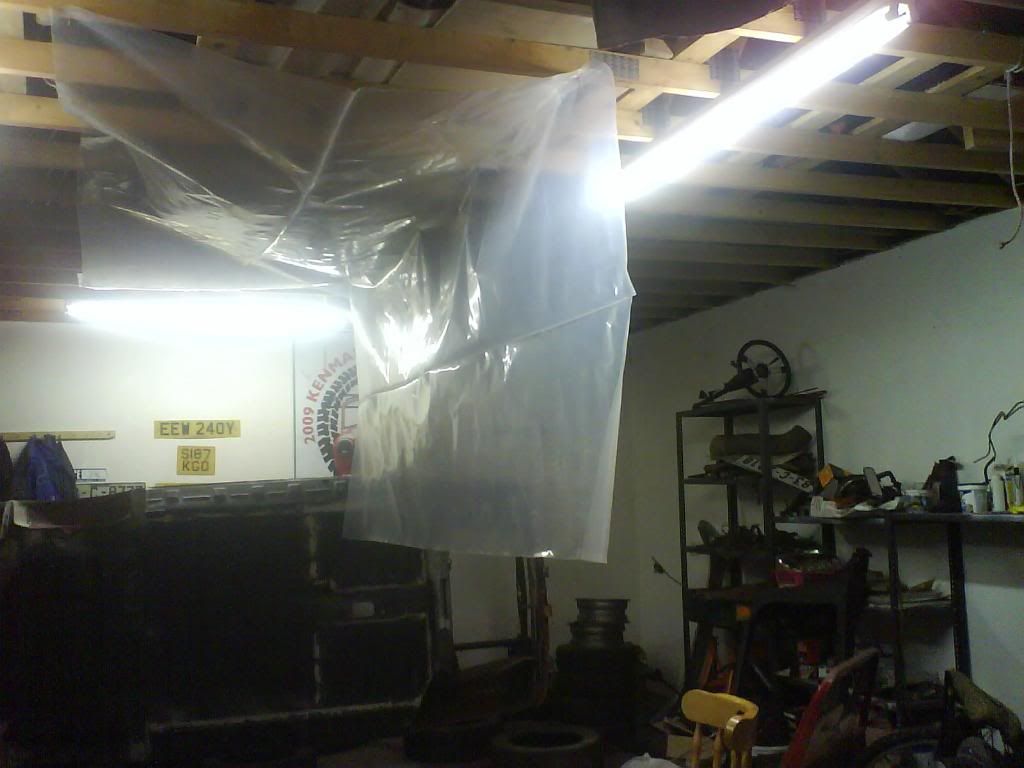
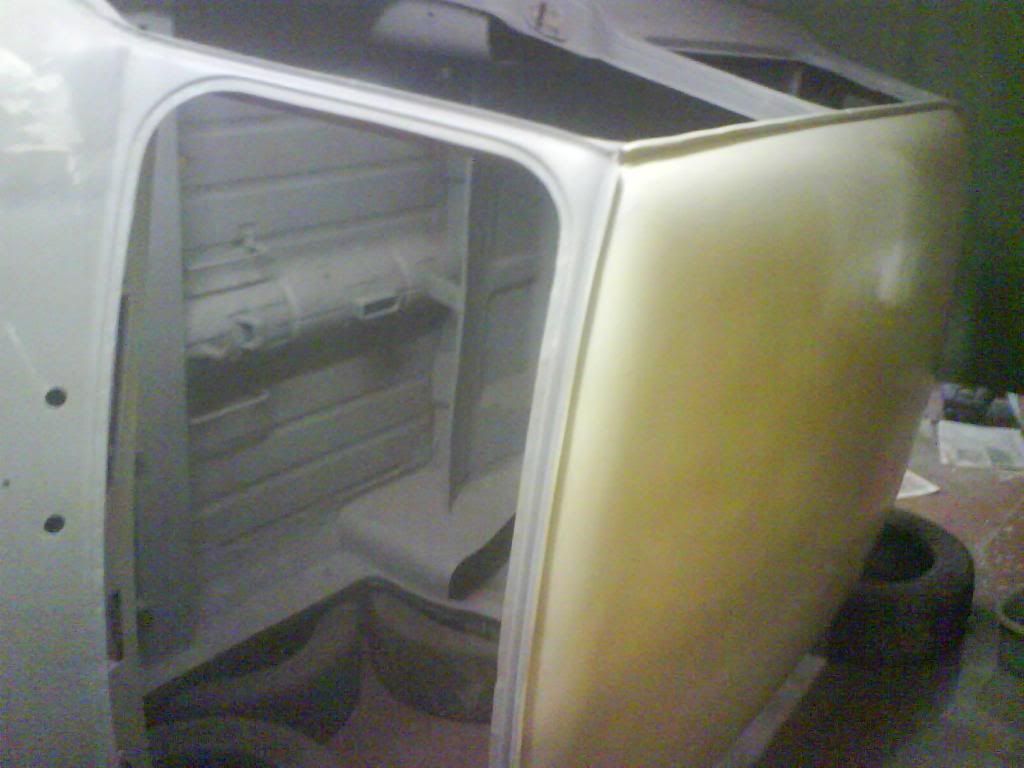
Before I realised it I had practiacally the whole car covered again in primer...

Image

Image

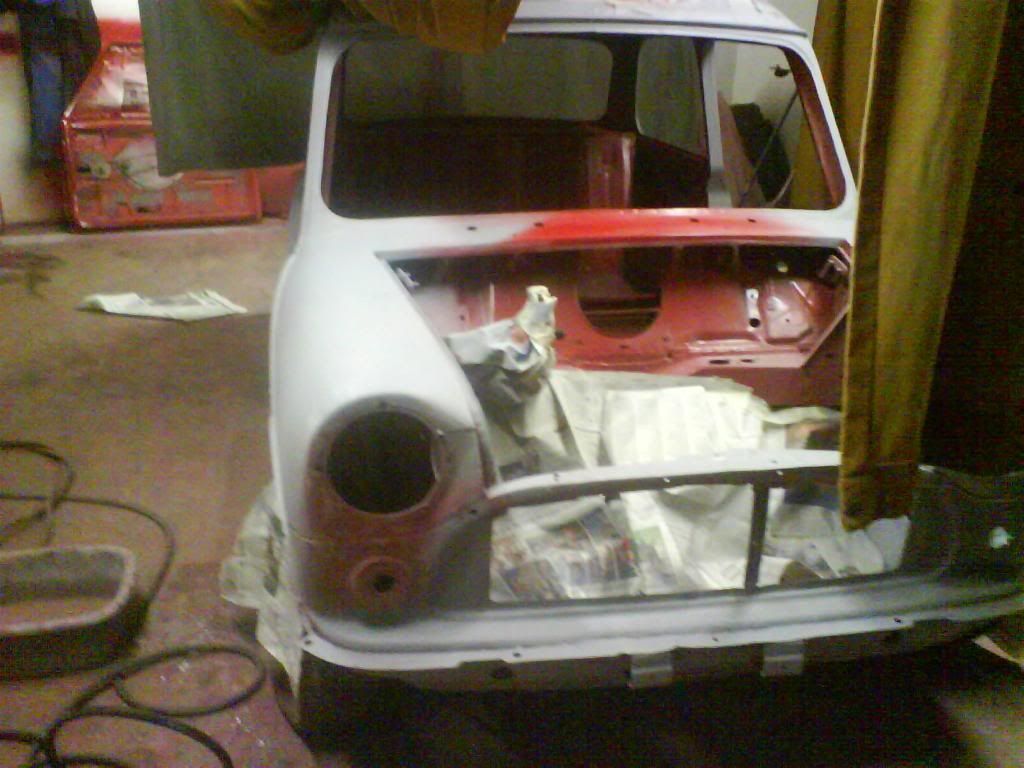
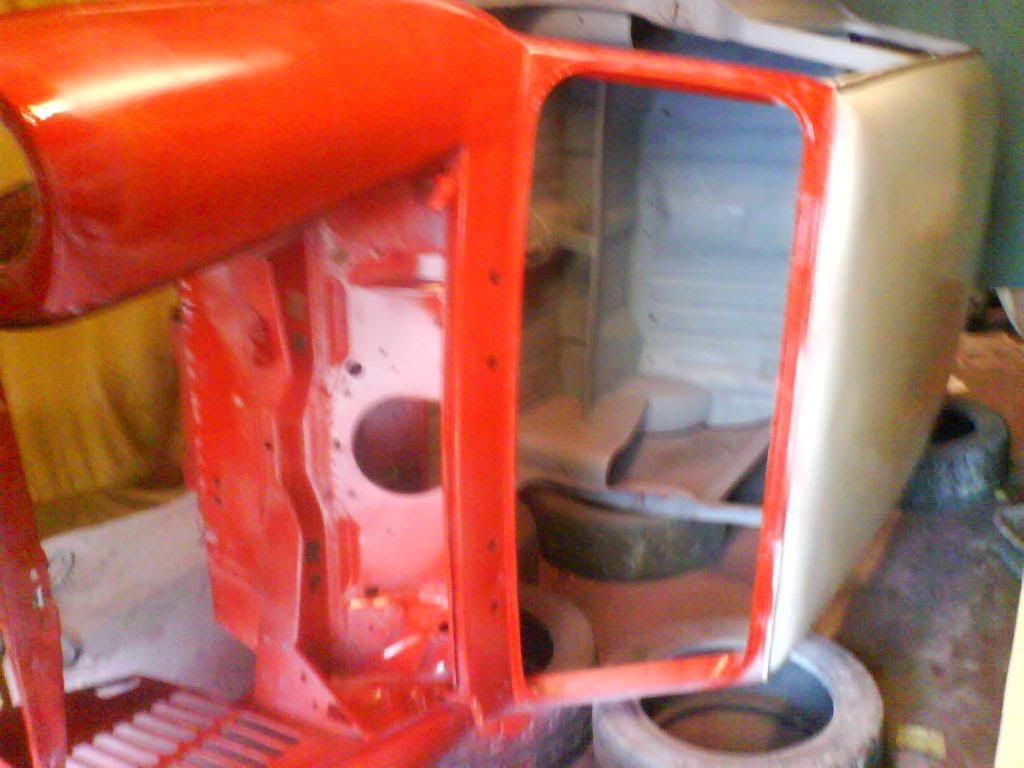
Then I sprayed it again

Image


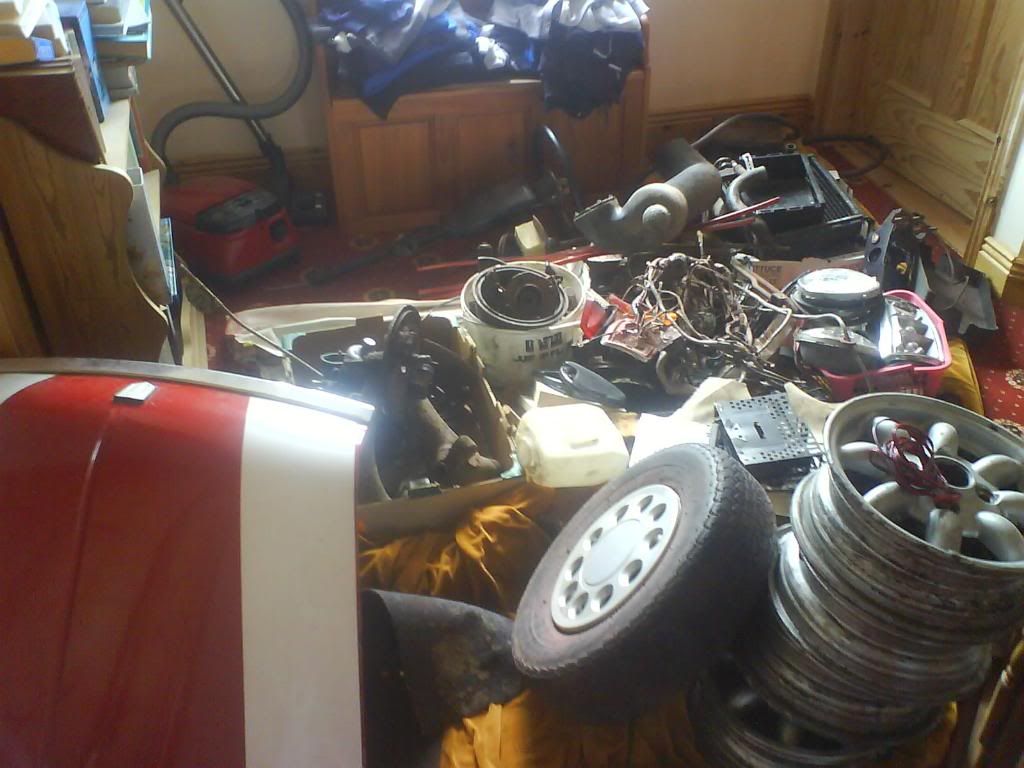
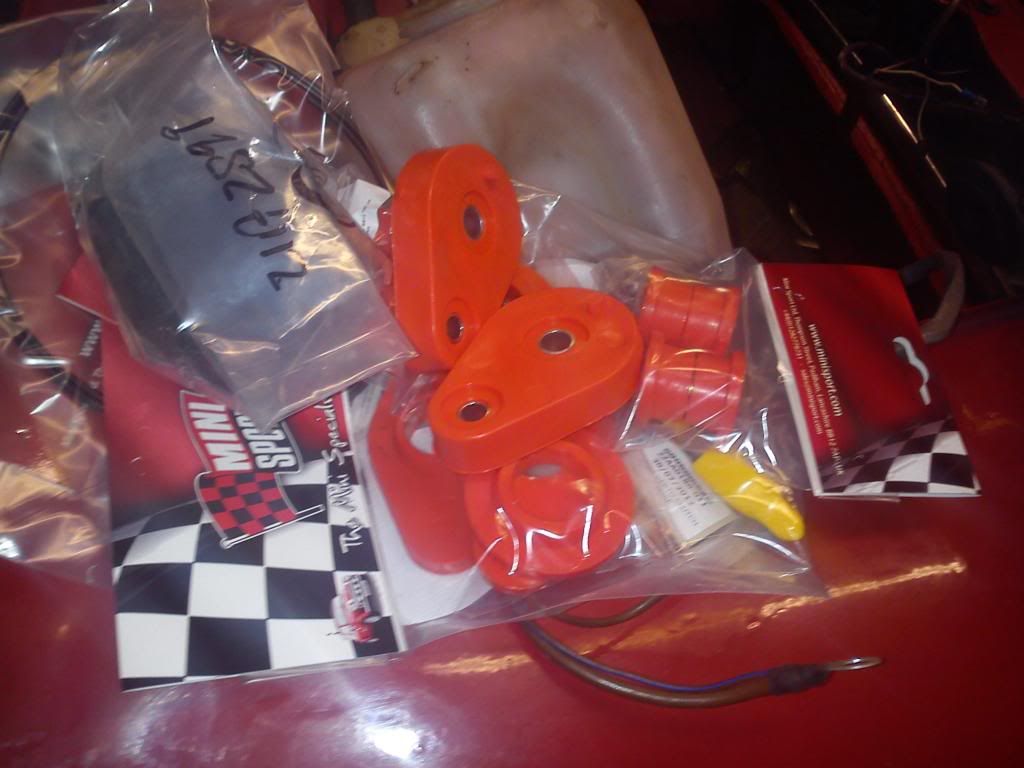
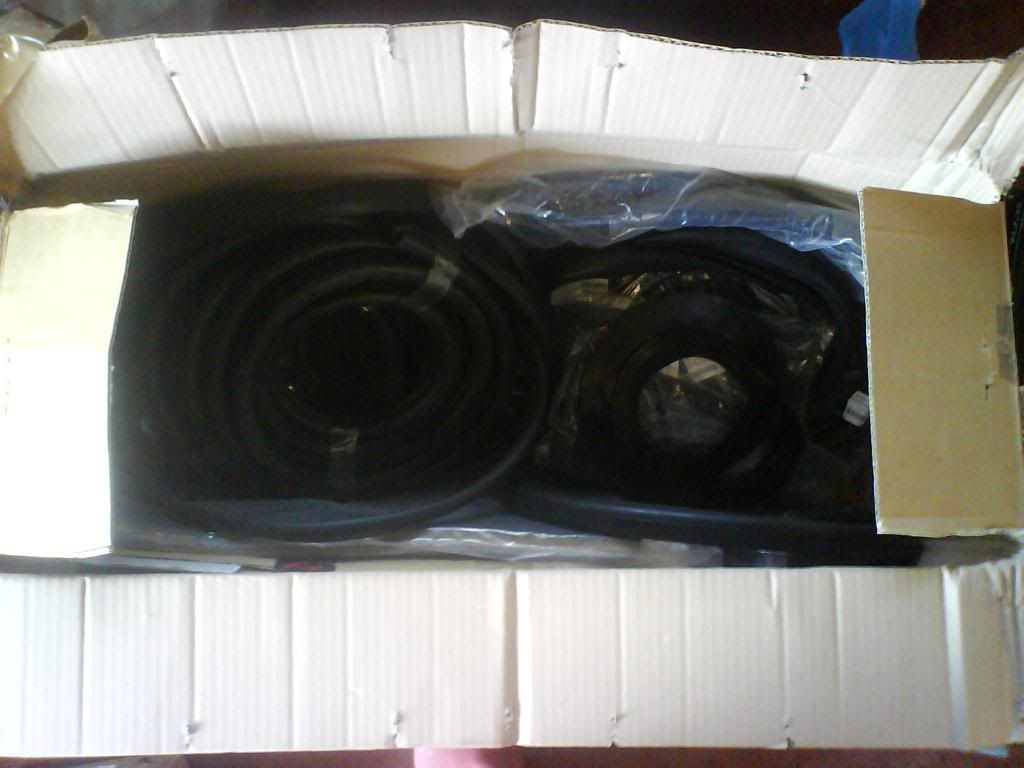
In the meantime I had a big order down from Ian in MiniQuip.

New rubbers for the entire car, shocks, gaskets and other bits too. :)

Image

Image

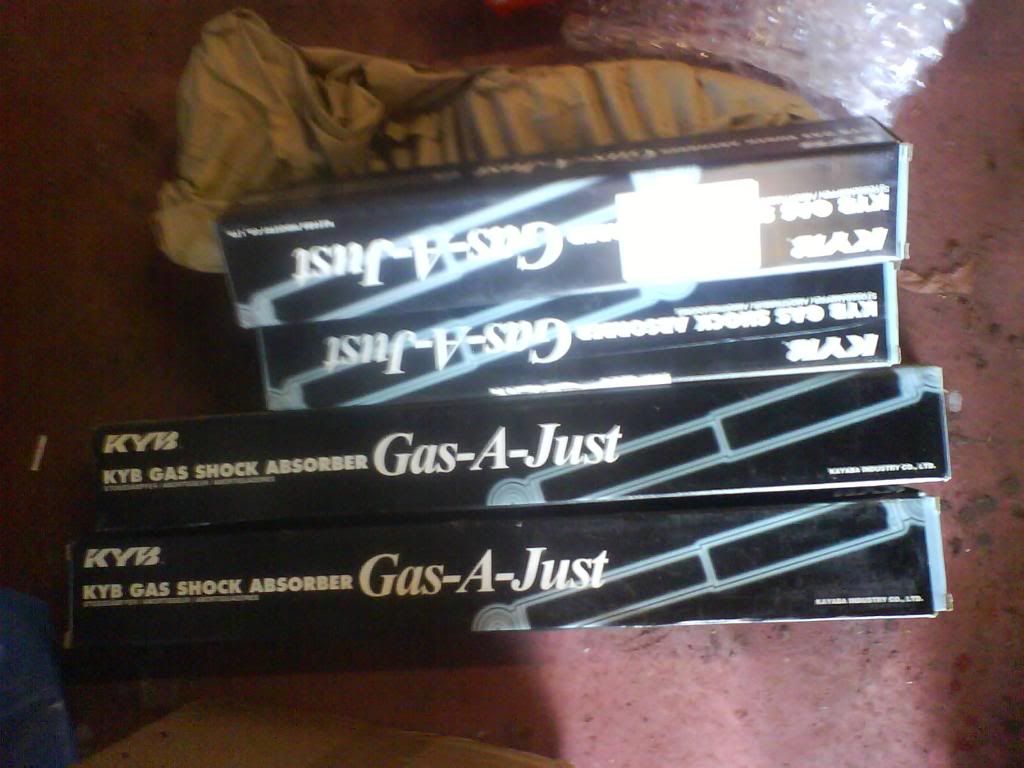
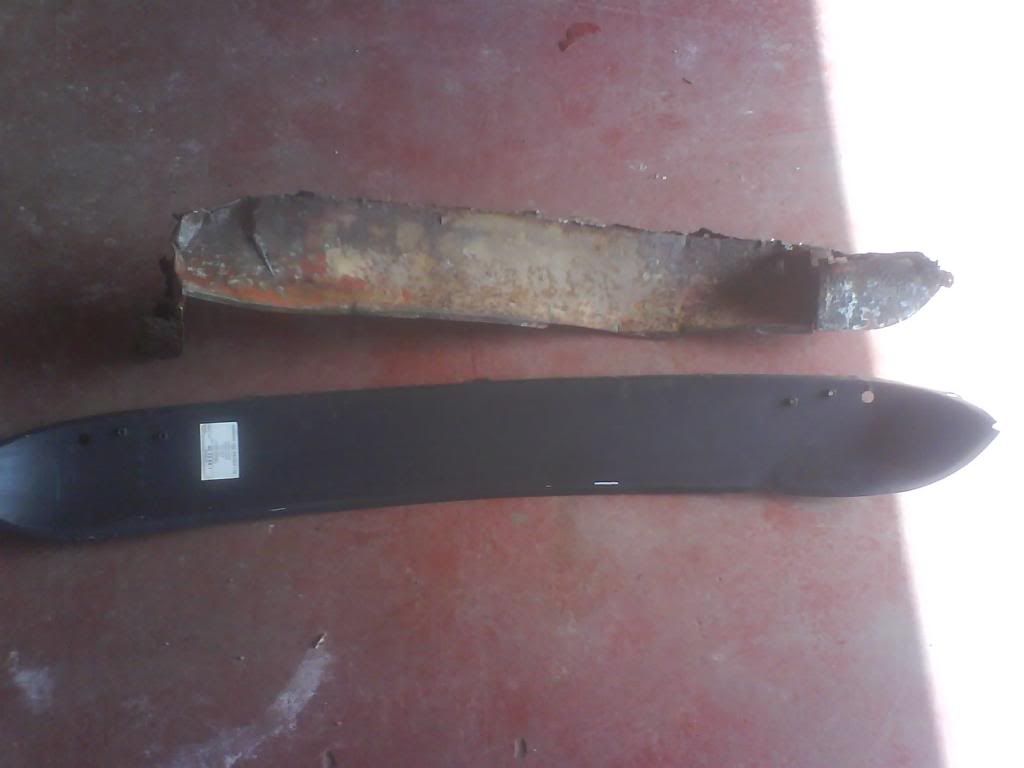
Something was telling me the shocks needed to be replaced but I couldn't really put my finger one what it was...

Image

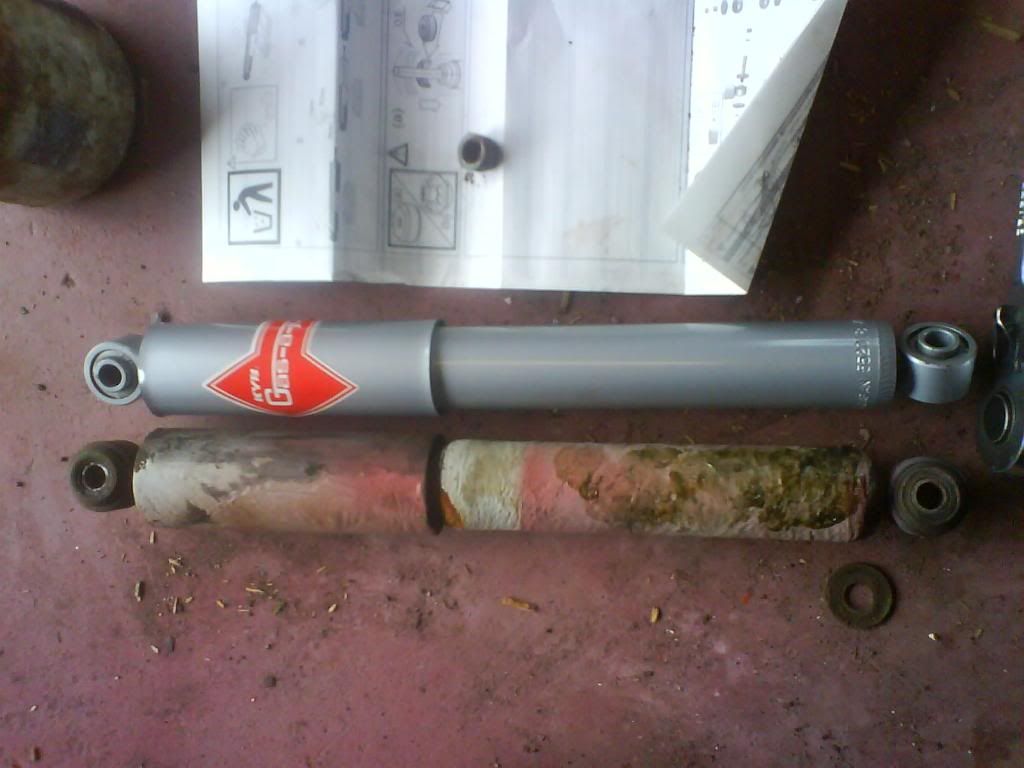
The original shocks had no damping features whatsoever! They were just completely solid!

Fitting them was simple enough. :)

Image

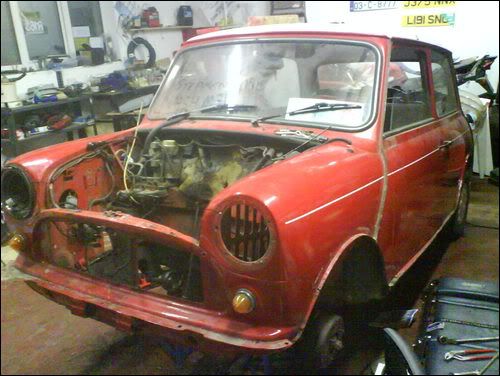
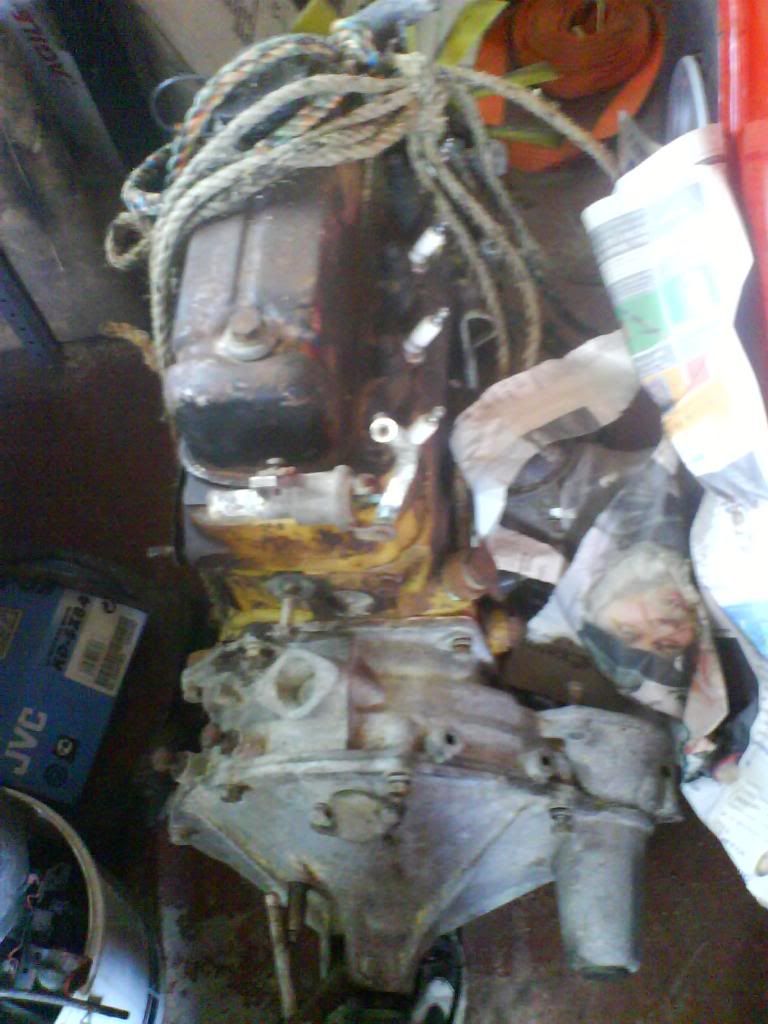
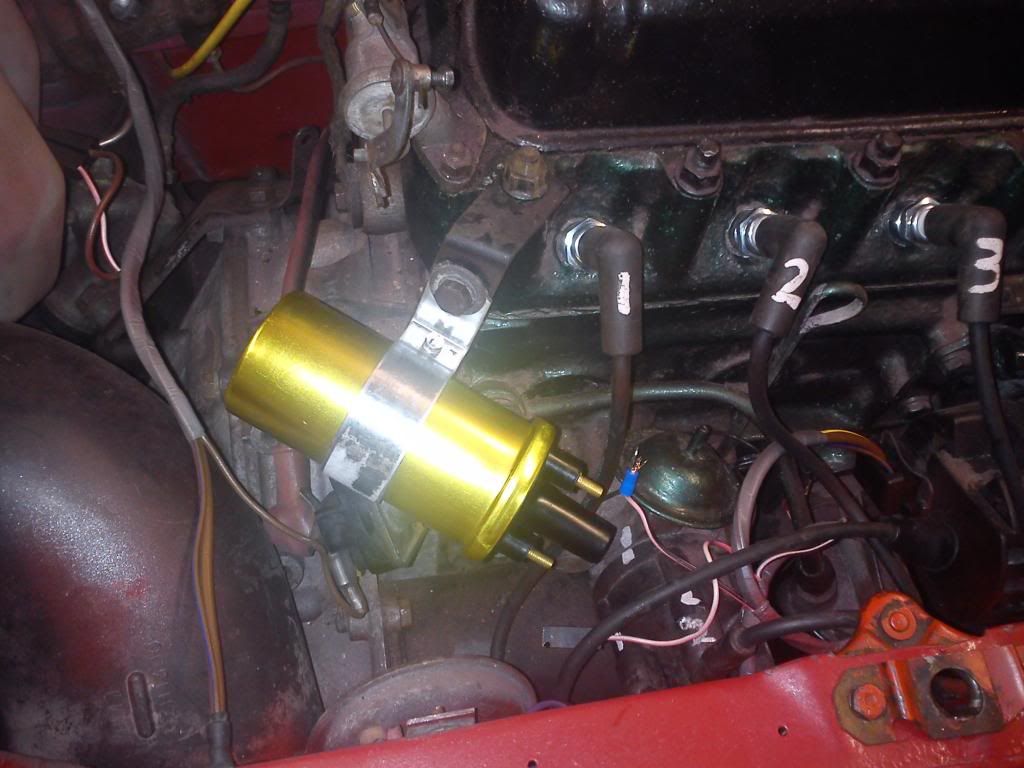
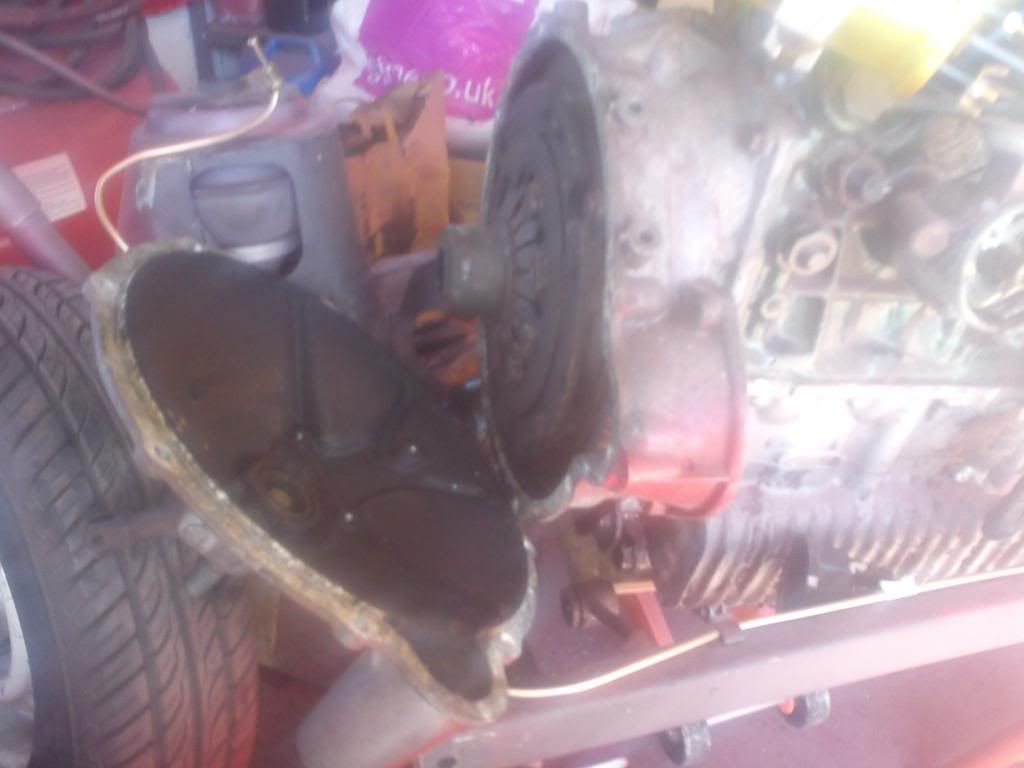
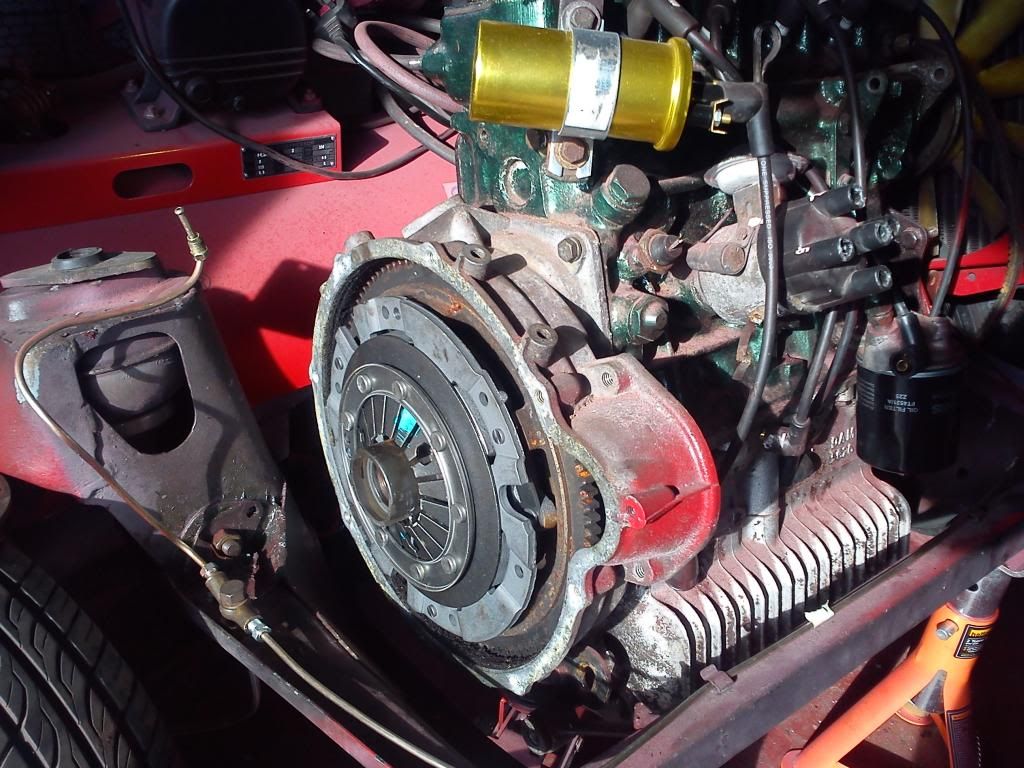
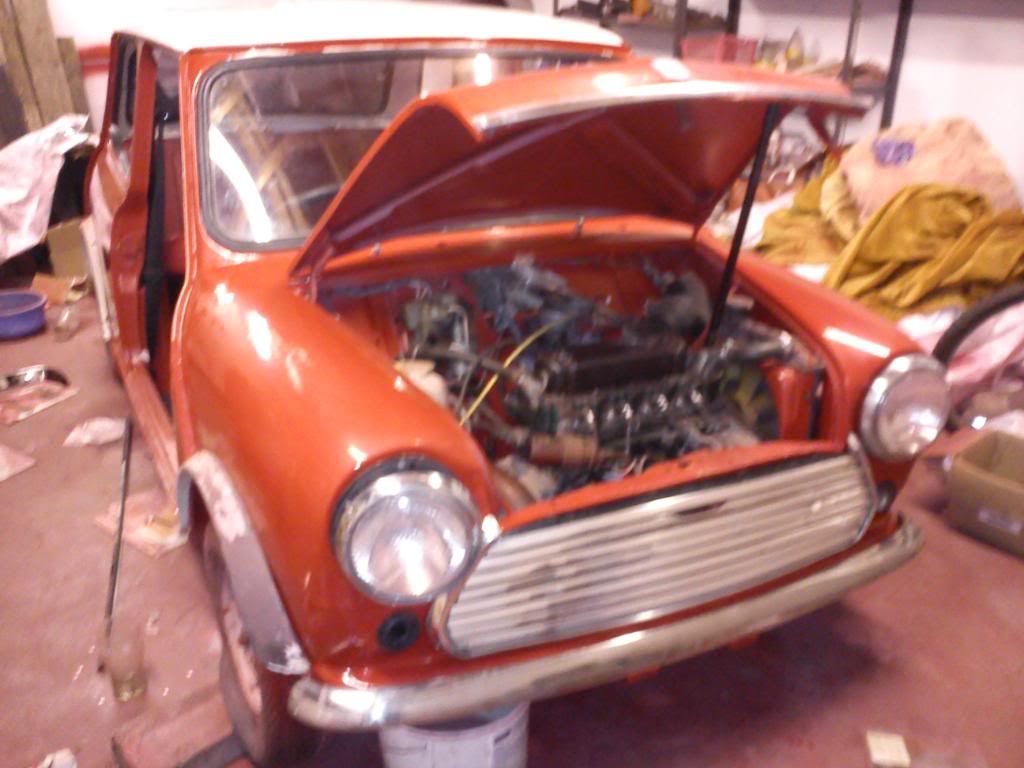
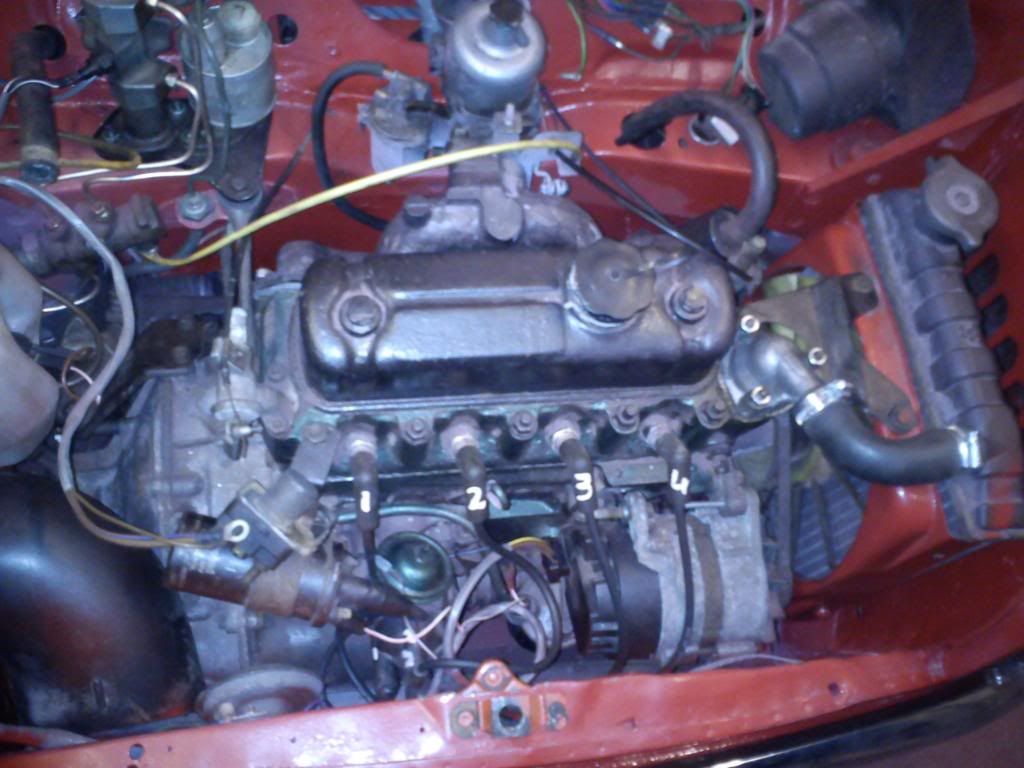
At this point I reckoned it was time to attempt putting the engine back in.

I'd like to thank my uncle here for all his help with my questions here too throughout this project!!

I borrowed my uncle's engine lift and things went smoothly enough. :)
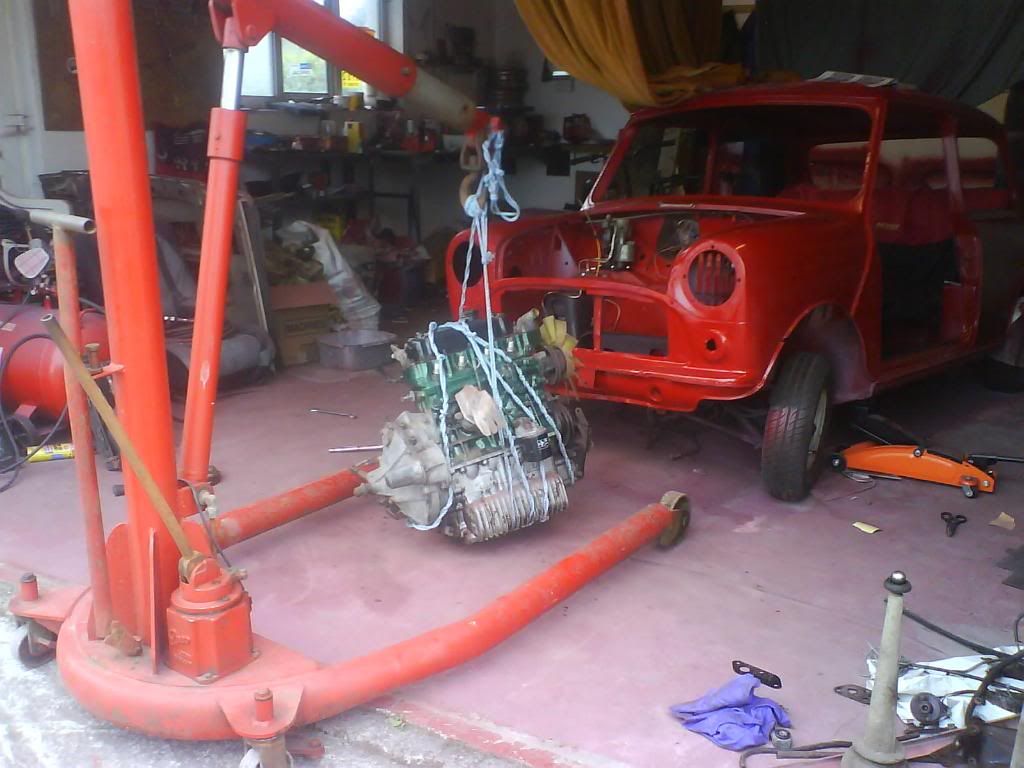
Image

Image

Image

Image

Ta da!! Ha


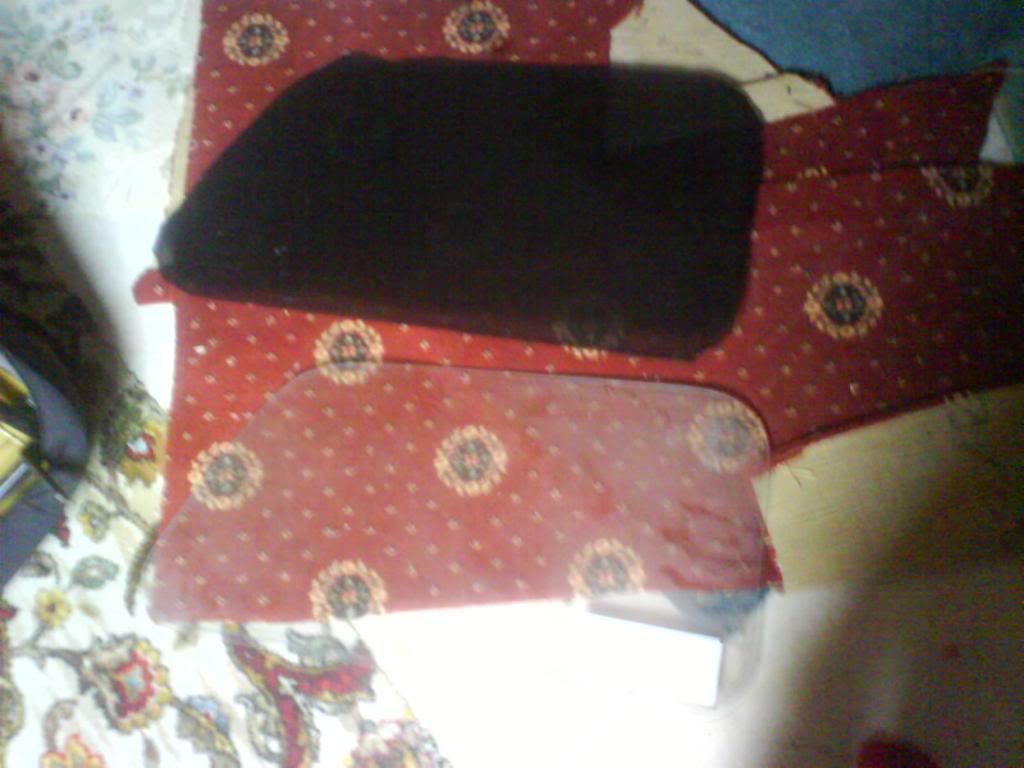
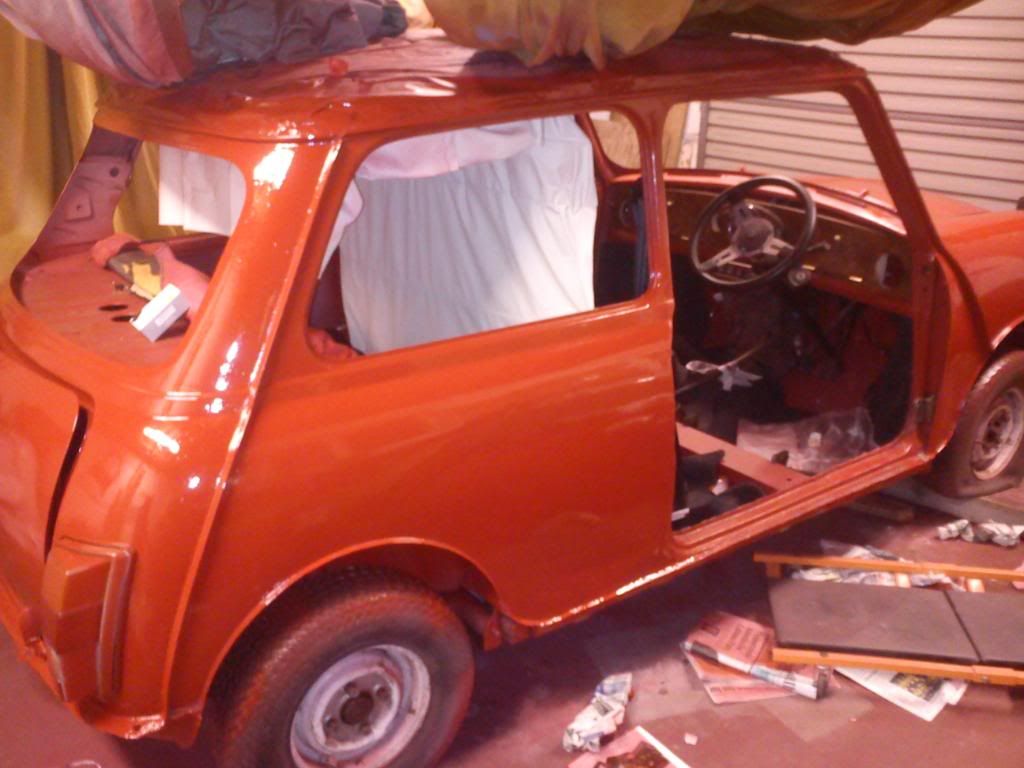
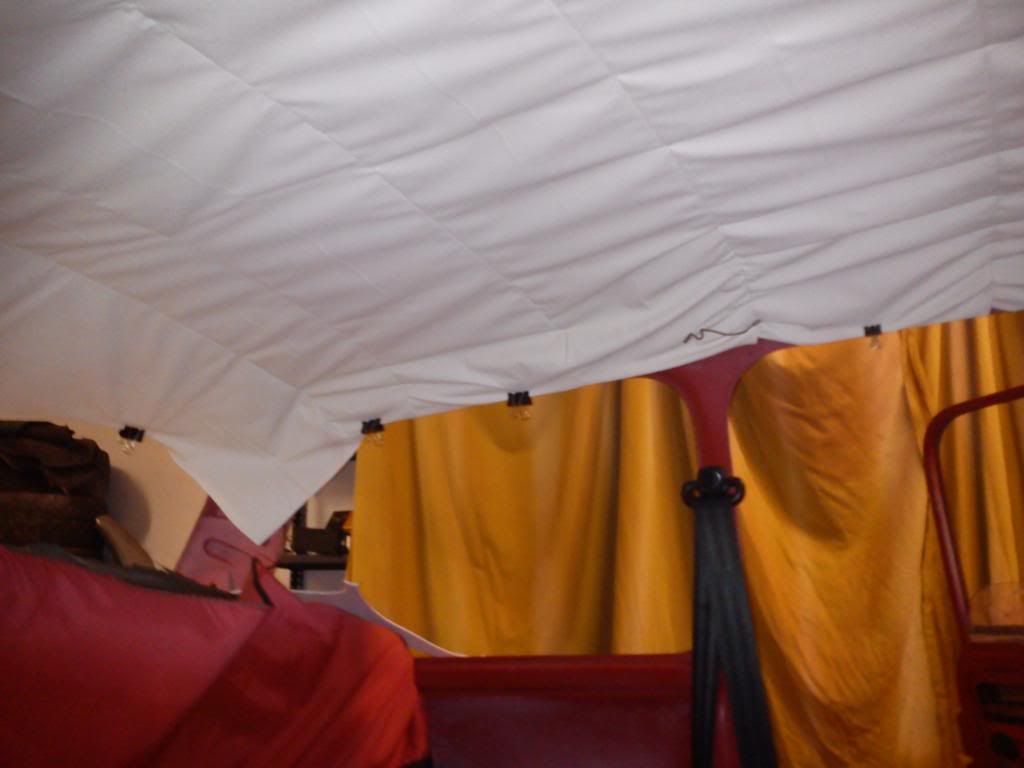
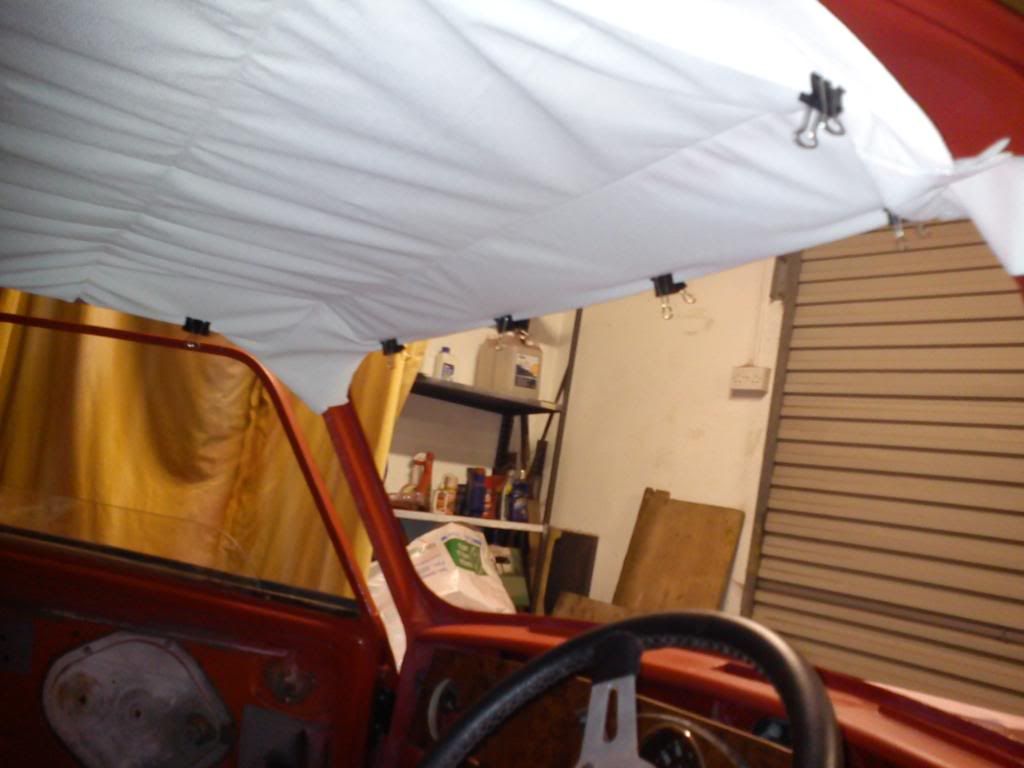
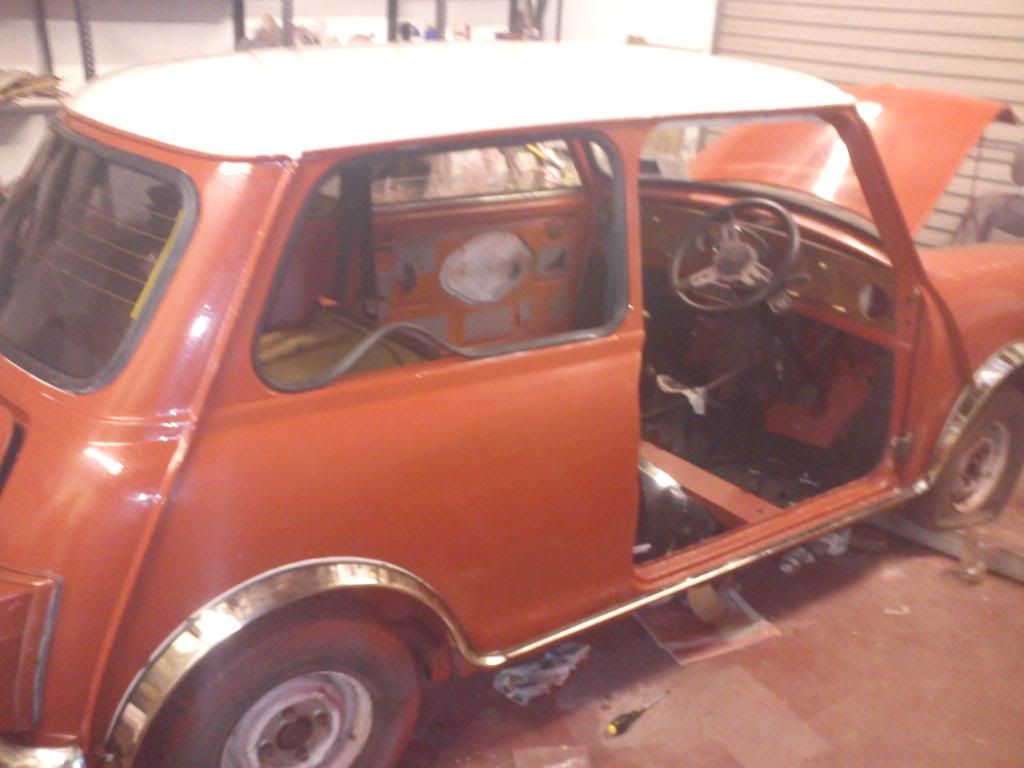
I then refitted the new walnut dash,rear lights, steering wheel and started to fit the headliner.

Wiring the rear lights to the new loom was easy enough and I was glad I bought it. :)

Image


The headliner was a tough job. I used a box of crocodile clips I had for college. Then after inserting the dash guide rails, I slowly went around the car gluing it into place.

Image

Image

Image

Image


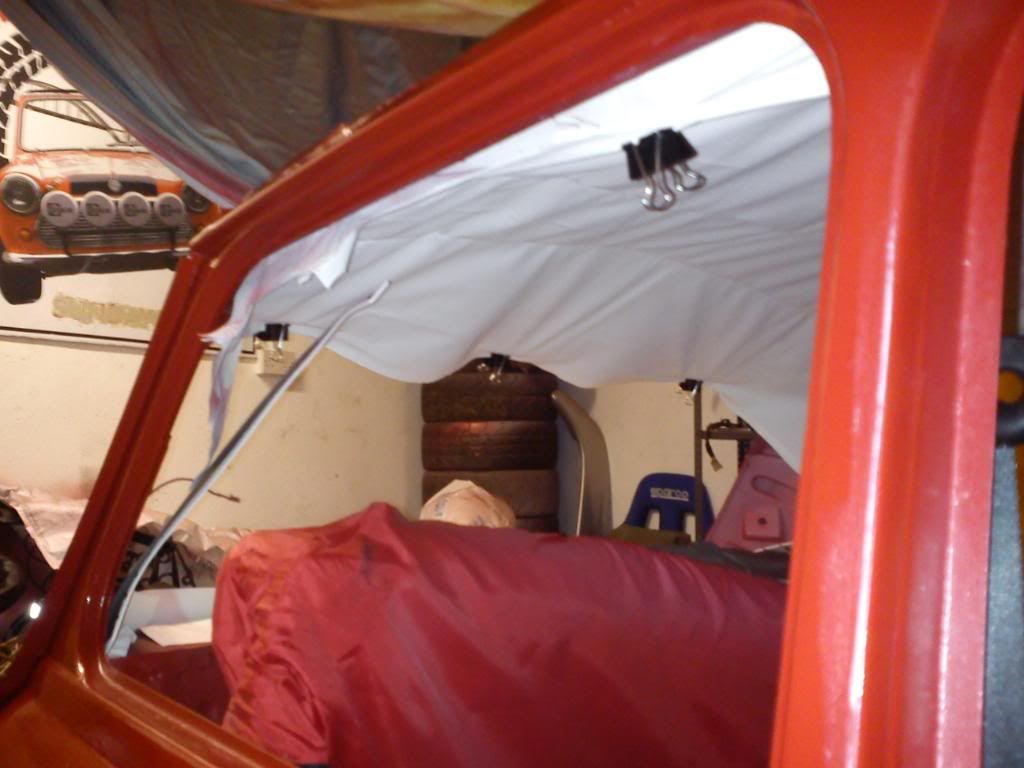
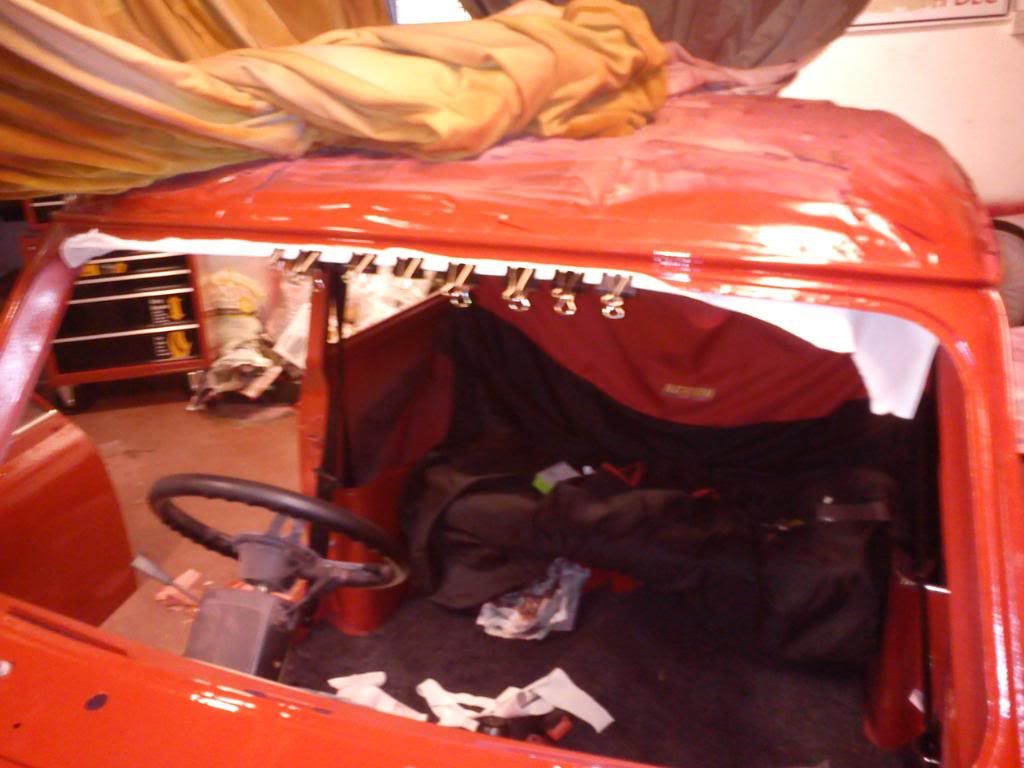
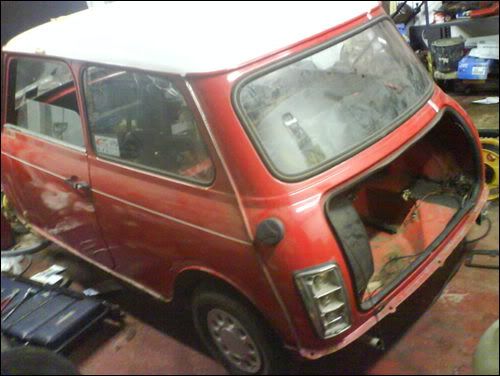
After leaving the headlinder set for a day, I decieded it was time to fit the glass.

I asked on here a few Q's about it so in the end i followed the advice and bought myself a tube of KY Jelly.
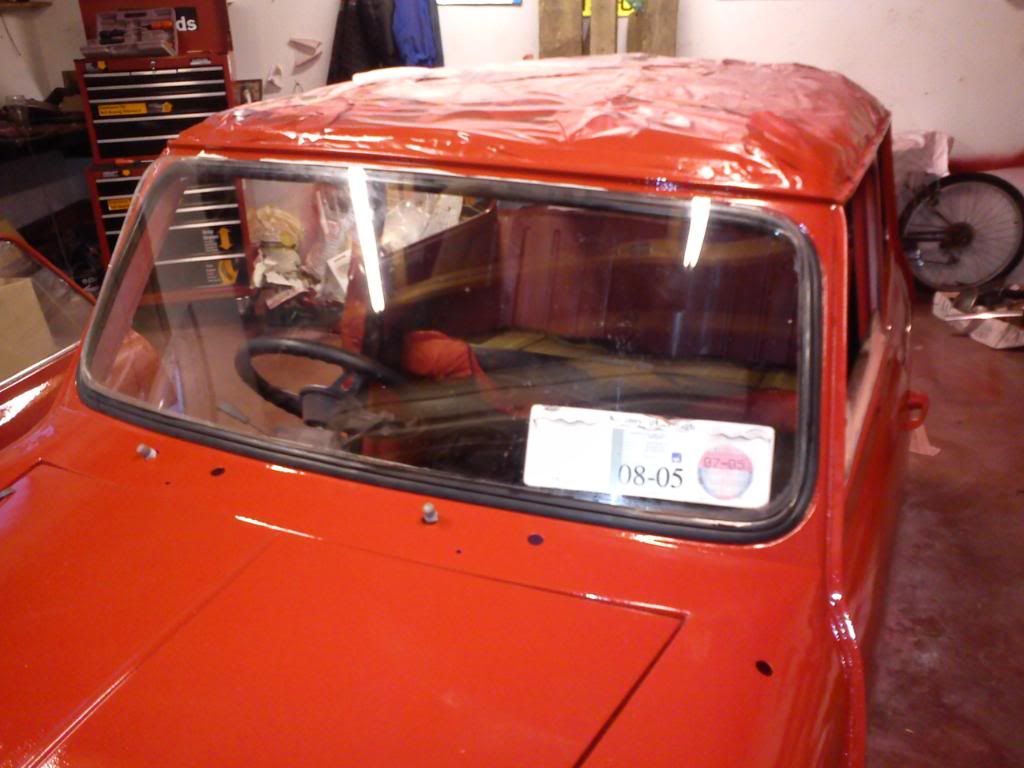
I robbed two old soup spoons from the kitchen. I had the rear glass and front windscreen fitted in no time at all! :)

Image

Image

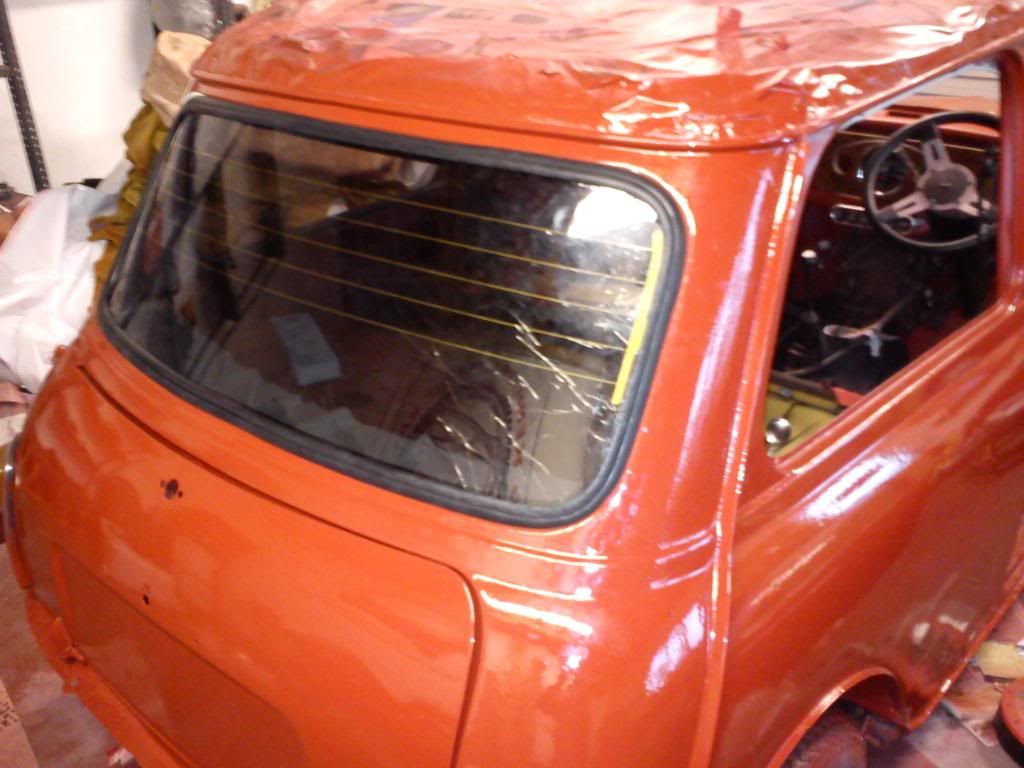
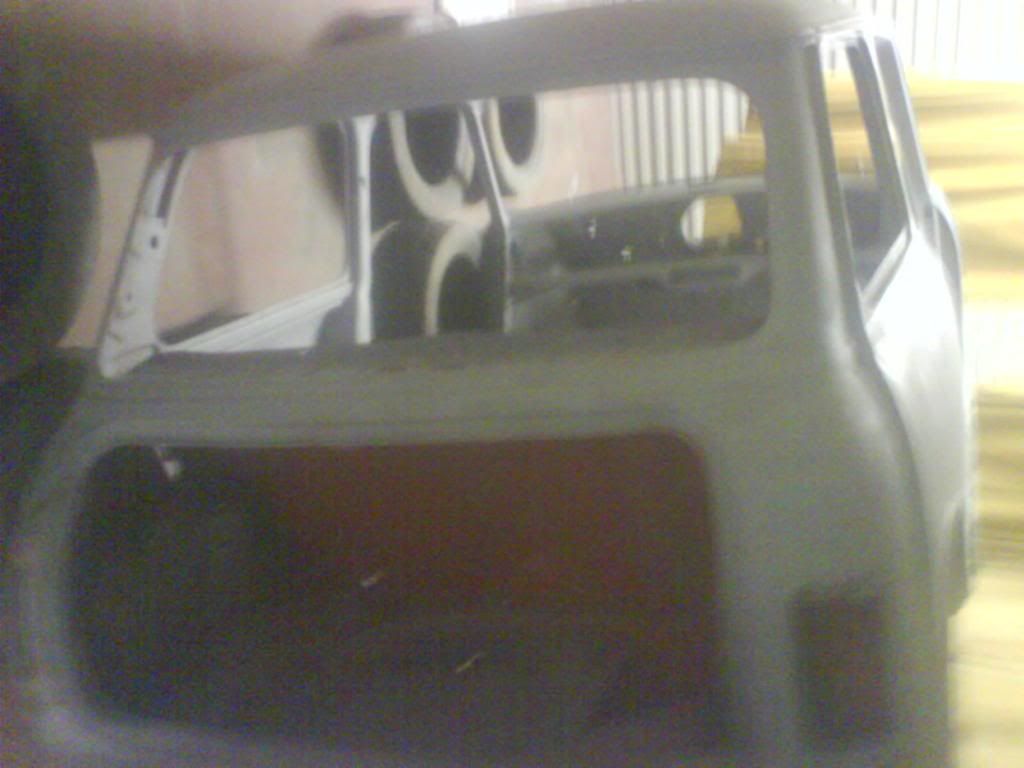
The rear quarters however were an absolute pain to deal with. Firstly the rubbers were too long.

Image

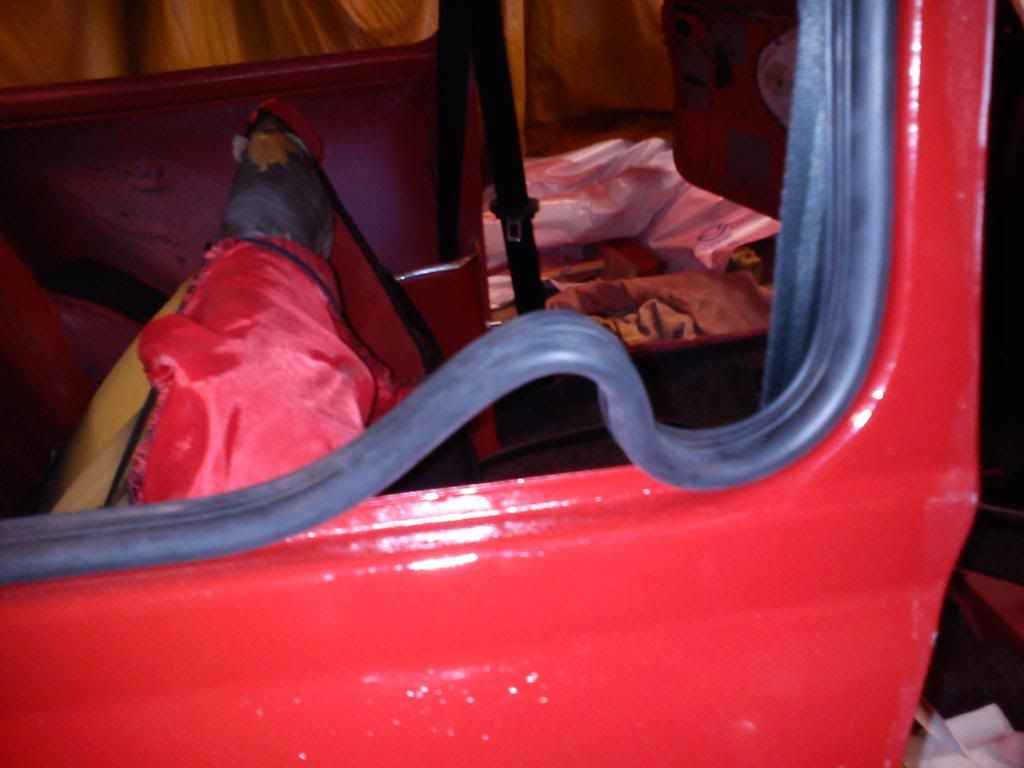
I tried and tried to feed them back into the moulds of the car but after a lot of forcing and shouting and stopping for tea and trying again I gave up. There was no use in trying. The square plug simply would not go through the round hole! So I cut them and used a thick epoxy glue to rejoin it. If it does start to leak I'll just have to try something else at a later stage. :)

(I just realised I didnt put up the photo's I had of the rear quarters fully in so I'll put them up at a later date. But ye all know what windows look like. ;) )

To fit the glass, I tried using the spoons trick that had worked on the front and back glass without issue. In the end I had to call my uncle down and ask him how I could possibly do it.

We used a thin wire around the rubber and as he kept force on the glass outside I pulled the wire around the inside to pop the rubber into place.

I was gutted, this being the first time I had to get help with something on the car that I couldnt do myself. :( But I realised it had to be done and I'd much rather know that the glass was in safe with two people working at it than doing it by myself and shattering the glass out on the floor!

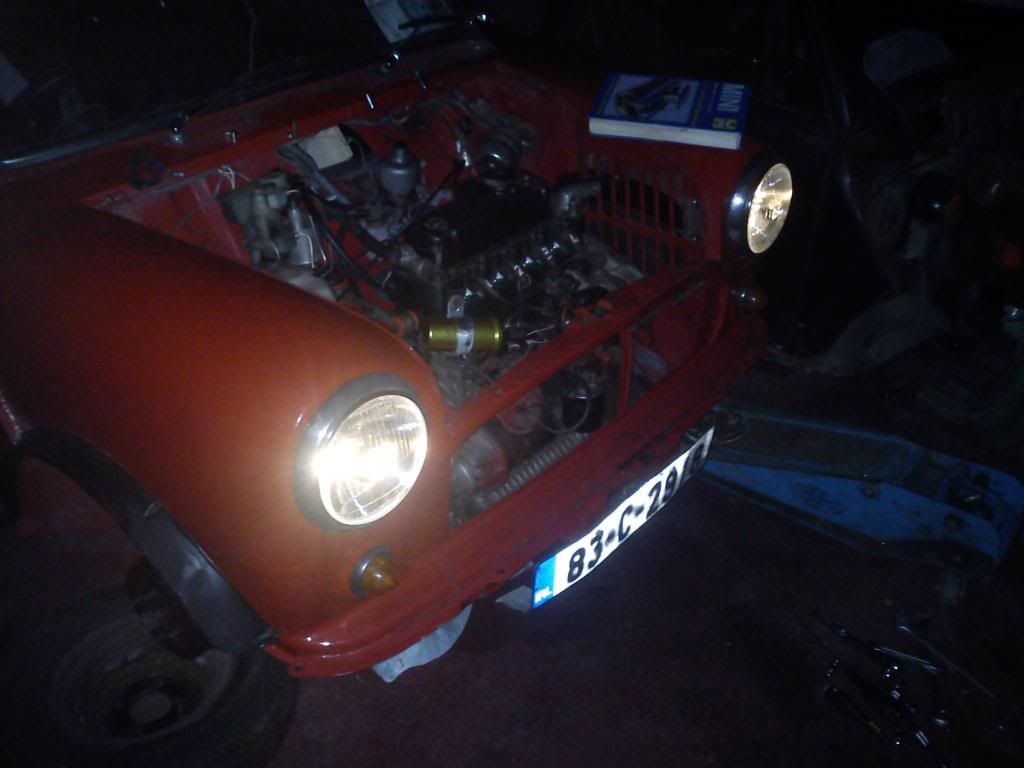
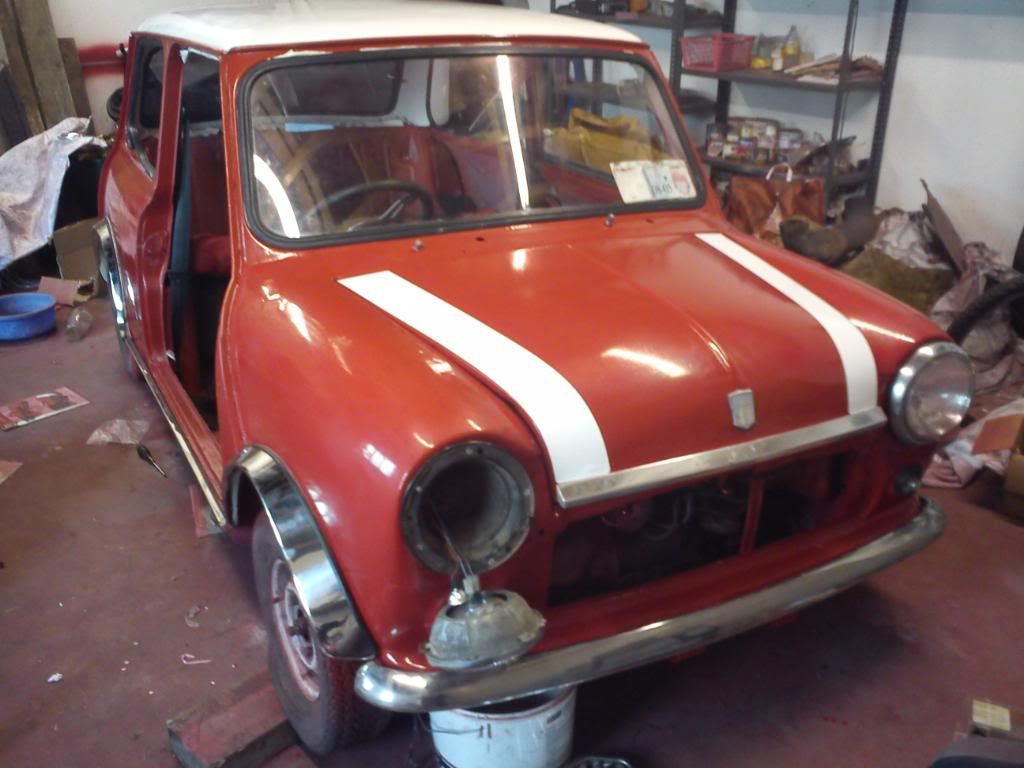
I started then adding the chromework at the front and trial fitted the grill and lights.

Image

Image

Image

Image

Image

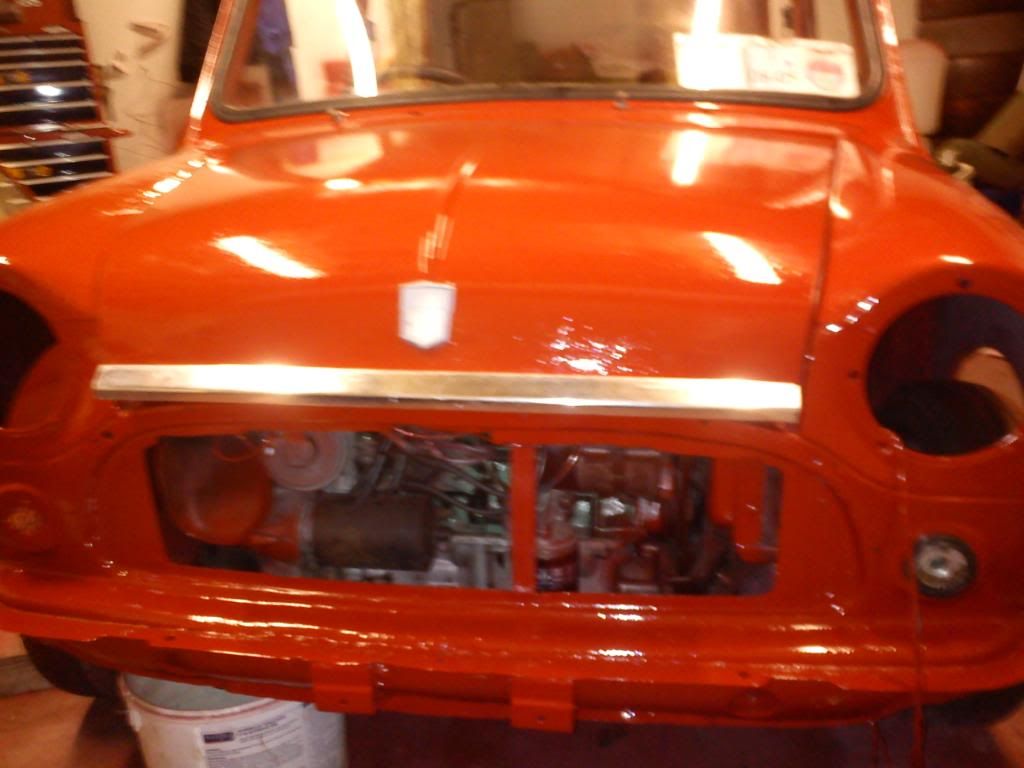
I even decided to fit the stripes. :D

Image

I also set down the underlay but I'm not going to glue it down until im sure everything is perfect with the seatbelts,handbrake and gearstick sections in case i need to take any of them out again first.

Image


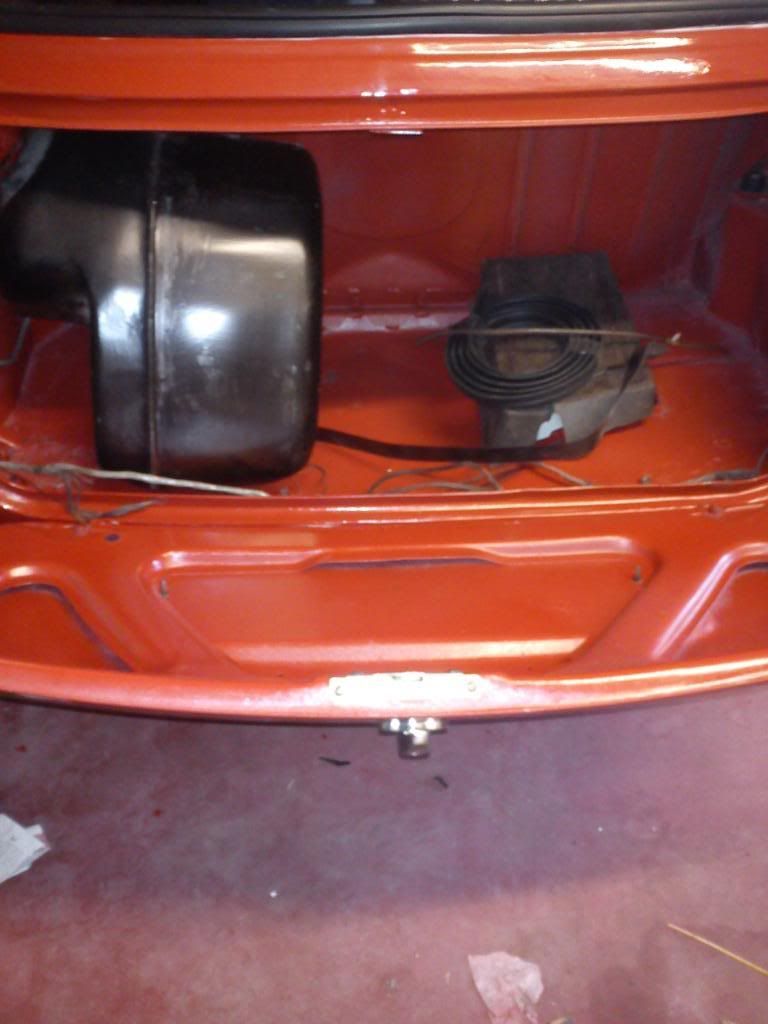
Next tasks are to fit the fuel tank properly (If anyone can show me how to wire the fuel tank that would be sound), finish wiring the engine (mainly the carb pipes..I must also figure out which ones connect to where) and also some other jobs that must be done. :)

Image

Image

I must also buy some more parts like a battery and the inner metallic section of the indicators because mine have rusted completely.

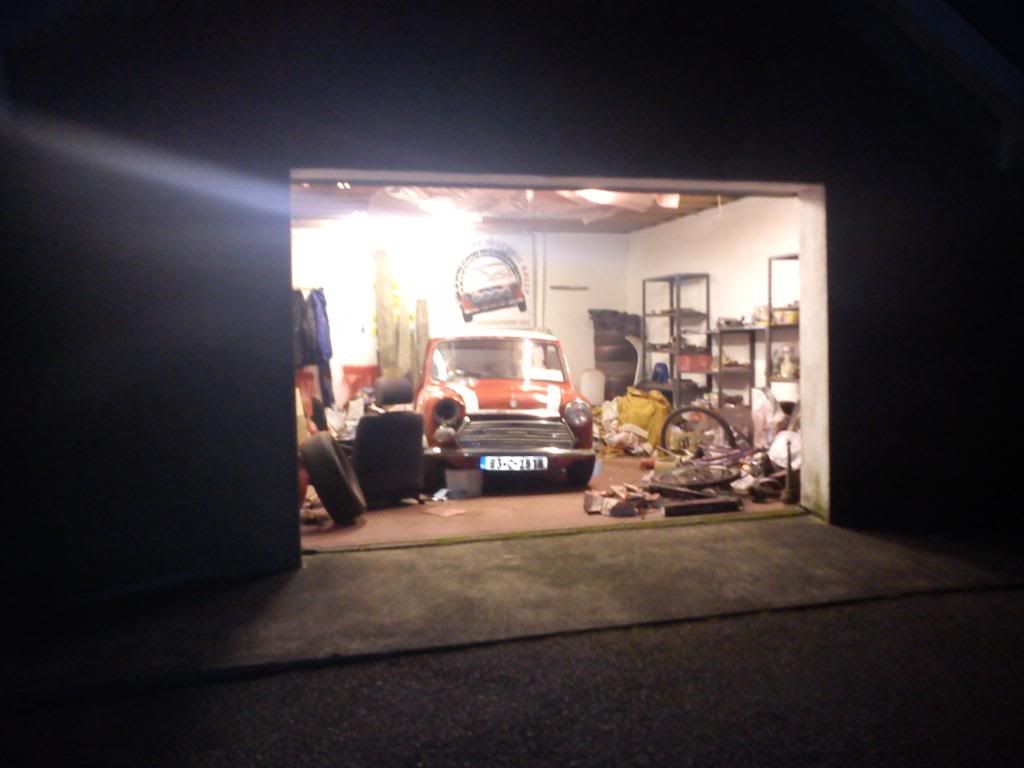
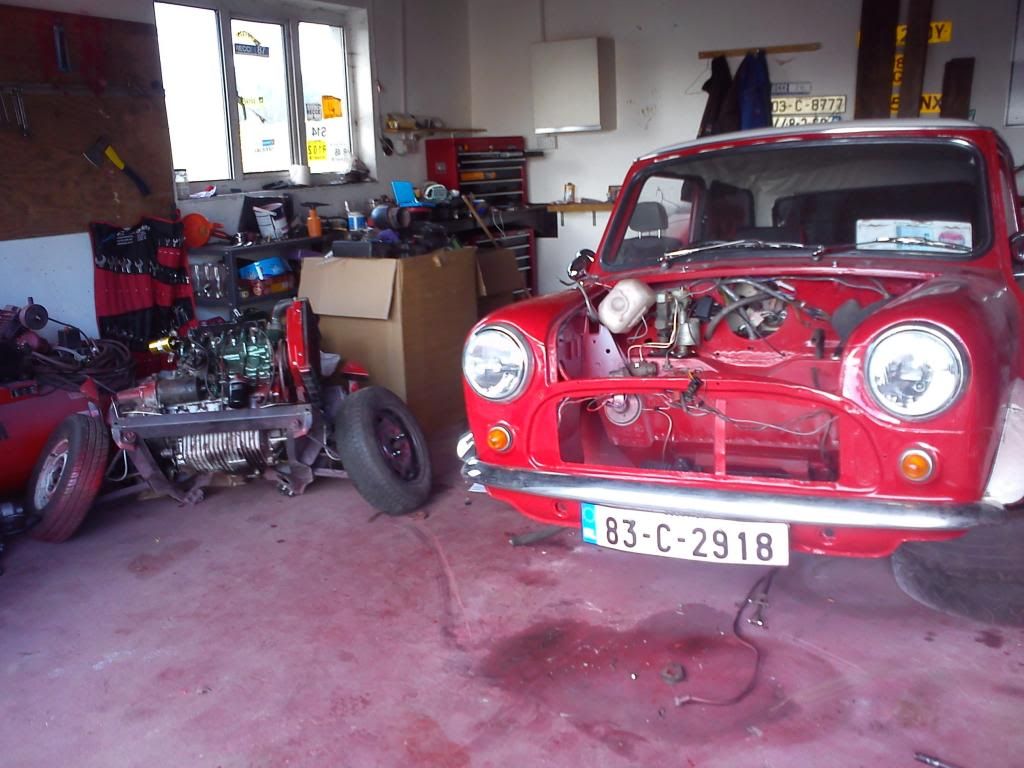
So for now she sits in a West Cork garage..waiting patiently for my return each weekend and hoping that some further work will be carried out on her.(I'm hoping the same!) :)

I dont know when I'll have another update. It depends on when parts arrive and when I get time to work on her as I'm now on Co op (work experience through college) up in Galway.

Thanks for reading. :D

Image
kerryminigringo
IMOC Paid Member
Posts: 2680
Joined: Thu Feb 10, 2005 9:44 pm
Whats your location?: Between an A series and a G13B
Region: Eastern
What Minis have you?: 61 van,68 MKII,
75 Clubman estate,
80 1275GT
91 RSP Cooper
Location: Between an A series and a G13B
Contact:

Re: Project Lucy

Post by kerryminigringo »

Excellent progress on this Mini,just to let you know that cyclinders are always 1234 from the crank pulley end so right to left.Just in case there is a mix up and keep up the good work. :D
Real Clubmans have a square nose.Seriously.
Scoobasteve7
IMOC Paid Member
Posts: 235
Joined: Sun Mar 28, 2010 4:23 pm
Whats your location?: West Cork
Region: Southern
What Minis have you?: 1983 Mini City E
Contact:

Re: Project Lucy

Post by Scoobasteve7 »

Thanks Kerryminigringo.

Cool, I'll know that for the next project. :)

I just numbered them 1 to 4 left to right in the engine and down at the dizzy as it was to make sure I put them back the right way as it was when it was running.
Scoobasteve7
IMOC Paid Member
Posts: 235
Joined: Sun Mar 28, 2010 4:23 pm
Whats your location?: West Cork
Region: Southern
What Minis have you?: 1983 Mini City E
Contact:

Re: Project Lucy

Post by Scoobasteve7 »

Small update on this.

I spent pretty much all day yesterday from about 9am to 5pm trying to sort the wiring. After cleaning down some earth points, I finally got power to the front. However, the car would not start. :(

I asked my cousin to call down (he's a bus mechanic so would know a bit more with a good bit than me!) and take a look for me if I was missing something.

We bench tested the starter...working fine.
We checked to see the drives were fully into the engine and turning. They were, yet the flywheel remained solid.

He asked me had I removed the cups from inside the engine. I said No the only thing I've taken out is the drives themselves.

In the end, he discovered that the clutch release bearing was stuck to the drive shaft. The slave clutch cylinder was all the way in the wrong direction and has been so for a good few months.


So long story short.... I have to remove the engine again and get a new clutch. He said we could free the old one up but there's no guarantee it would last.

You learn something new everyday I guess.

I started stripping off all the engine ancillaries today.All that's left now is to remove the tower bolts and then drop the engine out under the car on the subframe. (Another new experience as last time I lifted it out.

I'll keep ye updated when I get the new clutch! :)
brianquinn
NON Member
Posts: 4
Joined: Wed Feb 15, 2012 7:35 pm
Whats your location?: sligo
Region: Western
Contact:

Re: Project Lucy

Post by brianquinn »

Well done that man keep at it.
Scoobasteve7
IMOC Paid Member
Posts: 235
Joined: Sun Mar 28, 2010 4:23 pm
Whats your location?: West Cork
Region: Southern
What Minis have you?: 1983 Mini City E
Contact:

Re: Project Lucy

Post by Scoobasteve7 »

Well probably about time I update this again!

Firstly, since my last post I made an order to minisport for the clutch and various other parts.

In the meantime, I fitted the chrome bezels and wipers I bought.

Image

I also went to the local motor factors and bought herself a set of plugs and got oil from halfords to give her a service in the meantime.
The plugs hadnt been changed since I got her years ago! They were slightly black to say the least!! ha
Delighted to realise that you dont need a plug spanner for minis!! :)

Image

Over Christmas, my girlfriend got me a set of seats with the backseat cover to match which made my Christmas! :)

(Thanks again Jessica!! xxx)

Image

I also got tyres fitted to my alloys over Christmas. Cant wait to take them out for a spin over summer!!

Image

I trial fitted them just to see how'd theyd look. There's some difference even between the look of 10s to 12s!

Image

Image


So then my parts arrived from minisport,mainly the new clutch! :)

As I was by myself when the parts arrived, there wasnt much I could do enginewise, so I decided I'd fit the new gold coil.

Image

Myself and my two cousins managed to remove the engine,lift the shell and slide out the engine relatively easy.

Image

I took off the cover of the clutch and was suprised to find that Valeo made the original as one of my course mates was working with them on his college work placement (Co-Op)

Image

Image

The old clutch was a slightly different shape to the new clutch but I had already been told that the clutch I was getting was a metro turbo clutch that would fit.

Old clutch and new clutch
Image

new bearing and old bearing
Image

I had to file two of the bolt holes of the new clutch slightly (about 2mm) as it didn't line up correctly at first. Quite annoying but still things could have been worse!! After a little work the central section of the old clutch mated to the new one perfectly.

Image

fitted it back into the flywheel.

Image

I decided when I was getting a new clutch I would get a new clutch slave cylinder as the old one didnt look the best for wear.

Image

Everything fitted back together quite nicely!

Image

I also got a set of goodridge braided hoses, polybushes for the front subframe and engine steadies and fitted those since too.

Image

Image

Following on from that, I got more of the electronics sorted. With the help of the forum here, I managed to get my starter soleniod working properly too. :) (Thanks again guys!!)

I also have the front and rear lights working. It was such a great feeling to see the mini finally have a bit of life in herself after all this time, even if it was just a set of lights!!

Image


Next step now is to get the brakes sorted. I have one of the rear cylinders replaced and just need to find time to do the other one and bleed the brakes then hopefully.

Then I need to figure out where the fuel pipes go at the front, put in some fuel and see if she will start or not.

I probably wont get a chance to work on her now again until summer unfortunately as I'm in my final year in college and my final year project is due the last week in May so the pressure is on for that.

But yeah, I seriously cannot wait for this summer! :)

Thanks for reading and hopefully the next time I update this will be closer to when the work was actually carried out and the car will be driving! Ha
Post Reply

Who is online

Users browsing this forum: No registered users and 0 guests