Page 12 of 18
Re: 1983 Mini City
Posted: Thu Mar 09, 2023 7:03 pm
by colinf1
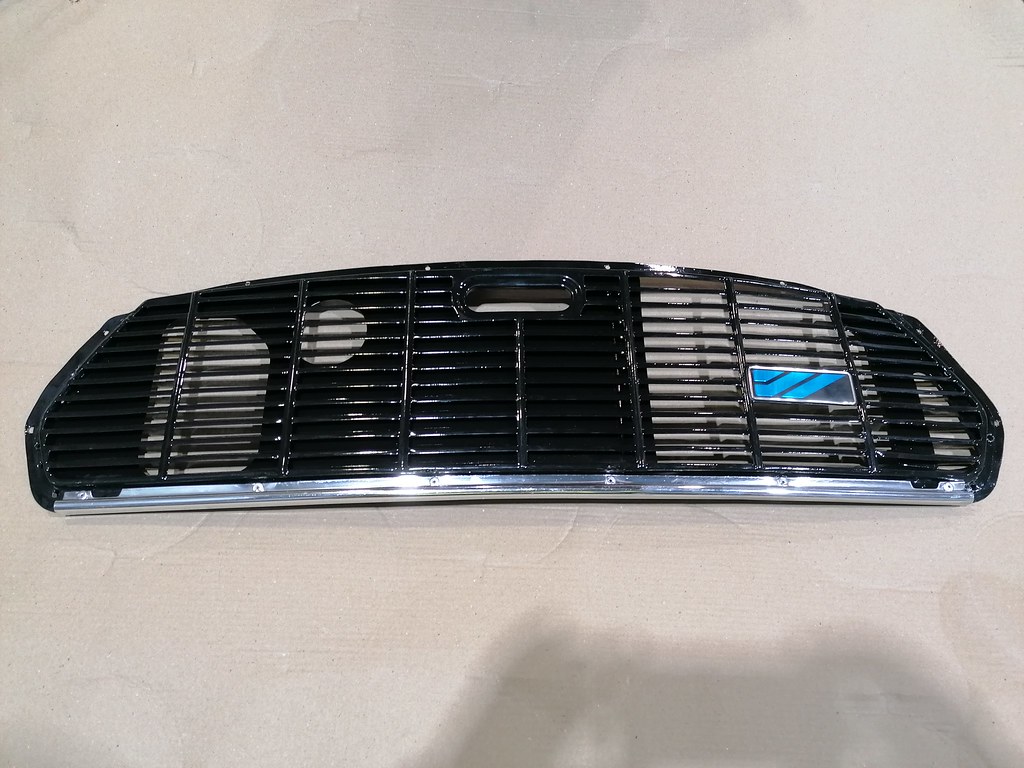
Grille painted and trim clean and polished up. Bonnet strip still needs a bit more work to get it polish to a mirror finish..
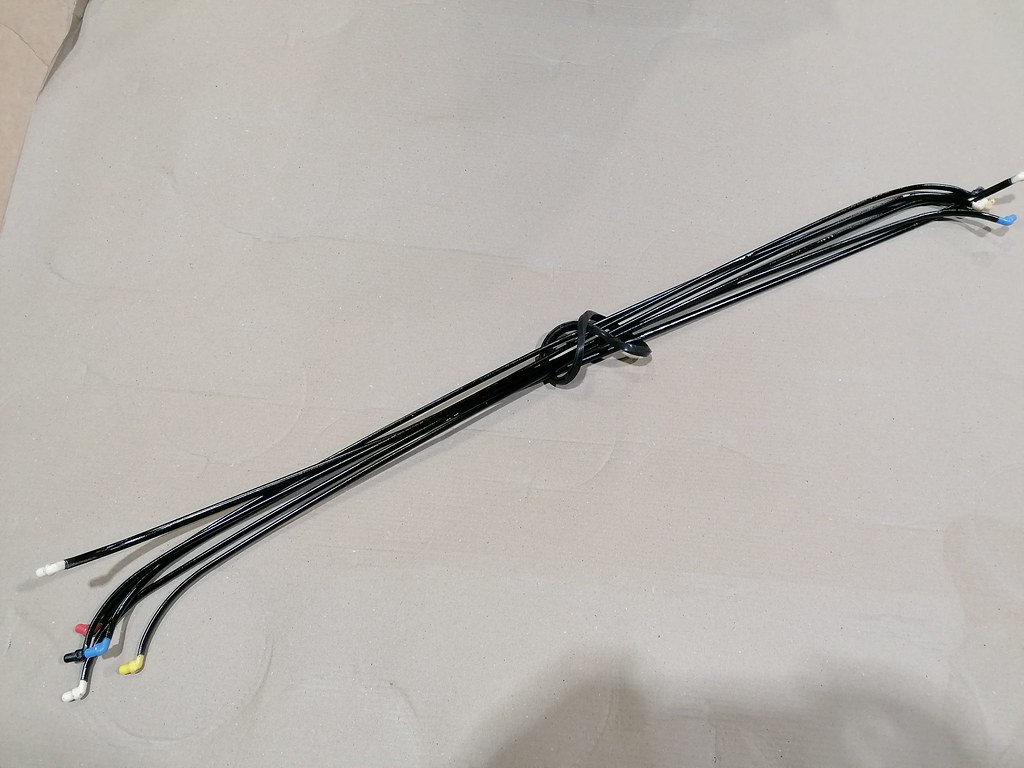
Also got the headliner rods cleaned and painted with some gloss black. One end had broken, but managed to stick it back together with a small piece of wire epoxied into the centre of it.
Re: 1983 Mini City
Posted: Sun Mar 26, 2023 8:01 pm
by colinf1
A few more small jobs done, finally got the radiator top mounting bolts and bushes..

Then a few shiny parts cleaned and polished...
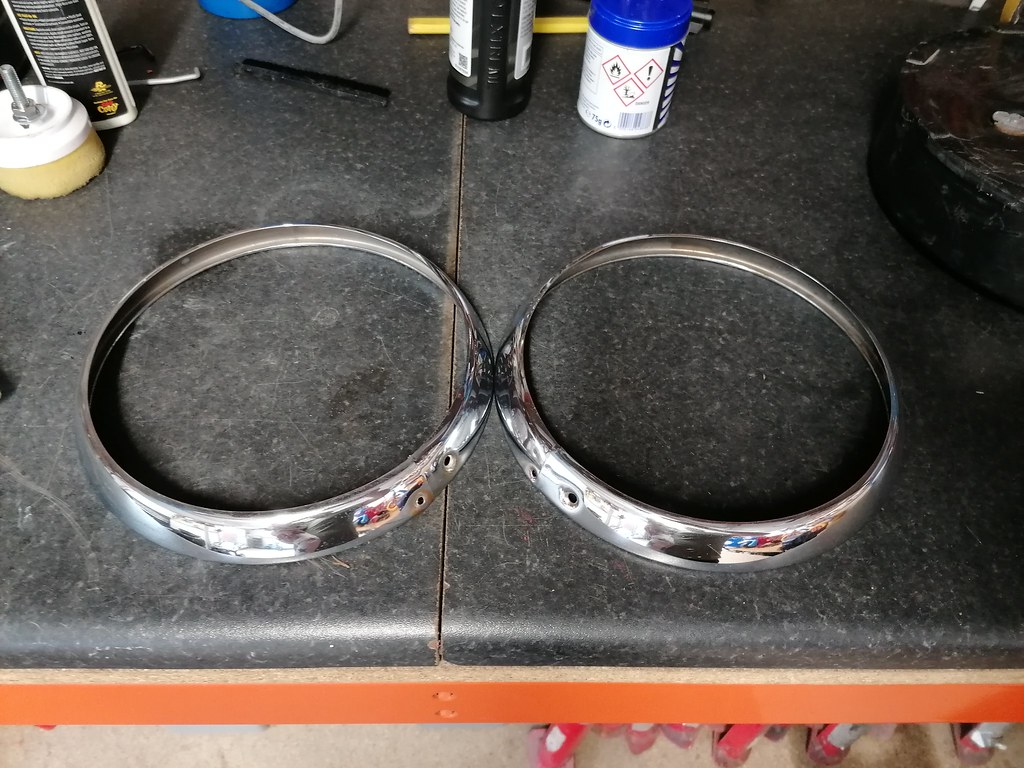
Hopefully the reassembly begins soon...
Re: 1983 Mini City
Posted: Sat Apr 01, 2023 6:27 pm
by colinf1
Been cleaning up a set of Austin 1300GT clocks with the idea of using them for the mini, all foam seals had perished and bulb holders were missing. Added some cob LED strip lights for illuminating the dial face, but there a tad bright so have to add a dimmer.
Fuel/Engine temp gauge with lights added and warning lights swapped over to LEDs also...

Re: 1983 Mini City
Posted: Tue Apr 04, 2023 7:49 pm
by colinf1
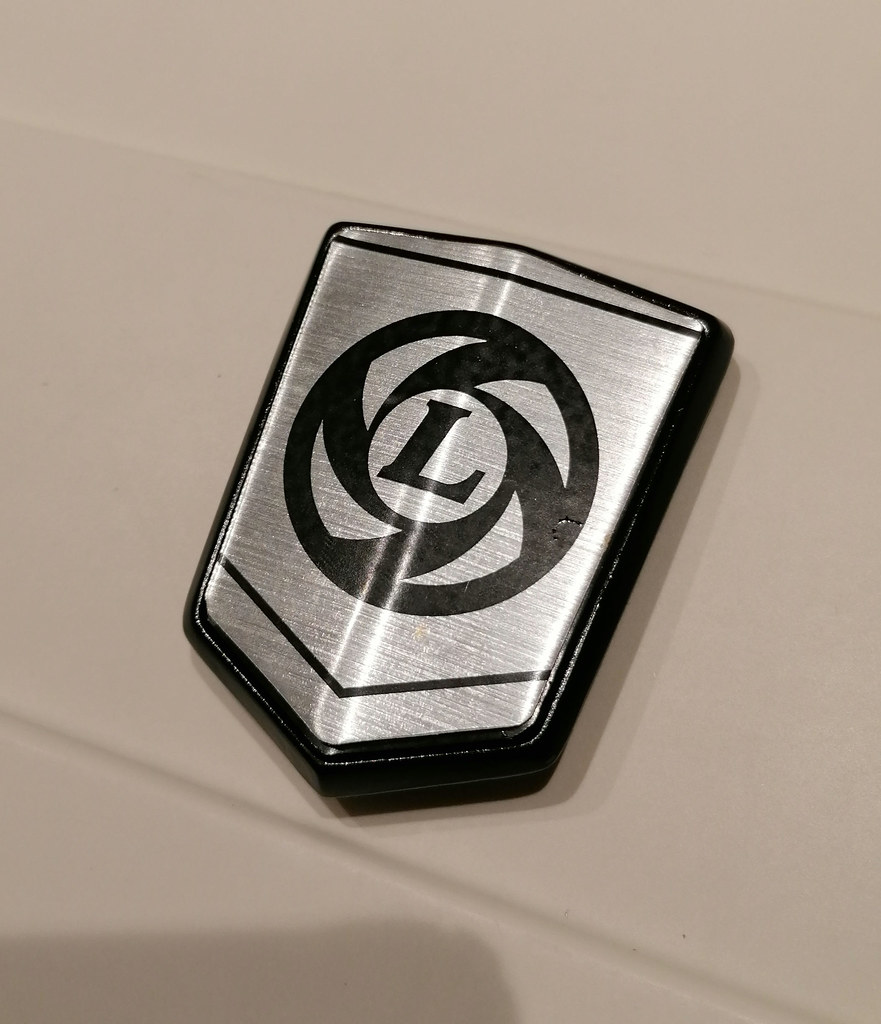
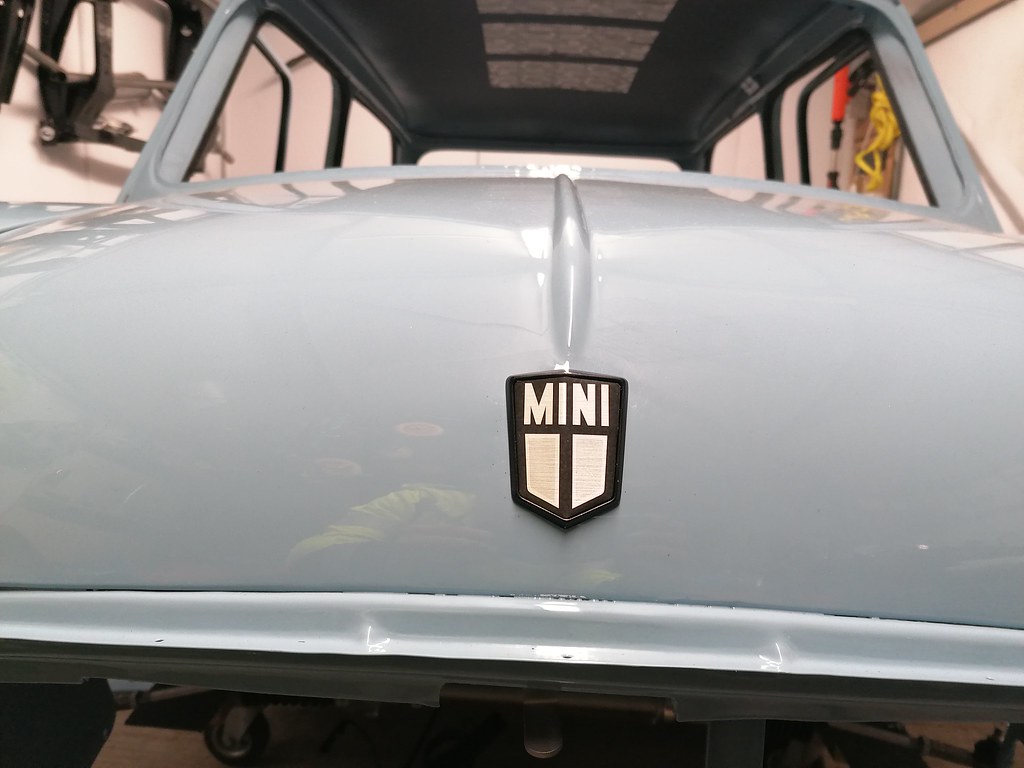
Sandblasted and painted the bonnet badge a few weeks ago, then remade the emblem using self adhesive clear vinyl and some self adhesive 0.5mm brushed aluminium sheet. Not as glossy as I'd like it to be, so may try lacquering it.

Re: 1983 Mini City
Posted: Tue Apr 04, 2023 8:52 pm
by colinf1
Actually had started this badge project thinking the Leyland Fan badge was the correct one for year, but looking at 1982/1983 brochures show the badge with the shield and mini word.
Looks nice though...
Re: 1983 Mini City
Posted: Sat Apr 08, 2023 5:23 pm
by colinf1
Look who's home....
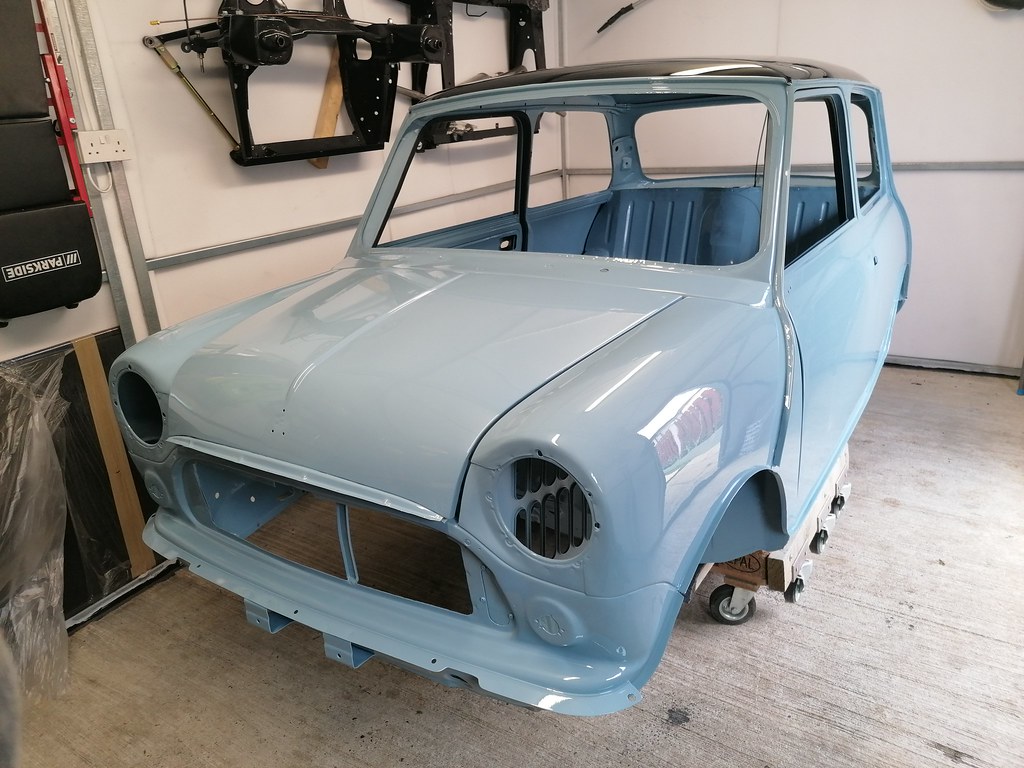
Now to get it reassembled...
Re: 1983 Mini City
Posted: Sat Apr 08, 2023 7:08 pm
by woody
Love the colour, that might require a chrome grill.
Re: 1983 Mini City
Posted: Sat Apr 08, 2023 8:13 pm
by ctwomey
Glad you got it into your shed Colin. Great to see you and your dad today. Happy assembling!
Re: 1983 Mini City
Posted: Mon Apr 10, 2023 5:59 pm
by colinf1
Some good progress made today, not as much as I would have like due to not having certain parts cleaned and painted...
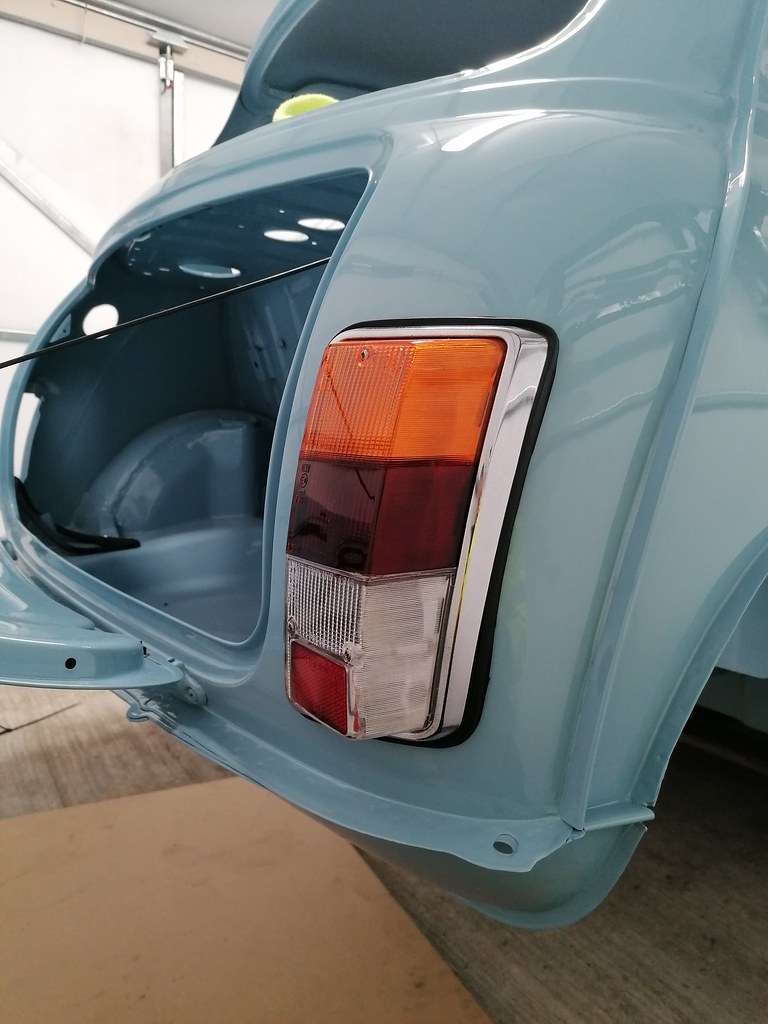
One rear lamp installed, just to see how it looks....
Then onto the anti-drum...
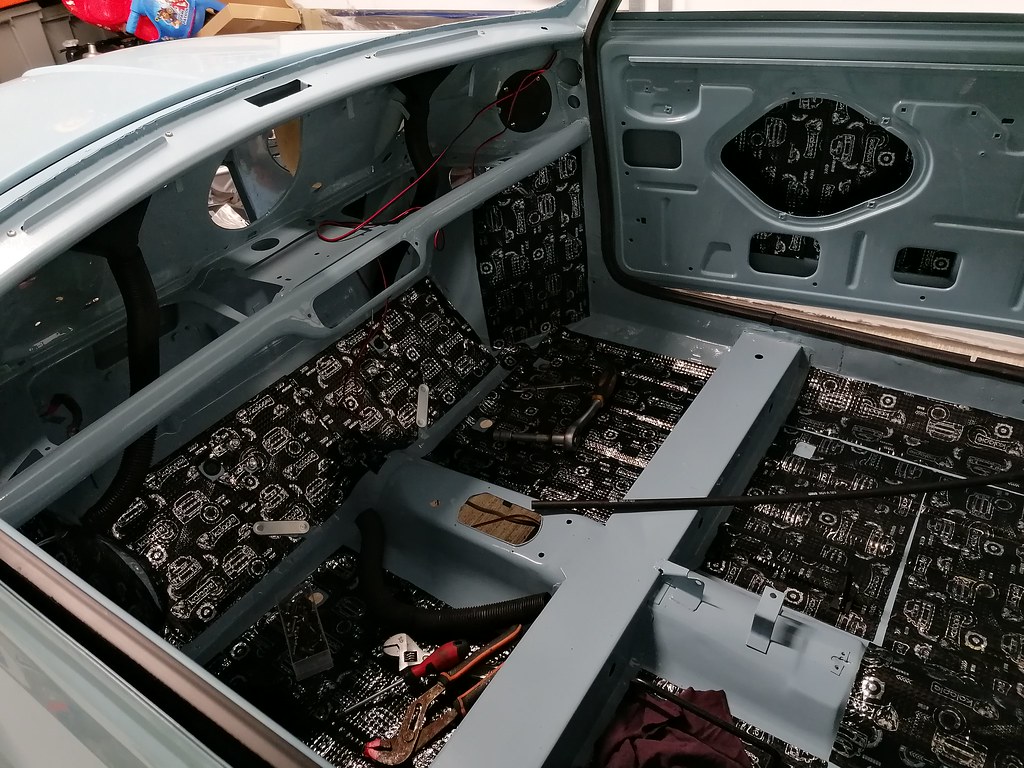
Also got the vent closing panels, rear seat plastic strip, rear bin chrome strips , steering rack, rear loom and fished out the interior light & rear screen demister wires, battery cable, fuel line and front to rear brake line and front demister vents.
Also ran 2 sets of speaker wires to the boot for speakers if I ever decide to put a radio in it. Some blanking grommets put in also...
Need to get pedal box painted as that's the next item to go in.
Re: 1983 Mini City
Posted: Tue Apr 11, 2023 12:13 pm
by Billy
Really taking shape now
Re: 1983 Mini City
Posted: Tue Apr 11, 2023 9:38 pm
by colinf1
Opposite rear light cleaned up as best I could, some minor pitting on the chrome plating that won't polish out. A bit of melting around the brake bulb, but not too bad. Lenses polished up nicely, but when tightened the 2 halves open up slightly so thinking of sticking them together with clear epoxy...
Re: 1983 Mini City
Posted: Wed Apr 12, 2023 9:54 am
by Billy
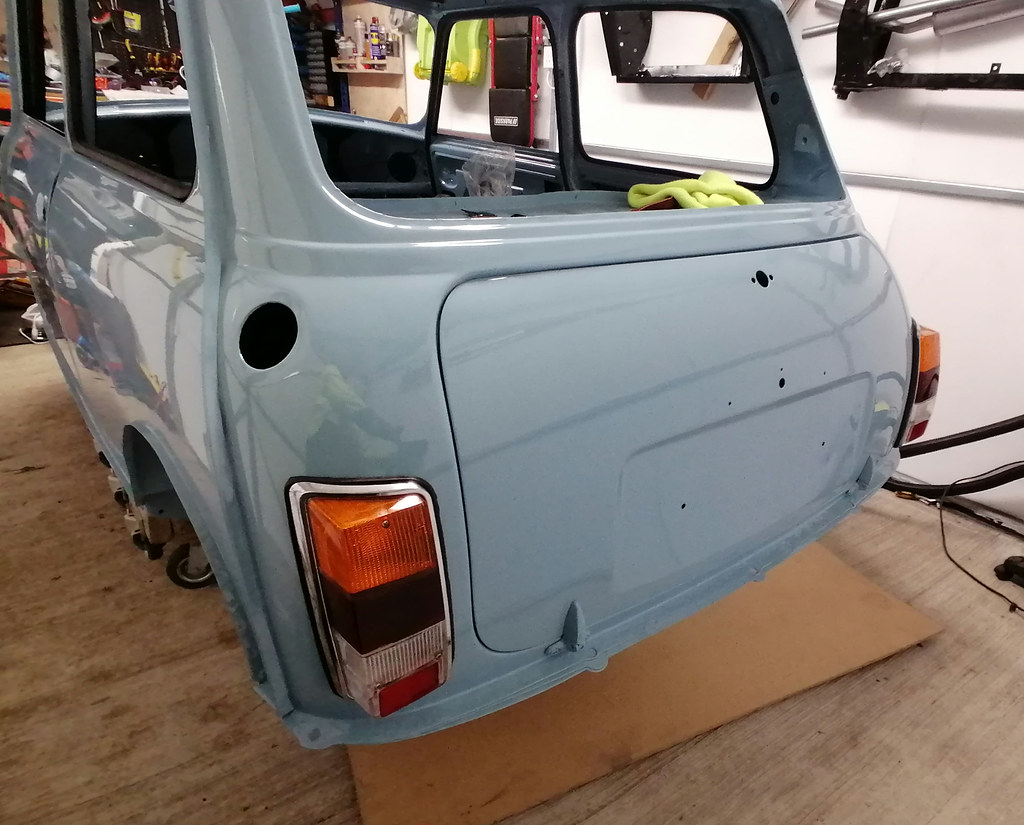
The boot gaps look great. The trick is maintaining them once the rubbers are fitted.
Re: 1983 Mini City
Posted: Wed Apr 12, 2023 10:29 am
by colinf1
Thanks Billy, I think I'm going to go with the later boot seal, as the metal clips seem very fiddley, almost impossible to get them on right...
Re: 1983 Mini City
Posted: Thu Apr 13, 2023 10:35 pm
by colinf1
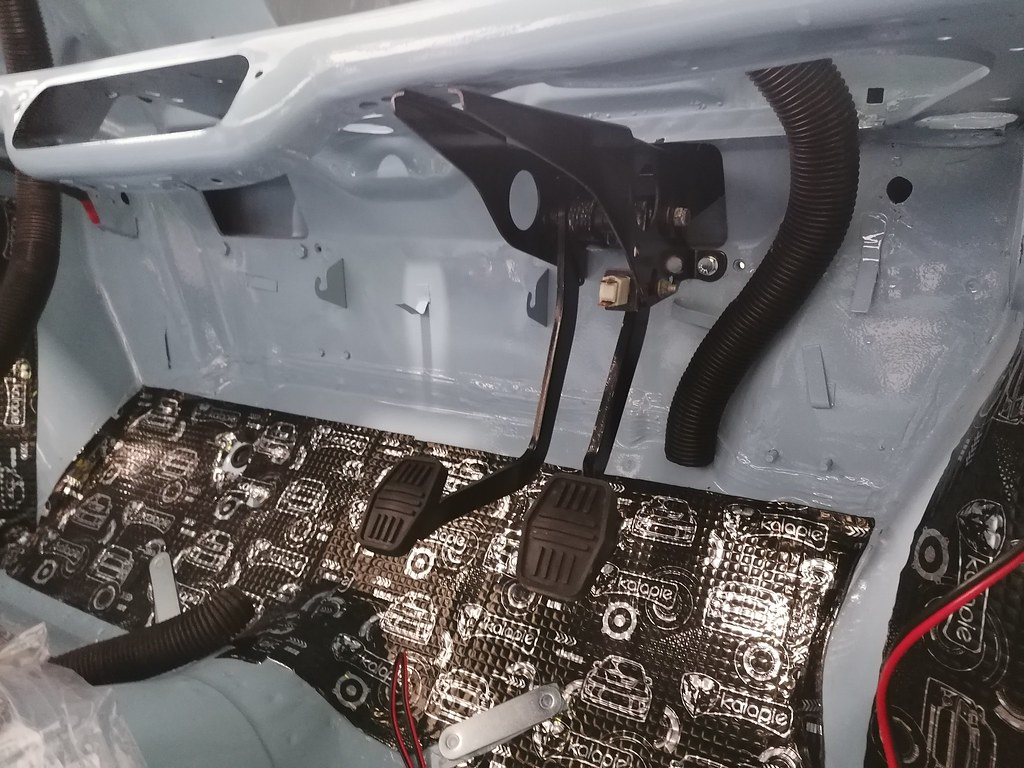
Got the pedal box fitted, bit awkward to get pedals back in without scratching inside of pedal box, but won't be noticed...
Also got VIN plate riveted onto inner wing, correct side for my year ('83)
Bonnet badge on...
This is v2 of the badge, as I dug out the original and noticed subtle differences that would annoy me..
Master cylinders and bracket on...

Haven't had the joy of putting the clevis pins in yet...
Re: 1983 Mini City
Posted: Sat Apr 15, 2023 1:37 pm
by colinf1
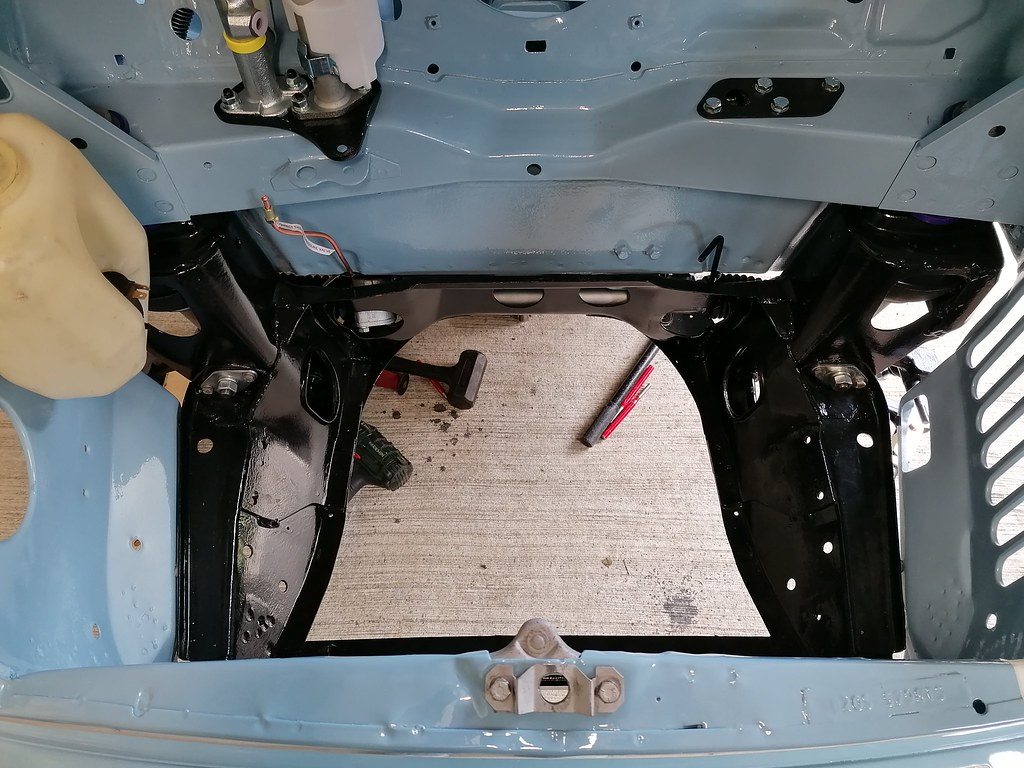
Got front subframe fitted this morning, hopefully can get rear fitted this afternoon so I can push shell to one side without worrying about the subframes falling off the shed wall...
Re: 1983 Mini City
Posted: Sat Apr 15, 2023 5:20 pm
by colinf1
And the rear subframe is in...
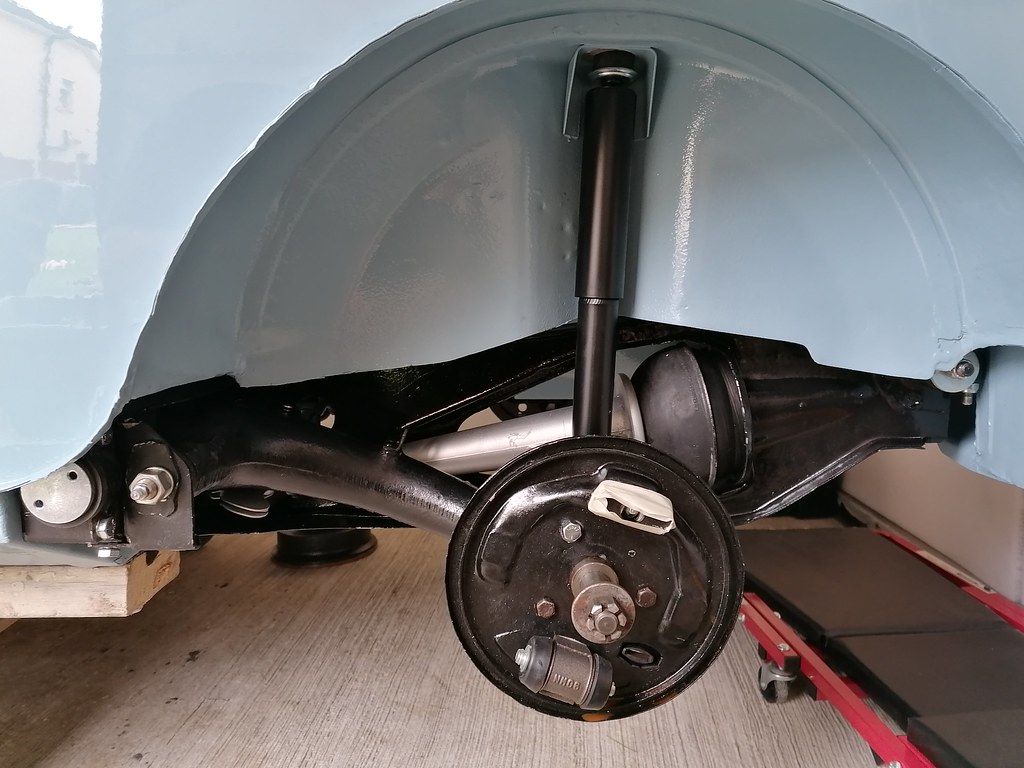
Wasn't expecting it to go in as easy as it did, even though I had it on the car on the rotisserie, it went on with only a small bit of wiggling on 1 bracket.
Building up the radius arms as I went along, and shock absorbers in too.
Re: 1983 Mini City
Posted: Sun Apr 16, 2023 7:25 pm
by colinf1
More good progress made today, front damper mounts put on, made sure to put some sealant on the back side to prevent water getting trapped there. Shock absorbers put on and all bolts on the front torque up.
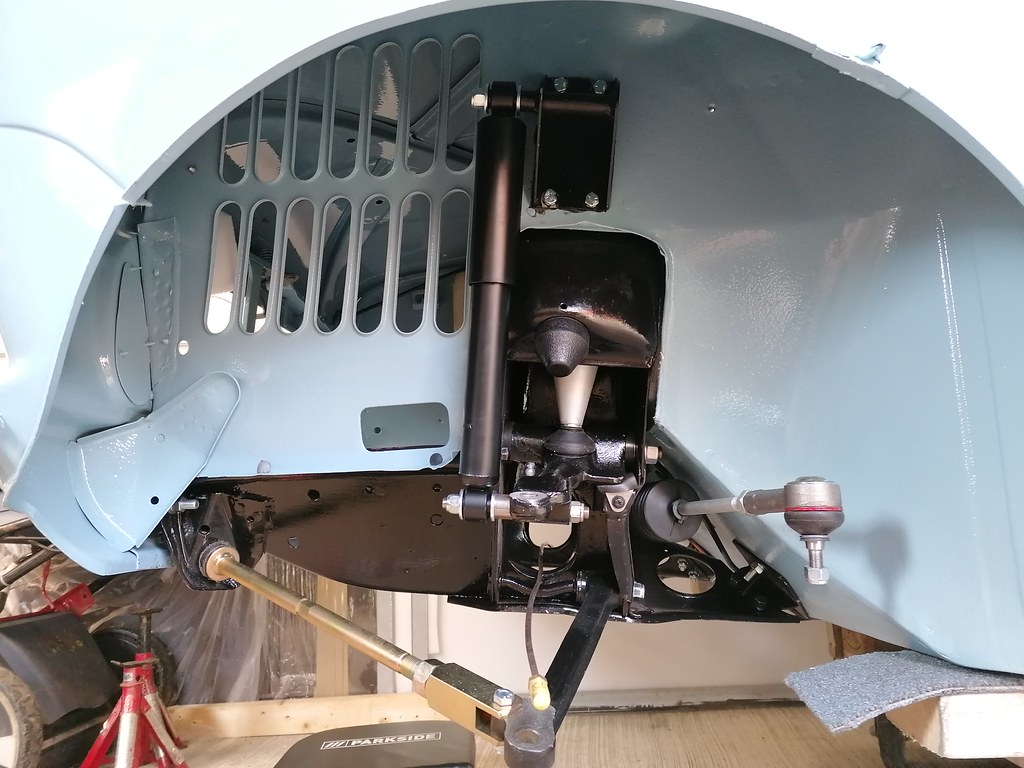
Then onto getting the rear brakes built up, struggled to get the rear section of the handbrake cable in through the opening of the subframe, probably needed to do this before putting the radius arms in, but a little gentle tap got them in.
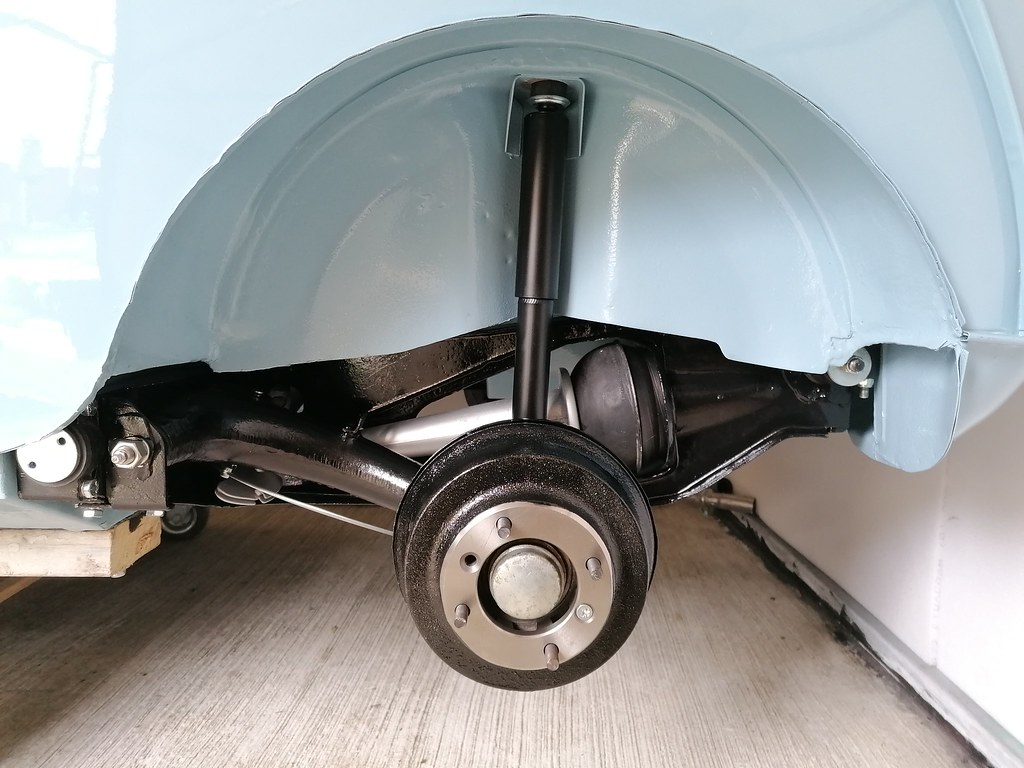
Rear bearings put on, the torque wrench I'm using needed the head rotated 180 degrees to click in reverse, so went a tad tighter before I realised...wouldn't mind but it's a Norbar brand on loan from work, so not a cheap one.
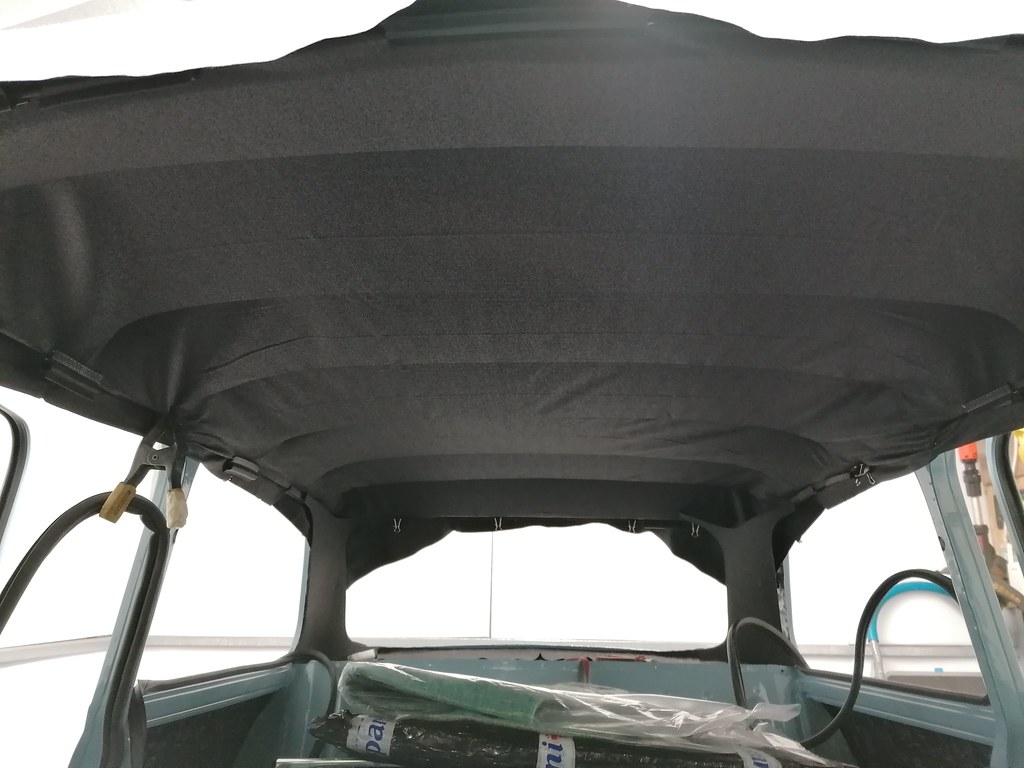
Got the headliner out of attic, hopefully get it in during the week...
Re: 1983 Mini City
Posted: Sun Apr 16, 2023 7:36 pm
by woody
Great work your doing. Usually I fit the handbrake cable and all the brake pipes and hoses to the subframe before mounting it.
Why have you used adjustable tie rods when everything else is standard?
Re: 1983 Mini City
Posted: Sun Apr 16, 2023 8:30 pm
by colinf1
The original tie rods were beyond saving, threads on the end were very damaged. No reason other than replacing the old ones and they look cool. I have them set to the same length as standard.
The bare subframe was hard enough to get in place by myself, so glad I resisted building it up while waiting for the shell to be painted...
Re: 1983 Mini City
Posted: Tue Apr 18, 2023 10:19 pm
by colinf1
Evening number 2 attempting to get headlining tensioned correctly, seem to have it nearly right up until B-post, then it's a bit messy and comes better towards rear. I'll leave it stretching for another day then hopefully get it glued in.
Re: 1983 Mini City
Posted: Wed Apr 19, 2023 10:27 pm
by colinf1
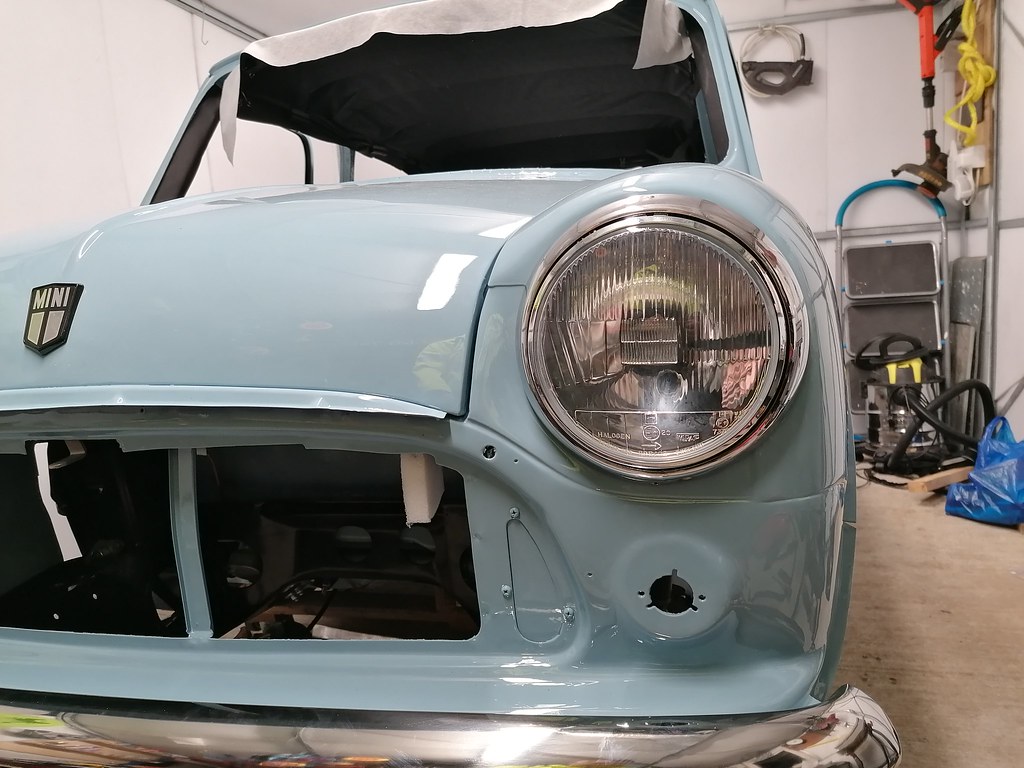
Handbrake cable put into quadrants and secured with split pins, cable attached and secured to drum levers. Door check straps on and clevis pins in, drivers door pin is touching the top of the opening so will have to grind the opening slightly taller or try and bend the tabs on the door down slightly.
Put on one headlamp and bowl to check for fitment, looks good...
Re: 1983 Mini City
Posted: Thu Apr 20, 2023 7:34 am
by ctwomey
Great work Colin. Seems like most evenings you are getting some work done. It's coming together nicely.
Re: 1983 Mini City
Posted: Thu Apr 20, 2023 10:53 am
by colinf1
Yes, need to get it finished ASAP!
And this is the reason...

[/url]
Late August due date, doubt I'll have much time to spend on it by then...
Re: 1983 Mini City
Posted: Thu Apr 20, 2023 2:54 pm
by woody
You need to get it finished so you can start doing an estate, them babies come with a lot of accessories these days. Congratulations
Re: 1983 Mini City
Posted: Thu Apr 20, 2023 3:26 pm
by ctwomey
Fantastic Colin! Some dates don't move... maybe by a few days at most
