Had a loan of a new heritage bonnet (Thanks Tony) to trial fit to see how far out both my bonnets where and if it was worth going new..
This is new heritage sat in with no adjustments..
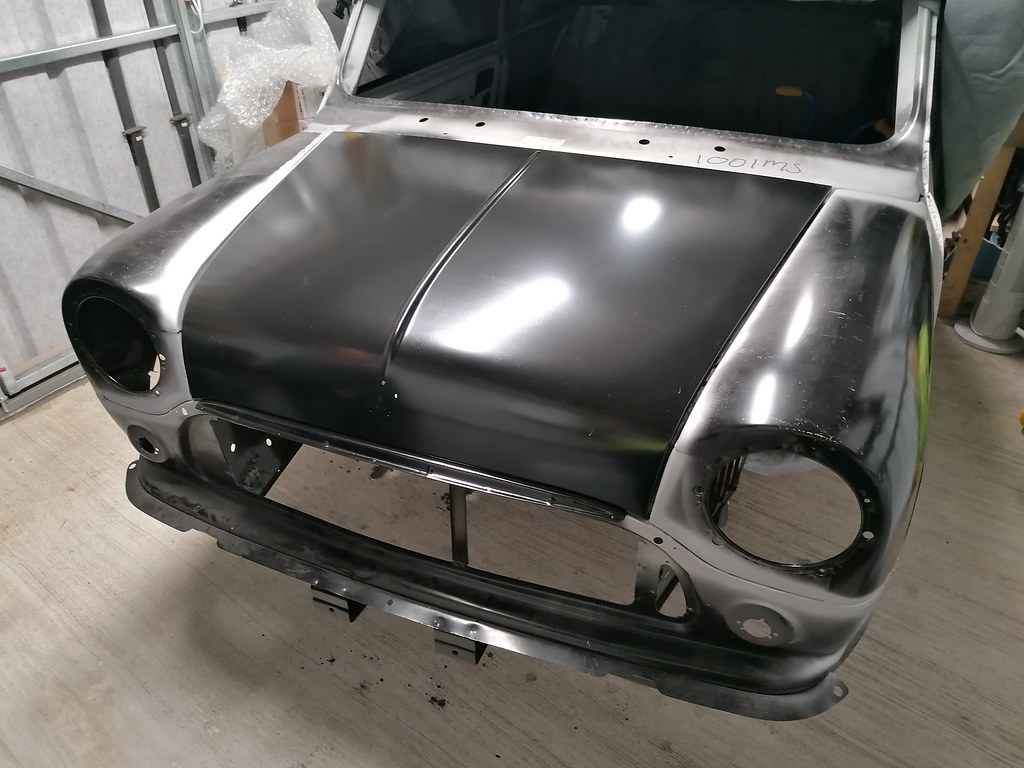
Looks good! It also shows everything on the front lines up as it should.
I then traced the profile of the edges of the new bonnet onto some wood, then lined up both bonnets to see how far away they were...1 was good on one side and way off on the other, mainly due to it getting squashed when the shell fell onto it when taking it for sandblasting

Other bonnet was pretty close, just needed a small bit of adjustment that was caused by a split on both sides. Once that was welded up it held its shape nicely.
Spent the guts of 5 hours getting the paint strip off the outer side, paint stripper only softened the top layer didn't penetrate into the multiple layers of primer below, so lots of scraping and sanding...then removed old moulding platform removed ready for new one to go on.
Gave it a quick coat of zinc primer and sat it back in place..

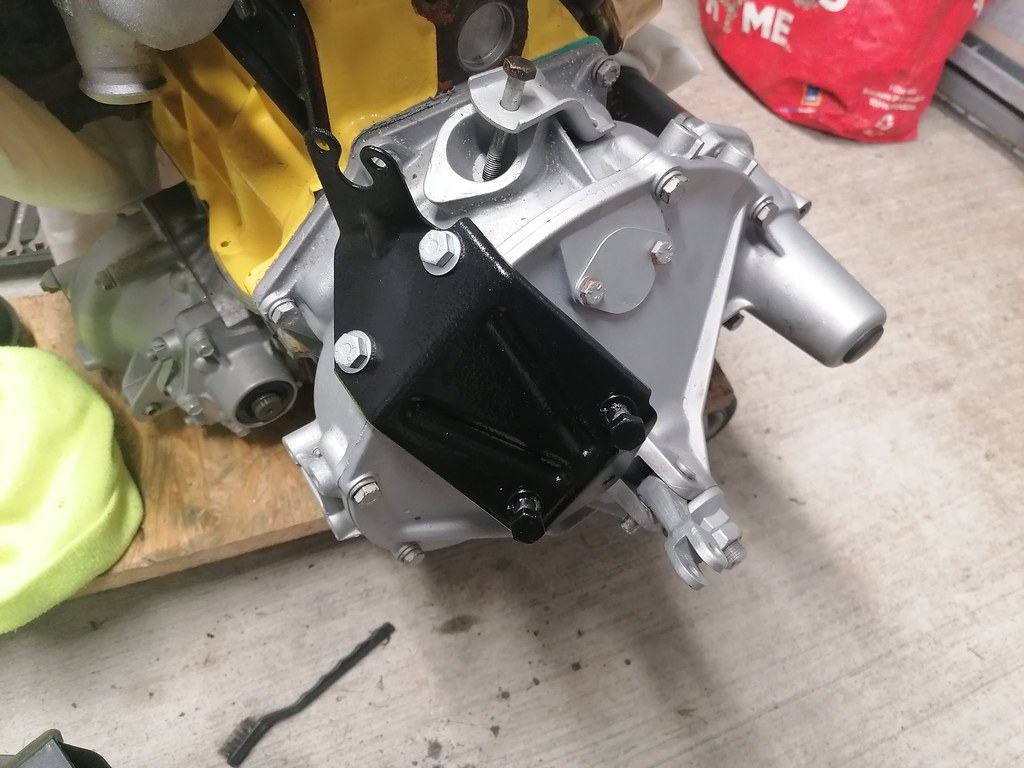
Also got the boot lid sorted, small repair to the frame and a few pin holes. Hinges got sandblasted during the week, small amount of pitting along the lower edge but in good shape otherwise. Could only find 2 of the studs but not sitting too badly.

Small rust hole to sort in the bonnet, then the new moulding platform to go on, along with the spring and pin and the spring loaded latch from the old bonnet to be transferred across, then it's ready for paint!