Page 12 of 13
Re: 1981 Mini City 1000
Posted: Fri Jun 16, 2023 9:09 pm
by ctwomey
This was heavily corroded on both sides so needs repairs to the underside of the gutter and the roof panel

No corrosion on the inside which is good

Starting to remove the spot welds
Patch panel made from the donor roof

Almost welded in place. Really happy with the finish

Re: 1981 Mini City 1000
Posted: Sat Jun 17, 2023 12:38 pm
by Billy
So you should be
Re: 1981 Mini City 1000
Posted: Sat Jun 17, 2023 7:12 pm
by ctwomey
Thanks Billy.
The next two repairs are now lined up. The right-hand side is the upper side of the previous repair.

Re: 1981 Mini City 1000
Posted: Sat Jun 24, 2023 9:31 pm
by ctwomey
Working through the other repairs on the roof. It's slow progress and tedious. Had to do two additional cuts to relieve stress on the joint after I did the first couple of tack welds.

Re: 1981 Mini City 1000
Posted: Sun Jun 25, 2023 6:17 pm
by colinf1
I don't know how your welding in this heat, I had to help make some jigs at work so had to have welding PPE on, literally only 15mins and was sweltering!
Looks like your almost there with the roof repairs! Keep it up!
Re: 1981 Mini City 1000
Posted: Sun Jun 25, 2023 9:02 pm
by ctwomey
Wasn’t too bad temp wise Colin. The stone walls on the garage keep it cooler.
What do people feel about lead loading vs body filler for smoothing out over the welding? Is it worth the extra effort for the lead loading? Or epoxy prime first and body fill over?
Re: 1981 Mini City 1000
Posted: Mon Jun 26, 2023 9:44 pm
by woody
My painter reckons modern fillers are as good as lead
Re: 1981 Mini City 1000
Posted: Tue Jun 27, 2023 2:21 pm
by ctwomey
Yes woody, it certainly seems the consensus out there. Found a decent review of all the good fillers out there -
https://everydayshowcar.com/best-car-body-filler/
Re: 1981 Mini City 1000
Posted: Mon Jul 17, 2023 10:21 pm
by ctwomey
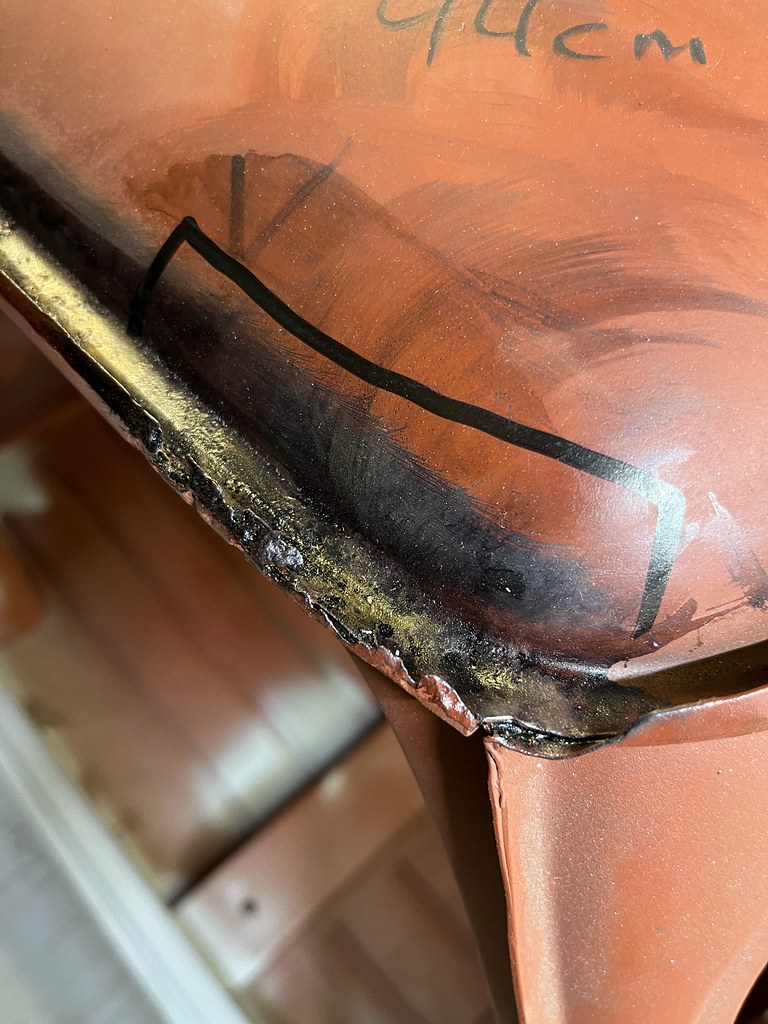
I am back from holidays and time to tackle the damaged area above the passenger door

I have cut a section from the donor roof, however, the leading edge of the donor section needs replacing.
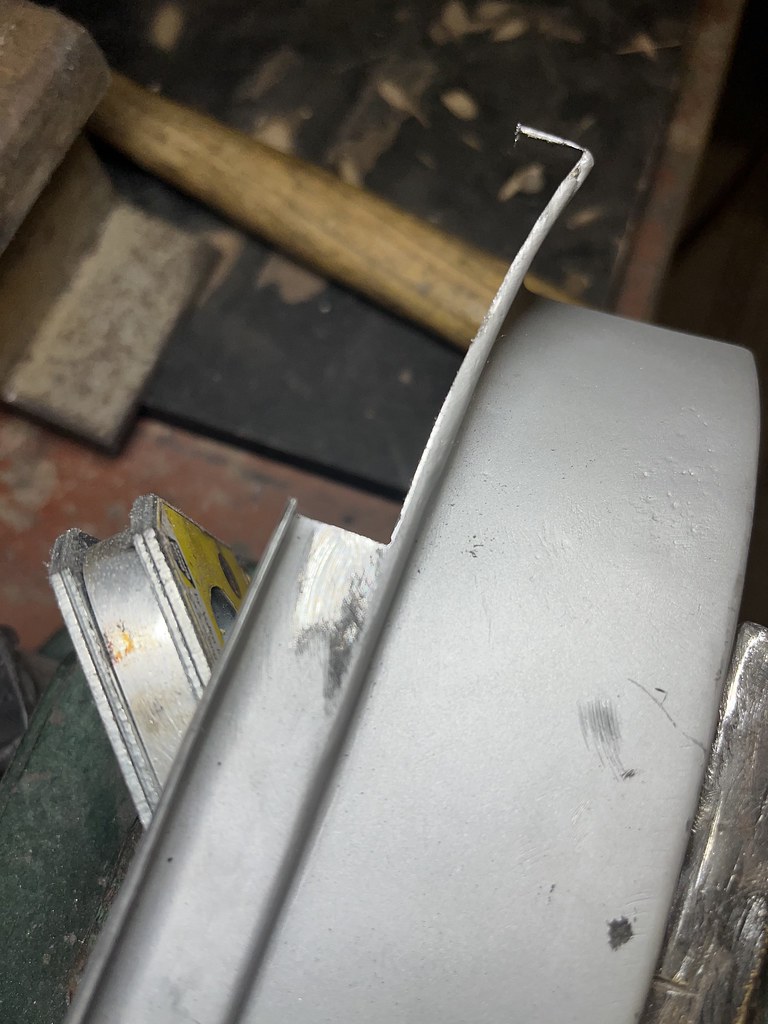
I have cut out the corroded area from the donor section

Difficult weld to do and get right as it will be very visible on the car once completed.

Hopefully, I kept the original shape. Next is to cut out the damaged section on the car and offer it up.
Re: 1981 Mini City 1000
Posted: Tue Jul 18, 2023 7:04 pm
by colinf1
Good work Conor, nice weather to come back from holidays, nice weather to be in the garage making progress!
Re: 1981 Mini City 1000
Posted: Tue Jul 18, 2023 10:33 pm
by ctwomey
Thanks Colin.
My brother is driving over from the UK in a couple of weeks so I jumped at the opportunity to pick up some bits and pieces including both passenger and driver floor quarter panels from M-Machine and some new stainless steel bumpers.
Re: 1981 Mini City 1000
Posted: Fri Jul 21, 2023 10:47 pm
by ctwomey
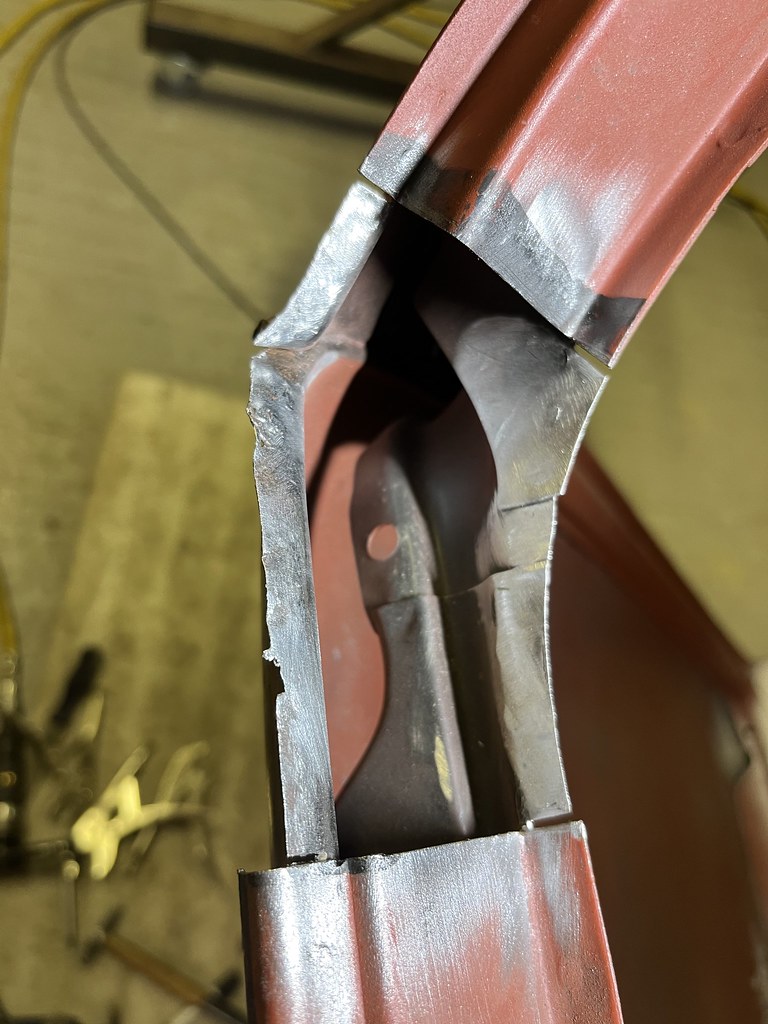
It's time to cut out the damaged gutter from the roof. My approach is to cut across the door opening as it is the shortest path for the butt weld. The rest is all spot welded.
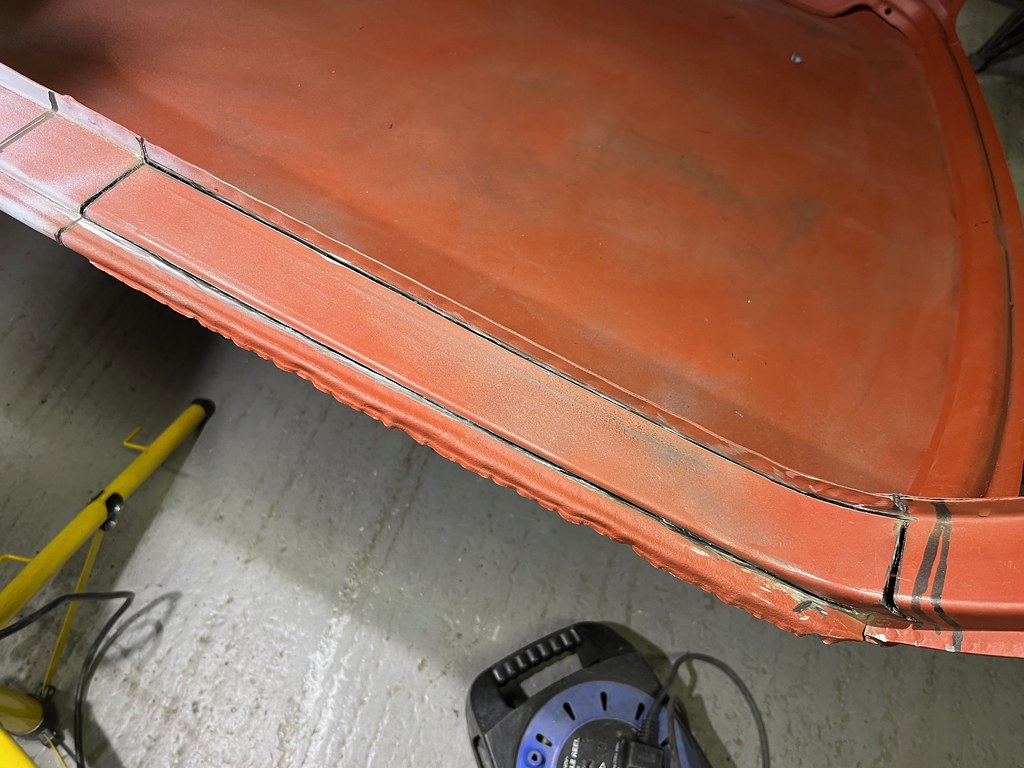
Initial cut is to just leave the spot weld faces to grind down.

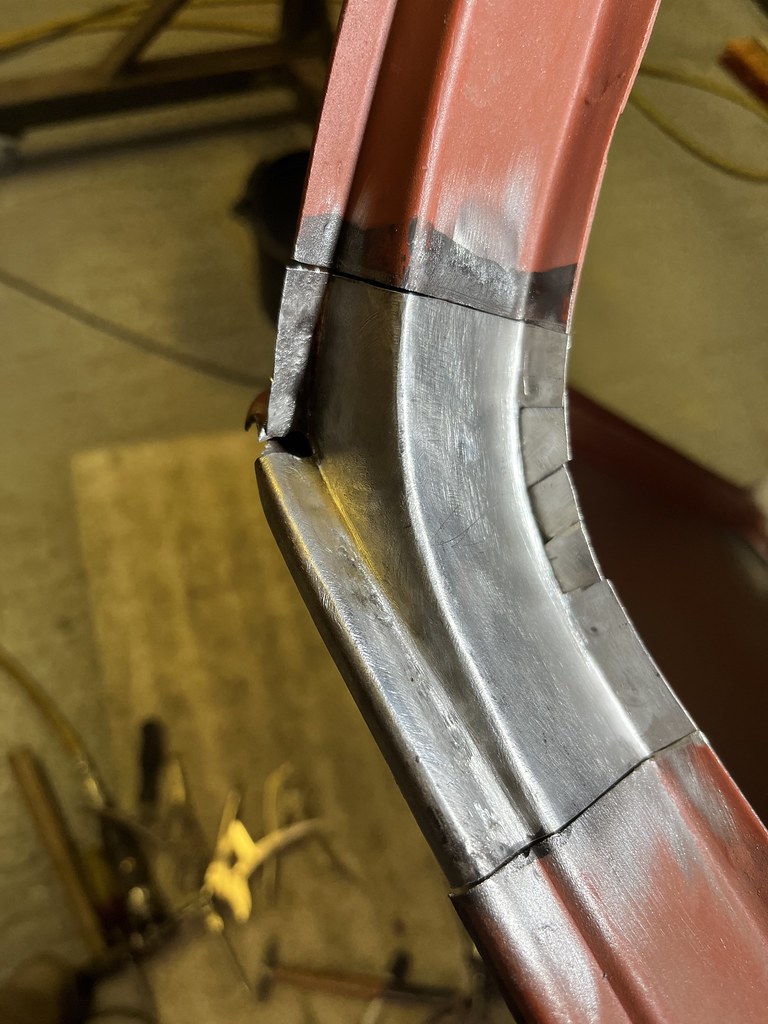
I cleaned up the roof panel edge.

The edge of the roof panel has a good bit of pitting here so I will need to fix this before welding in my patch panel.

Re: 1981 Mini City 1000
Posted: Sun Aug 20, 2023 9:22 pm
by ctwomey
Haven't been in the garage for a good few weeks. Lots of other commitments took priority.
Various stages of tack welding. I didn't weld the ends until the end because I didn't want the expansion and contraction of the patch to warp the roof.


Controlling the penetration of the welds from the other side

Blended the welding into the roof. The tag on the lip is to help to pull the edge of the roof to the edge of the rain gutter


The roof lip cleaned up nicely

Sizing up the door frame and gutter to the underside of the roof

Re: 1981 Mini City 1000
Posted: Sun Aug 20, 2023 9:43 pm
by colinf1
That's a tidy looking repair, should be fairly invisible once it's welded and dressed down...plenty of zinc primer too, should hold back the rust for a few weeks...

Good to see you back at it!
Re: 1981 Mini City 1000
Posted: Wed Aug 30, 2023 10:36 pm
by ctwomey
Carrying on from my previous post, tack welded in place

Grinding down the welds, it should require very little filler

All finished inside the door frame

Before and ...
After

and the door still fits in the frame which is a bonus
Re: 1981 Mini City 1000
Posted: Fri Sep 15, 2023 12:48 pm
by ctwomey
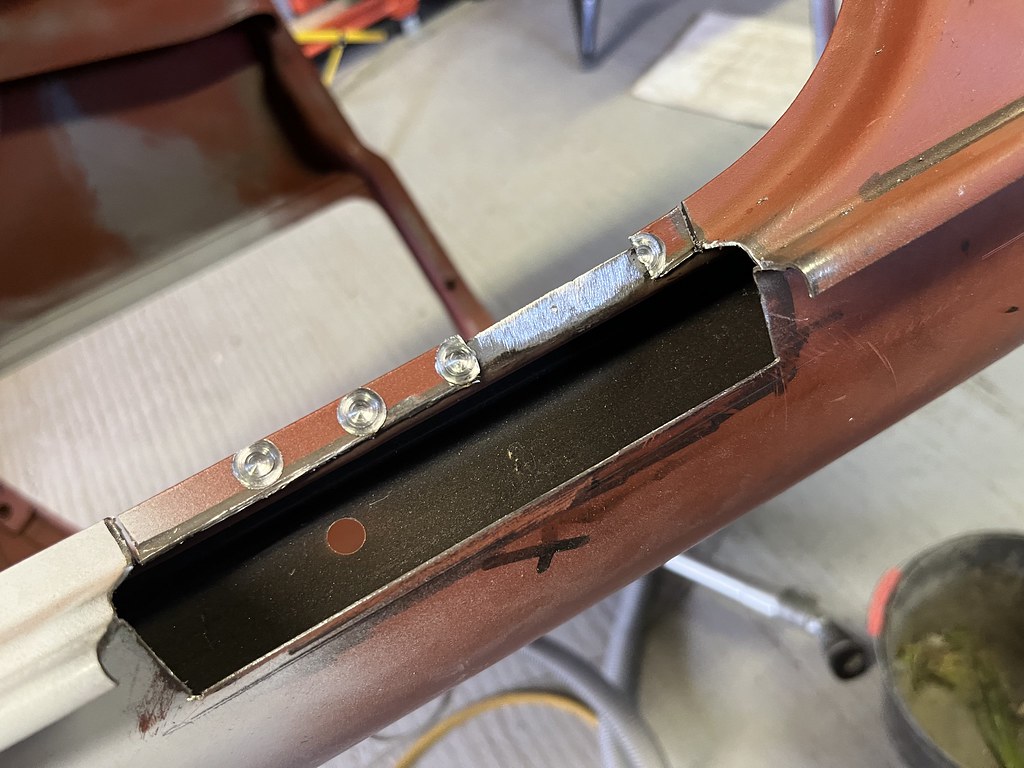
I have started work on the driver-side rain channel. This will be repaired from underneath.
Remove the existing corner to make way for the patch panel. The lip on the roof panel will need some repair but the rest is solid metal.
The patch from the donor roof has been cleaned up. I have a small patch weld in to finish it off. I still have some fettling to get it to fit.
Re: 1981 Mini City 1000
Posted: Tue Sep 26, 2023 9:20 am
by ctwomey
I cut out the rotten lip of the roof panel

I always leave extra metal so it dissipates the heat better

Tacking it in place
Follow up with welding the pinholes between the tacks

Good penetration through to the other side of the roof panel

Finished up the underside and will spray it with zinc primer in prep for adding the patch panel I created in the previous post
Re: 1981 Mini City 1000
Posted: Tue Sep 26, 2023 9:22 am
by ctwomey
Here is the finished underside

Re: 1981 Mini City 1000
Posted: Sat Sep 30, 2023 6:48 pm
by ctwomey
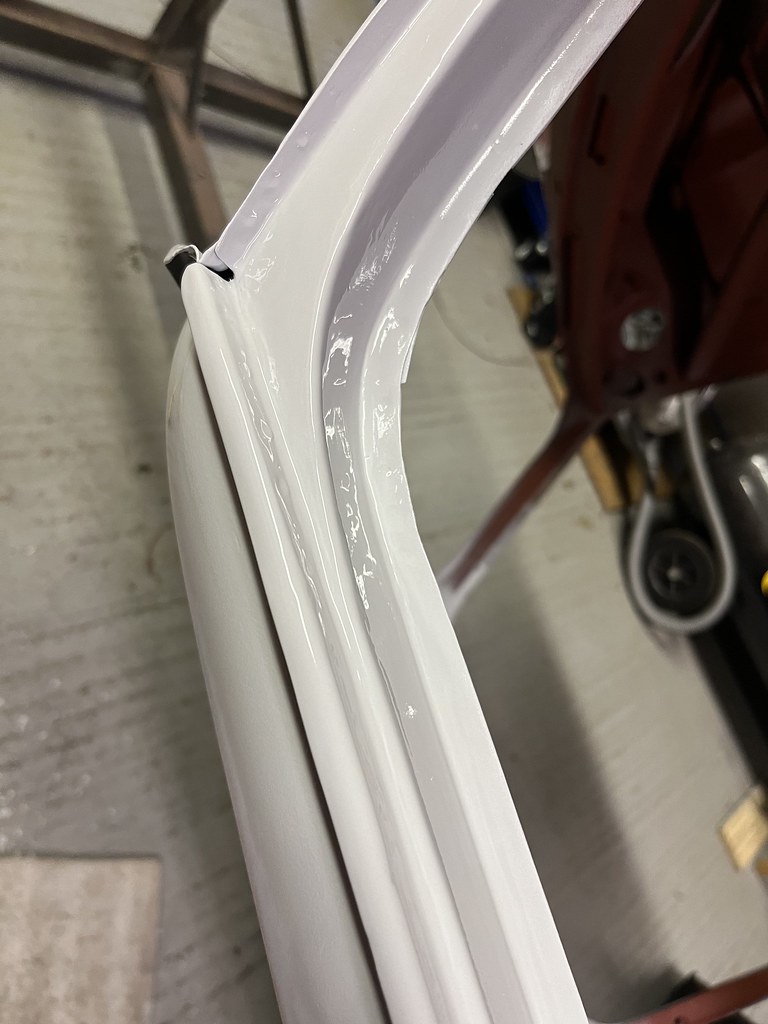
Patch panel is tacked in place

Ground down the first round of tacks so I can get to the gaps in between

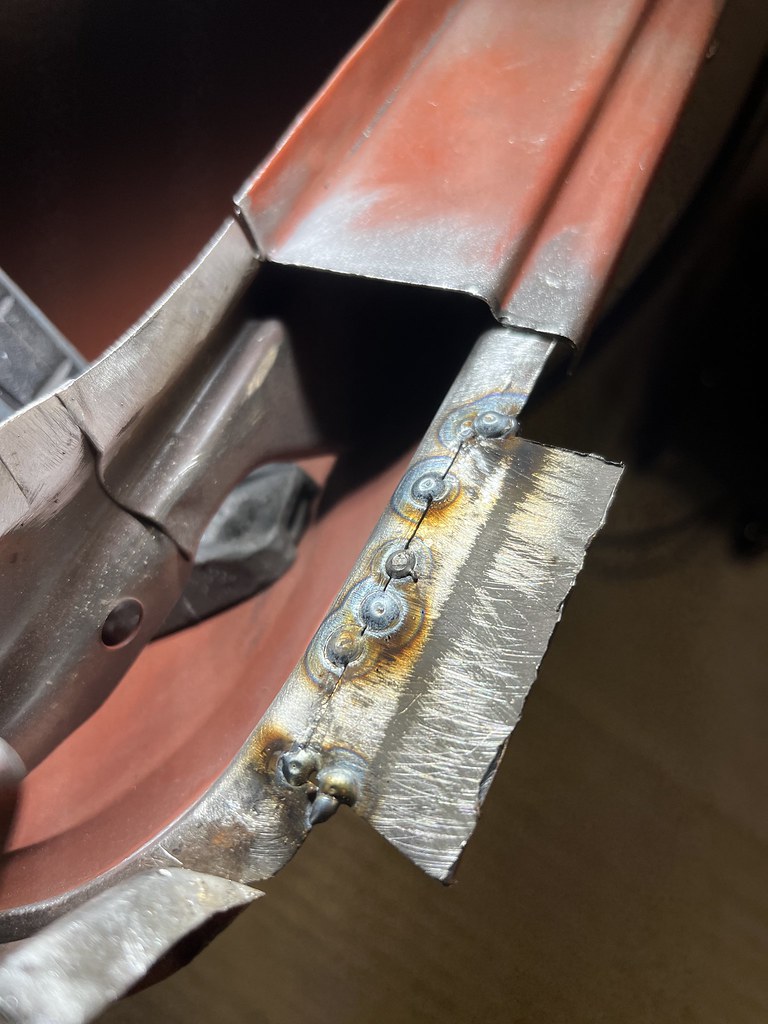
All cleaned up and spot welds completed against the existing panels

Spray of etch primer to keep it rust-free until I get around to epoxying it
Re: 1981 Mini City 1000
Posted: Mon Oct 02, 2023 9:16 pm
by ctwomey
Sizing up the patch panel for the rear passenger roof corner

Initial cut of the corner
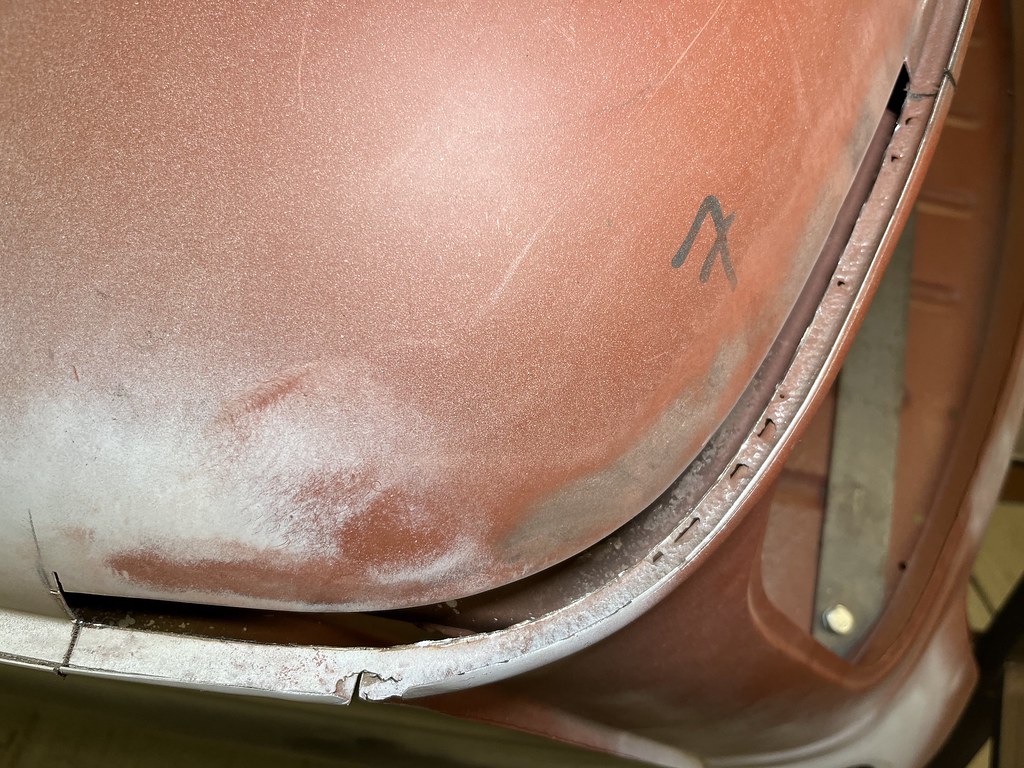
The lip of the existing roof is very badly corroded in this corner
Re: 1981 Mini City 1000
Posted: Wed Oct 04, 2023 11:01 am
by colinf1
Thats a brave repair! I'd say yor were quite nervous doing that cut!
Re: 1981 Mini City 1000
Posted: Thu Oct 05, 2023 10:33 am
by ctwomey
colinf1 wrote: ↑Wed Oct 04, 2023 11:01 am
Thats a brave repair! I'd say yor were quite nervous doing that cut!
Oh yes. The challenge will be grinding out the old corroded lip. At least in the corners you can get behind the roof panel and do a little bit of pushing. Also, the corners tend to hold their shape when welding compared with flap pieces. Fingers crossed.
Re: 1981 Mini City 1000
Posted: Tue Oct 17, 2023 12:18 pm
by ctwomey
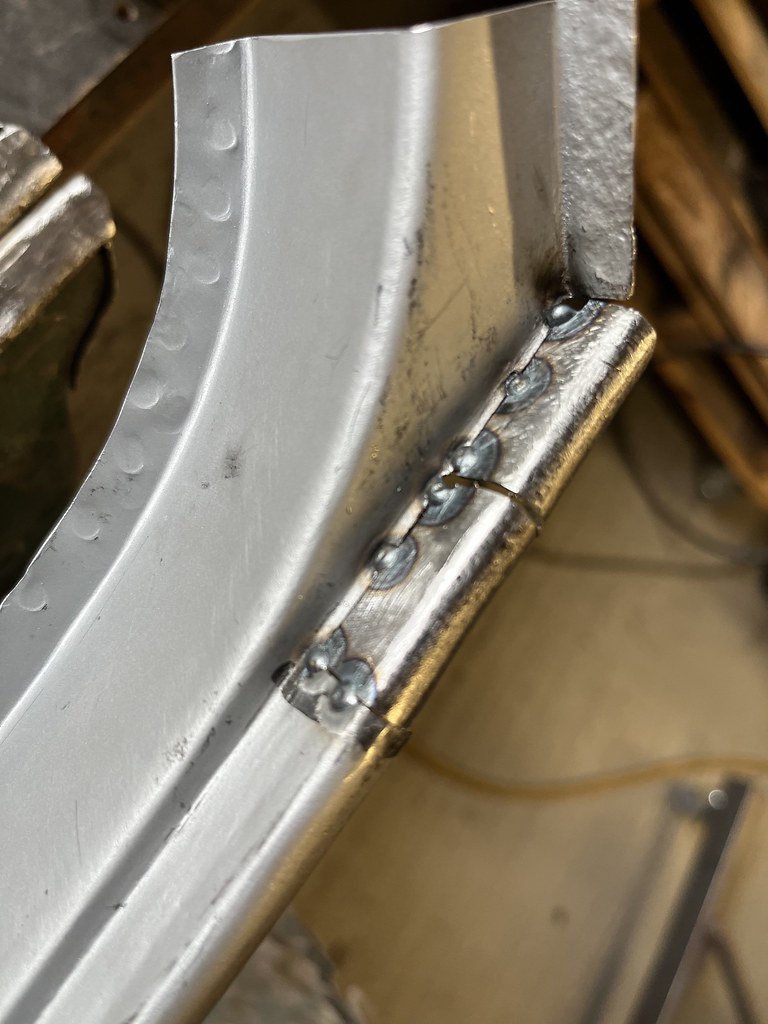
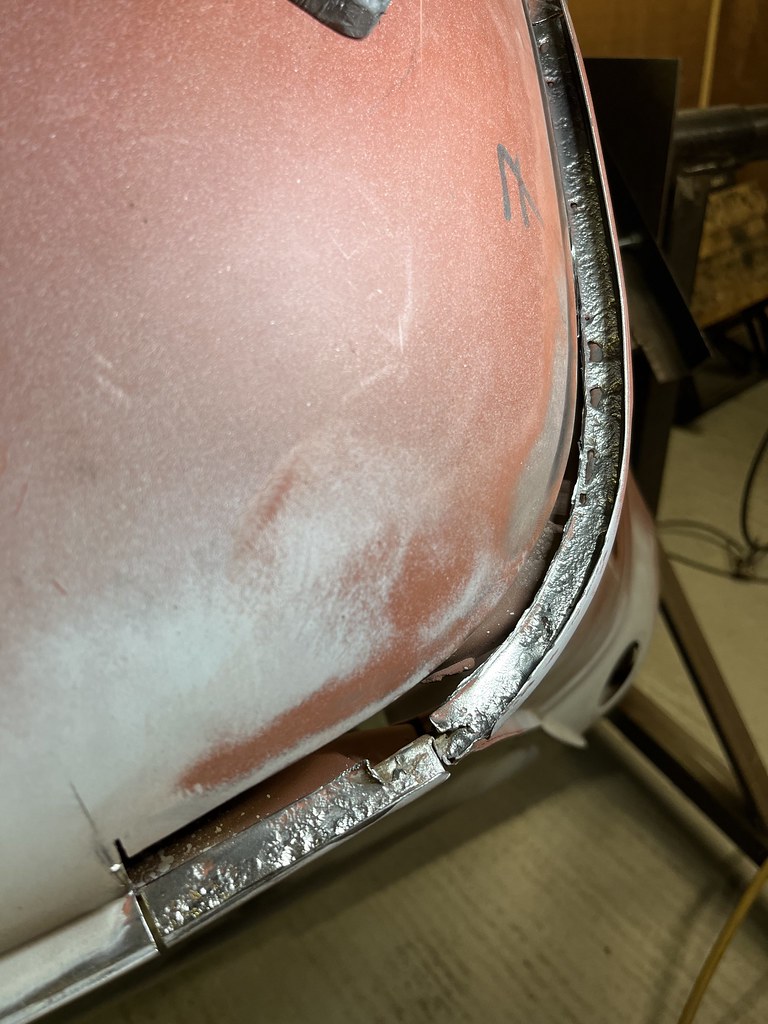
Repairing this corner of the passenger side rear quarter has proven tricky. It took hours just to get this patch to fit and align properly.

It welded in nicely but where it joins the spot welded seams I don't have a tool to grind down the corner. I will need to buy a small barrel-shaped carbide head to get in there.

Re: 1981 Mini City 1000
Posted: Tue Oct 17, 2023 1:13 pm
by woody
Looks good. The seam cover will cover most of that weld
Re: 1981 Mini City 1000
Posted: Wed Oct 18, 2023 10:19 am
by ctwomey
woody wrote: ↑Tue Oct 17, 2023 1:13 pm
Looks good. The seam cover will cover most of that weld
Agree, just need to blend it a small bit. I have an off-cut for the seam cover from another mini and I just need to create a radius in that corner.
