Page 11 of 13
Re: 1981 Mini City 1000
Posted: Sun Jan 15, 2023 5:16 pm
by ctwomey
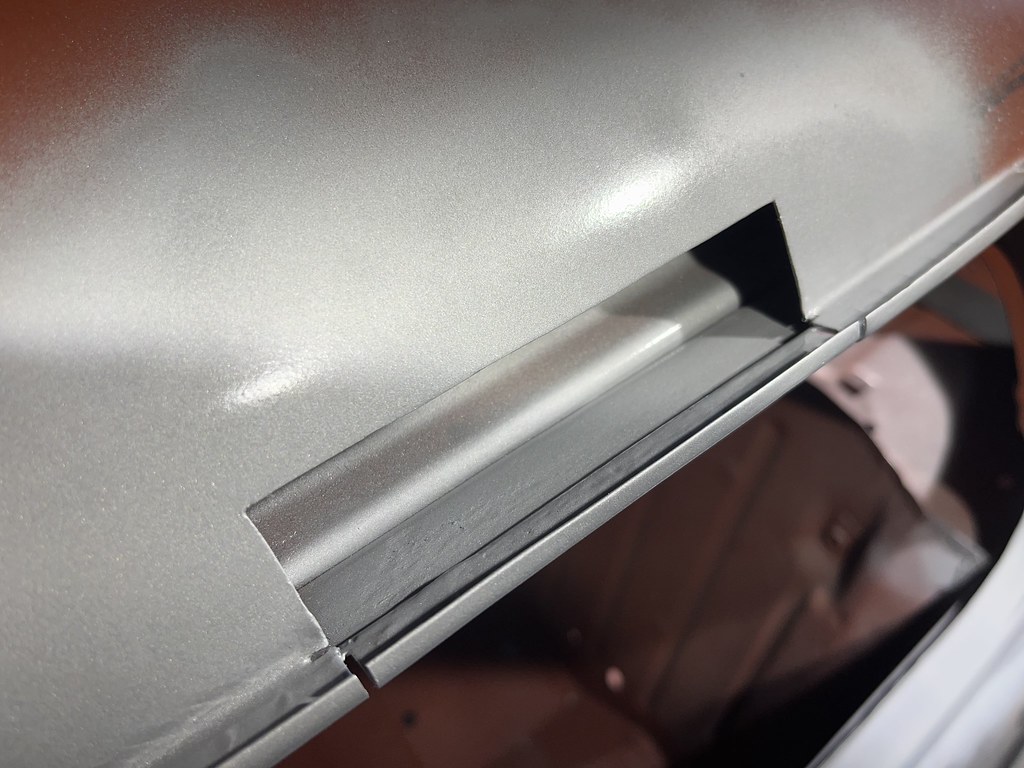
Hi Colin, the panel is in place and welded along the joins now but I haven't done the plug or spot welds yet.
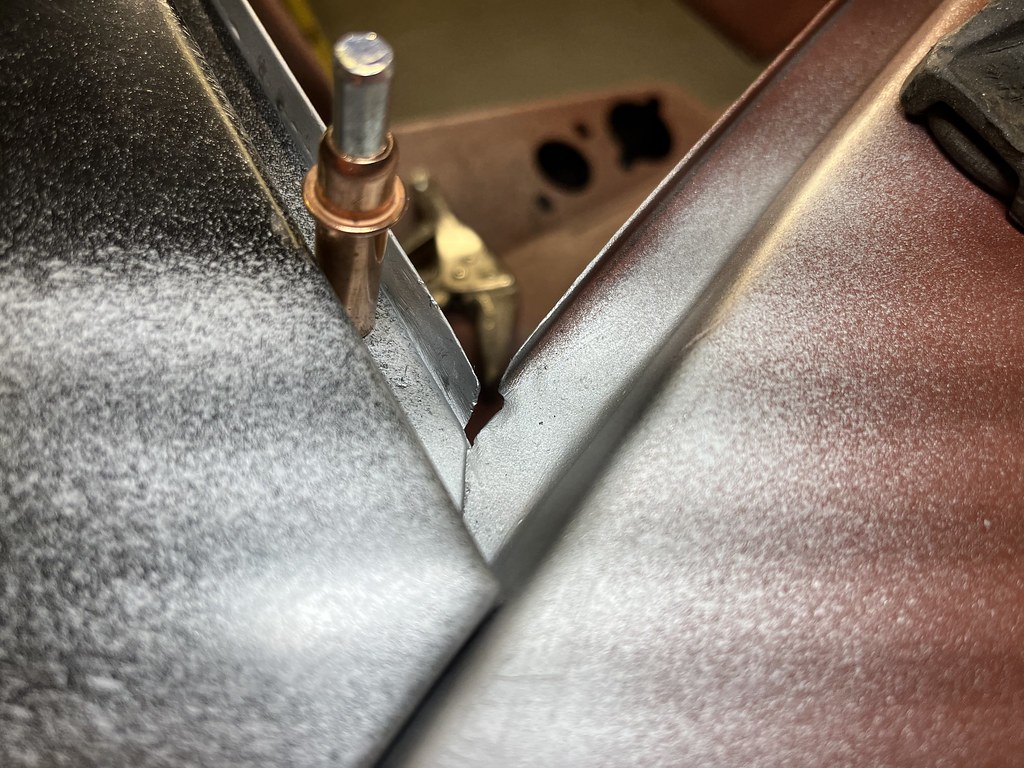
C-pillar tacked in place. Probably could have done with a bigger gap between panels for weld penetration

B-pillar tacked in place
C-pillar

B-pillar
Ready for plug welding along the door opening

Some tidying up to do on the inside of the quarter panel
Re: 1981 Mini City 1000
Posted: Sun Jan 15, 2023 10:16 pm
by colinf1
Going good Conor!
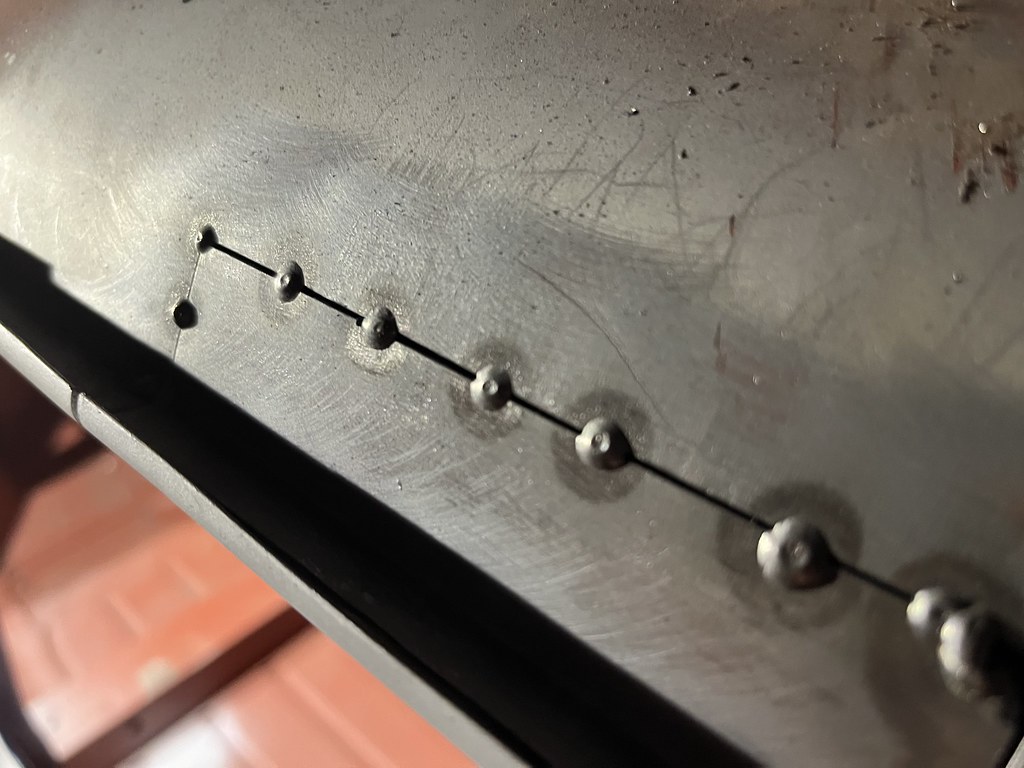
Are you happy with that amount of plug welds along the B post?
Re: 1981 Mini City 1000
Posted: Mon Jan 16, 2023 10:11 am
by ctwomey
Good question Colin.
I remember when I removed the panel there were only a few spot welds along that edge. Maybe I should have more plug welds for added strength. I will see if I can drill additional holes between the existing ones I have allocated.
Re: 1981 Mini City 1000
Posted: Mon Jan 16, 2023 4:36 pm
by ctwomey
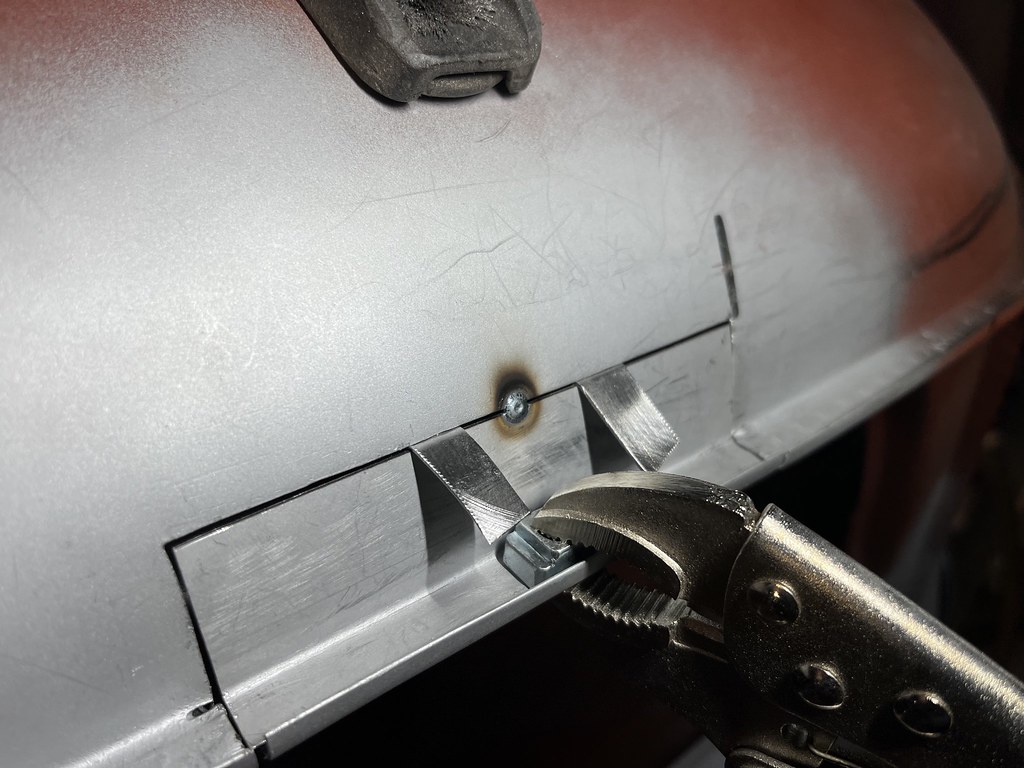
OK managed to create some additional plug weld holds
Re: 1981 Mini City 1000
Posted: Mon Jan 16, 2023 9:05 pm
by ctwomey
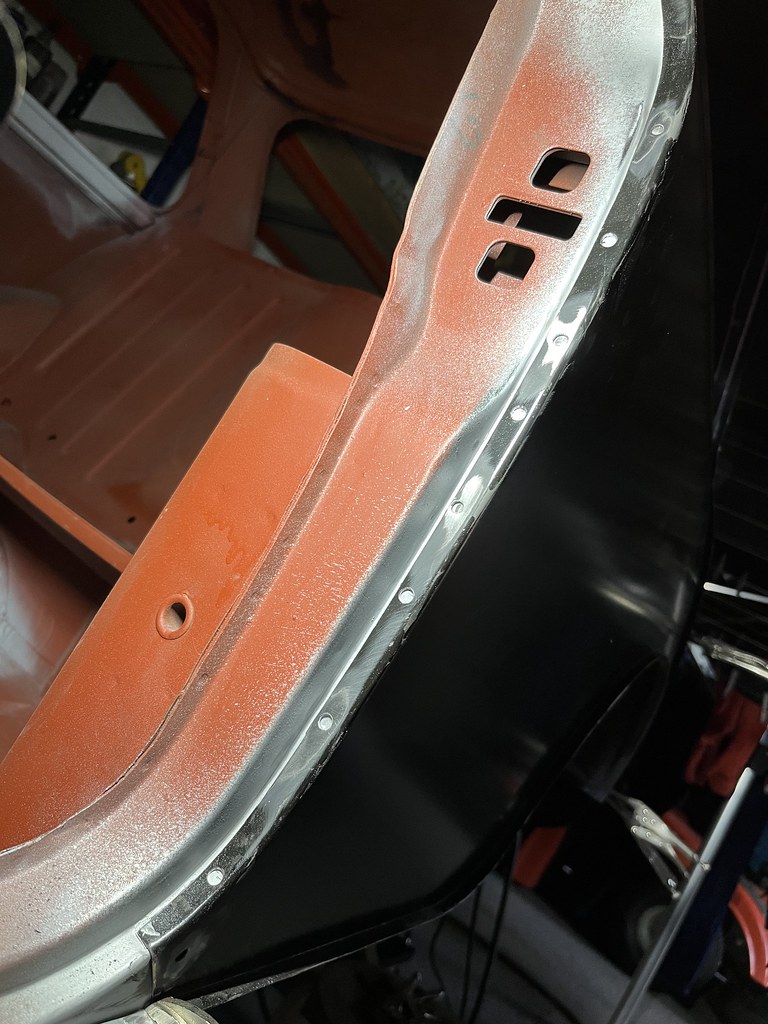
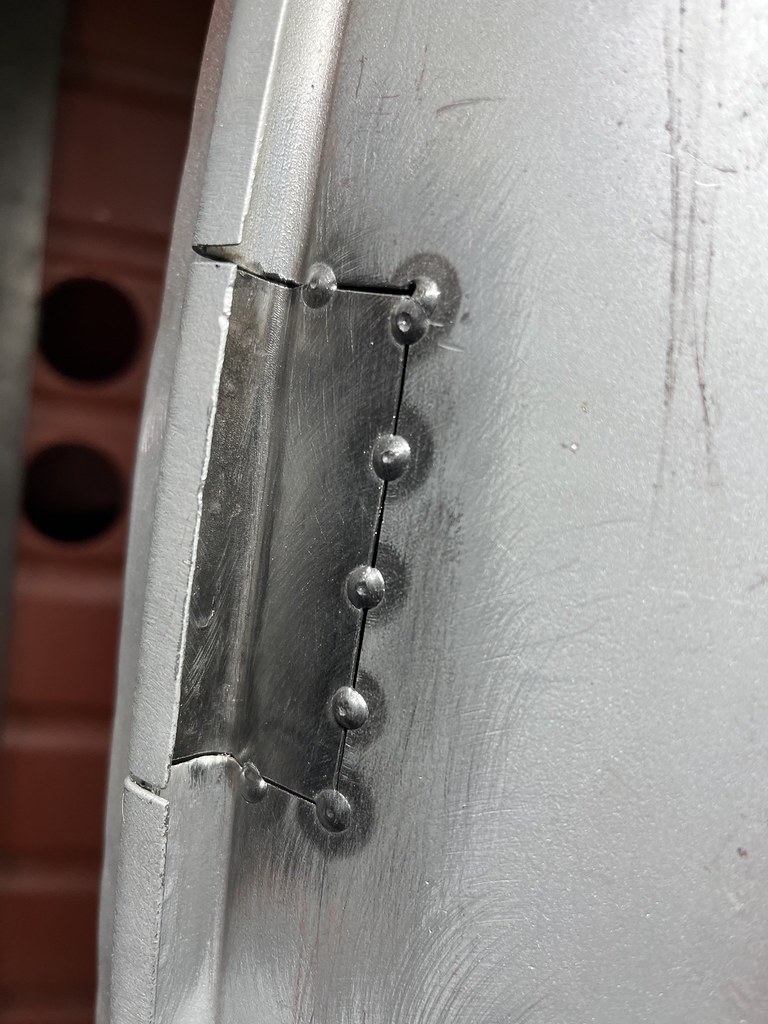
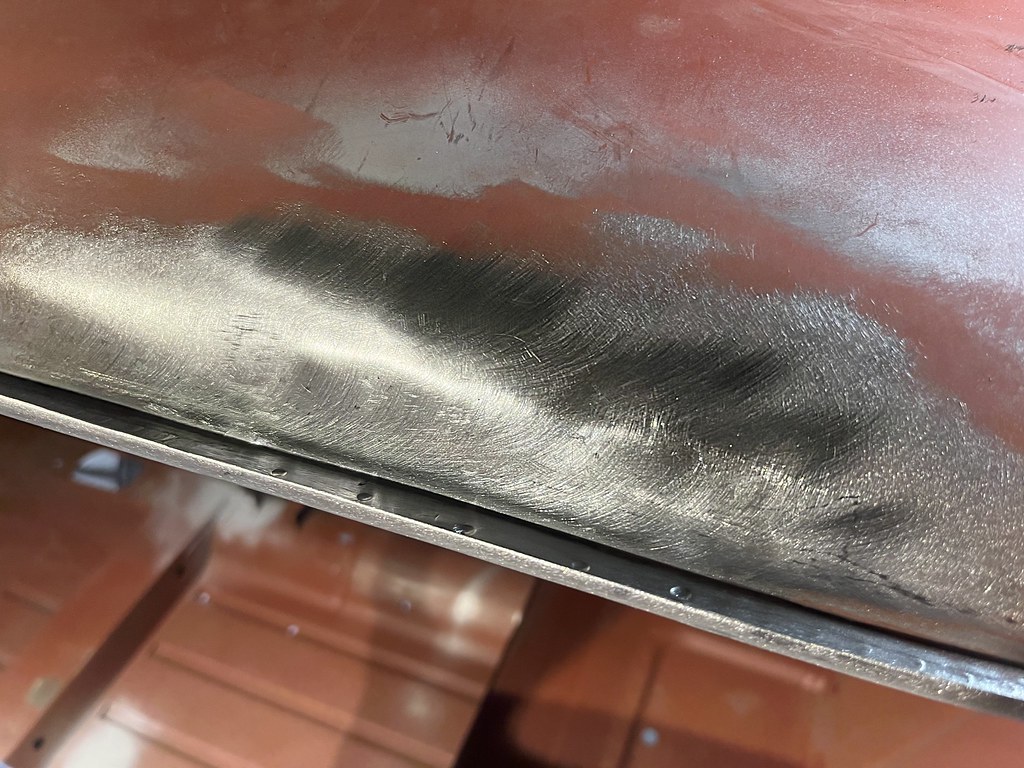
Spot welded top and bottom of the quarter panel

I still have to spot weld down the rear panel join. You can't use 90-degree electrodes on the spot welder so I will have to set up the angled ones tomorrow.
Re: 1981 Mini City 1000
Posted: Tue Jan 17, 2023 11:17 am
by colinf1
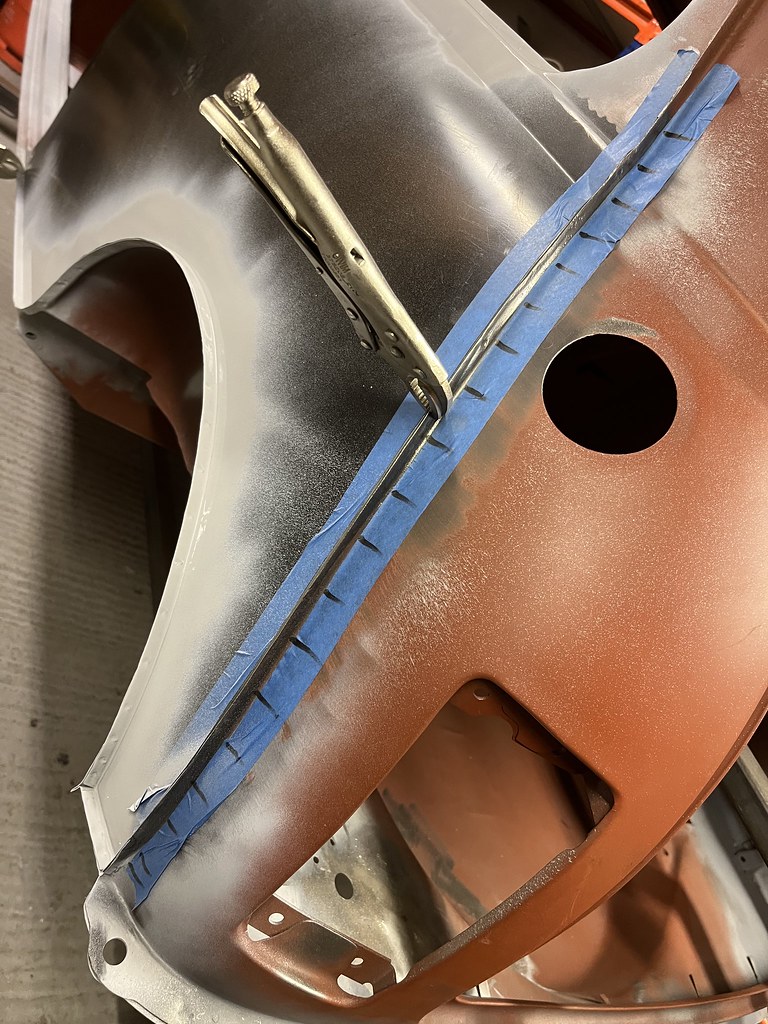
Good idea with the masking tape, it will prevent electrodes touching the panel in any other places other than the flange edges.
Re: 1981 Mini City 1000
Posted: Sat Jan 21, 2023 8:24 pm
by ctwomey
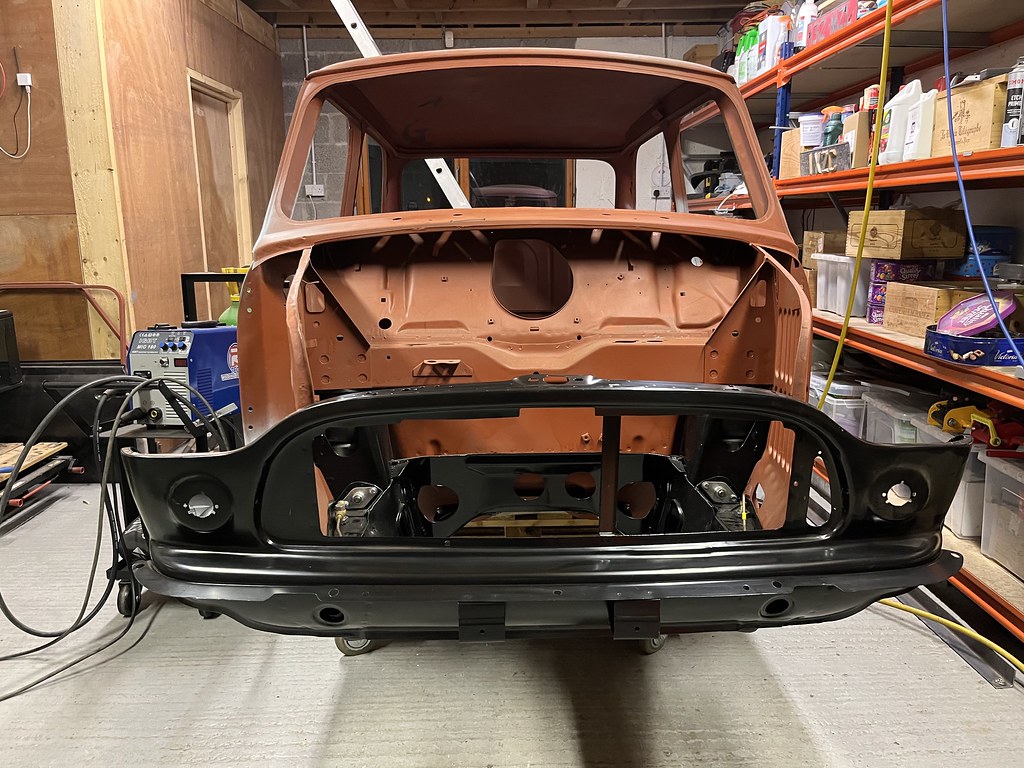
Took the Mini off the rotisserie today and tidied up the workspace

Mounted the front subframe and panel to see how they fit
[/url]
A small bit of tweaking to be done on the driver's side

Re: 1981 Mini City 1000
Posted: Sun Jan 22, 2023 5:11 pm
by ctwomey
Quite a bit of work on the bonnet to get it to sit right
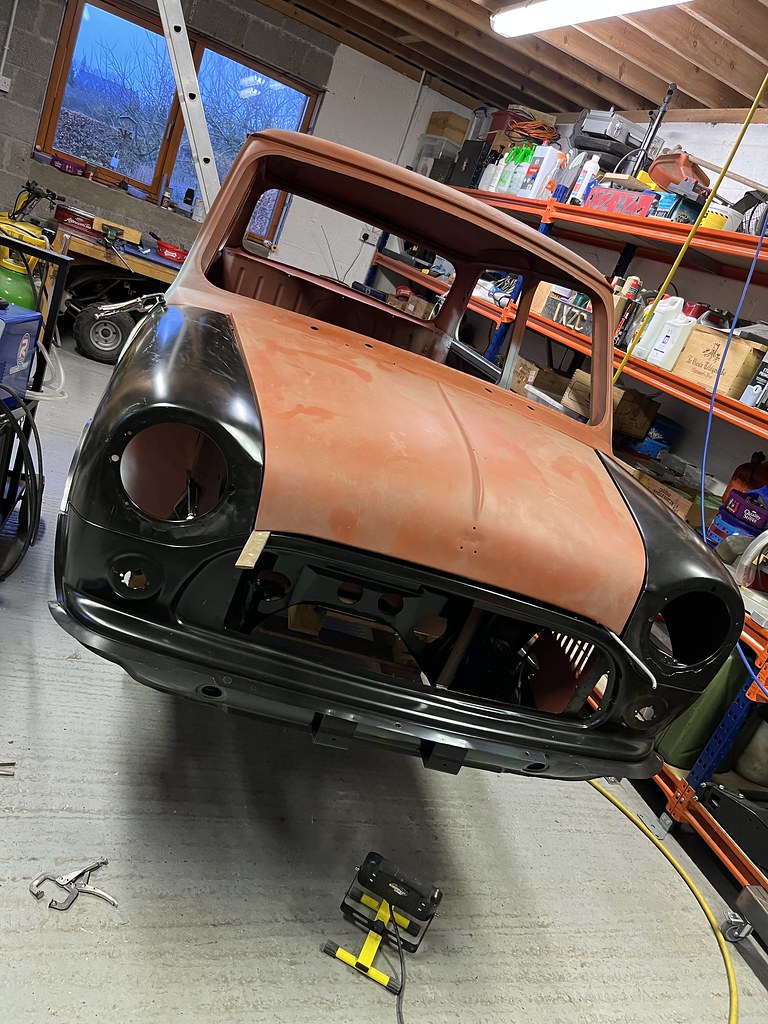
The back corner on the driver's side is sitting up too high. I may need to do some slits on the back lip and weld it back into the correct curve

Re: 1981 Mini City 1000
Posted: Sun Jan 22, 2023 7:32 pm
by colinf1
Those panel gaps look good! If I can get mine looking like that I'll be more than happy!
Re: 1981 Mini City 1000
Posted: Wed Jan 25, 2023 6:09 pm
by ctwomey
I attached the hinges on the bonnet and the rear of the bonnet lines up nicely with the scuttle. The front on the passenger side is pushed out a few mills, but I think I can reshape the curve by inserting some relief cuts on the side of the bonnet curve.
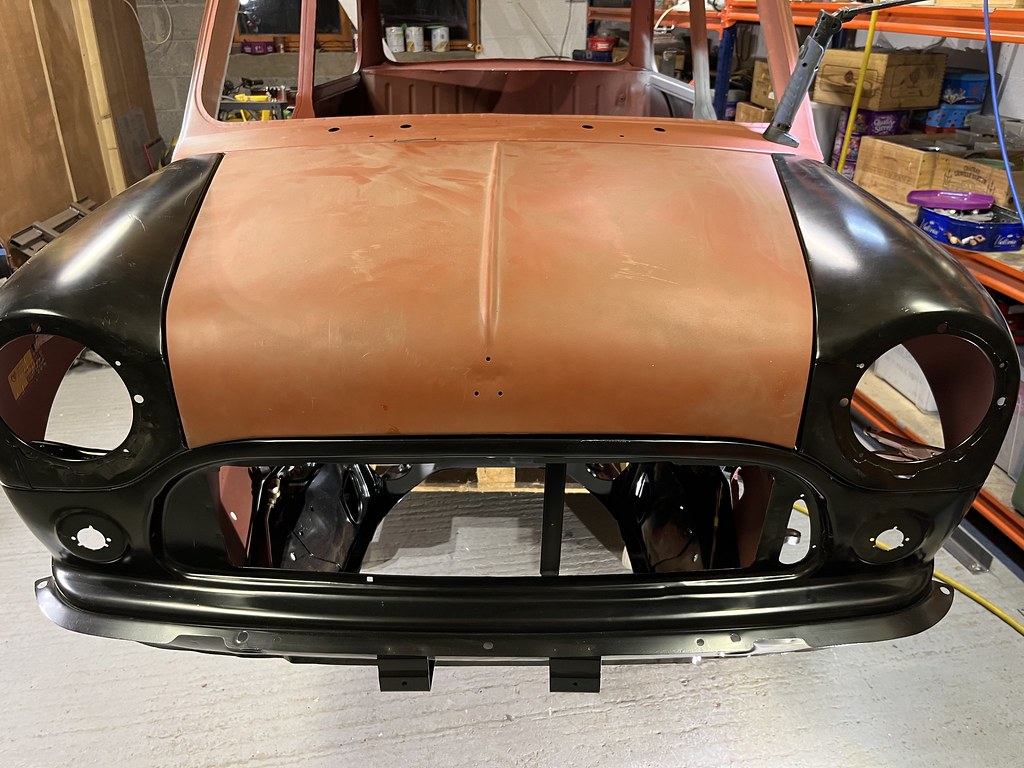
The driver's side front wing fits nicely but it takes quite a bit of pressure to get it this close.

Passenger's side front wing is getting there too.
Next is to add the A-panels to see how the whole front end looks before welding.
Re: 1981 Mini City 1000
Posted: Thu Feb 02, 2023 9:41 am
by ctwomey
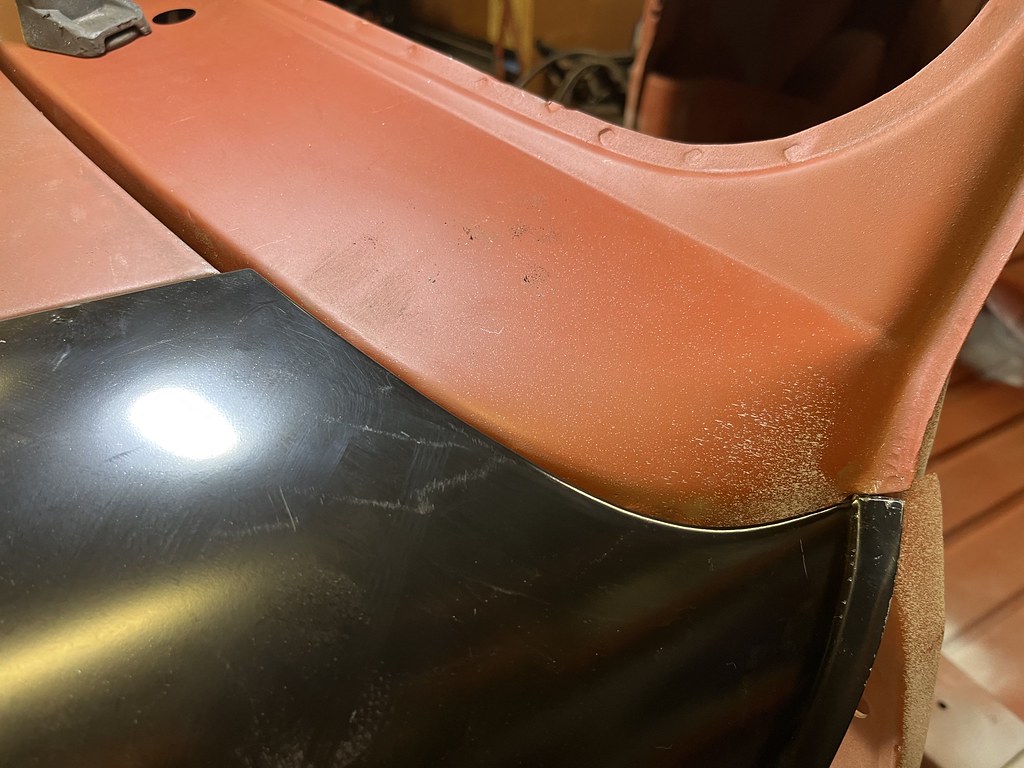
Started repairing the scuttle panel. I managed to keep most of the stamped chassis number (well the important part). Rust had completely eatened away the rain gully but it looks good again.

The driver's side has a dent as a result of a frontal shunt while the flitch panel and scuttle needs some additional lip so the water won't run down into the engine bay.
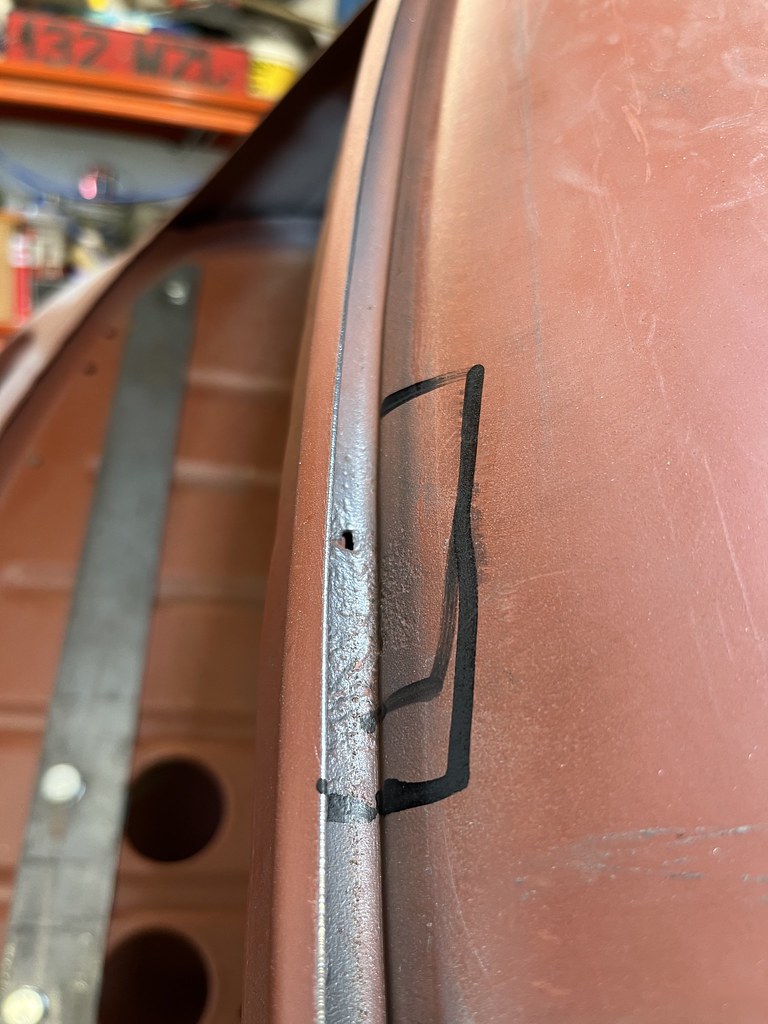
Passenger side needs similar additional lip on both panels. Black marker line is where the wing runs along the scuttle panel.
Re: 1981 Mini City 1000
Posted: Mon Mar 06, 2023 10:07 pm
by ctwomey
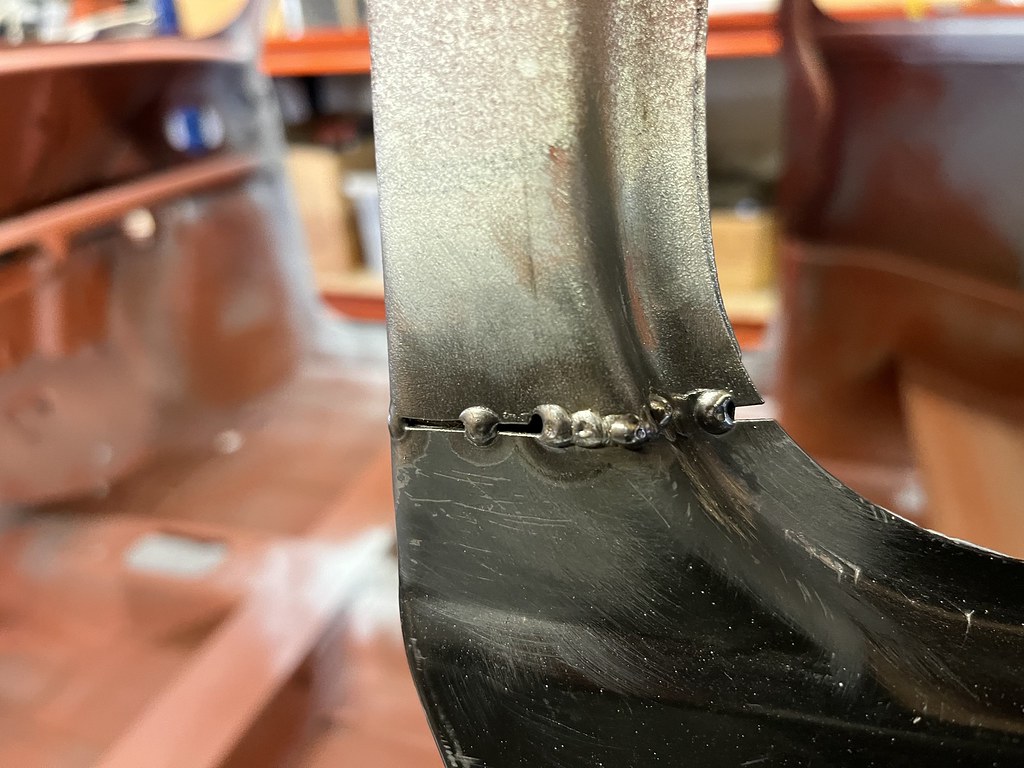
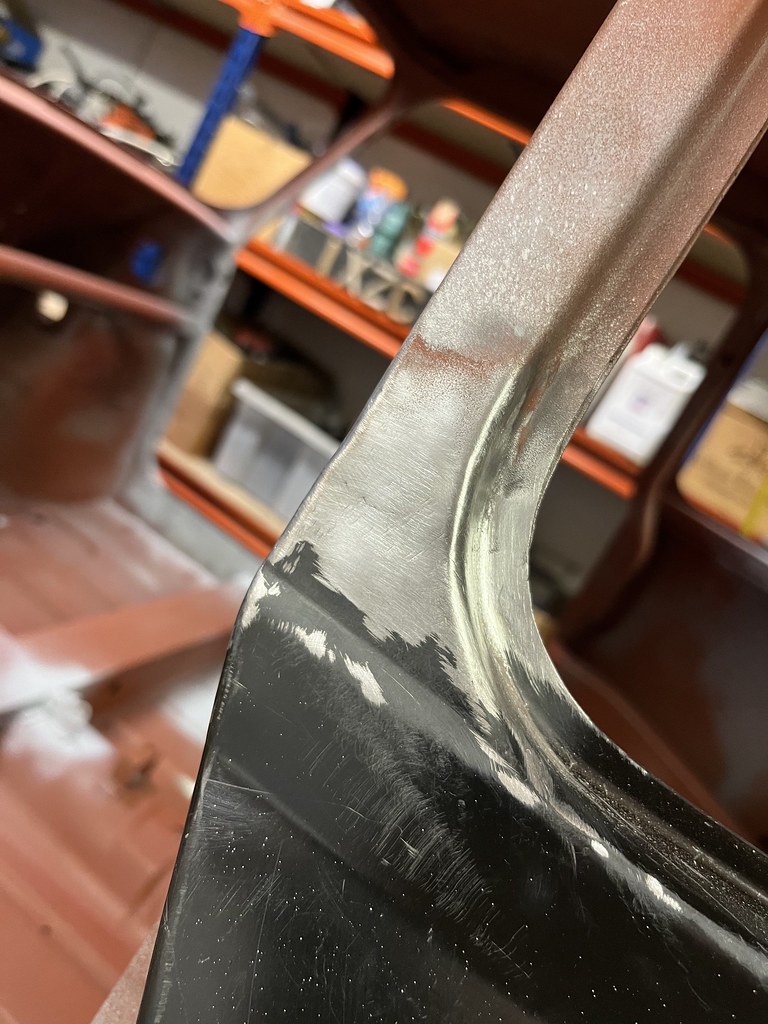
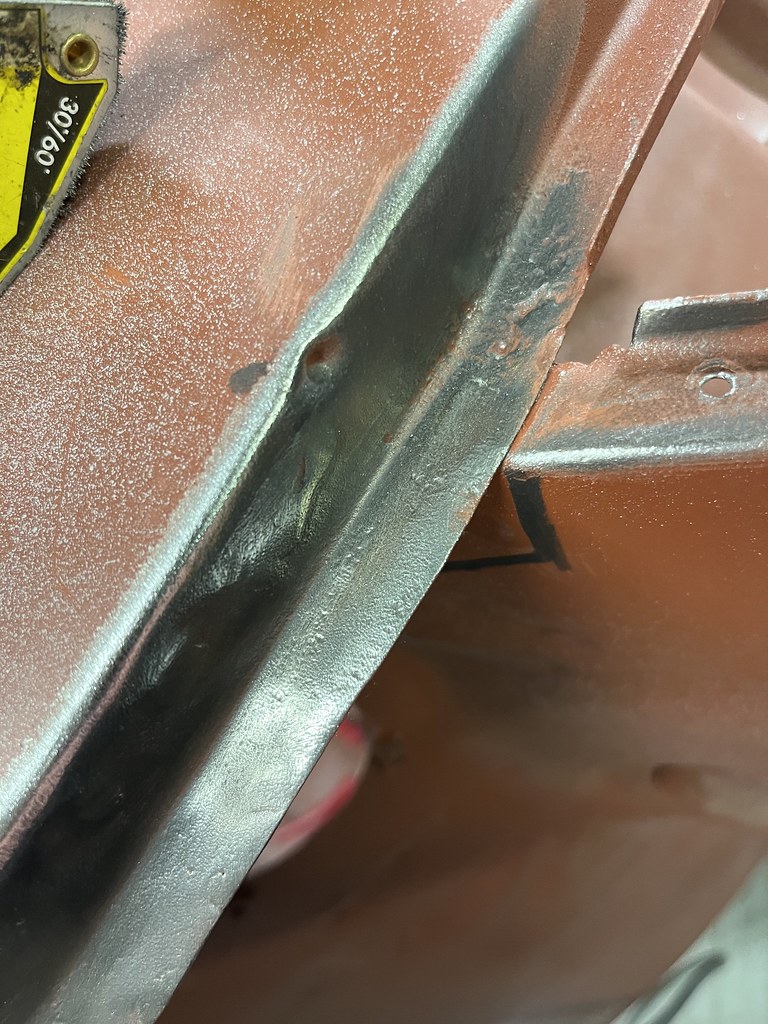
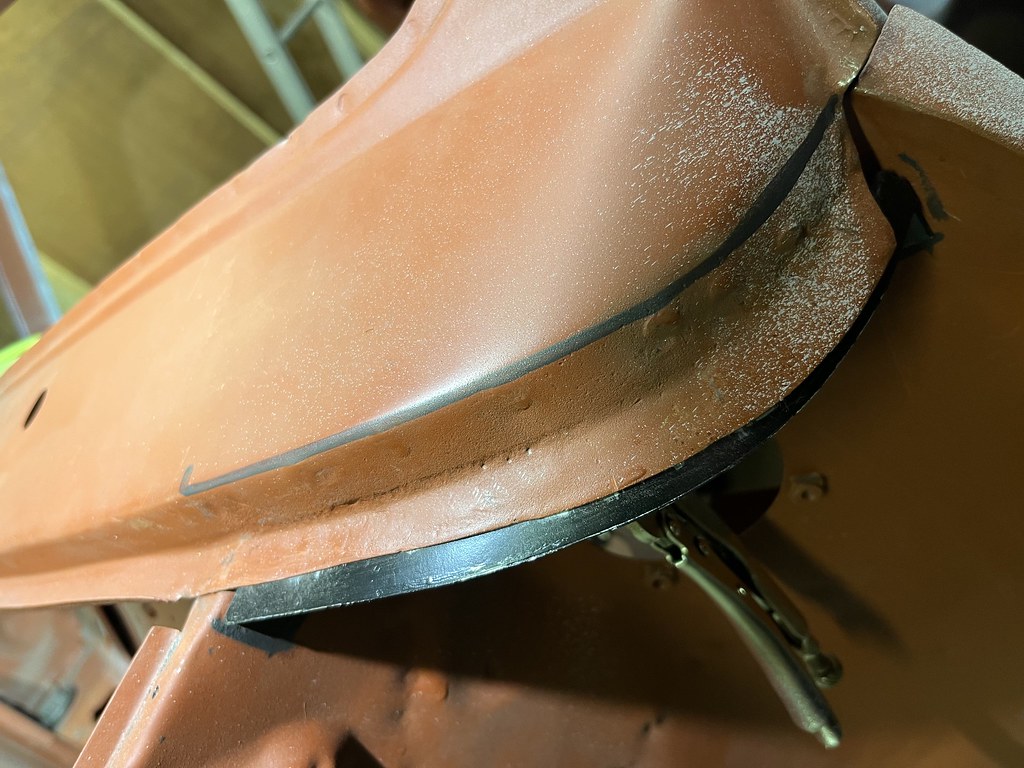
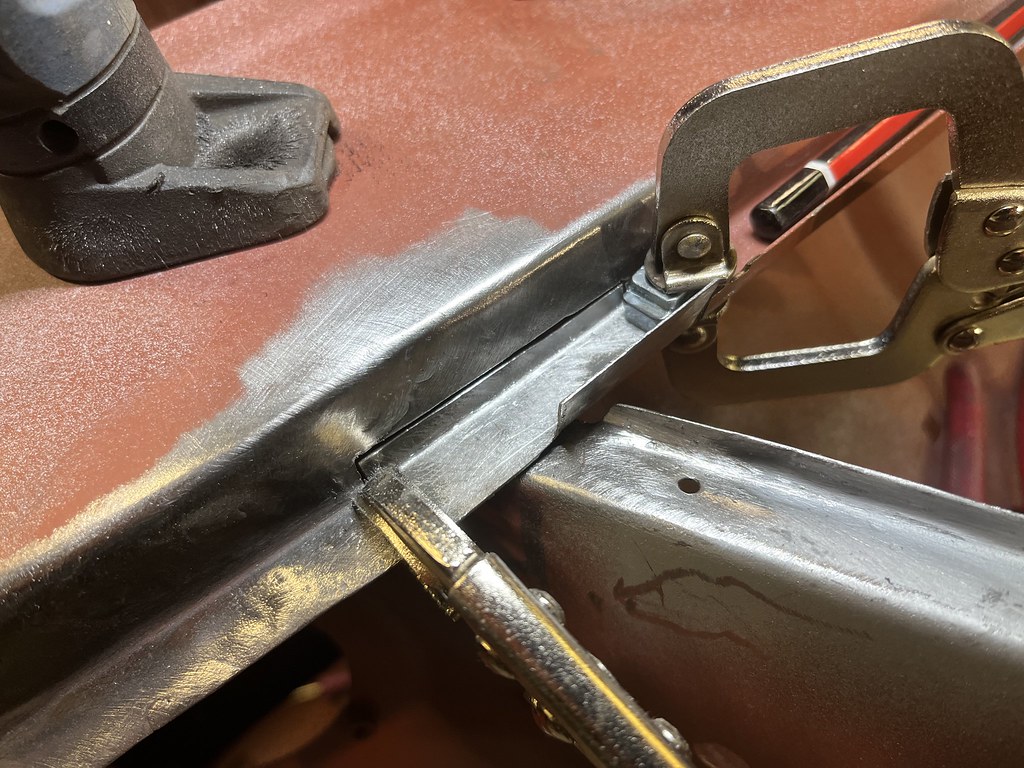
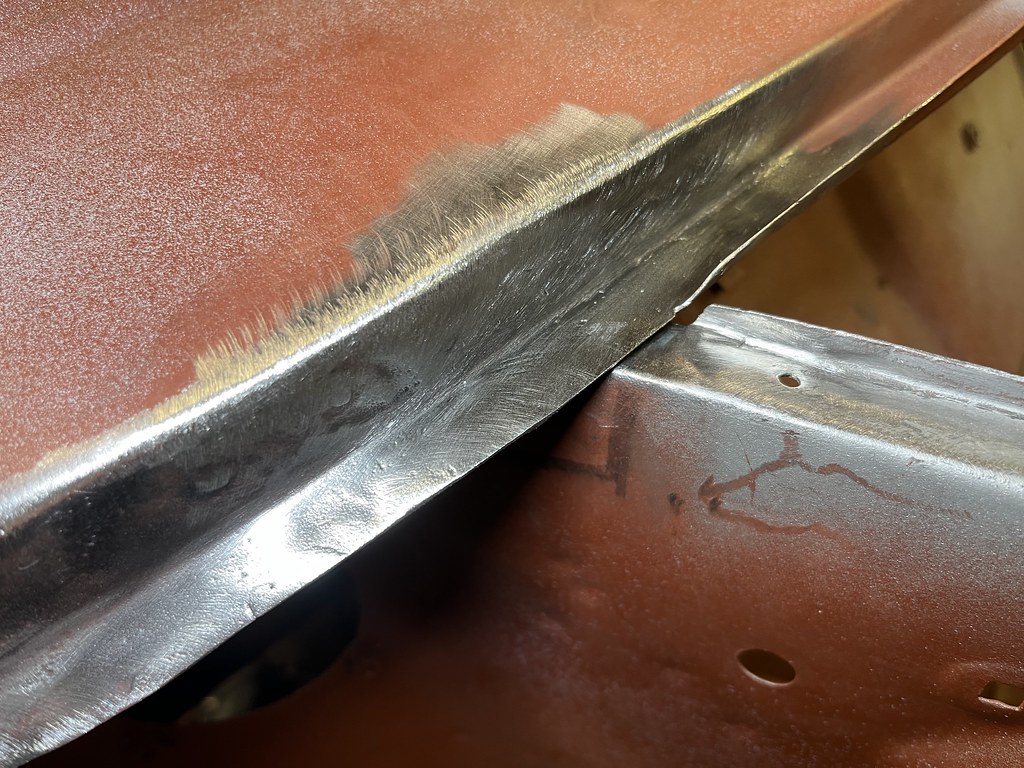
It's been a good few weeks since I had a chance to spend some time on the mini. I was fixing the area between the inner wing and the scuttle panel.
Can a few of the mini experts have a look and tell me should the join be welded or if it is ok to leave a small gap like in the two pictures below.

Driver's side was quite corroded and I needed to cut out a section that I will need to repair.

Re: 1981 Mini City 1000
Posted: Tue Mar 07, 2023 7:18 pm
by woody
Never thought too much about it before but I guess as its a rain water gully it makes sense to seal it up.
Re: 1981 Mini City 1000
Posted: Wed Mar 08, 2023 3:43 pm
by ctwomey
Thanks woody. I will see if I can extend that bit. Makes sense to avoid rainwater falling into the engine bay. I will have a look at a few minis on the 26th at the Portlaoise Cars and Coffee.
Re: 1981 Mini City 1000
Posted: Sat Mar 11, 2023 7:58 pm
by ctwomey
Repaired the scuttle panel on the driver's side. It's amazing how much time goes into repairing such a small area. Tricky piece to make up.
Re: 1981 Mini City 1000
Posted: Sun Mar 12, 2023 7:47 am
by colinf1
I'd say it was almost impossible to get the tip of the torch close enough with the outer return lip!
Repair looks spot on, probably invisible once primed.
Is it going to be ready for cars and coffee on the 26th ;D
Re: 1981 Mini City 1000
Posted: Sun Mar 12, 2023 11:44 am
by ctwomey
Wouldn't the 26th be nice. Cooper S disc conversion is arriving this week. Pricey setup unfortunately but the old drums were in a bad way and would have needed replacing.
Re: 1981 Mini City 1000
Posted: Mon Mar 20, 2023 3:16 pm
by ctwomey
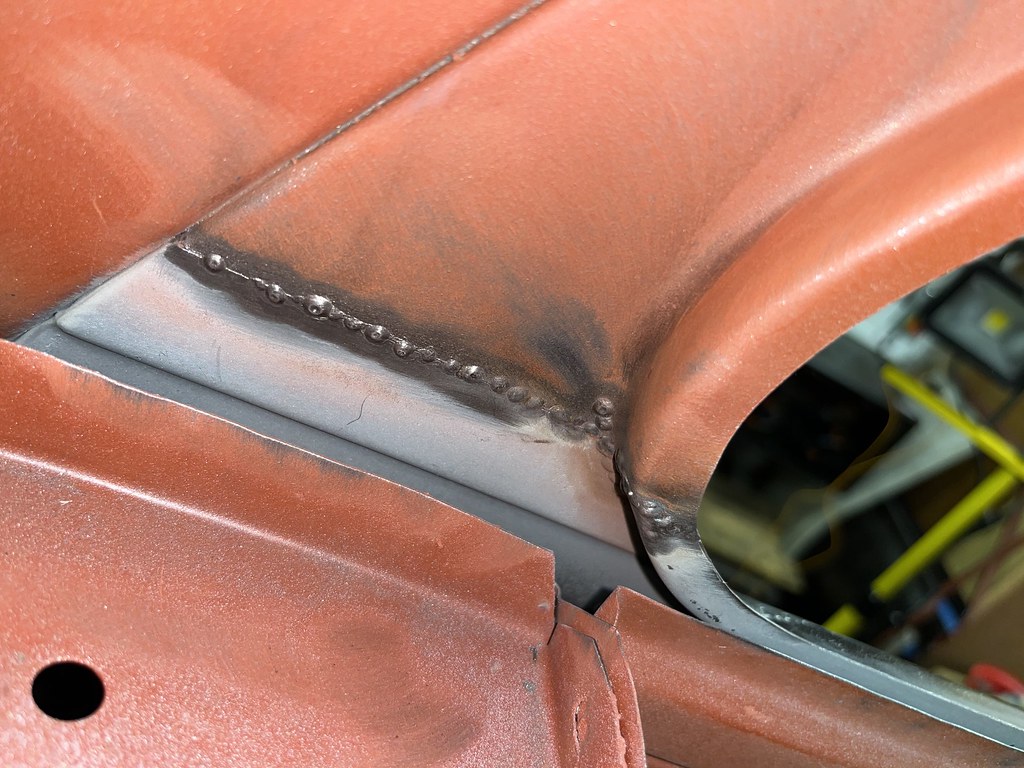
I managed to delicately weld the join between the scuttle and flitch panel on the driver's side. I also put a spot weld in the centre of where they overlap. Passenger side next.

Re: 1981 Mini City 1000
Posted: Sun Jun 04, 2023 8:06 pm
by ctwomey
I picked up a secondhand roof that I can use to create my patch panels for both the roof panel and the rain gutters.

First one to take on is the hole at the back.
First job was to cut out the corroded area.

It does require some planning on how to cut it out without damaging the surrounds.

The only way to get a clean cut is to cut into the rain gutter too but this can be welded up later.

I created a patch panel from the other roof from a similar area.

This is now tacked in place. I made sure that the tacks didn't pull the patch panel into one direction or the other.
Just need to finish it off now.
Re: 1981 Mini City 1000
Posted: Mon Jun 05, 2023 6:03 pm
by ctwomey
Happy with the finish, just hope all the rest of them come out this good.

Re: 1981 Mini City 1000
Posted: Mon Jun 05, 2023 7:33 pm
by colinf1
Say it was nice and toasty welding today!
Looking good!
Re: 1981 Mini City 1000
Posted: Mon Jun 05, 2023 7:51 pm
by ctwomey
Flip-flops, shorts and a string vest kept me cool

Re: 1981 Mini City 1000
Posted: Mon Jun 05, 2023 10:04 pm
by woody
Nice welding.
Re: 1981 Mini City 1000
Posted: Sat Jun 10, 2023 3:08 pm
by ctwomey
Thanks woody
2nd of 9 repairs I need to do on the roof and rain gutters.
The pieces of steel are to avoid the tack weld from contracting during cooling thus distorting the alignment of the patch
All the tacks are in place now
Grinding down the tops of the welds to check to see if there are any pinholes in the join
=

While it came out great, it will still require a thin application of filler prior to paint to get that perfect finish.
Re: 1981 Mini City 1000
Posted: Sat Jun 10, 2023 7:06 pm
by colinf1
Looking good Conor, only 7 more to go....