Page 10 of 13
Re: 1981 Mini City 1000
Posted: Sat Nov 26, 2022 9:21 pm
by ctwomey
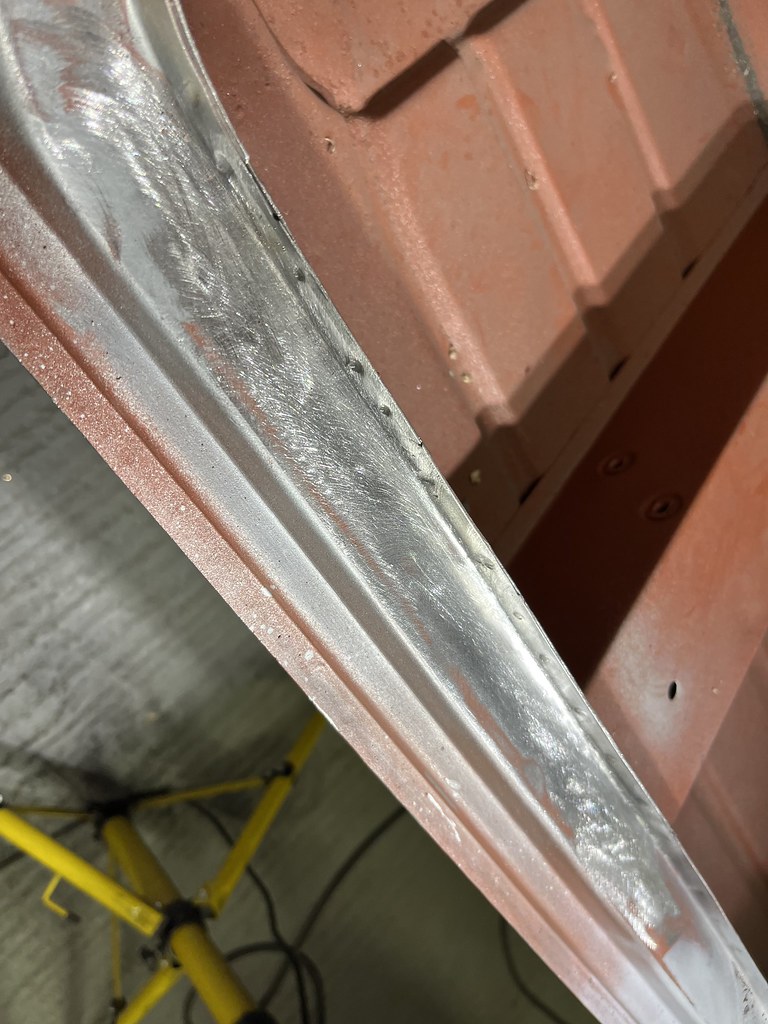
Nice penetration from the backside of the doorstep

The finish came out well

Two more to do to finish the step then onto the quarter panel

Re: 1981 Mini City 1000
Posted: Sun Nov 27, 2022 7:08 pm
by colinf1
Impressed with how neat you managed to get the old bits cut out!
Door step looks great!
Re: 1981 Mini City 1000
Posted: Sun Nov 27, 2022 8:52 pm
by ctwomey
Thanks Colin.
A high-speed air grinder with a tungsten carbide head plus a sharp 1/2-inch wood chisel goes a long way to clean up the initial cuts into the old body panel.
Re: 1981 Mini City 1000
Posted: Sat Dec 03, 2022 5:54 pm
by ctwomey
Last two holes tacked in place. Can never have enough vice grips
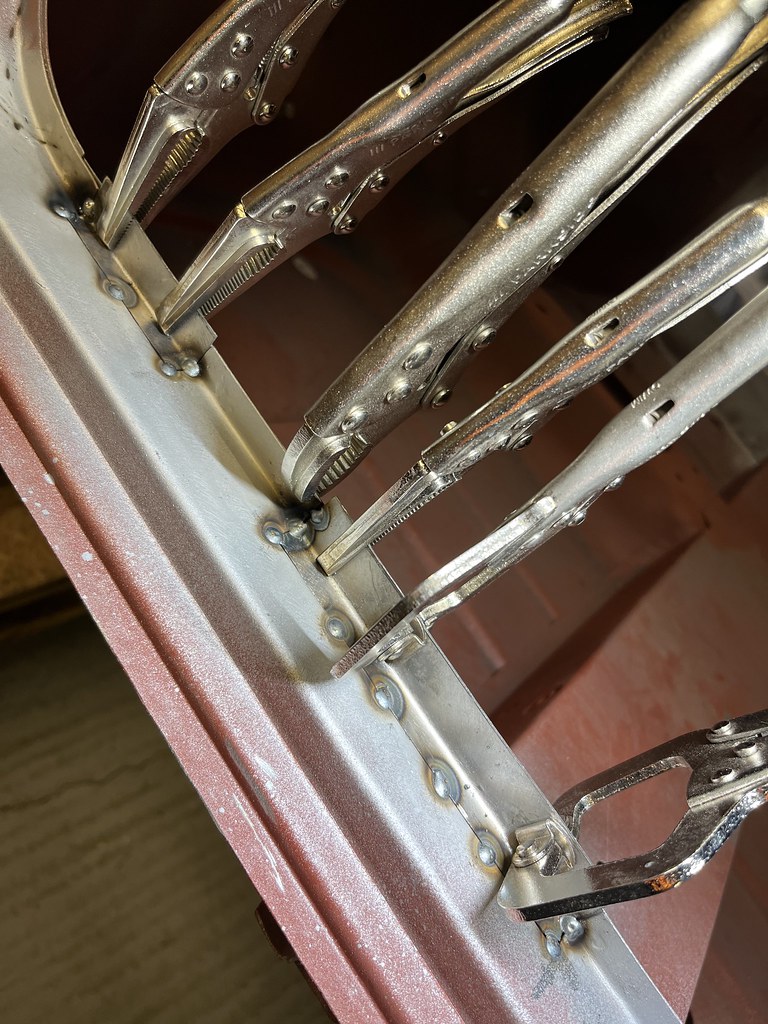
Welds blended up nicely. Spot welds in place too
Re: 1981 Mini City 1000
Posted: Mon Dec 05, 2022 8:02 pm
by colinf1
Motoring along now Conor!
Re: 1981 Mini City 1000
Posted: Sat Dec 10, 2022 5:11 pm
by ctwomey
Re: 1981 Mini City 1000
Posted: Sat Dec 10, 2022 5:12 pm
by ctwomey
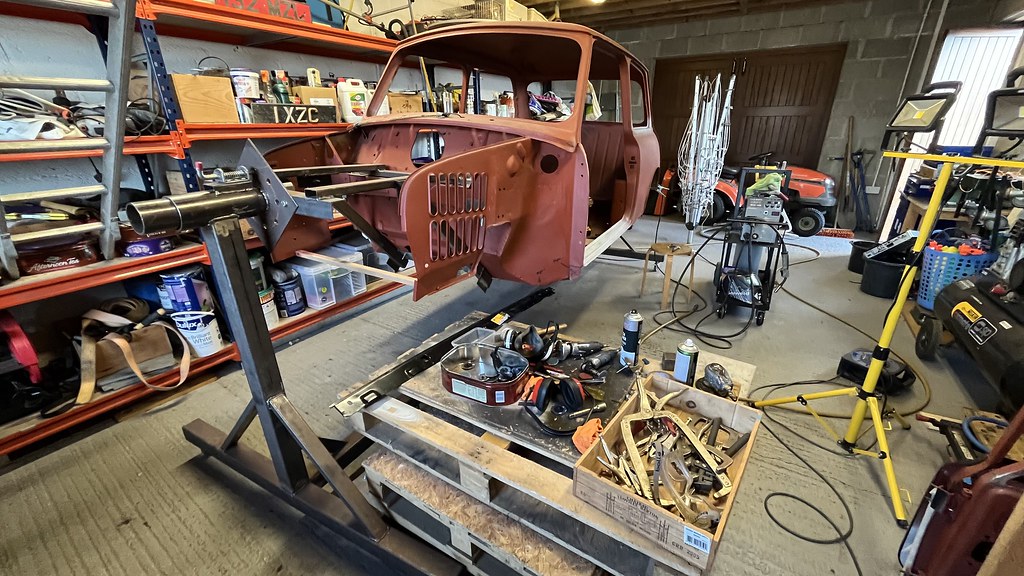
Here is the workshop in all its glory. It's a bit cold today but I have a propane heater on.
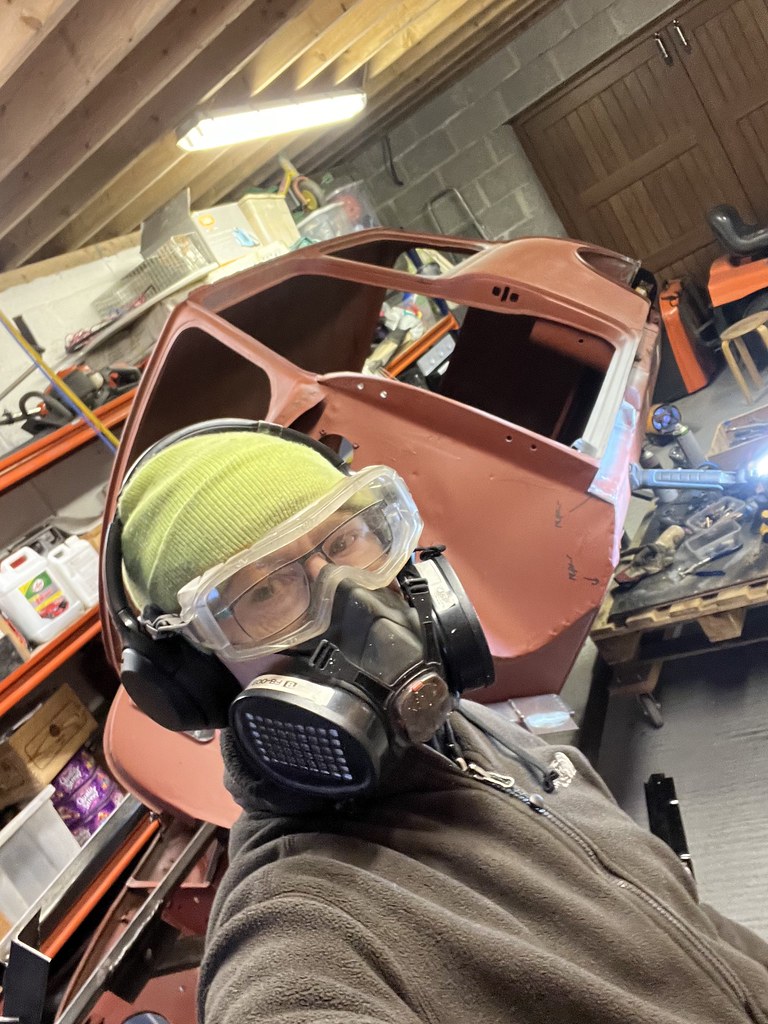
Including the mandatory safety gear
Re: 1981 Mini City 1000
Posted: Sat Dec 10, 2022 5:13 pm
by ctwomey
Re: 1981 Mini City 1000
Posted: Sat Dec 10, 2022 8:56 pm
by colinf1
Looking good Conor, nearly ready to get that sill on!
Sheds looking tidy, plenty of space for another mini....
Re: 1981 Mini City 1000
Posted: Sun Dec 11, 2022 11:08 pm
by woody
Theres always room for another mini, and even if there isn't it never stopped us from buying another
Re: 1981 Mini City 1000
Posted: Mon Dec 12, 2022 8:36 pm
by ctwomey
Yes, plenty of room for more minis. I think I could fit 4 of them in the space. However, I want to get this one finished first and start enjoying it.
Colin, I want to repair the driver and passenger floor areas first before I attach the outer sills. They should be easy enough to install. I also bought some epoxy primer too that I can use to spray in the sill cavity before it is closed up. I have the passenger quarter panel to replace next.
Re: 1981 Mini City 1000
Posted: Tue Dec 13, 2022 7:43 pm
by woody
my painter told me to not just prime the cavity's as primer absorbs moisture, put some sort of top coat on it.
Re: 1981 Mini City 1000
Posted: Tue Dec 13, 2022 9:18 pm
by ctwomey
Yes, normal primer is very porous, especially 2K primers. Fortunately, epoxy primer is a sealer and isn't porous. It completely seals the surface. I might cover it with an aerosol of colour-matched top coat to finish it off.
Re: 1981 Mini City 1000
Posted: Sun Jan 01, 2023 7:53 pm
by ctwomey
Finally got around to working on the mini over the holidays.
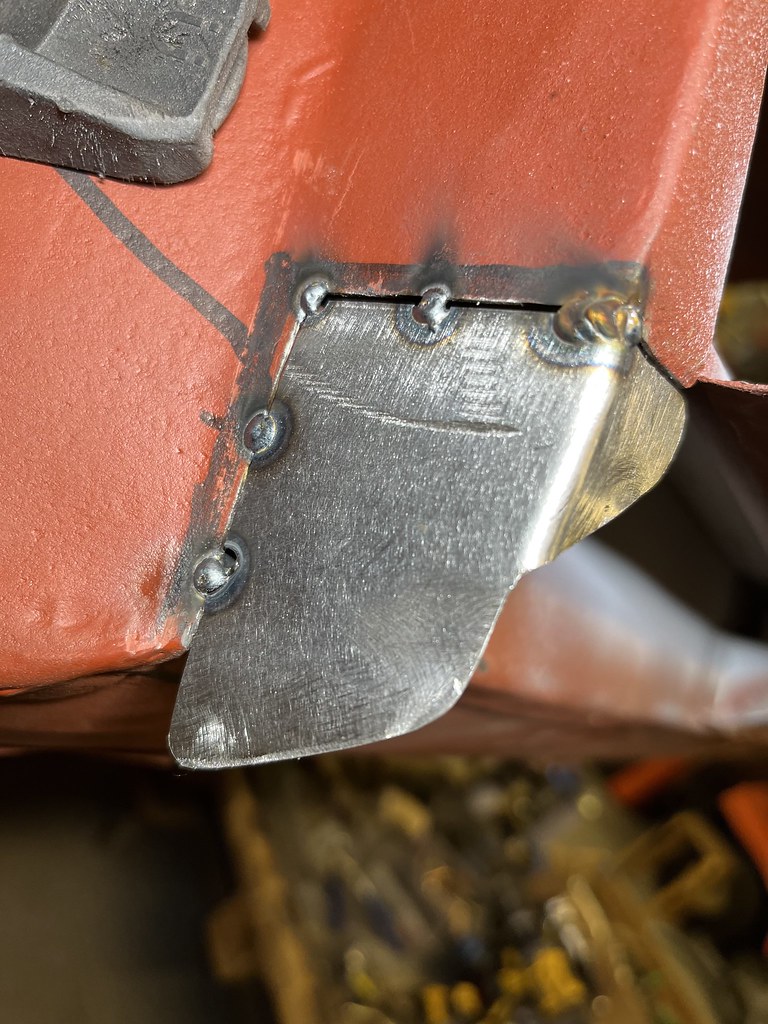
The first job was to weld in the jacking point bracket. A little challenging when the upper sill is in place. I could only get three plug welds on the upper plate but there will be eleven in total when completed so should be solid.
 IMG_1697
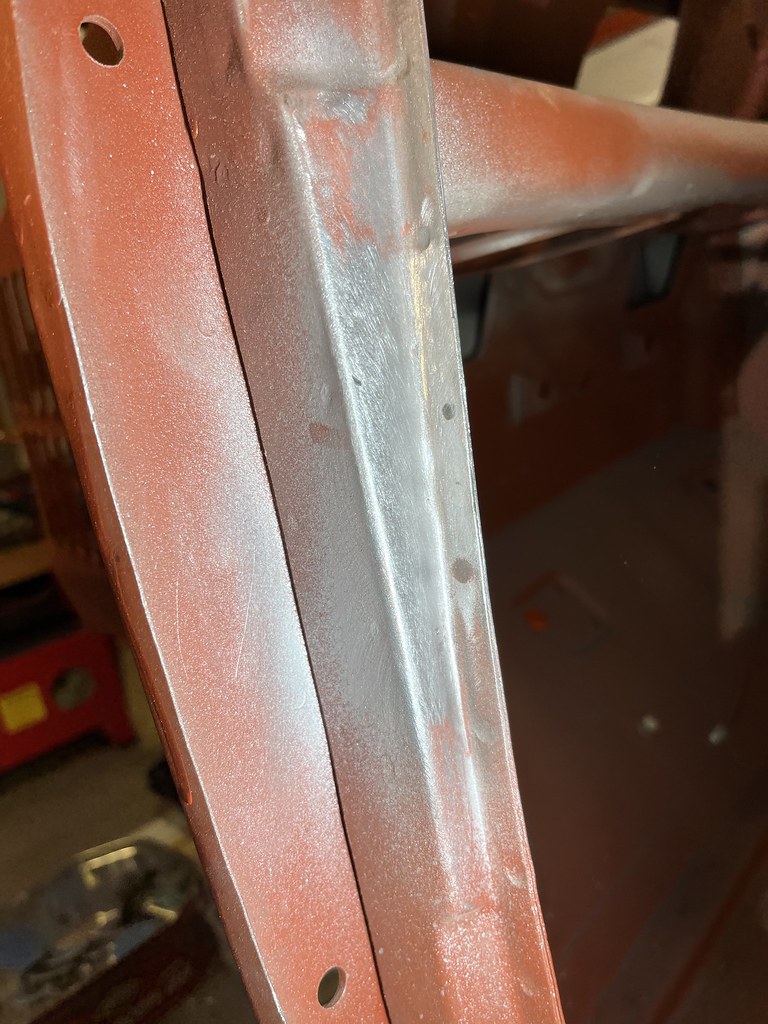
I removed the passenger side quarter panel as I have a heritage replacement. The old panel was badly corroded around the usual quarter panel window opening.
 IMG_1714
I exposed the rear wheel arch closing panel which will require a patch repair before I replace the quarter panel.
 IMG_1709
The slowest part is always cleaning up the old spot welds as I am trying to not remove any of the arch lip material.
 IMG_1717
Re: 1981 Mini City 1000
Posted: Mon Jan 02, 2023 10:19 am
by colinf1
Your quarter waist rail panel looks pretty good! As does that section of the wheel tub!
Yes, very slow and messy to as I remember, then trying not to put too much heat into it either! But your getting there
Re: 1981 Mini City 1000
Posted: Mon Jan 02, 2023 4:33 pm
by ctwomey
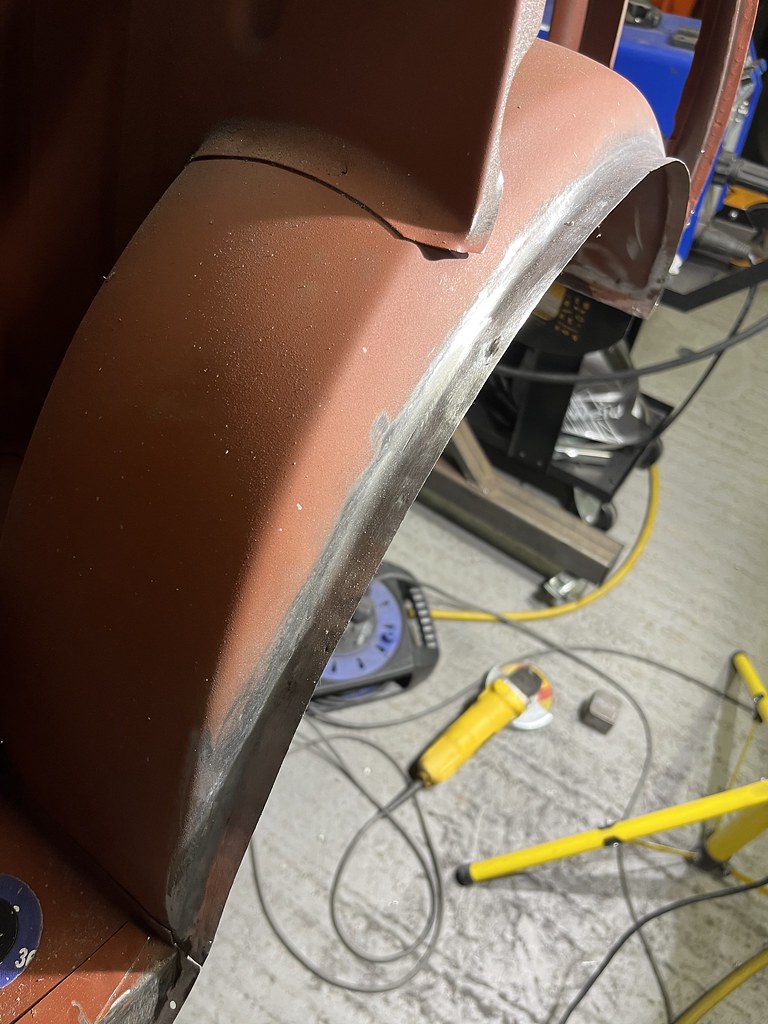
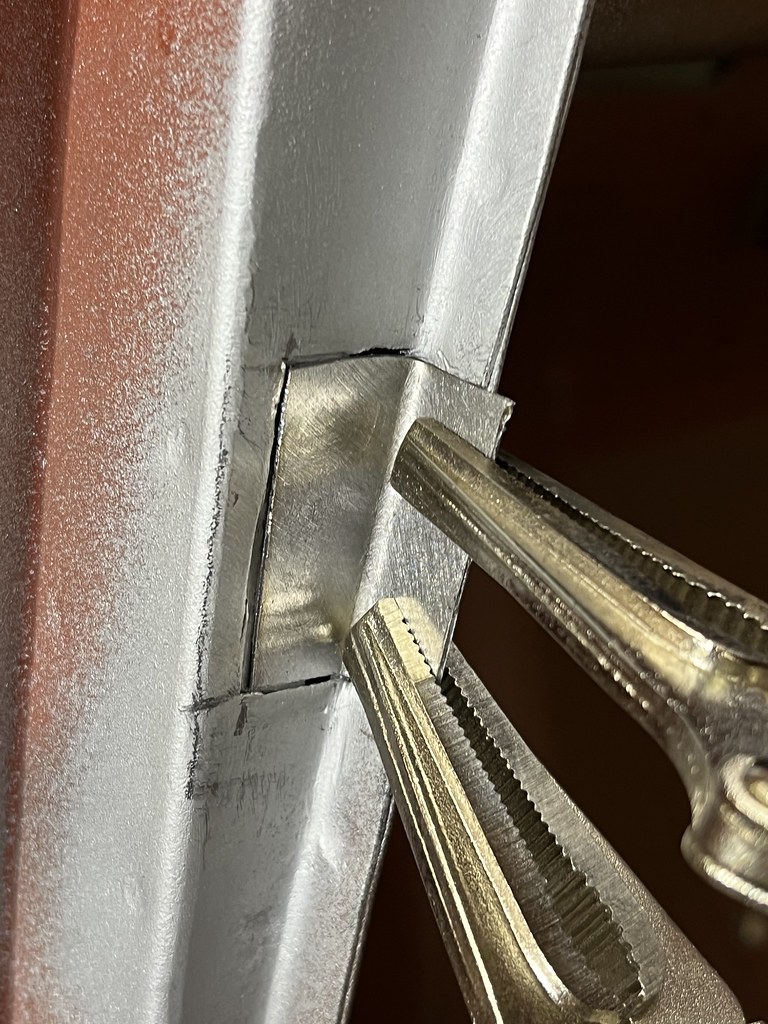
Cut and trial-fitted the quarter panel
[url=
https://flic.kr/p/2o9m8JC]
Happy with the cut on the B-pillar. Always a worry that you will cut too much
[url=
https://flic.kr/p/2o9kHH8]

C-pillar requires a bit more fettling to get the window's inner curve correct
[url=
https://flic.kr/p/2o9g165]

I will put the quarter panel aside while fixing the arch closing panel.
Re: 1981 Mini City 1000
Posted: Mon Jan 02, 2023 8:40 pm
by colinf1
Bit of dolly work and it will be spot on.
Are you planning on keeping the fixed windows or upgrading to opening ones?
Re: 1981 Mini City 1000
Posted: Mon Jan 02, 2023 9:21 pm
by ctwomey
Hi Colin,
I am going to keep the original fixed windows. A couple of good days in the garage so far. I am off the remainder of the week so hopefully, keep the momentum going.
Re: 1981 Mini City 1000
Posted: Mon Jan 02, 2023 10:56 pm
by colinf1

I'm back to work tomorrow, only good thing is I've a few parts that I can get in the sandblaster at lunchtime!
Re: 1981 Mini City 1000
Posted: Tue Jan 03, 2023 7:02 pm
by colinf1
Posted on wrong thread

Re: 1981 Mini City 1000
Posted: Sat Jan 07, 2023 10:33 am
by ctwomey
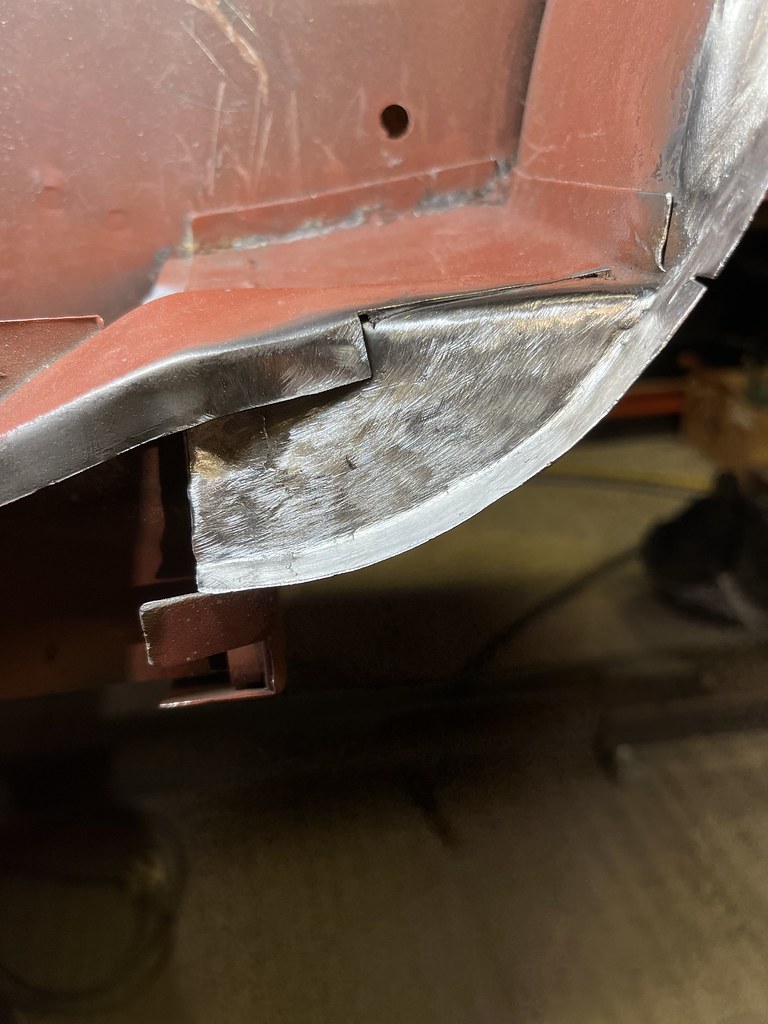
Time to repair the arch closing panel on the passenger side

Hopefully, the subframe won't rub on the inside. I still have a bead of weld to put between the closing panel and the heel board
Re: 1981 Mini City 1000
Posted: Sat Jan 07, 2023 10:36 am
by ctwomey
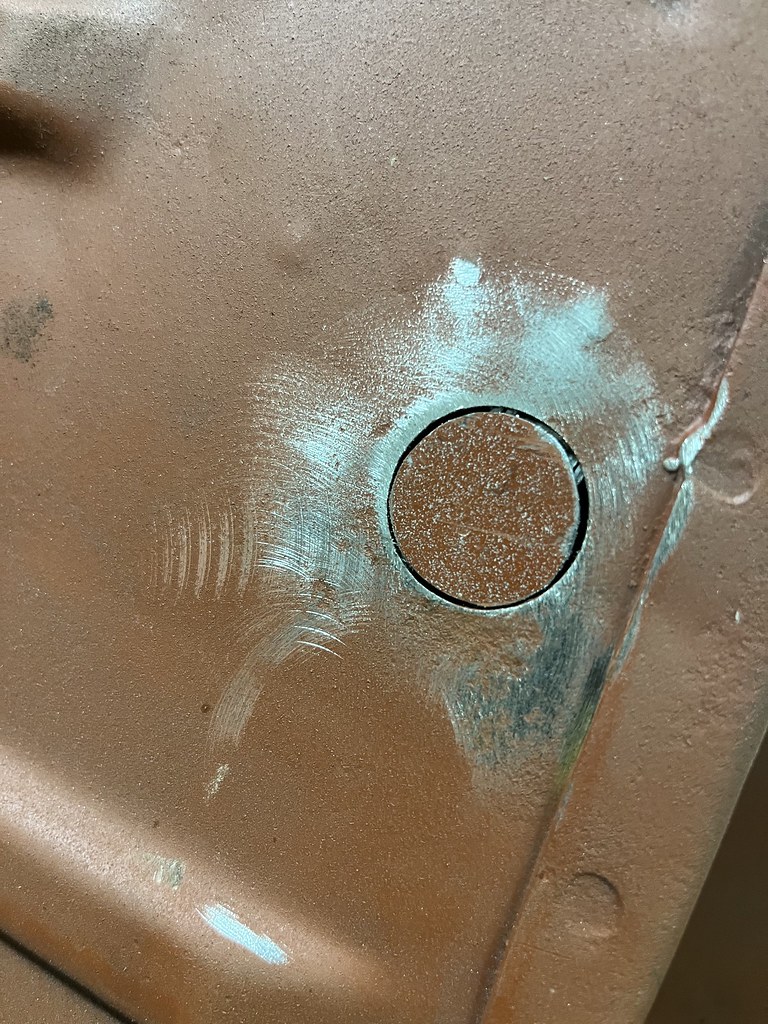
I think I am going to weld up all the holes in the floor like the one below

The initial round of welds
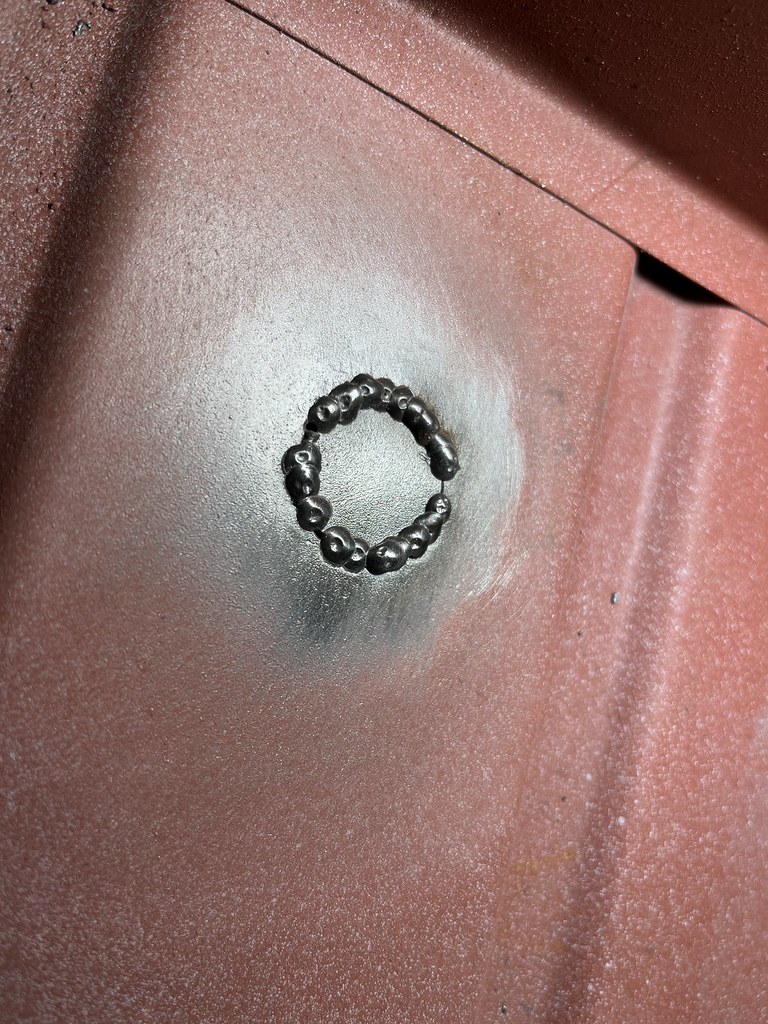
Ground back so I can get access to the pinholes
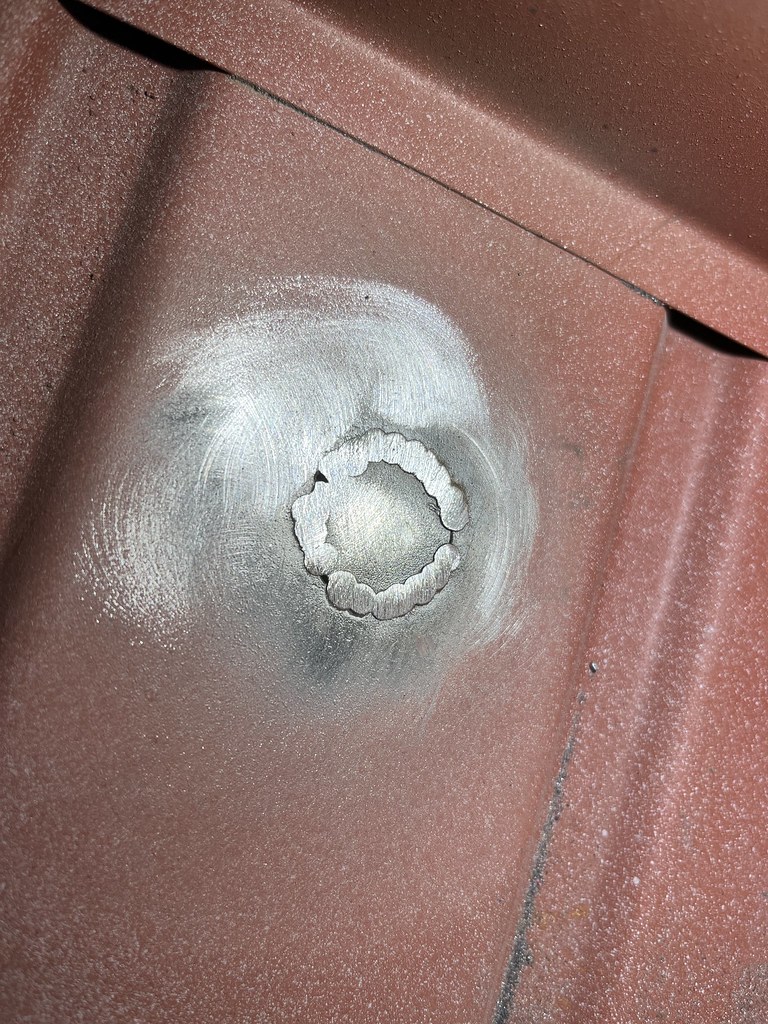
Finished off

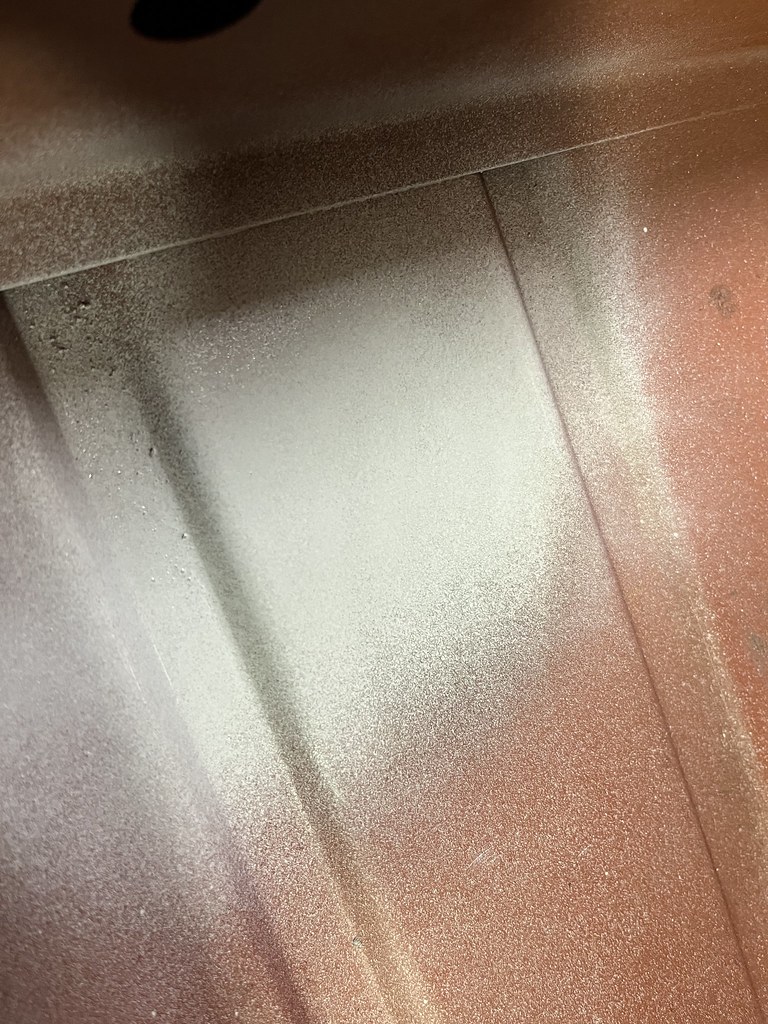
Touch of etch primer for now. Looks the same on the backside too.
Re: 1981 Mini City 1000
Posted: Sun Jan 08, 2023 5:21 pm
by ctwomey
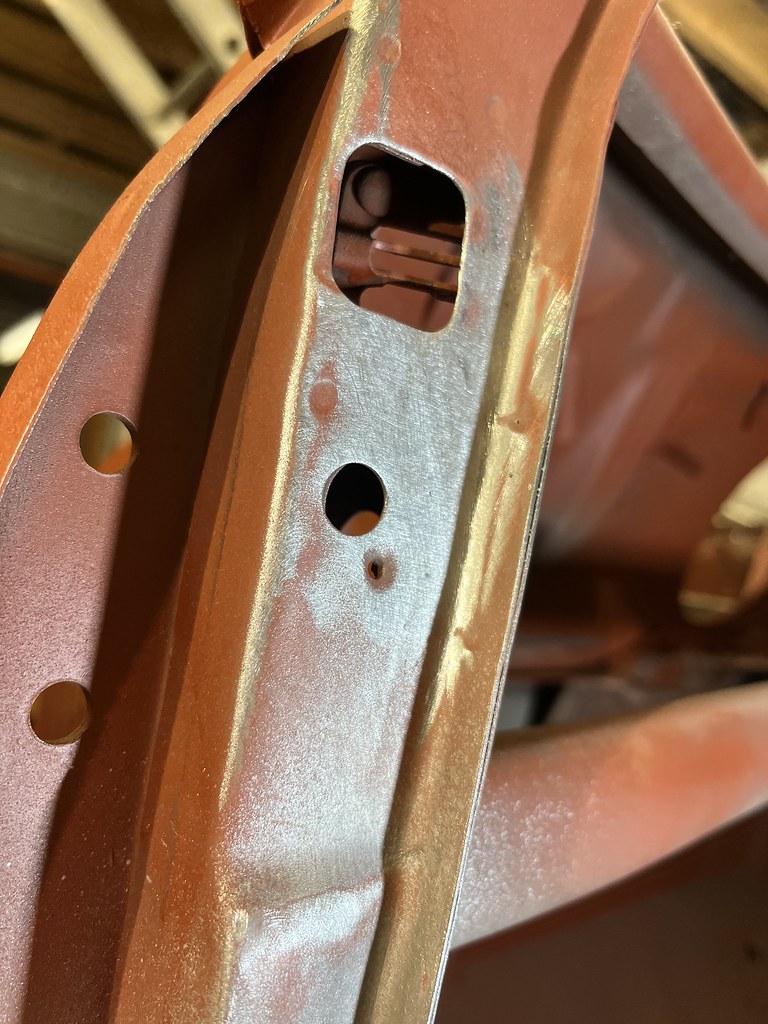
A couple more holes welded up

Re: 1981 Mini City 1000
Posted: Sat Jan 14, 2023 9:36 pm
by ctwomey
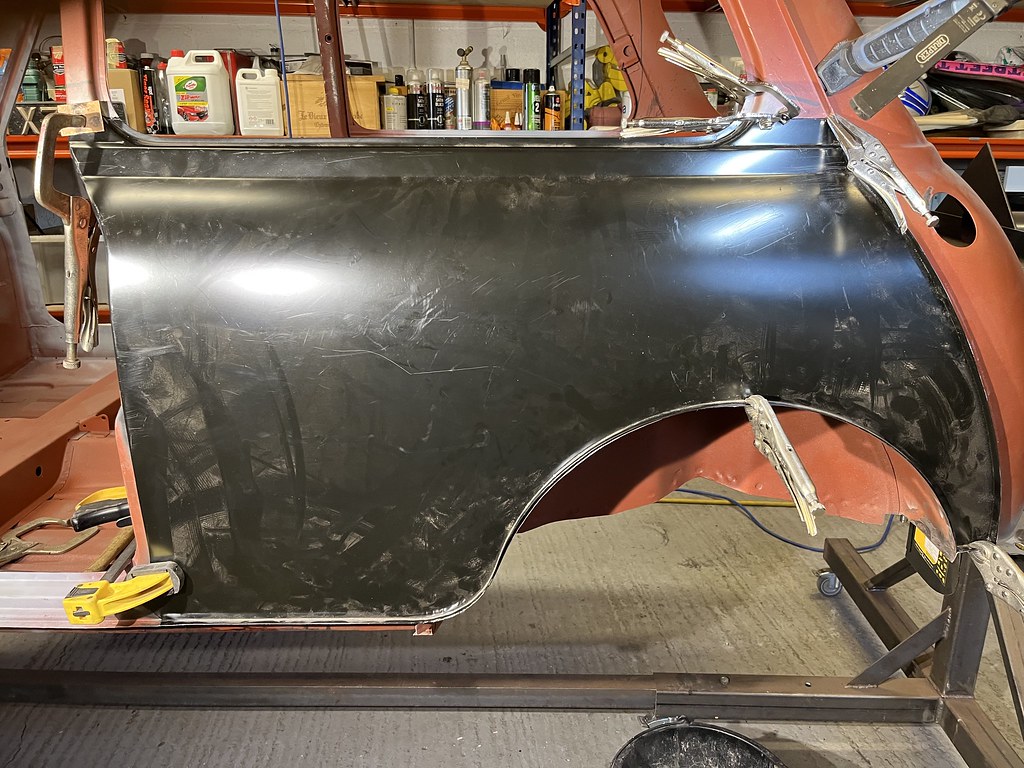
Finally ready to weld in the quarter panel

Re: 1981 Mini City 1000
Posted: Sun Jan 15, 2023 8:11 am
by colinf1
Very tidy prep, looking forward to seeing the panel on, should have it done today?


 I'm back to work tomorrow, only good thing is I've a few parts that I can get in the sandblaster at lunchtime!