Page 10 of 21
Re: 1983 Mini City
Posted: Sat Nov 12, 2022 11:25 am
by colinf1
Drivers door frame repaired and painted ready for skin...

Just waiting for paint to dry while preparing the skin. Hinges are ready to go on for alignment.
Re: 1983 Mini City
Posted: Sat Nov 12, 2022 11:27 pm
by colinf1
A very frustrating day, struggling to get the curve between door and rear quarter right on drivers side, took some measurements from the seat belt buckle mounting hole to the edge of the quarter panel at the swage line and had a difference of 6mm between sides. Got some 4x2's and managed to force B post outwards to get the difference down to 2mm, but it still seems to be 2 curves rather than 1 continuous one...
Hard to see in photos..

Also had a nightmare with some of the hinges, some of the new studs didn't get welded, little to no penetration, then some hinges were too tight with new 7mm roll pins, so had to punch them out and redrill to 7.5mm..
Let's hope tomorrow is better...
Re: 1983 Mini City
Posted: Sun Nov 13, 2022 5:58 pm
by ctwomey
Hi Colin,
Great to catch up in person today.
Below are the measurements you are looking:
[url=
https://flic.kr/p/2nZ1Wie]

[url=
https://flic.kr/p/2nZ2Wg4]

Re: 1983 Mini City
Posted: Sun Nov 13, 2022 6:33 pm
by colinf1
Thanks Conor, was good to meet up and good luck with the rest of your welding!
I finished the gutter repair and minor pitting, all blended in nicely.
I then salvaged the studded half of a spare top hinge and married it up to a bottom hinge,drilled out to 7.5mm and new roll pins in. Drivers door is now on, opens and closes, shut lines are pretty good, could get them a bit better with some fettling and thinner shims. Still have the issue of the curve along side of the car being slightly off, but it looks fine from the side and you'd only spot it if you looked for it..


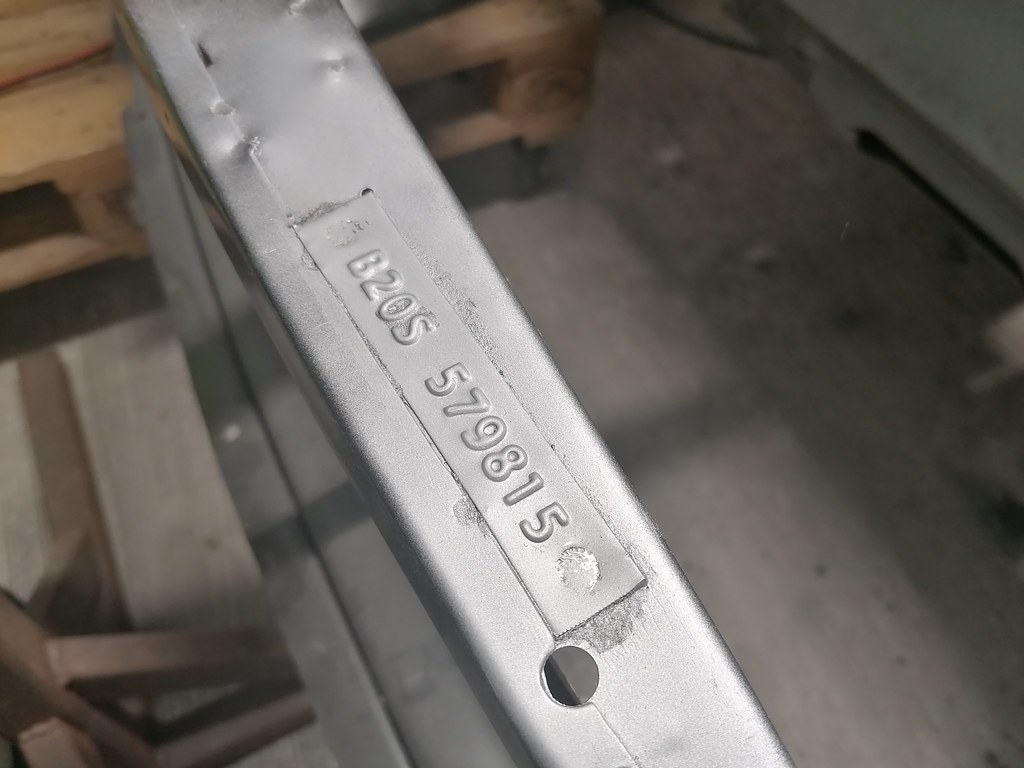
Body number stamp stuck on and some faux spot welds added...
That's the end of the welding on the shell, just the boot lid and bonnet to tackle once it's off the rotisserie...and plenty of grinding down to do...

Re: 1983 Mini City
Posted: Sat Nov 19, 2022 7:14 pm
by colinf1
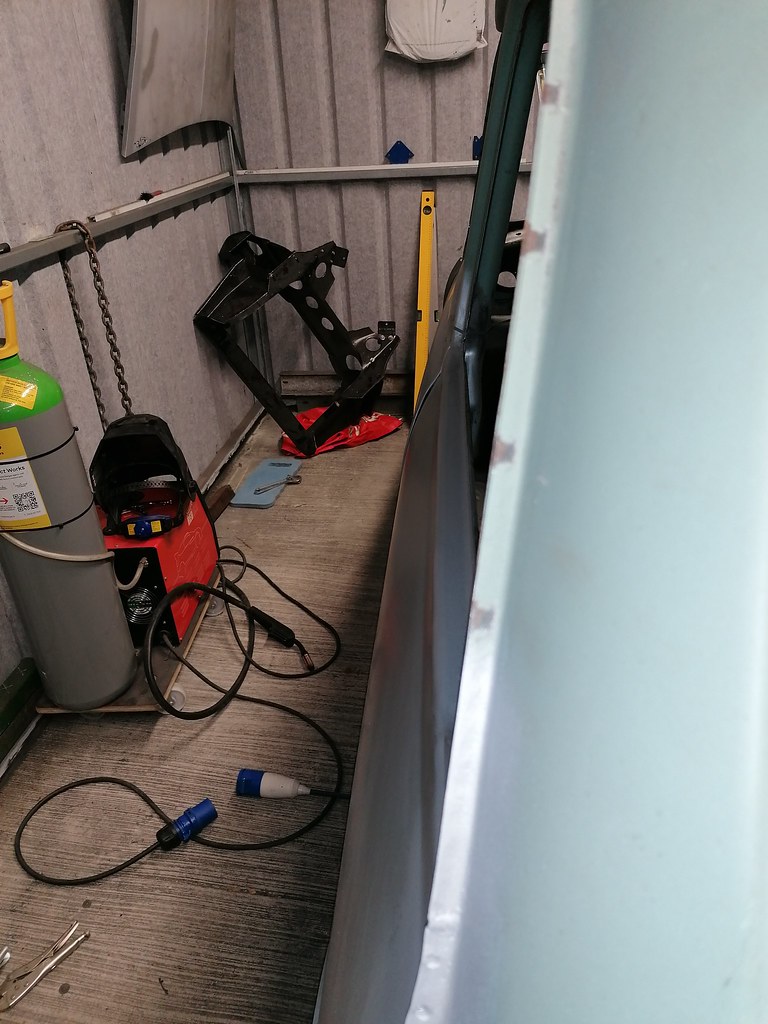
Spent the majority of the day grinding down welds, then filling any pin holes followed by more grinding. Got it to the point where I could take it off the rotisserie and back on to the wheeled pallet.
This allowed me to get most of the shed floor vacuumed and the shell pushed into the corner, neatly out of the way for now. Put the stormforce cover over it to protect it from any dust or moisture.

Boot lid and bonnet need some work to get right, small repair on boot lid frame and 2 little pin holes on the skin.
Bonnet will need a lot more effort to get it right, seems to be sitting a bit too far forward and a bit too low then needs the lip replaced and a pin hole or two filled.

Ordered new seam covers and floor grommets, minispares said I needed 10 but I had 11 holes for some reason, so had to fill one hole!
Re: 1983 Mini City
Posted: Sun Nov 27, 2022 6:55 pm
by colinf1
Had a loan of a new heritage bonnet (Thanks Tony) to trial fit to see how far out both my bonnets where and if it was worth going new..
This is new heritage sat in with no adjustments..
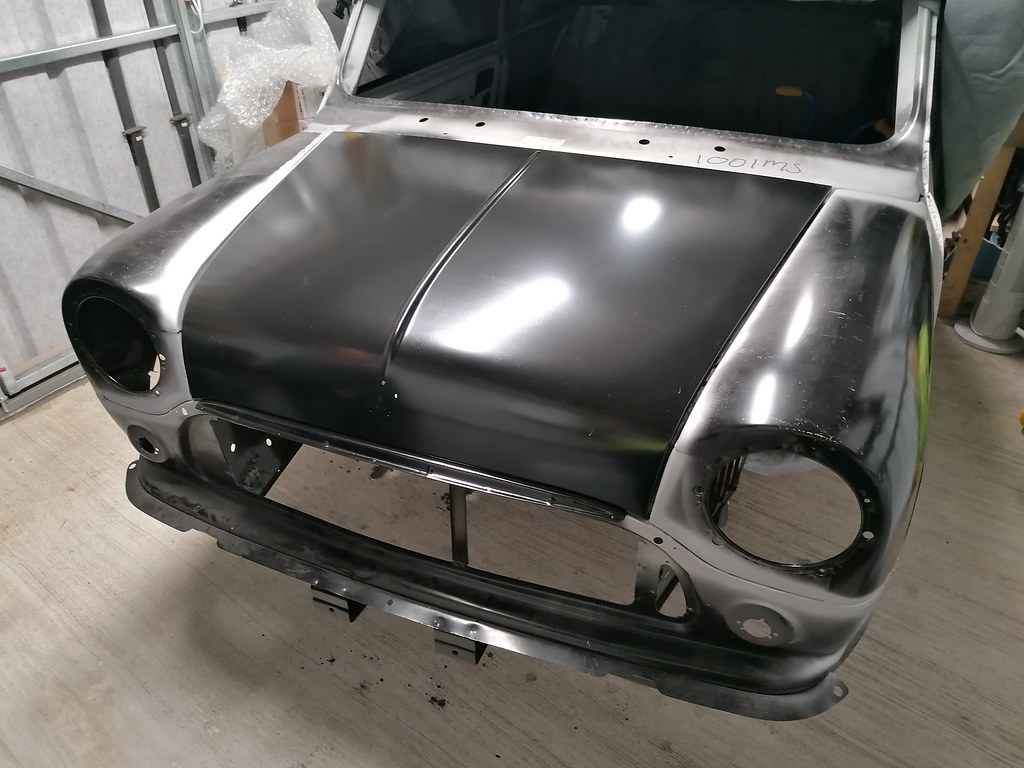
Looks good! It also shows everything on the front lines up as it should.
I then traced the profile of the edges of the new bonnet onto some wood, then lined up both bonnets to see how far away they were...1 was good on one side and way off on the other, mainly due to it getting squashed when the shell fell onto it when taking it for sandblasting

Other bonnet was pretty close, just needed a small bit of adjustment that was caused by a split on both sides. Once that was welded up it held its shape nicely.
Spent the guts of 5 hours getting the paint strip off the outer side, paint stripper only softened the top layer didn't penetrate into the multiple layers of primer below, so lots of scraping and sanding...then removed old moulding platform removed ready for new one to go on.
Gave it a quick coat of zinc primer and sat it back in place..

Also got the boot lid sorted, small repair to the frame and a few pin holes. Hinges got sandblasted during the week, small amount of pitting along the lower edge but in good shape otherwise. Could only find 2 of the studs but not sitting too badly.

Small rust hole to sort in the bonnet, then the new moulding platform to go on, along with the spring and pin and the spring loaded latch from the old bonnet to be transferred across, then it's ready for paint!
Re: 1983 Mini City
Posted: Mon Nov 28, 2022 10:32 pm
by colinf1
Spent this evening strenghting the pallet and securing the shell. 4 x M16 bolts into 2 pieces of 4*2 attached to the pallet should do it. Also added fixed wheels that will hopefully make it easier to get it loaded into van for journey to get painted...

Put the door latches and striker plates back on too, doors close quite nicely with a small amount of adjustment.
Re: 1983 Mini City
Posted: Tue Nov 29, 2022 9:46 pm
by colinf1
Doors drilled for mirrors this evening...

Bonnet pin and hook disassembled, cleaned and painted. Hopefully get the bonnet repaired tomorrow.
Re: 1983 Mini City
Posted: Thu Dec 01, 2022 9:36 pm
by colinf1
Bonnet repair done, small patch cut out and piece of the old bonnet welded in. Tried to cut out and use a piece from the same location, but this area was too rusty. Moulding platform welded on also. It will need a small skim of filler to make it 100%.

Popped it back on, put the pin, hook and bonnet stay back in and tried on the grille, all holes seem to line up nicely.
That's it ready for prep and painting!
Re: 1983 Mini City
Posted: Mon Dec 05, 2022 10:45 pm
by colinf1
Well what a pain in the behind that was...but there in...rivet nuts that is...

And a mirror test fitted...

Have access to a manual rivet nut installer at work, but its only set up for M8, then we have 2 pneumatic rivet nut guns, all with metric mandrels

Re: 1983 Mini City
Posted: Wed Dec 07, 2022 7:55 pm
by colinf1
Made a cone compression tool today on lunch, hopefully get a start on the subframe rebuilding once the shell is away for painting.

Have to open up the hole for the door check catch slightly, as the clevis pin fouls when the door is closed. I don't know if it's slightly out of place on the pattern A-post and A-post stiffener...
Re: 1983 Mini City
Posted: Wed Dec 07, 2022 8:13 pm
by ctwomey
Hi Colin, I replaced my driver's side A post with a Heritage one and the position of the opening for the catch has definitely changed. Now the opening is centred in the panel while the original '81 one on the passenger side is more towards the outside. I haven't tried the driver's one with a clevis pin yet.
Re: 1983 Mini City
Posted: Fri Dec 09, 2022 7:53 pm
by colinf1
Loaded, ready for trip to painters...

Re: 1983 Mini City
Posted: Fri Dec 09, 2022 8:20 pm
by woody
A great milestone reached, that body is as good as new, fair play to you.
Make sure your painter understands that its not a modern galvanized body and to maximize anti rust protection. Unfortunately it is a mini and will start rusting again as soon as its painted.
Re: 1983 Mini City
Posted: Sat Dec 24, 2022 4:25 pm
by colinf1
Not too much to update lately, been reluctant to venture to the shed in the evenings as it's been too cold, then been quite busy with work and family.
Got the gloss coat onto the front subframe, built a small plywood enclosure with a fan and heater to help with the paint curing. Will let it sit for the next few days and hopefully make a start on rebuilding it.

Wishing everyone on here a very Merry Christmas and Happy New year!
Re: 1983 Mini City
Posted: Tue Dec 27, 2022 6:12 pm
by colinf1
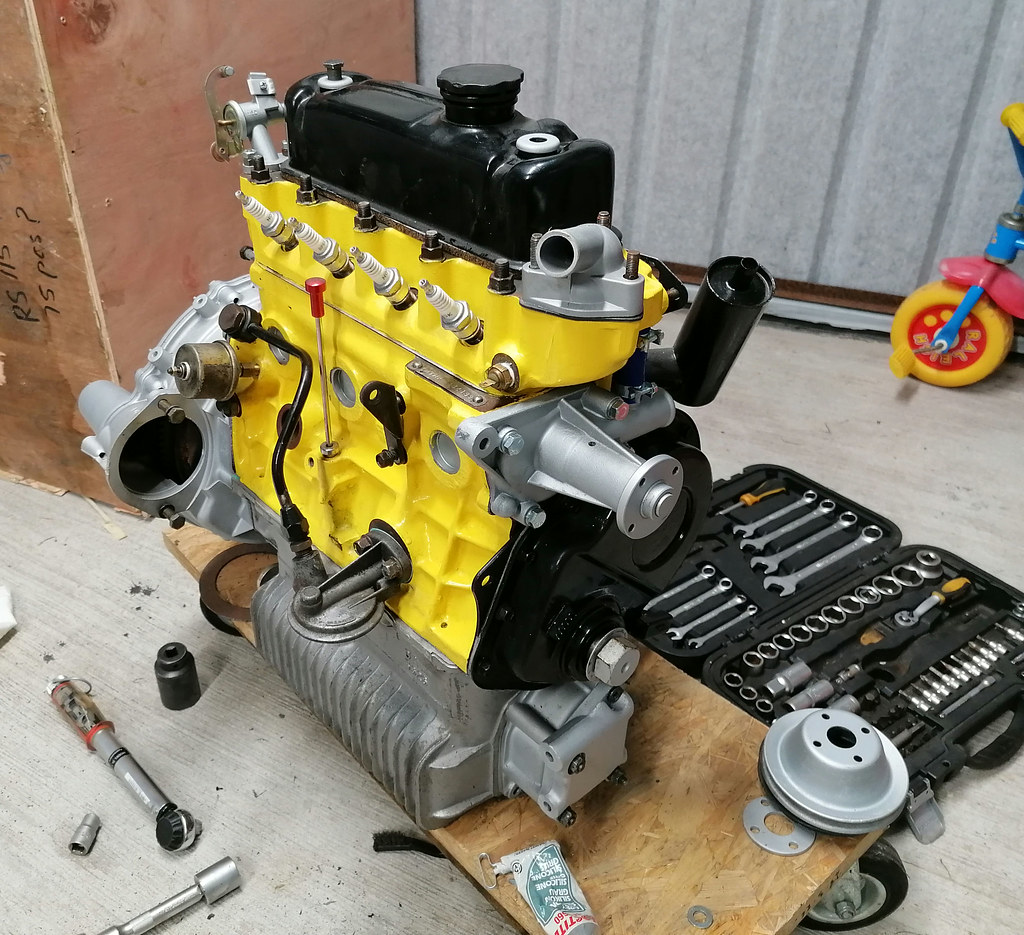
Got an hour or so at the engine today, attached the new water pump and bypass hose. The attached the oil filter housing and pickup pipe. Rocker cover has new rubber grommets, so gave the washers a quick clean and sprayed them silver.
Re: 1983 Mini City
Posted: Wed Dec 28, 2022 10:02 pm
by colinf1
A few more small jobs done this afternoon, valve clearance set and liberal amounts of oil applied over all rocker arms and tappets. Fuel pump cleaned and attached to engine. Also put on the lower radiator mount/bracket, once I remembered to torque up the crank pulley.

Re: 1983 Mini City
Posted: Thu Dec 29, 2022 3:20 pm
by colinf1
Exhaust manifold cleaned up and attached, then carb attached. Car had electronic oil pressure sender on it when I got it, so cleaned up and give it a quick spray then put it on. Have to sort out the distributor, have a Lucas 59d4 and a Ducellier, but missing the clips for the top for the Lucas one.

Re: 1983 Mini City
Posted: Fri Dec 30, 2022 10:43 am
by johnnyj
Looking well now. A lot of work gone into it
Re: 1983 Mini City
Posted: Sat Dec 31, 2022 7:35 pm
by colinf1
Cleaned up starter motor and alternator today, gave them both a lick of paint. Fan also attached. Can't seem to find the correct bolts for the radiator surround, so I'll have to order those.

Also put a bit of paint on the metal part of the rubber cone, doesn't look like there's much on these from new, so hopefully it will give it some protection.

Re: 1983 Mini City
Posted: Mon Jan 02, 2023 6:08 pm
by colinf1
Need to order some additional fixings for the engine, so moved onto the front subframe rebuild. My home made cone compressor was deployed, worked fine but could have used a longer handle on the ratcheting spanner as it was quite tough to get it compressed enough to get the rebound buffer in.
Also put on the lower arm and adjustable tie rod,need to find the correct length to set this to, as I've already binned the original ones.

Re: 1983 Mini City
Posted: Tue Jan 03, 2023 7:33 pm
by colinf1
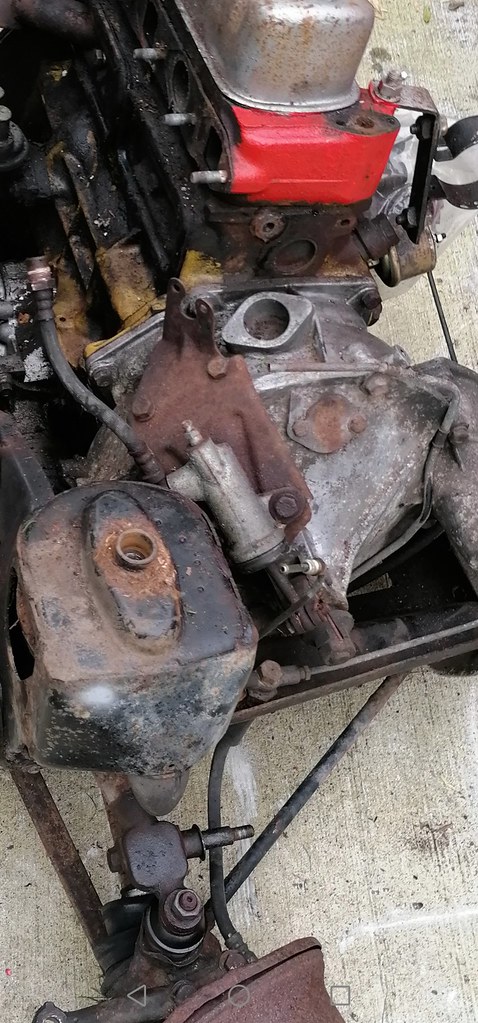
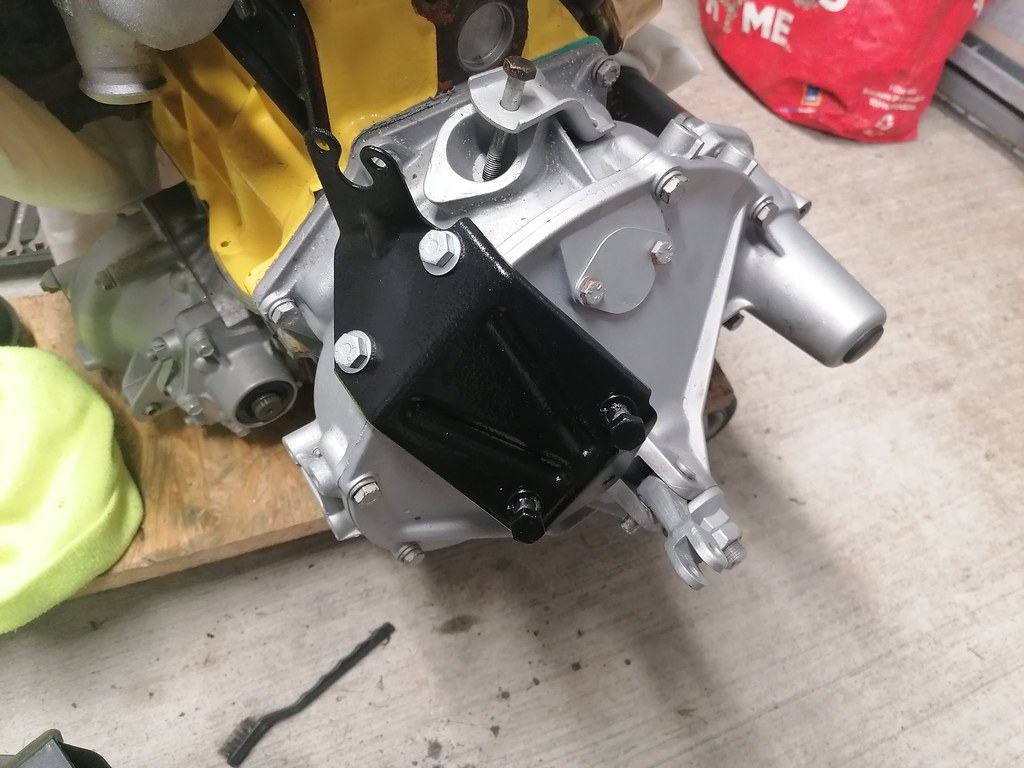
Got the clutch slave bracket sandblasted and painted today, also cleaned and painted a spare master cylinder bracket I have, as I think I will need to use it as it has a larger hole to suit the yellow tag master cylinder.
Got slave cylinder opened ready to renew seals, then spotted an issue that the seal was different to what would be in the rebuild kit..its a pre verto slave and its a verto clutch. Never got to drive the car as it had clutch and brake pedals seized so wouldn't have noticed.
Re: 1983 Mini City
Posted: Thu Jan 05, 2023 9:46 pm
by colinf1
Got the slave bracket reattached to the clutch housing and ordered the correct verto type slave as the pre verto one had no markings to say if it was a genuine or copy.
Also set the tie rods to 367mm and got the hubs loosely attached. Wasnt too sure if my ball joints where too loose, but after some reading I'm more confident that there not loose and not too tight.

Fair amount of condensation in my shed at the moment, so trying to keep everything covered, but even the cast manifold that I painted a few days ago has rust coming through.
Re: 1983 Mini City
Posted: Thu Jan 05, 2023 10:22 pm
by woody
If the ball joints are brand new its better to set them on the tight side as they will initially wear quickly to a matching set. Remember to set the bottom one without the spring before final assembly with the spring. Are you running spacers on the front wheels?
Re: 1983 Mini City
Posted: Thu Jan 05, 2023 10:59 pm
by colinf1
Yes, spacered drums, hence the longer studs. Was going to go disks, but I think drums will be fine for now til I get it on the road, then look at the disks maybe next winter.
I've lapped them in with cutting paste during assembly, but may tighten them a fraction to bed then in during use.

