Page 8 of 16
Re: 1981 Mini City 1000
Posted: Sat Jul 16, 2022 3:27 pm
by ctwomey
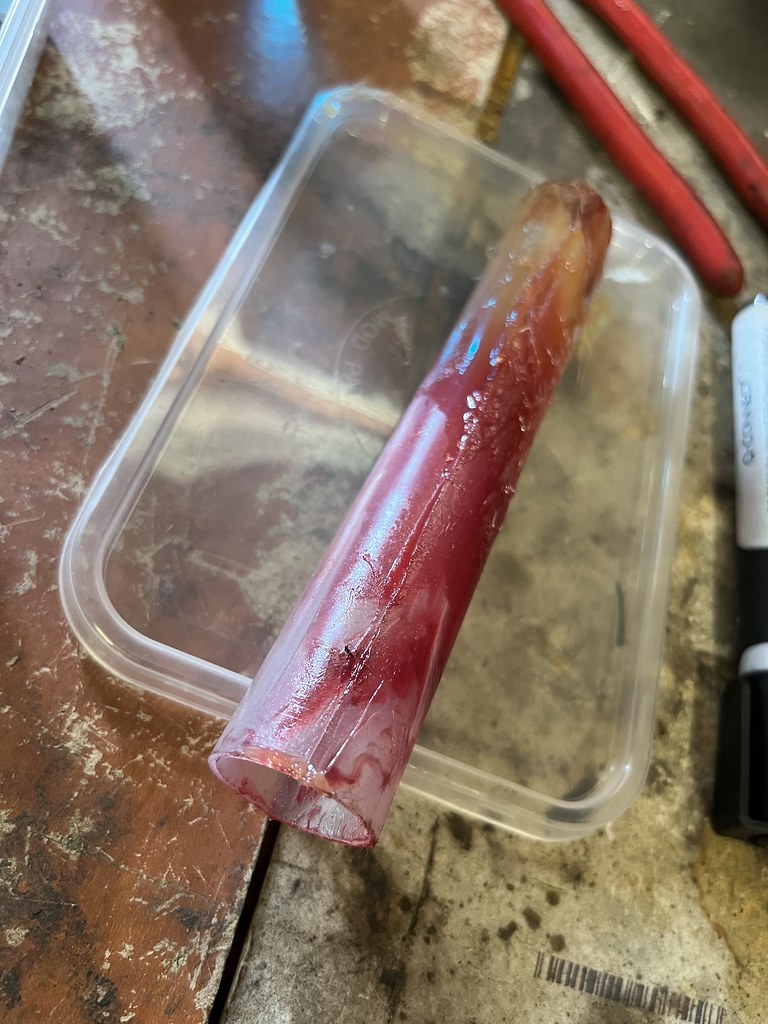
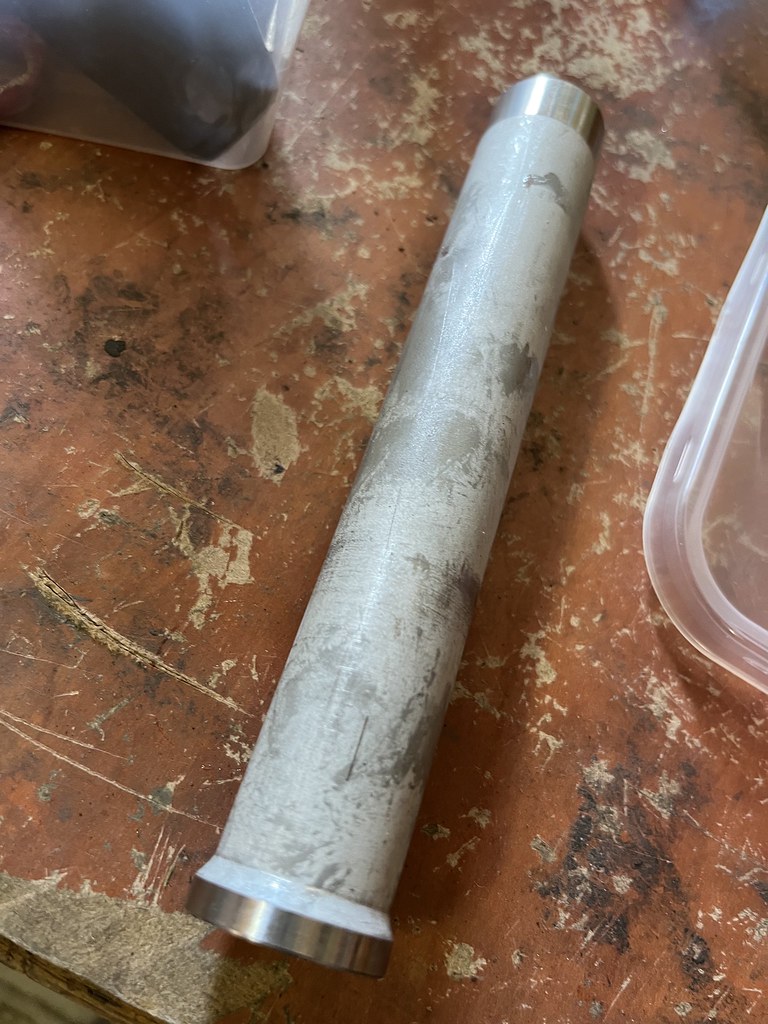
When I was rebuilding the rear subframe I bought a proper greasing gun for the rear arm shafts. However, I heard a pop on both sides while squeezing the grease in. Anyway, those plastic inserts are useless so I bought some (expensive) stainless steel ones from Japan. I don't want to have to put 1/2 a litre of grease into each arm to ensure that grease gets to the brass bush.
The new plastic insert...split
Stainless steel replacement...
Re: 1981 Mini City 1000
Posted: Sun Jul 17, 2022 7:43 pm
by ctwomey
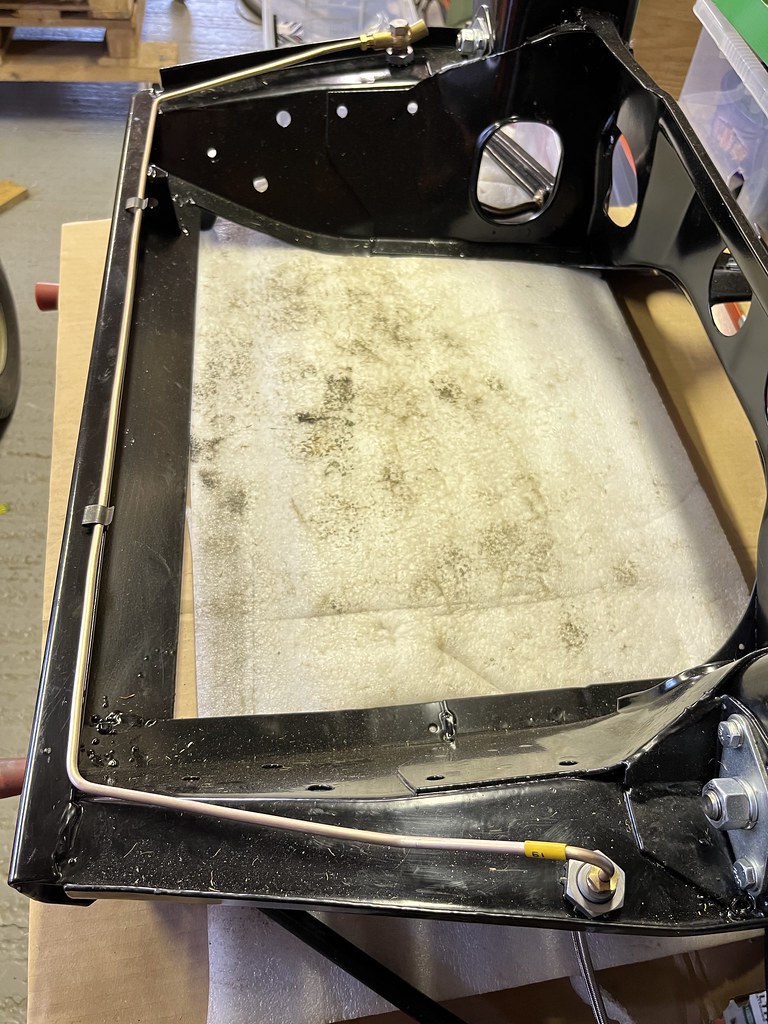
After reinstalling the rear arm bearing and testing the grease pressure, I shaped and installed the swing arm brake lines.
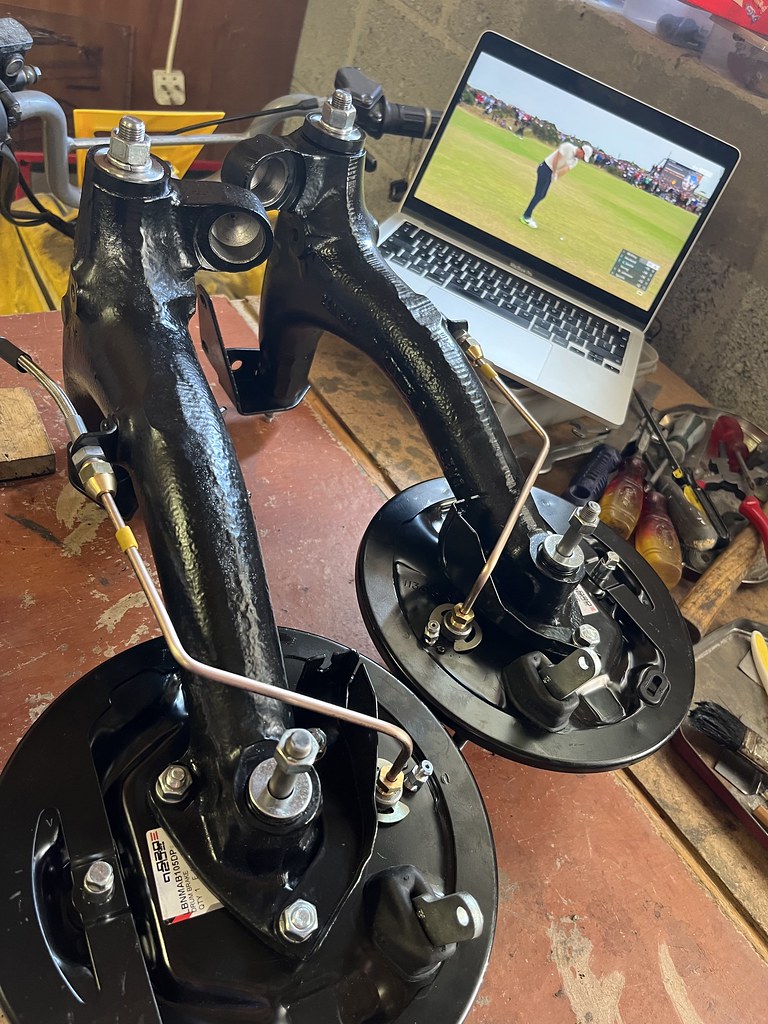
Reassembled arms back in the subframe with the rear subframe brake lines installed.

Re: 1981 Mini City 1000
Posted: Sun Jul 17, 2022 7:46 pm
by ctwomey
The only thing missing from the rear subframe is the hand brake cable and the quadrants for the arms. Will need to investigate some nickel zinc electroplating for this.
Re: 1981 Mini City 1000
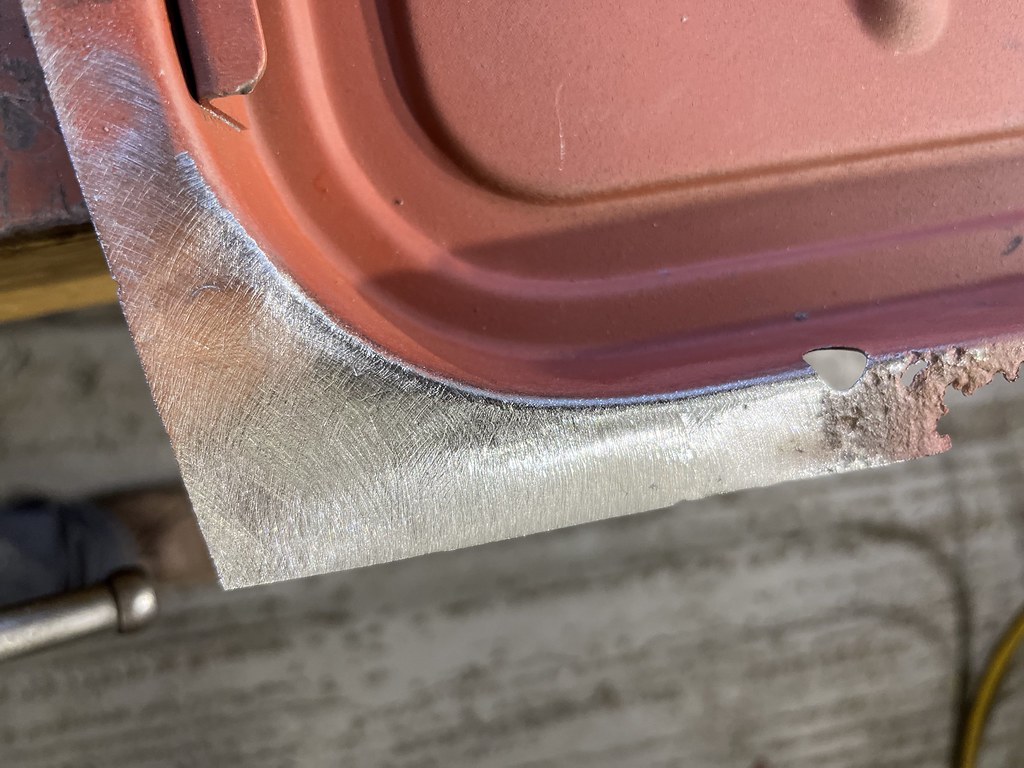
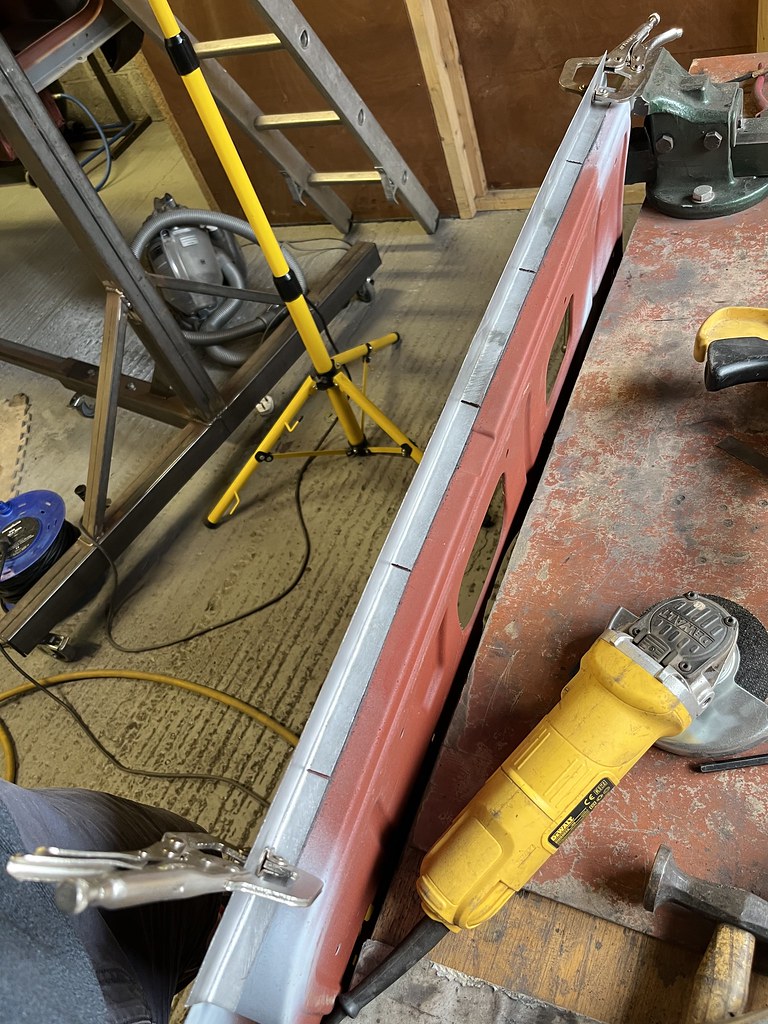
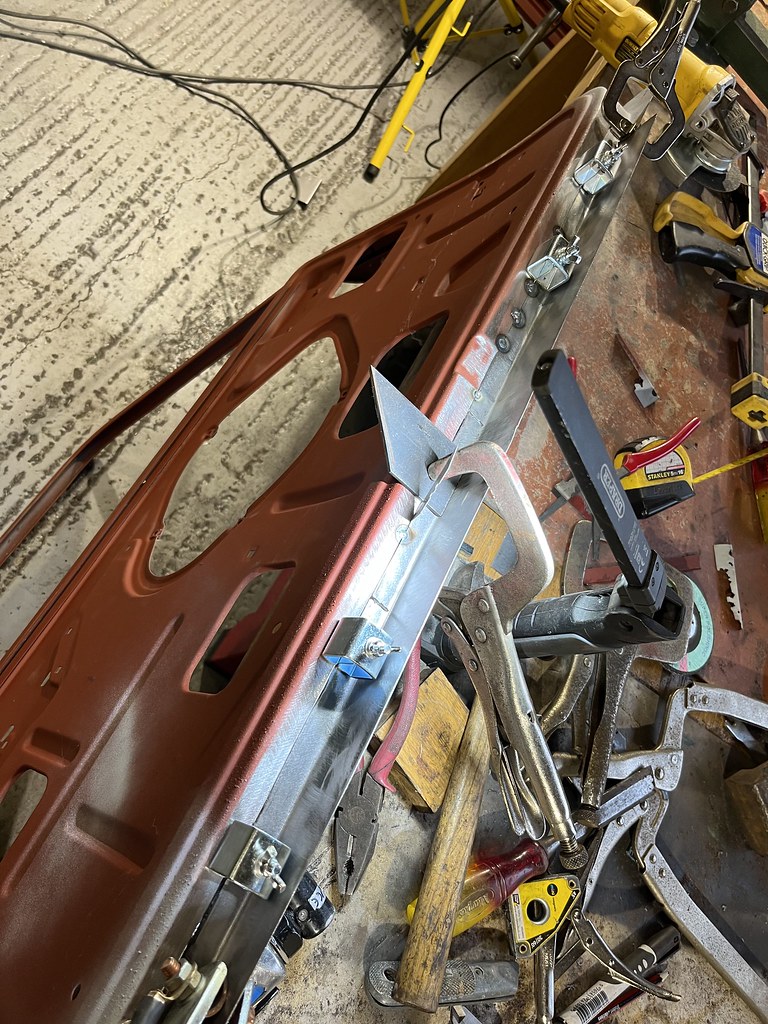
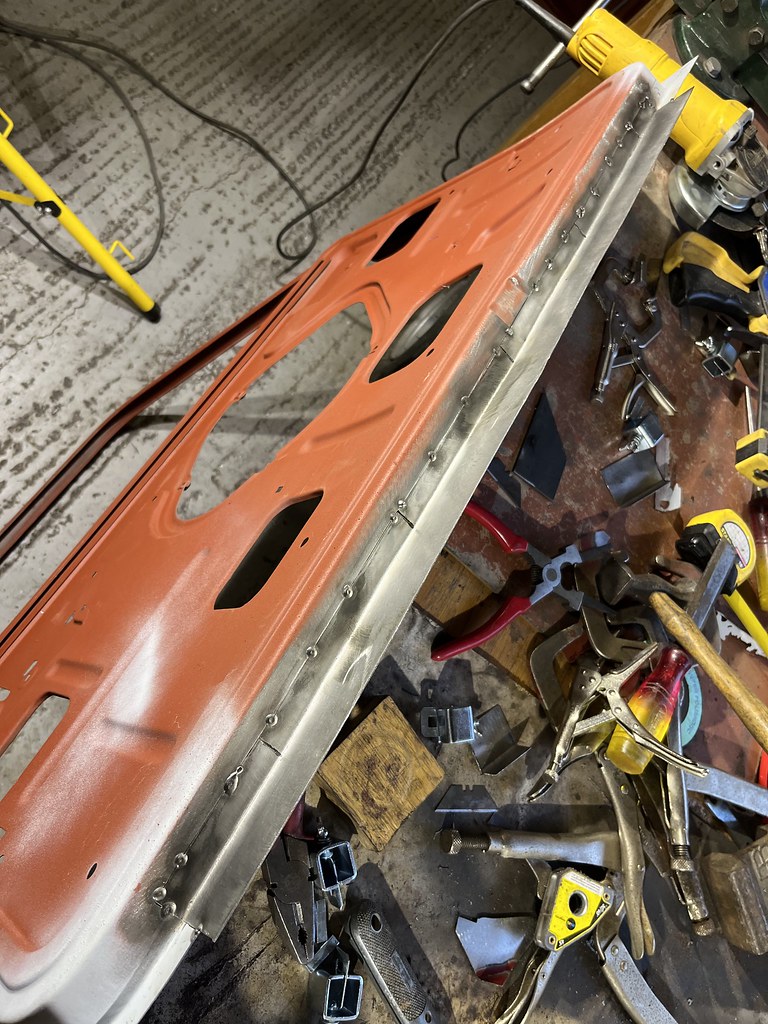
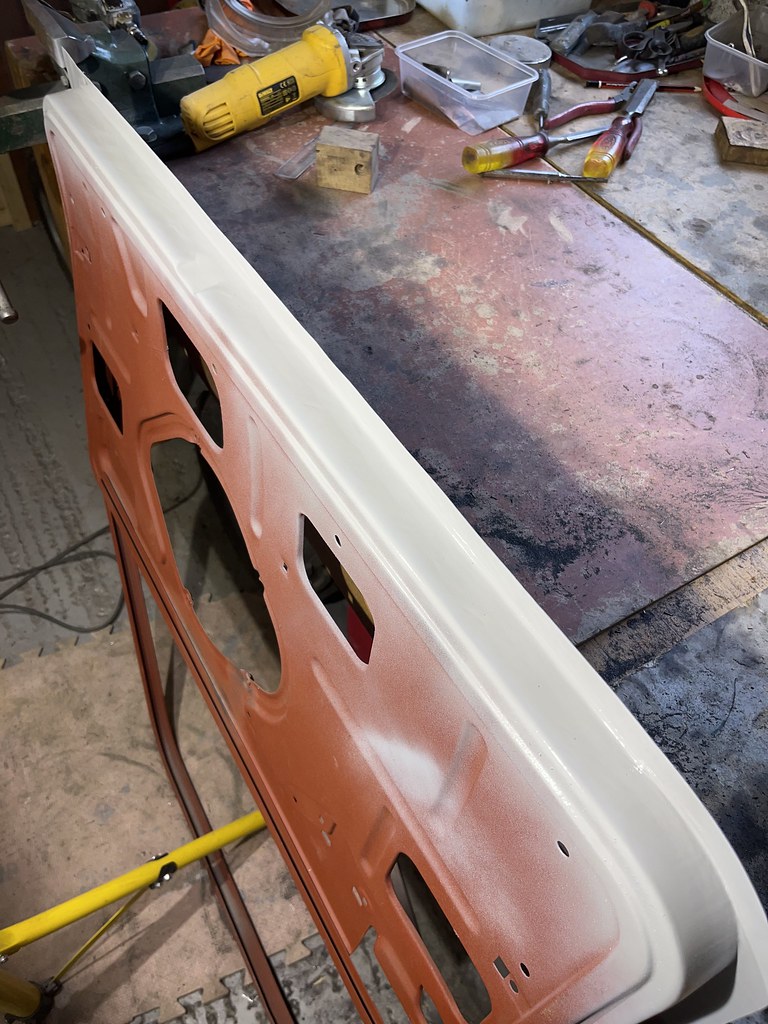
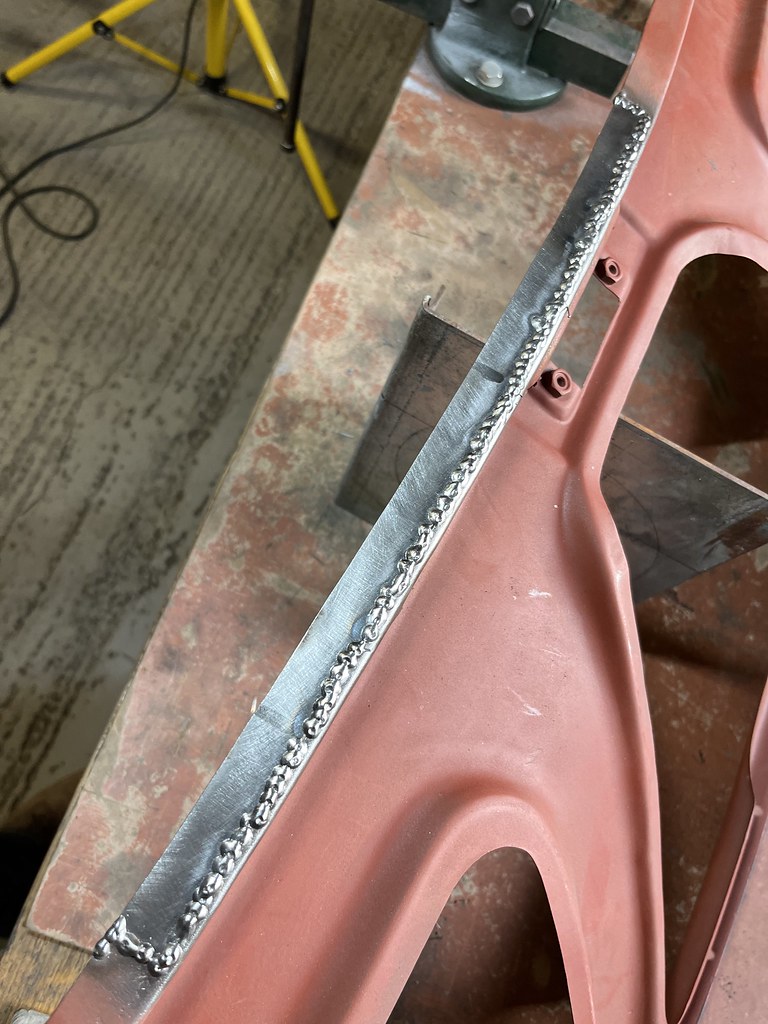
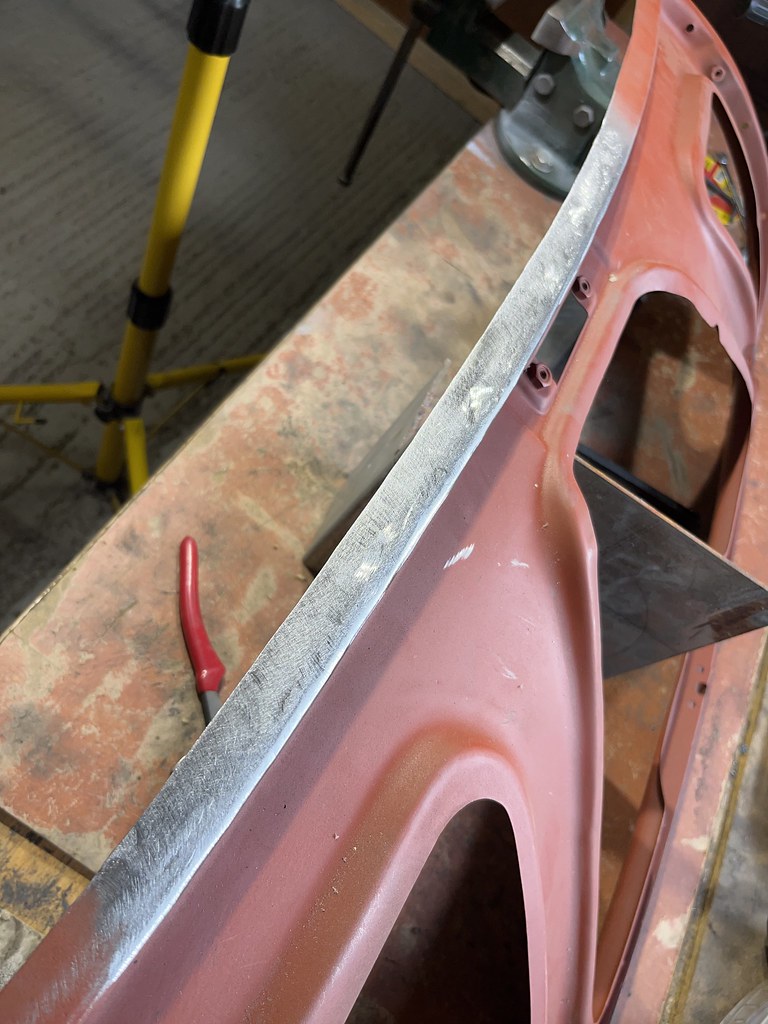
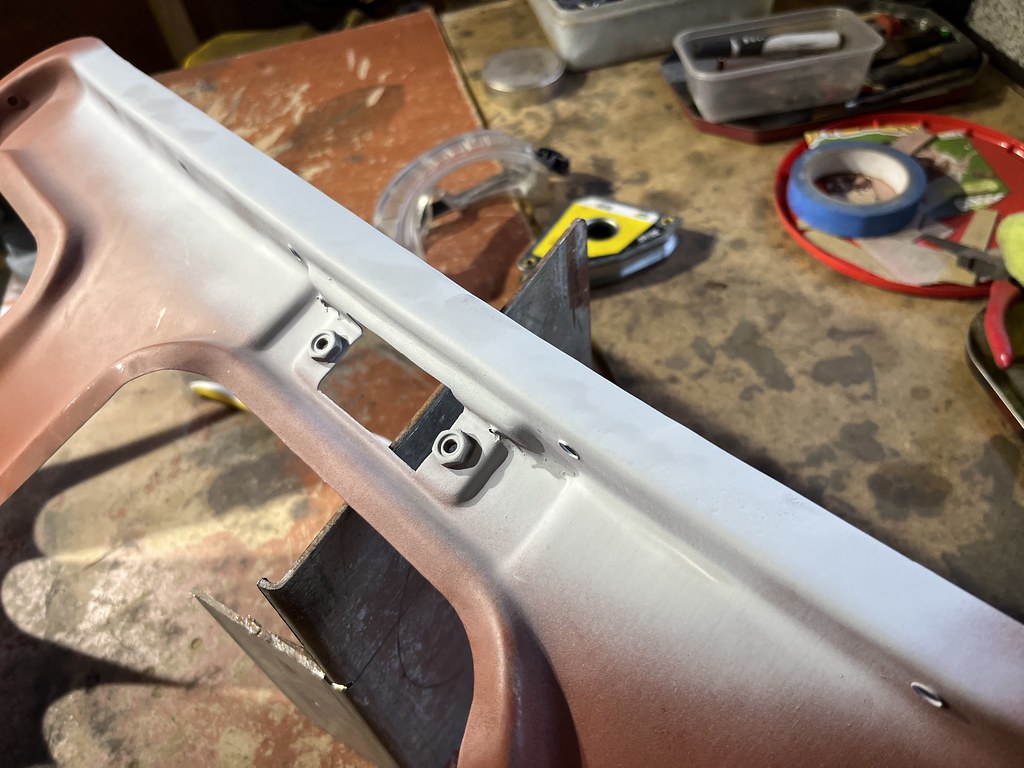
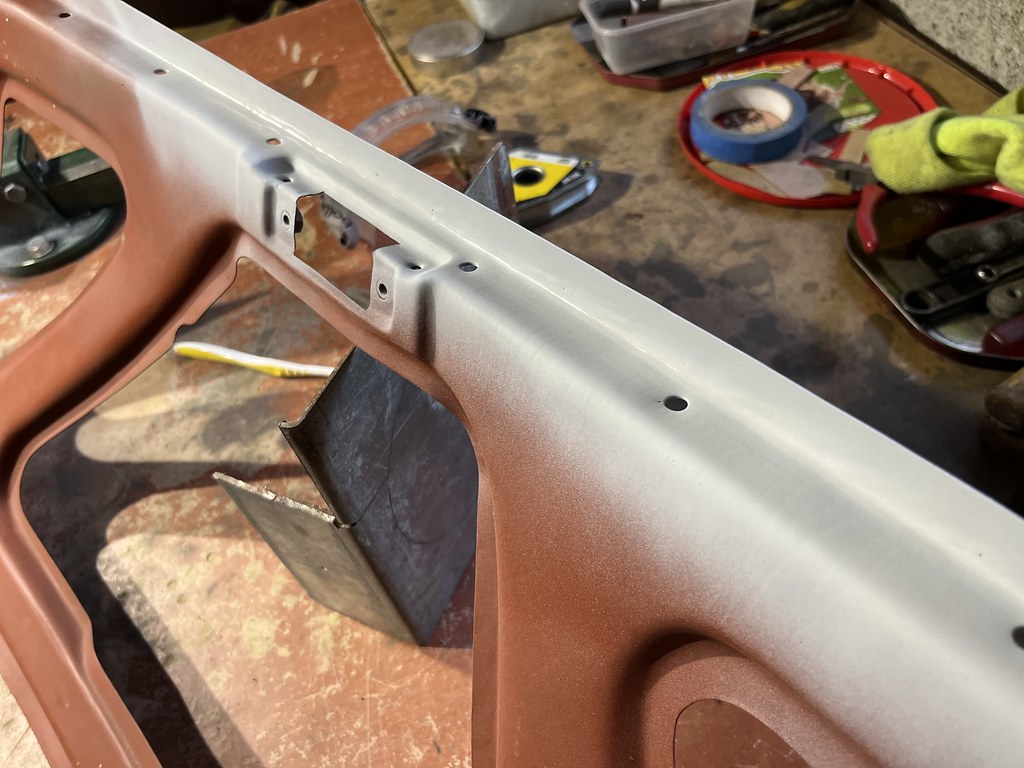
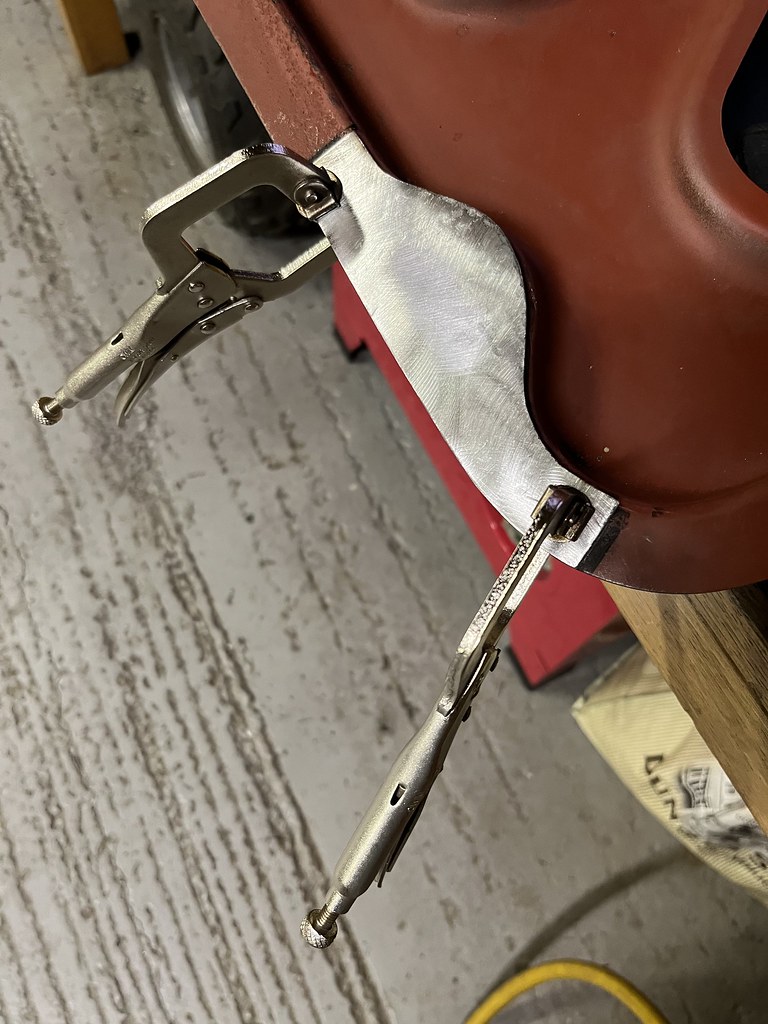
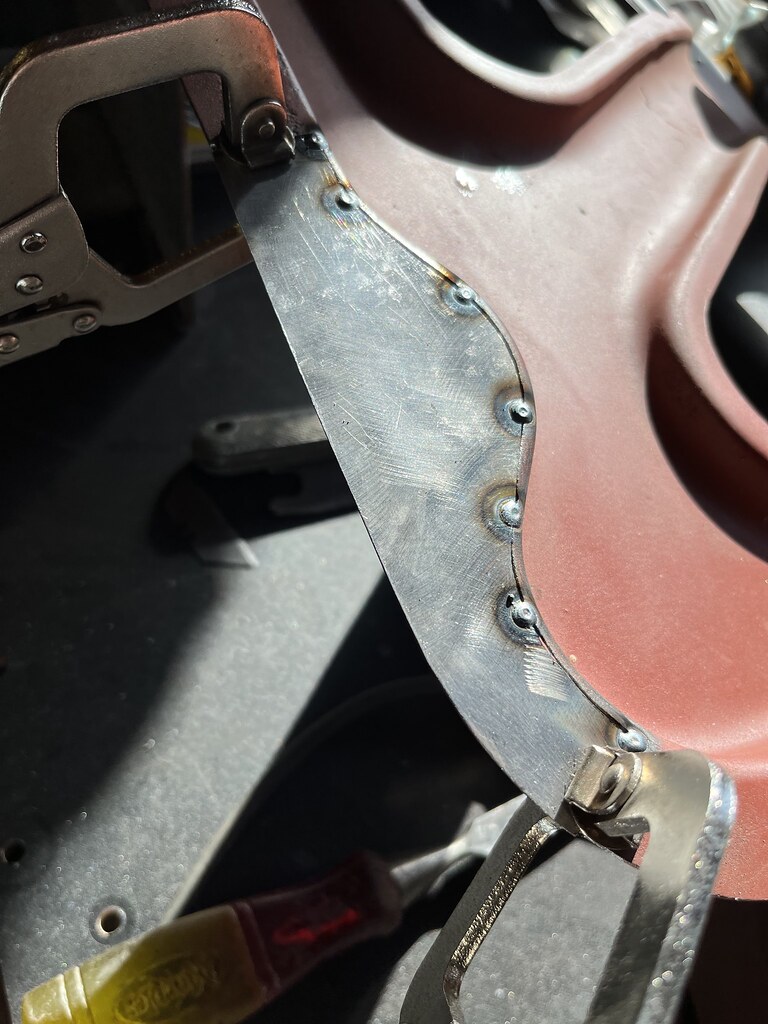
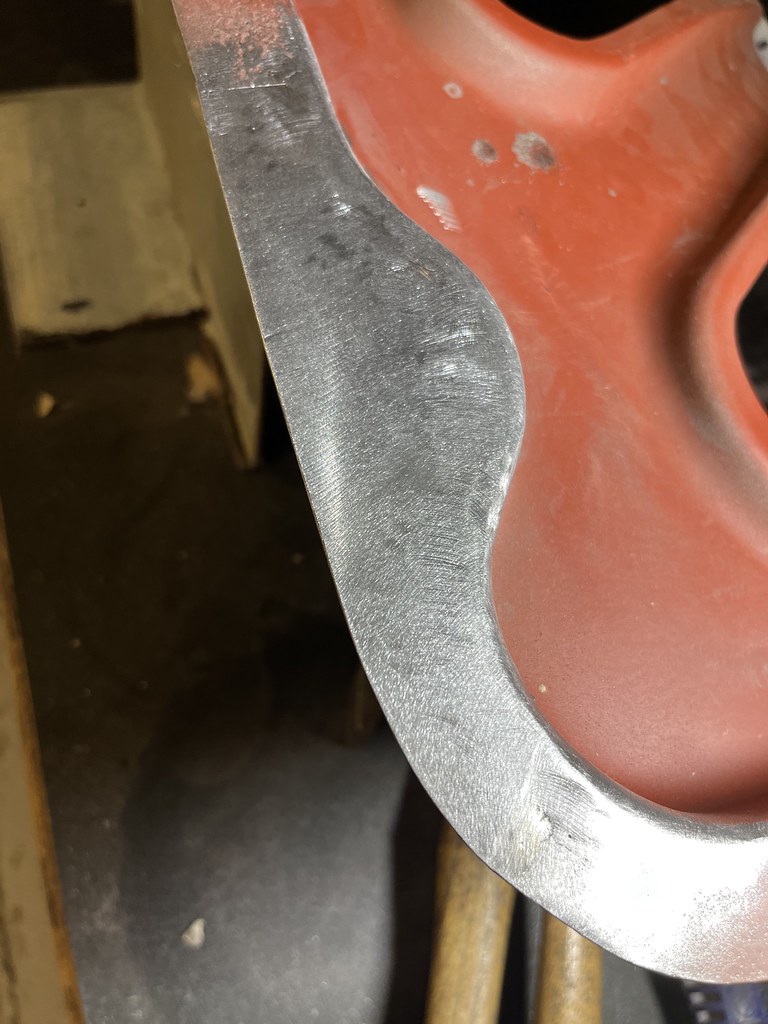
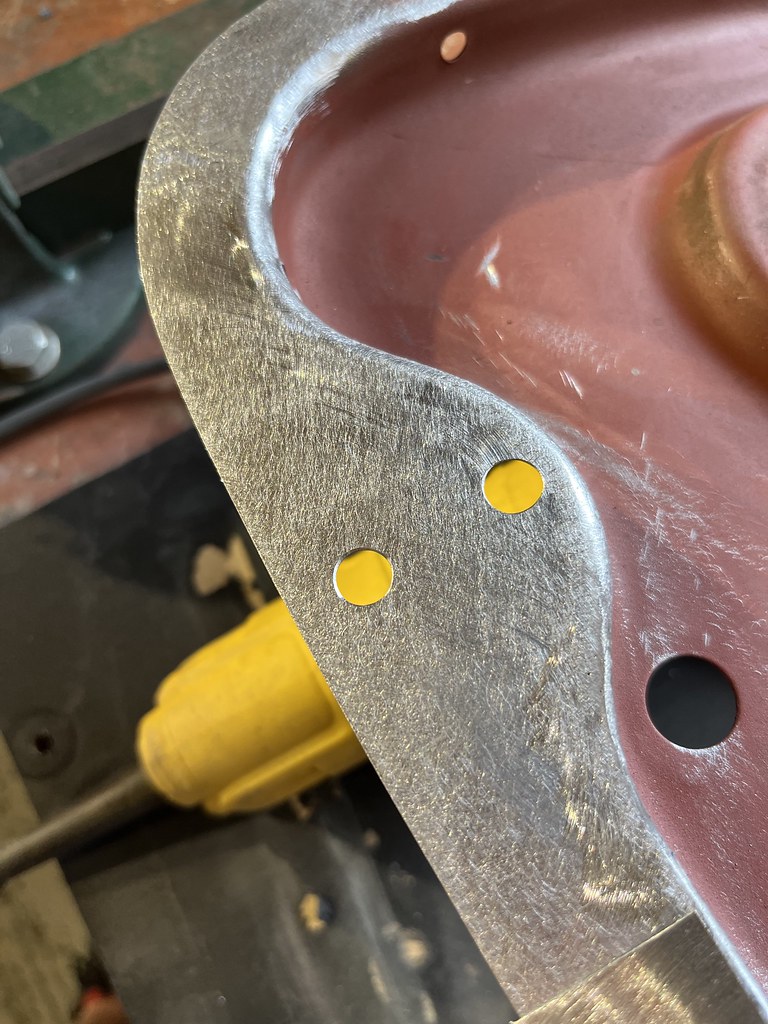
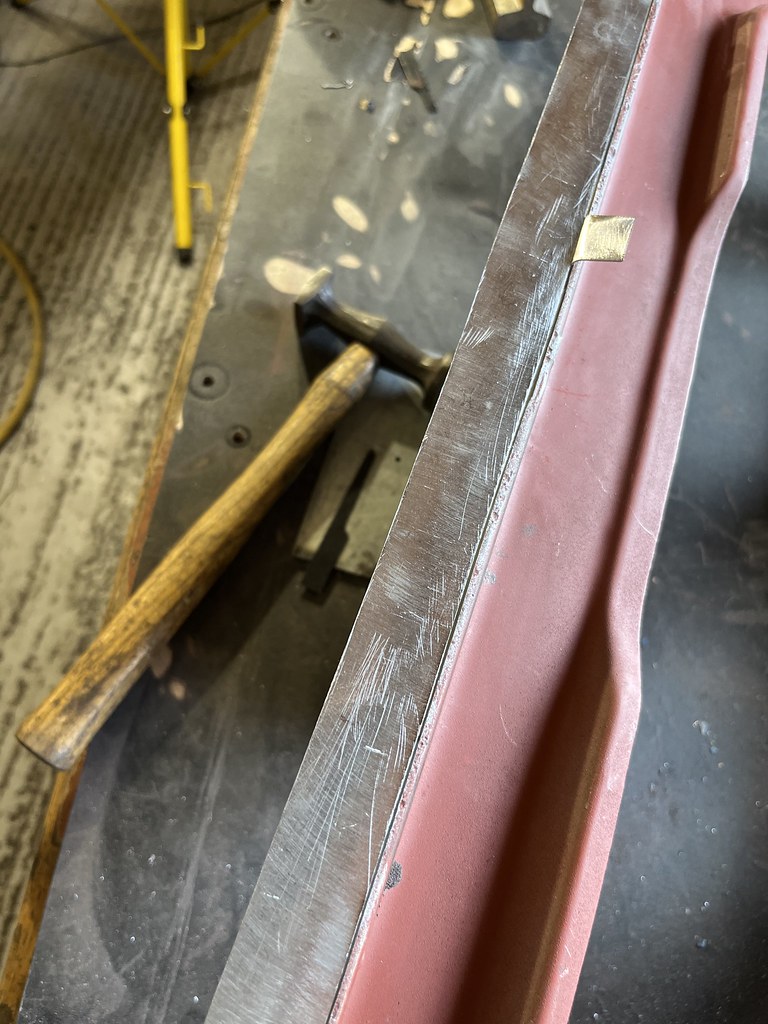
Posted: Sat Jul 23, 2022 7:36 pm
by ctwomey
Two areas of the passenger waist rail that needs repairing
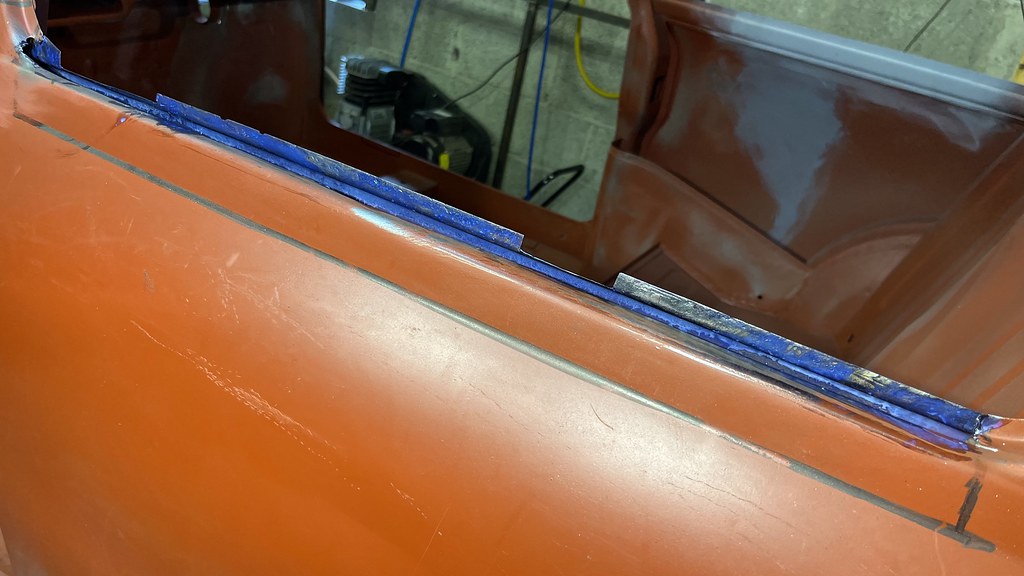
Smaller section first...
Larger section second...
Happy with results
Installed the front subframe brake line and it fits nicely
Re: 1981 Mini City 1000
Posted: Sat Jul 23, 2022 8:44 pm
by colinf1
Does the larger repair piece help with heat dispersion?
Front subframe looks pretty good, nice smooth bends, done by hand or tool?
Re: 1981 Mini City 1000
Posted: Sat Jul 23, 2022 9:39 pm
by ctwomey
Yes the extra metal helps to pull the heat away. If the piece was the exact size it would warp really badly.
I used a cheap 15 euro pipe bending tool to make the bends. However the length of tubing came as a circular coil that I had to straighten first by hand.
Re: 1981 Mini City 1000
Posted: Sat Jul 23, 2022 10:30 pm
by woody
In case you don't know the braided hoses are handed left and right
Re: 1981 Mini City 1000
Posted: Sun Jul 24, 2022 10:00 am
by ctwomey
I did not know that woody. Thanks for the heads up. Luckily it was just a loose fit for now and I hadn’t tightened everything up because the hoses need to go into the brake calipers first before tightening the nut on the subframe.
Re: 1981 Mini City 1000
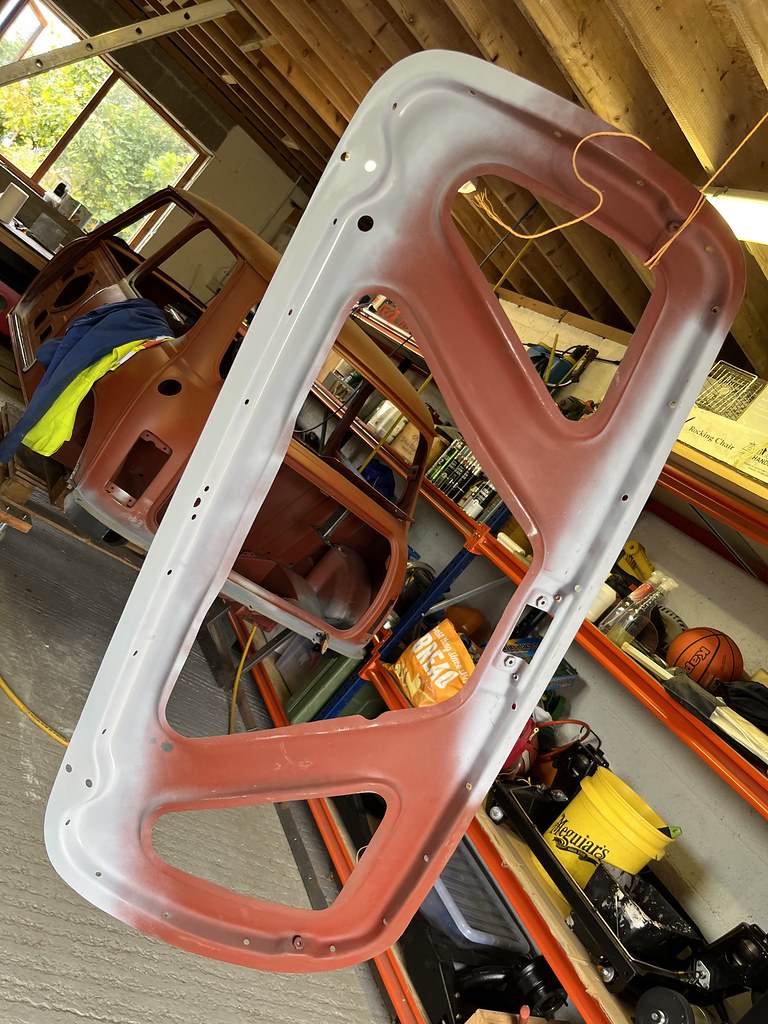
Posted: Sun Jul 24, 2022 7:57 pm
by ctwomey
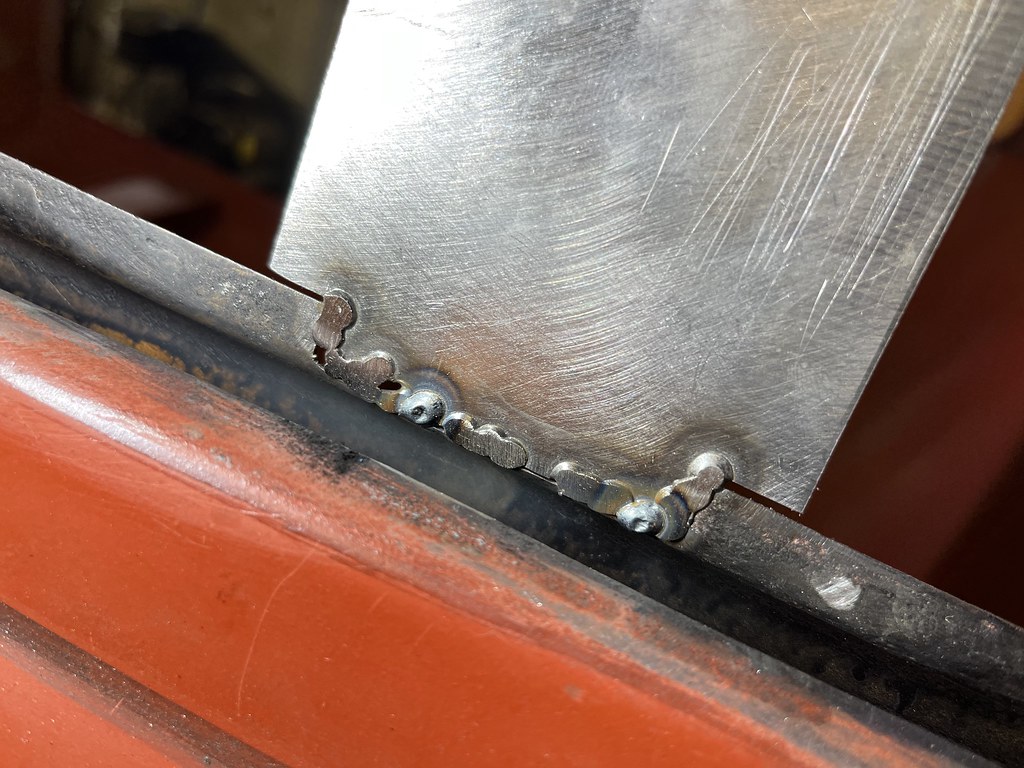
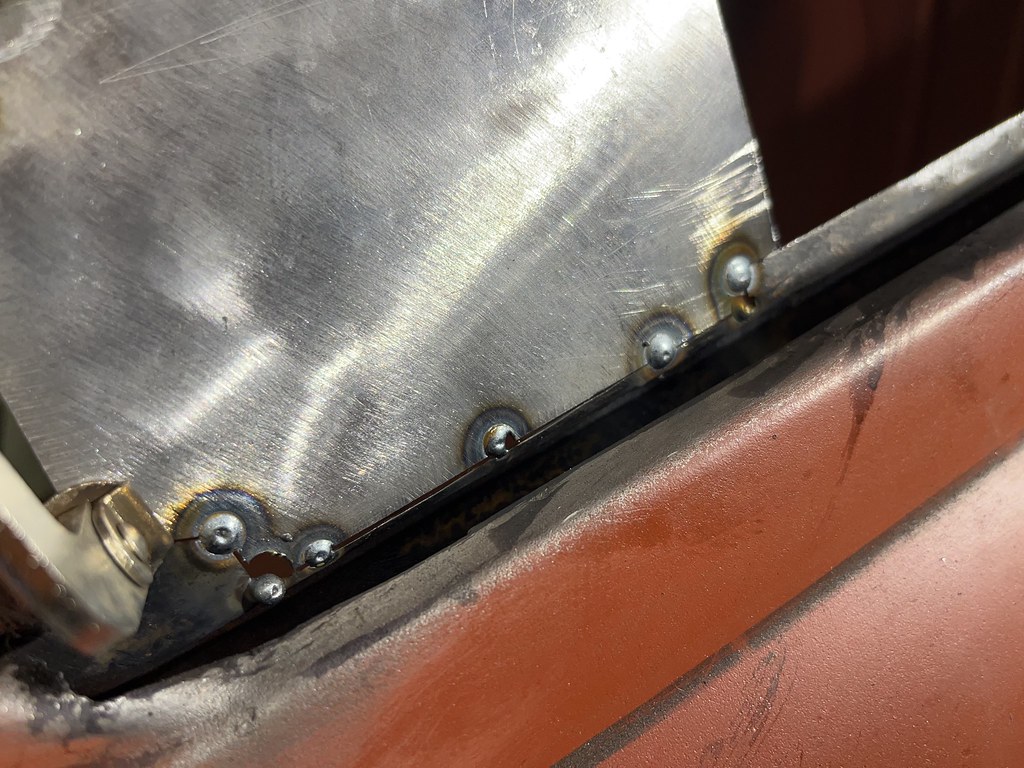
Started repair of the passenger door as I will need it available when I start replacing the passenger quarter panel.
Bottom of inner door needs replacing
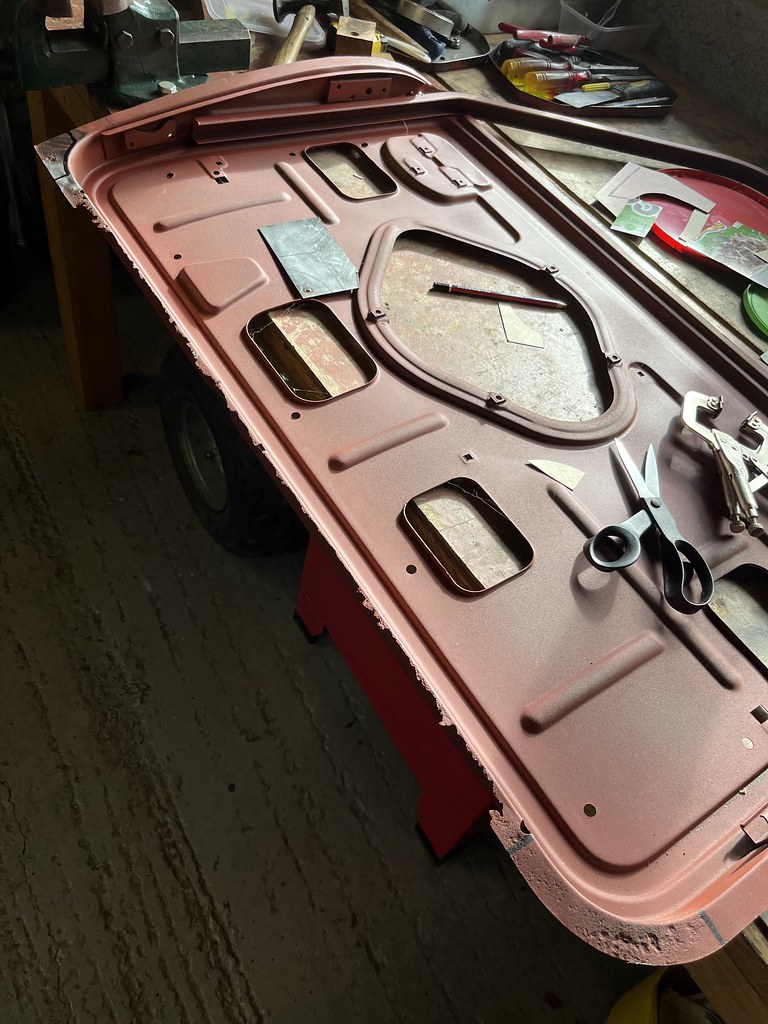
Going to start with the left bottom corner first

Good penetration on the backside

Finish looks good
Next up will be bottom right corner
Re: 1981 Mini City 1000
Posted: Mon Jul 25, 2022 10:17 pm
by ctwomey
Re: 1981 Mini City 1000
Posted: Wed Jul 27, 2022 10:16 pm
by ctwomey
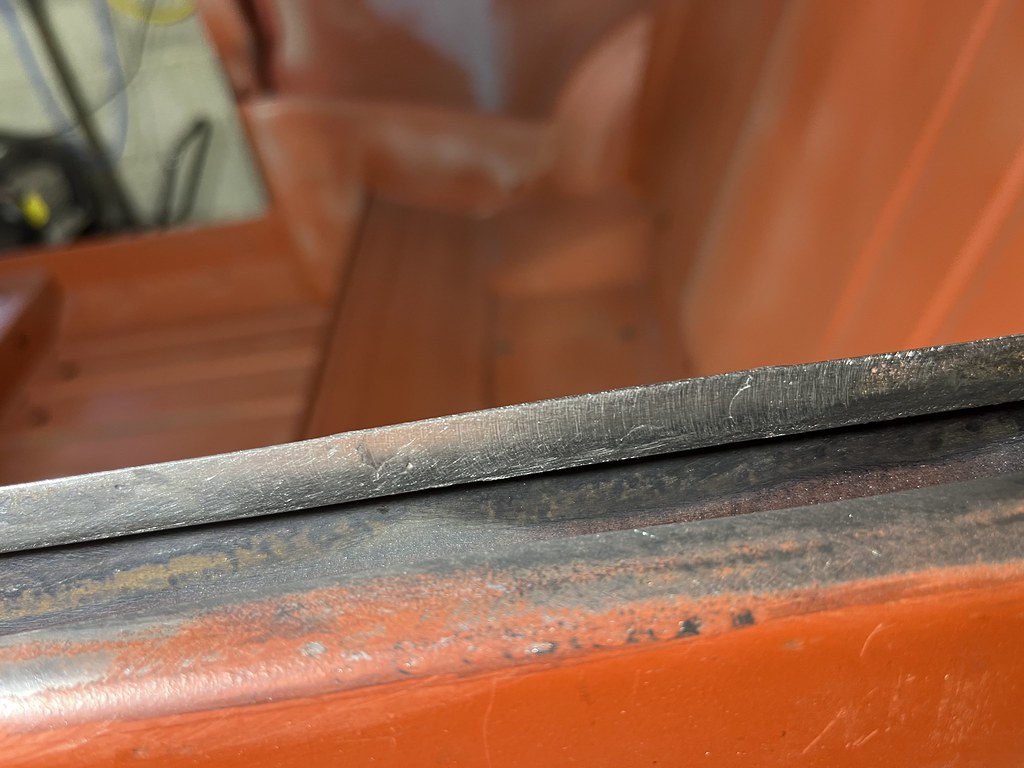
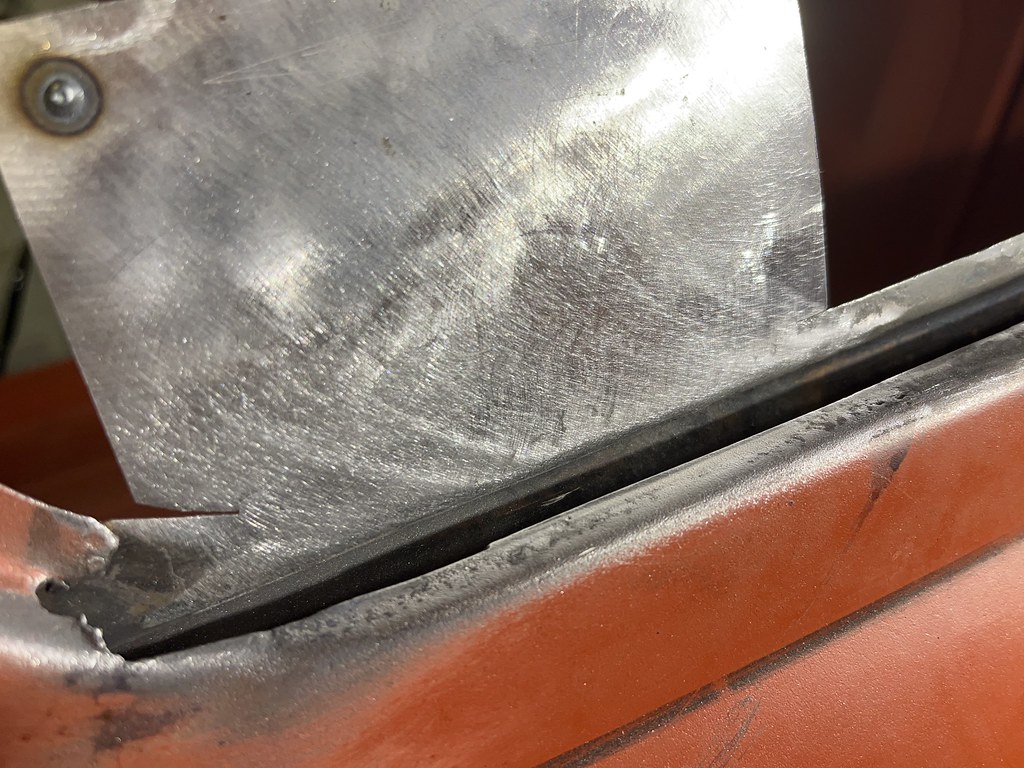
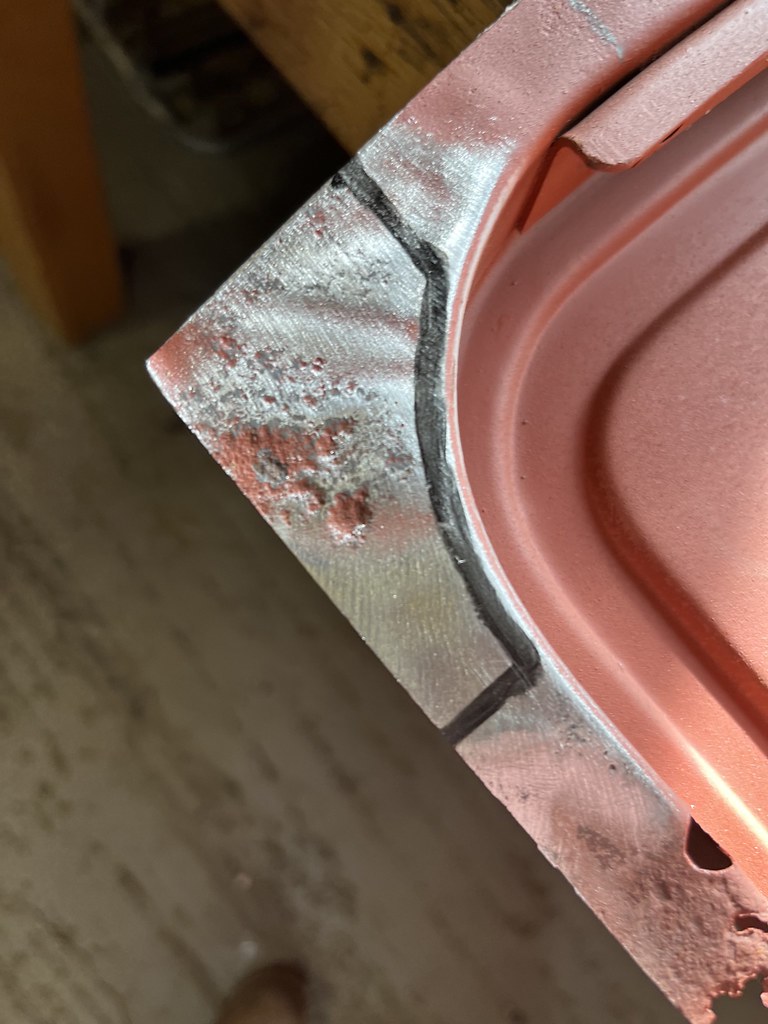
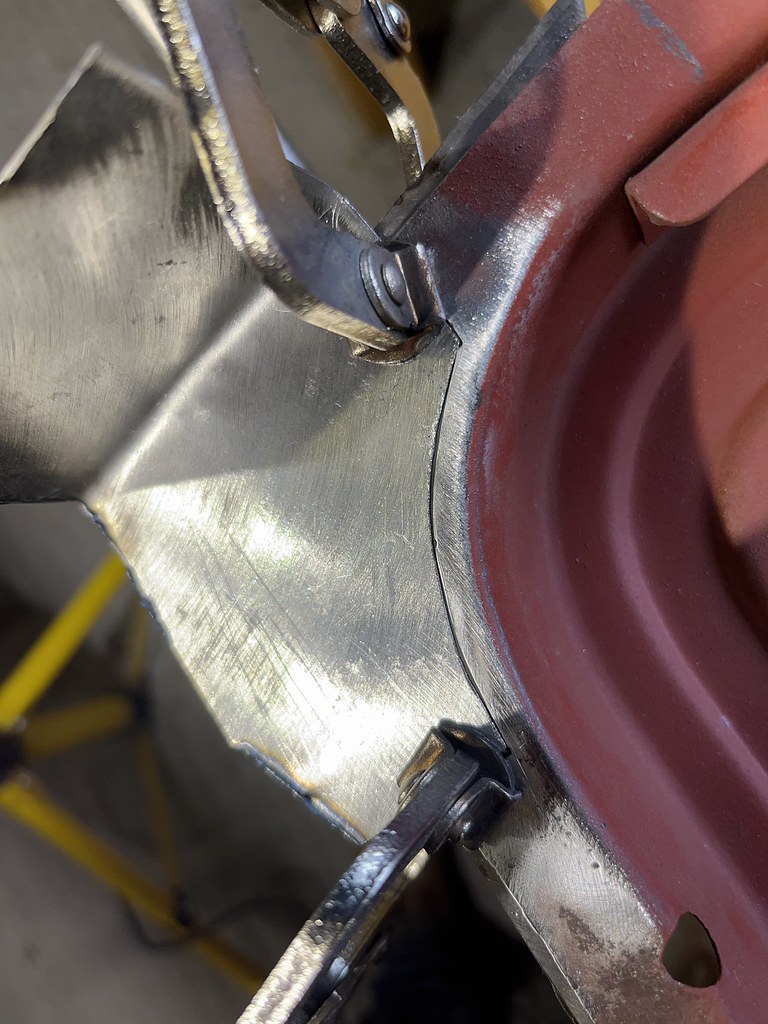
Repairing the straight part on the bottom of the door. It's actually curved so I had to make a few slits to get the repair piece to match the contours.
Just tacked up for now. I will finish over the coming days ... long enough weld to complete.
Re: 1981 Mini City 1000
Posted: Sat Jul 30, 2022 4:47 pm
by ctwomey
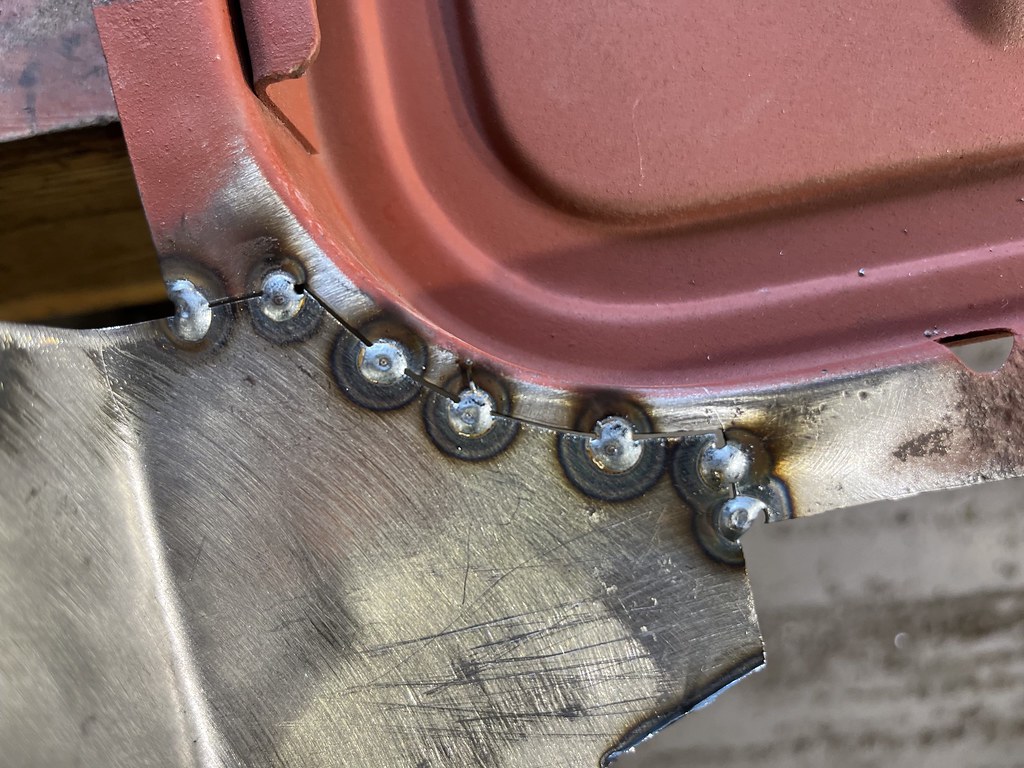
Patience, patience and patience. Welding up this section took a couple of hours in order to prevent warping
Still need to knock down the tops of the welds on the inside. Nothing major just to make it tidy given it will be hidden inside the door.
Re: 1981 Mini City 1000
Posted: Sat Jul 30, 2022 5:44 pm
by woody
Clean up the inside so you can get a good seal of paint on it. Doors tend to rust from the inside out. Great work your doing.
Re: 1981 Mini City 1000
Posted: Sat Jul 30, 2022 6:11 pm
by ctwomey
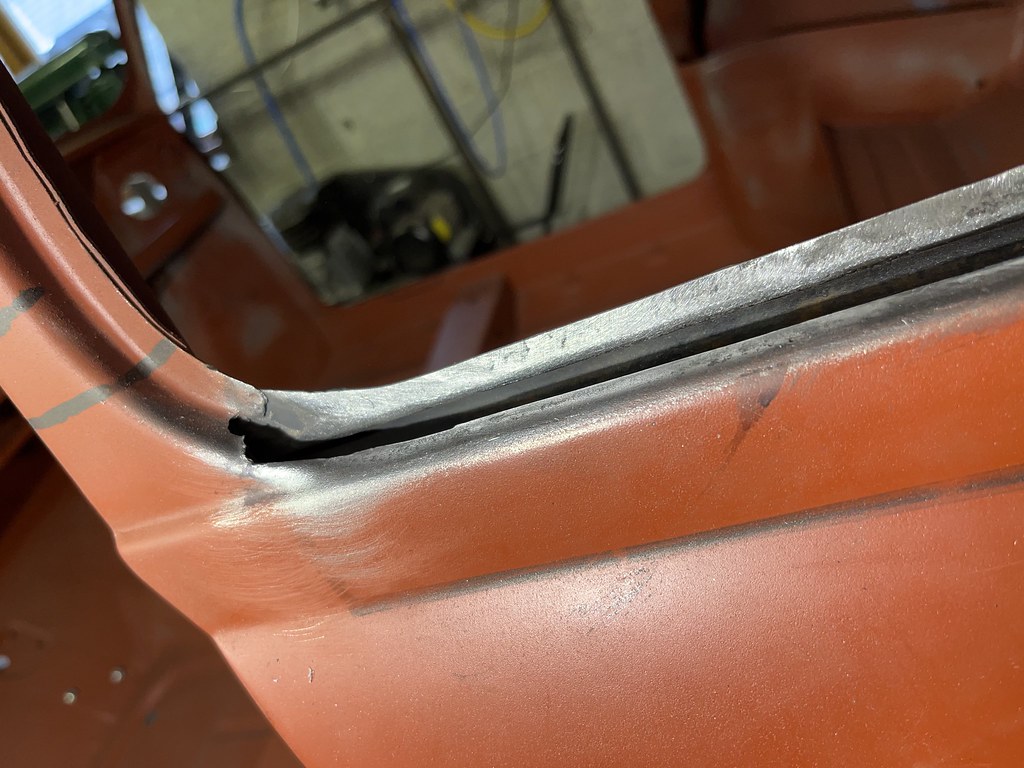
Yes agree woody. There is excellent penetration of the weld from underneath and given this inside area will get a lot of water, the flatter the area the better. I am planning on epoxying the door frame and skin before they are assembled.
I also identified the ‘sided’ braided hoses on the front subframe. Turns out I put them on the correct side. There are deeper internal threads on the drivers side.
Re: 1981 Mini City 1000
Posted: Sun Jul 31, 2022 11:51 am
by ctwomey
Put the passenger door frame back on and offered up the outer skin. Lines up nicely and I have used a couple of cleco clamps where I plan to put a plug weld to hold the position.
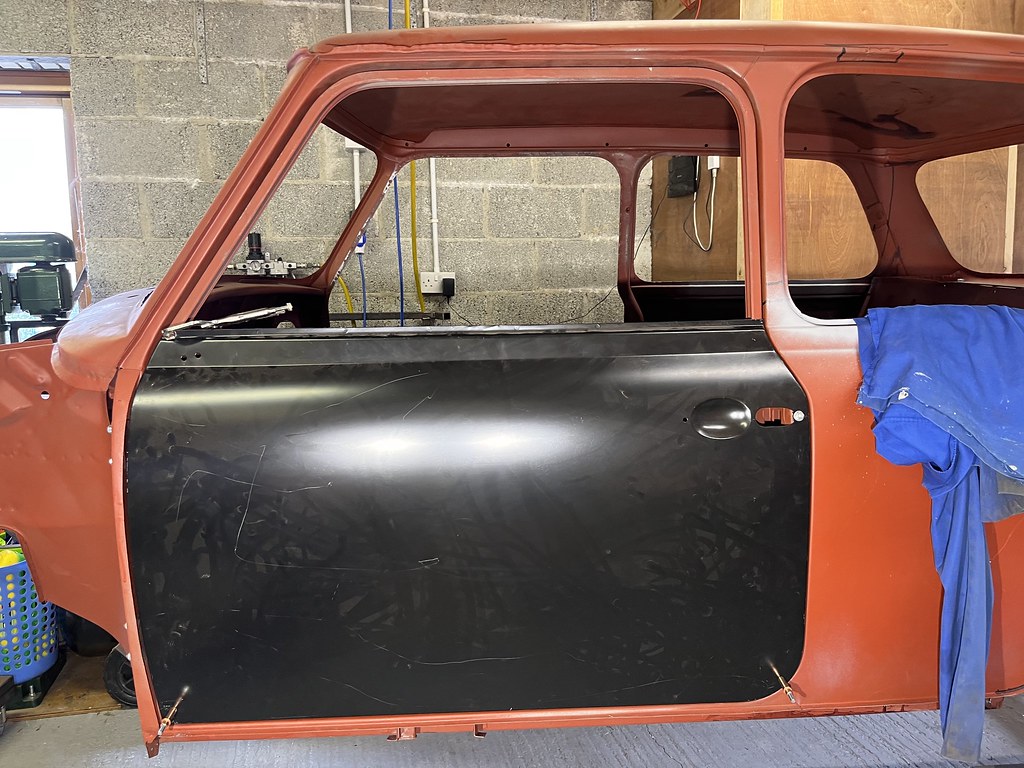
It will help aid the alignment when I remove the quarter panel.
Re: 1981 Mini City 1000
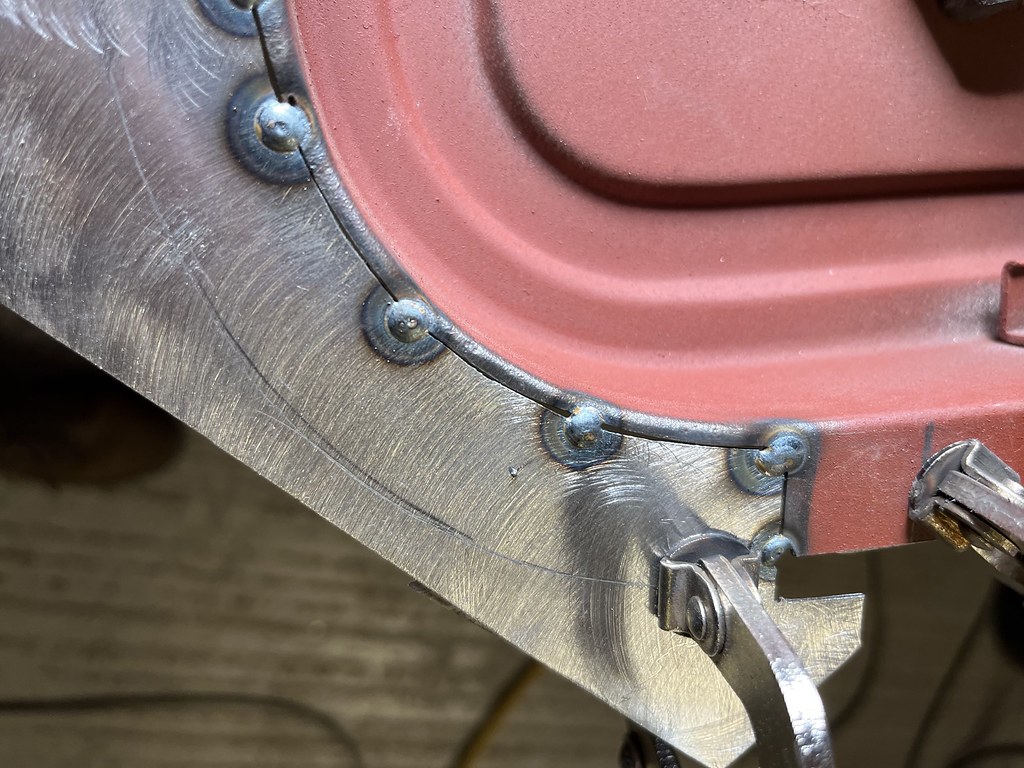
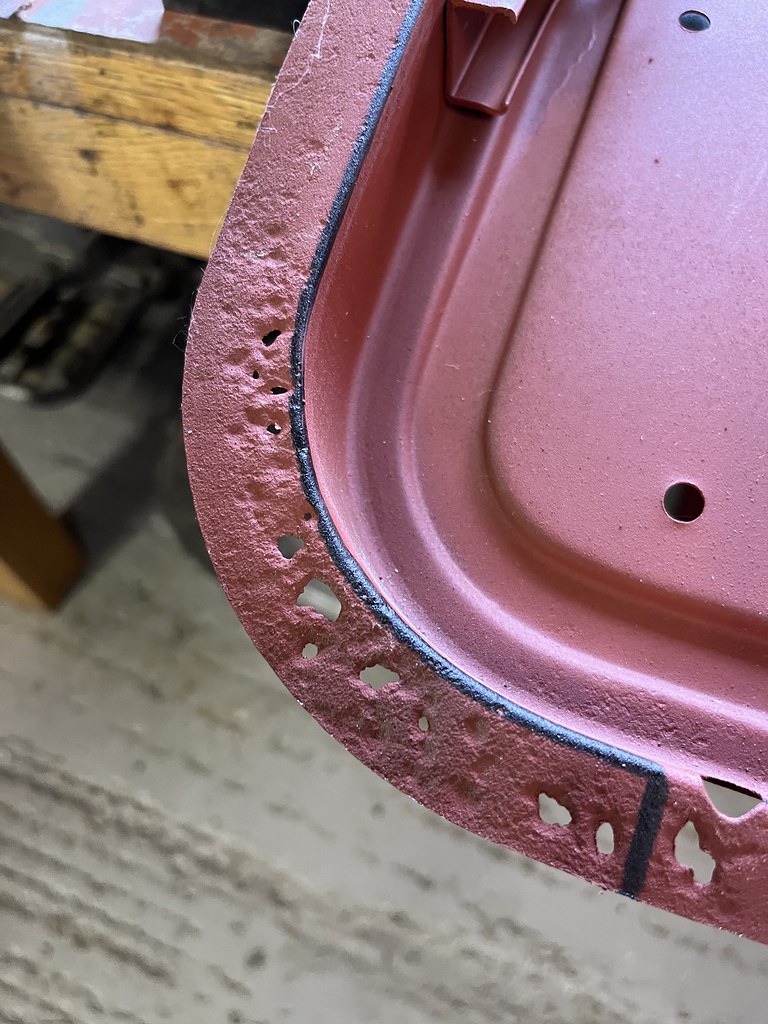
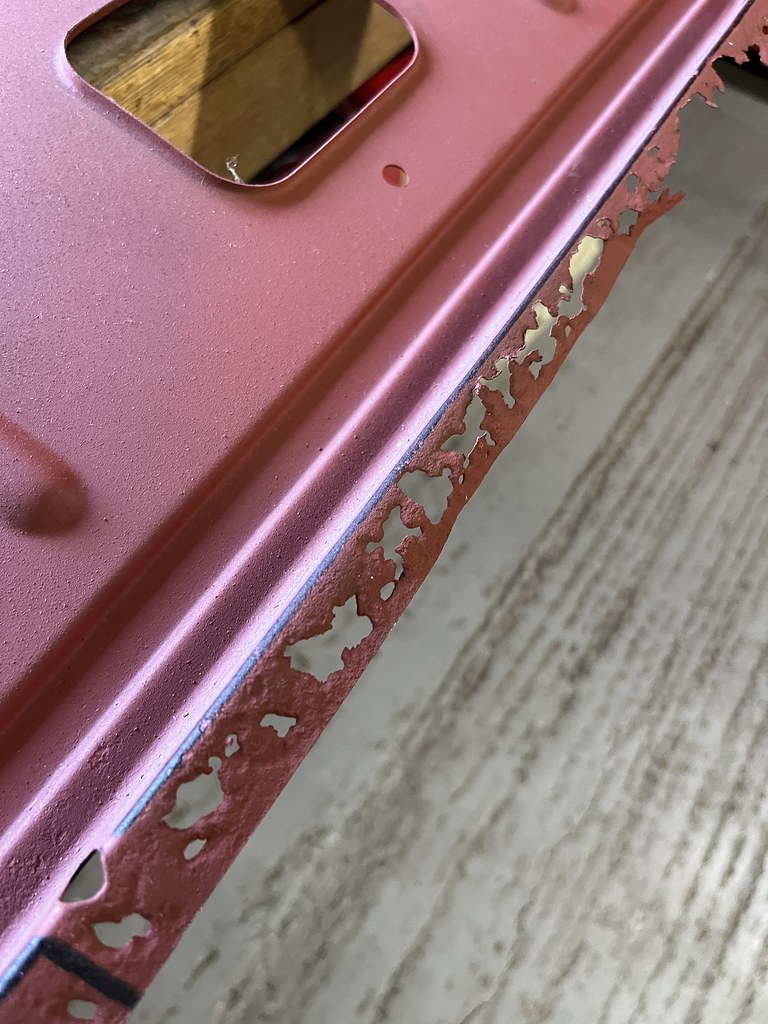
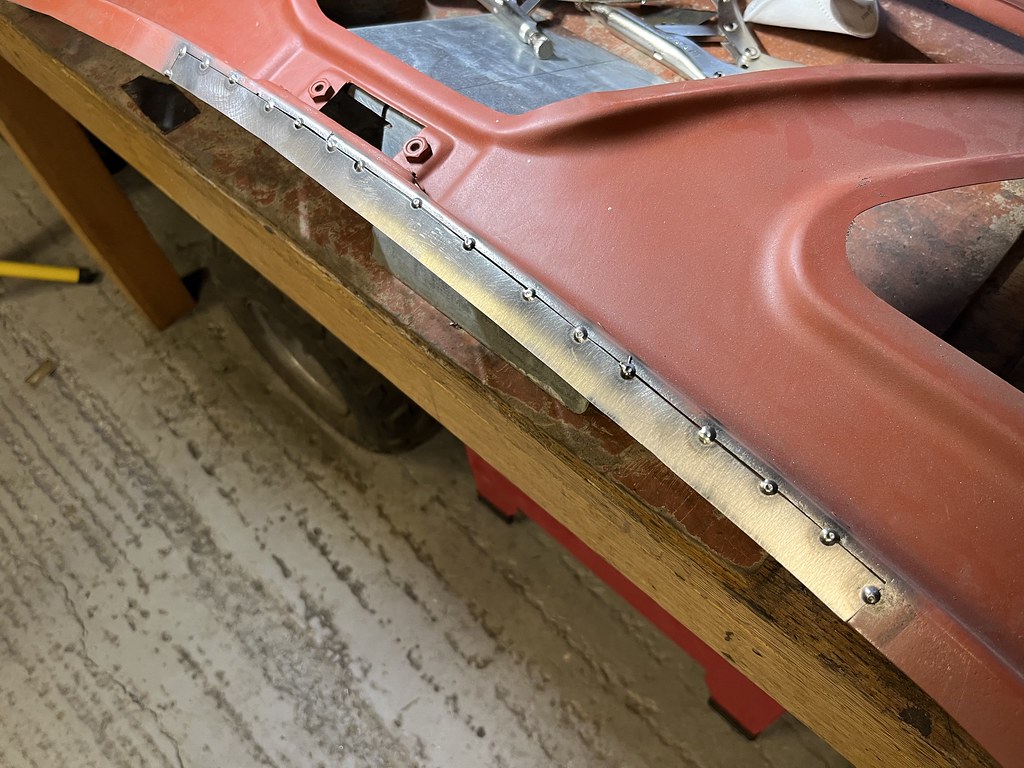
Posted: Tue Aug 02, 2022 8:25 am
by ctwomey
Quite alot of pitting on the inner boot frame
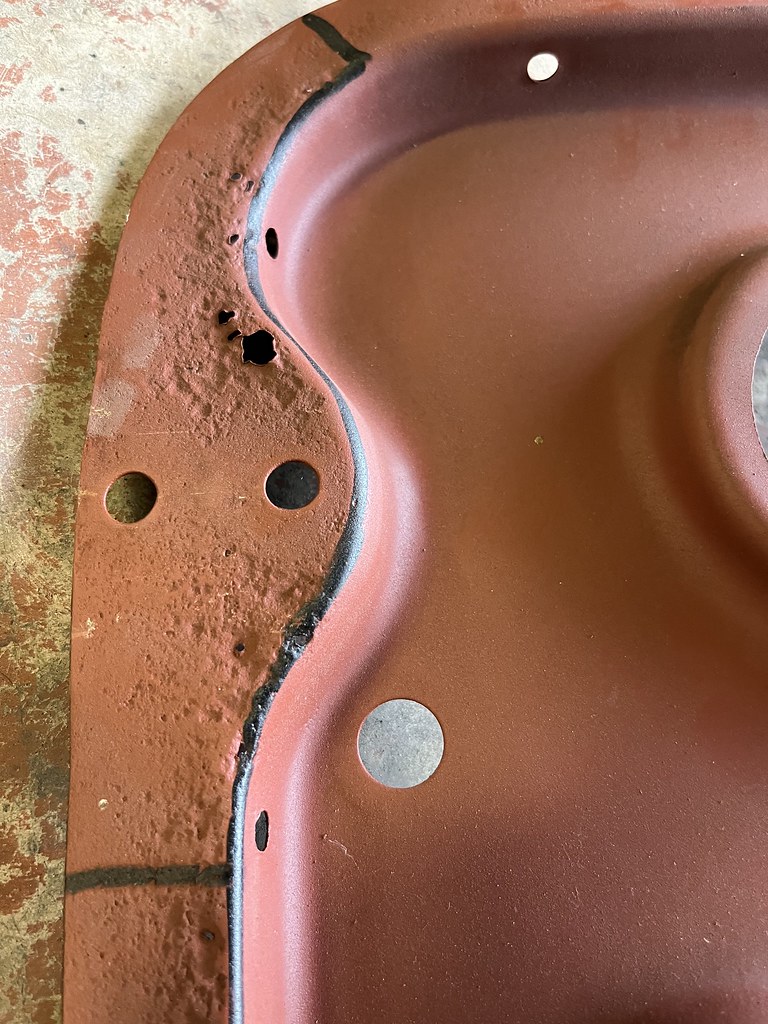
Starting the repairs with replacing a section of the upper lip

Re: 1981 Mini City 1000
Posted: Tue Aug 02, 2022 9:24 pm
by ctwomey
All tacked up in place
Re: 1981 Mini City 1000
Posted: Tue Aug 02, 2022 9:46 pm
by colinf1
Looking good, nice clean & tidy welds!
Re: 1981 Mini City 1000
Posted: Wed Aug 03, 2022 11:30 am
by ctwomey
Thanks Colin. Takes quite a while to get used to the welder and finding the right settings for specific types of welds. I am going to keep going on the boot and driver's door while it's all going well.
Re: 1981 Mini City 1000
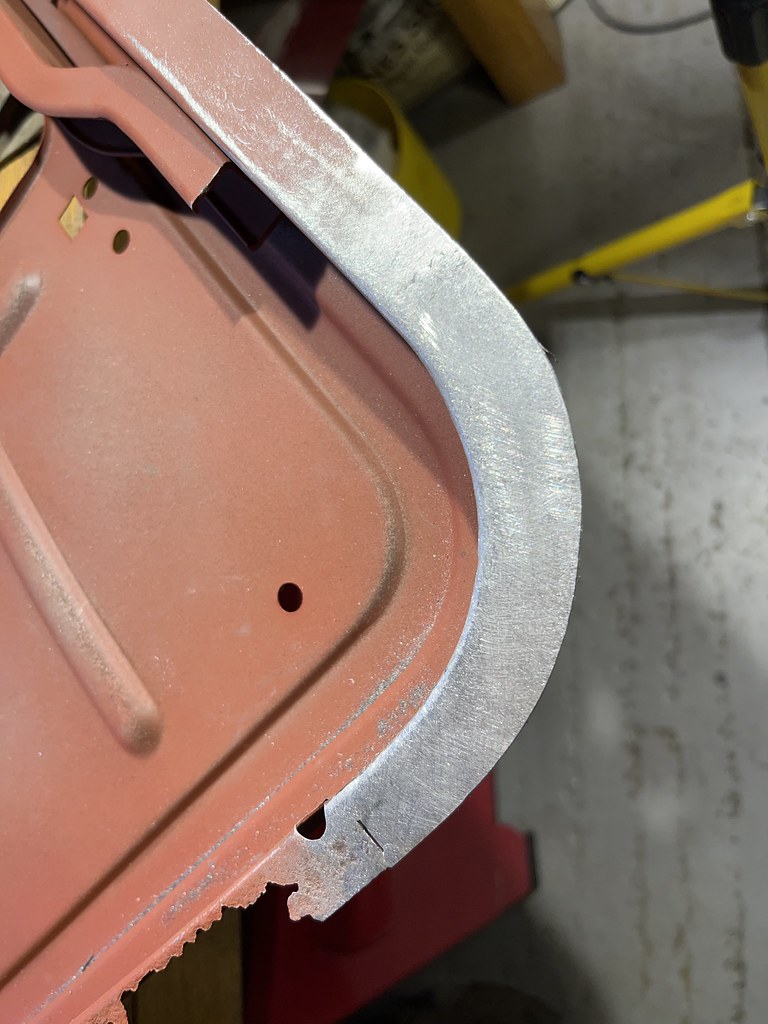
Posted: Thu Aug 04, 2022 8:59 pm
by ctwomey
All welded up
Straight forward grinding down weld on an outside curve
Touch etch to protect
Inside came up well too
A bit faster this time. It took 1h 45m to weld, grind and etch.
Re: 1981 Mini City 1000
Posted: Sun Aug 21, 2022 9:54 pm
by ctwomey
Not much done in the last couple of weeks but back to it today
Started repairing the hinge part of the boot inner panel.
Re: 1981 Mini City 1000
Posted: Tue Aug 23, 2022 10:28 pm
by ctwomey
The repair came out well
Just need to clean up the backside of the weld, decent penetration

Re: 1981 Mini City 1000
Posted: Wed Aug 24, 2022 11:58 am
by colinf1
Very tidy looking welds, keep it up!
Re: 1981 Mini City 1000
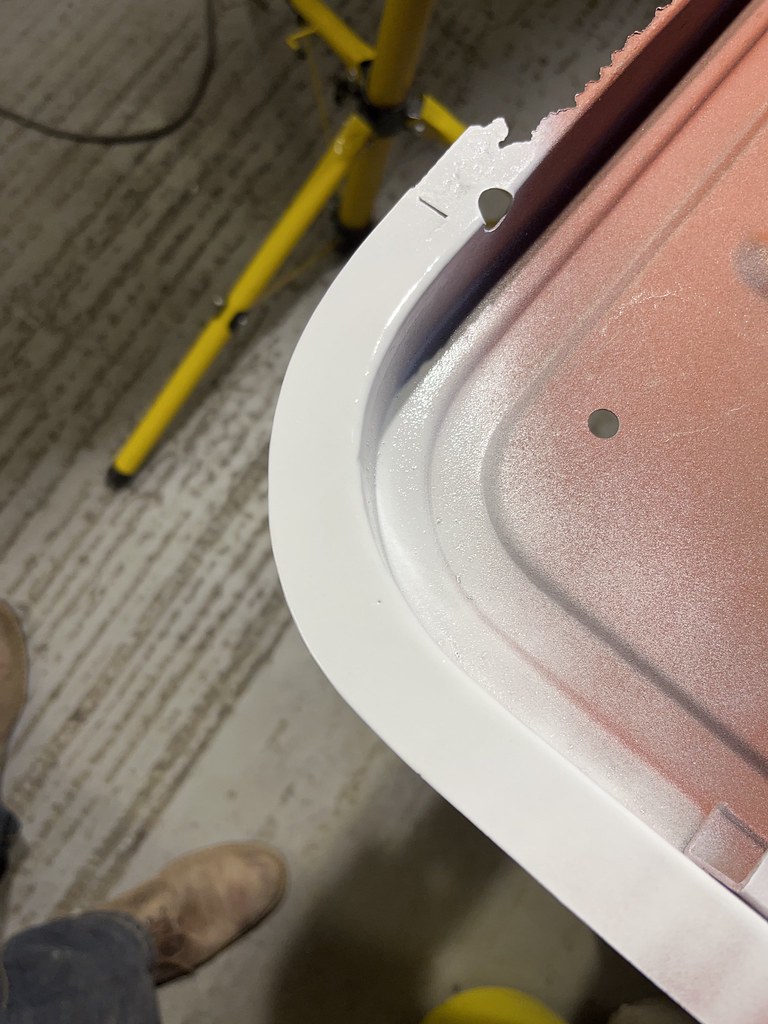
Posted: Sun Aug 28, 2022 5:29 pm
by ctwomey
I used the tape method to get the curve correct.

New holes for the outer boot skin, lined up from the outer panel.
Strip between hinge holes in place with a neat gap between pieces to be welded
Really happy with the overall results of the repair on this panel.

Re: 1981 Mini City 1000
Posted: Sun Aug 28, 2022 5:56 pm
by ctwomey