Page 5 of 7
Re: 61 Van resto
Posted: Thu Mar 19, 2009 5:33 pm
by kerryminigringo
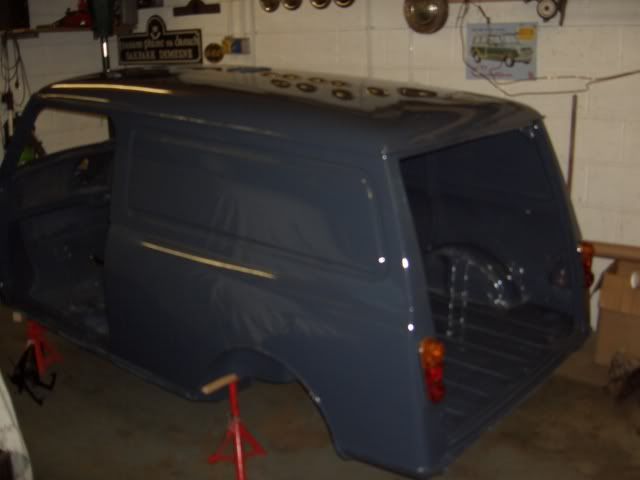
Outside is in primer and ready for final sanding and then top coat.
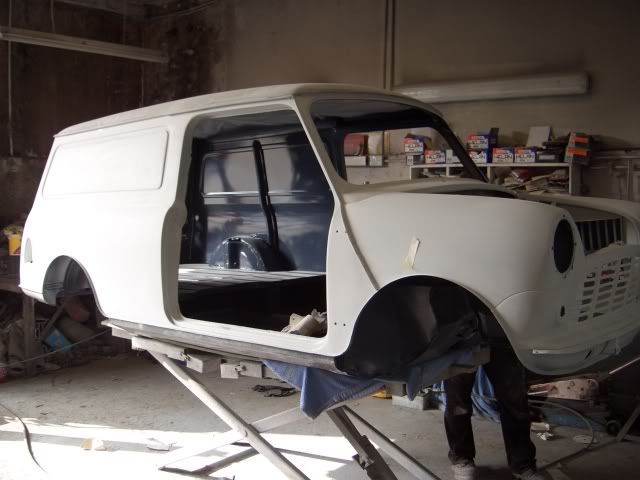
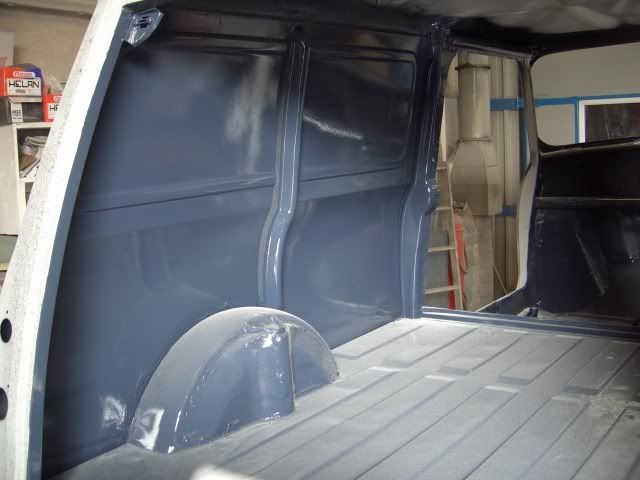
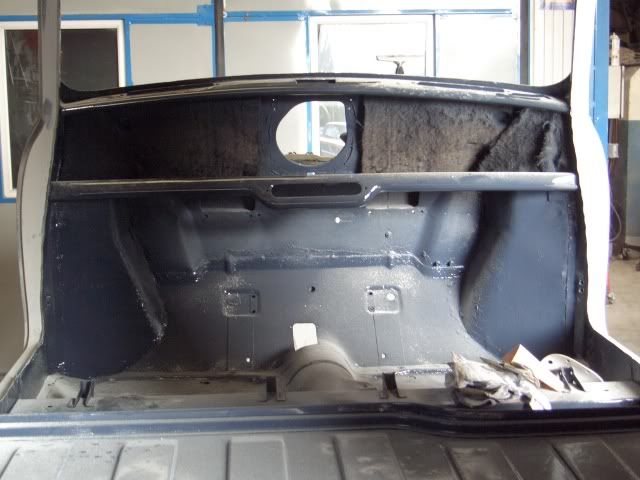
Inside is finished and ready for a quick polish.
Re: 61 Van resto
Posted: Thu Mar 19, 2009 9:07 pm
by kerryminigringo
While the van shell was away at the bodyshop I had to repair the two doors,the passenger one only needed a skin but the drivers side was in worse condition but not unsavable.First off I repaired the inner frame at the front of the door.It looked like this at the start.
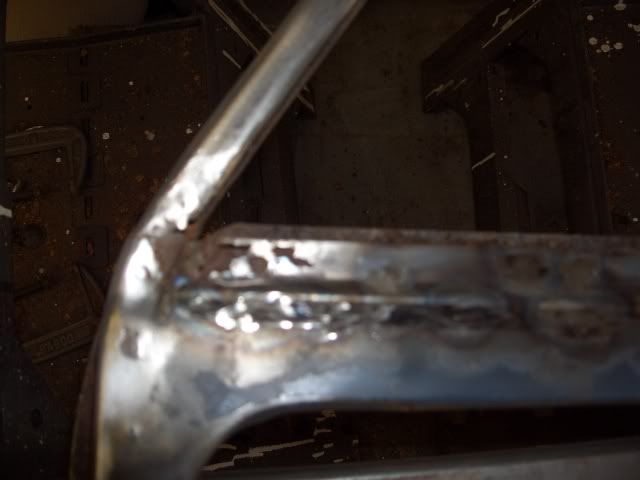
I cut out the rust and made up a repair section that I welded into place and ground down the welds to clean it up.A skim of filler and it should be perfect.Here is the finished repair.
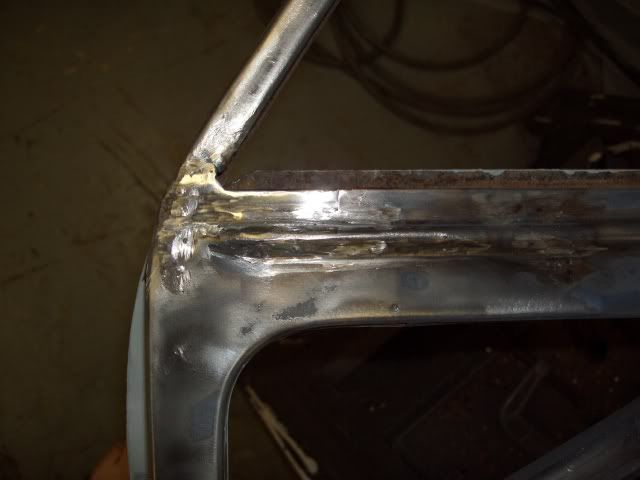
Next up was the drip rail at the rear of the door which hade rusted out badly so again the only answer was to cut out the rust and make a repair section.I don't have any pictures of before the repair but this is the finished repair complete with drain pipe.I will seal up the joints with seam sealer prior to fitting the door skin.
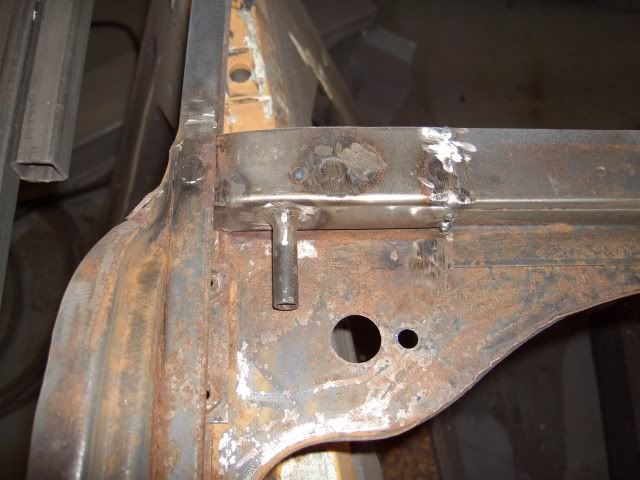
The final repair to the frame before reskinning was to repair the complete door frame bottom section.This had rusted badly and a repair section had to welded in.I started by cutting off the frame under the door pocket and grinding all the spot weld off.This is what it looked like when it was ready for the repair section.
I welded the repair section in and used the spot welder to weld the section to the bottom of the door pocket.The two drain pipes also had to be cut from the old frame and welded into place either end of the repair section.Here is the frame ready for the door skin.I will used a zinc rich paint on all the edges before fitting the skin.And if you think that is alot of trouble to fix a door just price a Heritage door.
Re: 61 Van resto
Posted: Thu Mar 19, 2009 9:20 pm
by steeo
You have just answered my question about the bottom repair panel regarding the water drains, cheers
Re: 61 Van resto
Posted: Fri Mar 20, 2009 10:07 am
by miniroar
Was that van in miniworld's barnfind a good while ago? Was flicking through an old one and seen your name
Re: 61 Van resto
Posted: Fri Mar 20, 2009 11:27 am
by The Marcos Graveyard
KMG has a contact on the inside of the Mini World, don't ya know.
Re: 61 Van resto
Posted: Fri Mar 20, 2009 11:46 am
by miniroar
I heard a rumour he has Karen and Kay Drury locked up in a cellar under a garage full of mini projects somewhere south of Dundalk only to be released after MTM, Aiden fritzel Mcgrath they call him!!

Re: 61 Van resto
Posted: Wed Mar 25, 2009 9:26 pm
by kerryminigringo
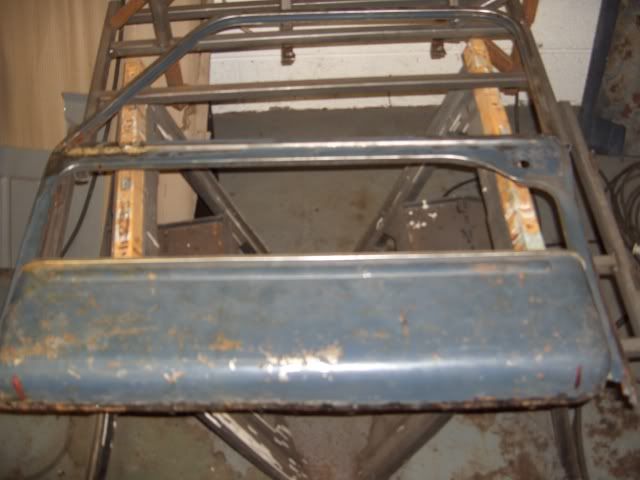
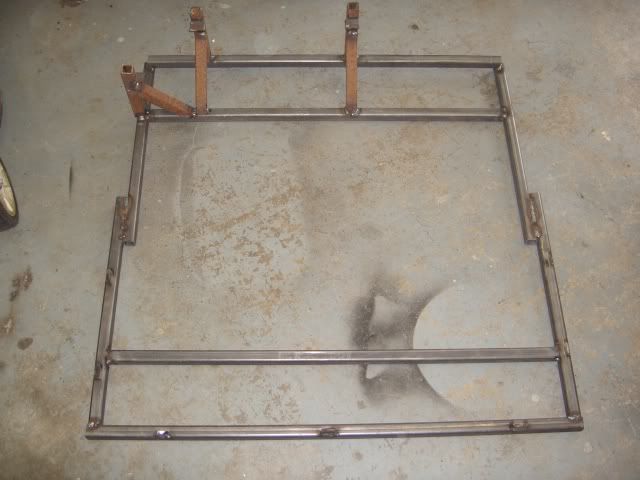
When I took the skin off the doors I found that the skin was bigger than the frame and seeing as the van is away in the bodyshop I came up with a way to make sure the doors will fit.When the mini was being made the shells were made to fit the doors so I made up a jig using some 1" box iron and using a couple of old doors that I have that had never been reskinned I used them to build a jig to hold the skin and frame in position while I folded the skin in place.Here is a picture of the jig and you can see the locating points along the top that will hold the door frame and the small locating point for the skin along the sides and bottom.I added another locating point along the sloped edge of the frame just to be sure.
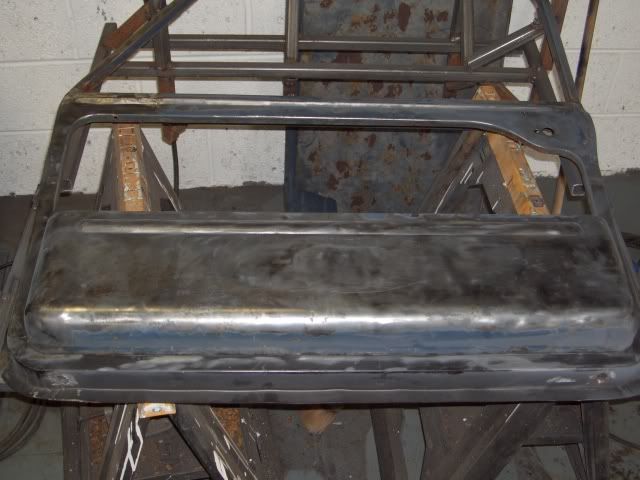
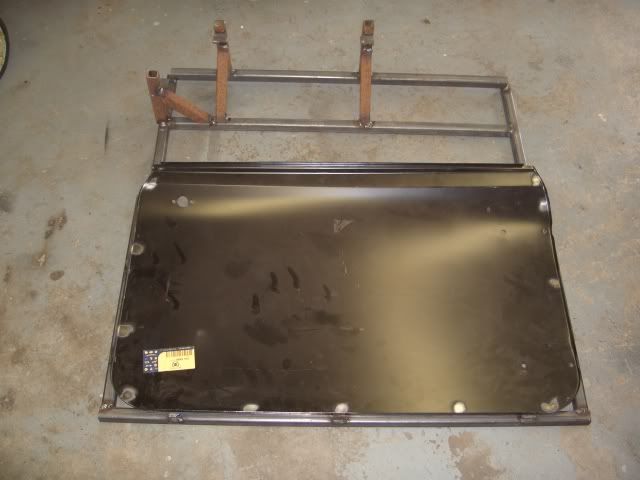
This is it with the skin in position.
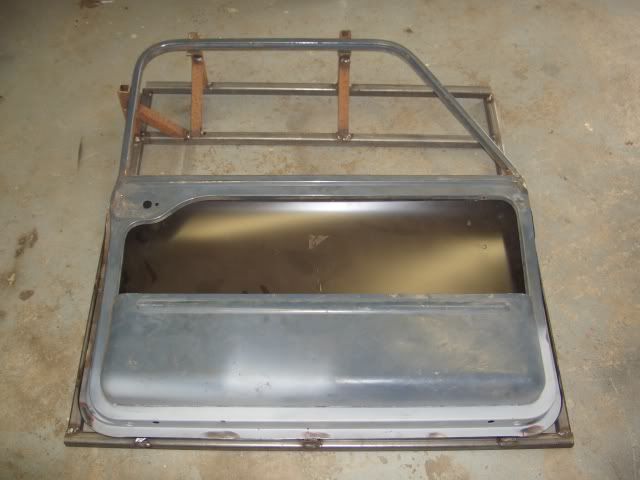
And this is it with the frame in place over the skin.I put a couple of spot welds along the seam and when I offered the door up to the van it was as good as the original doors.
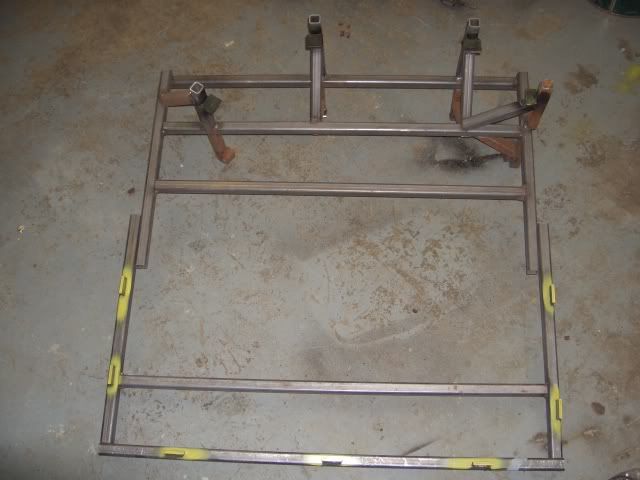
To avoid making up a complete frame for the drivers door I flipped the frame over and put a set of locating points for the drivers door on it.This is the finished frame with the bottom locating points in yellow and the top in black.It might seem a bit overkill but I just don't want badly fitting doors after spending so much time on it.
Re: 61 Van resto
Posted: Wed Mar 25, 2009 10:00 pm
by steeo
Re: 61 Van resto
Posted: Thu Mar 26, 2009 7:54 am
by kerryminigringo
No problem Steven,it is there is you ever need it.
Re: 61 Van resto
Posted: Thu Mar 26, 2009 11:09 pm
by just_st3v3n
aiden do you fancy giving me a hand skinning some doors sometime??
i can pop down to ya sometime and let you work away on the car while i skin the doors, just need a little guidance/how to

Re: 61 Van resto
Posted: Thu Mar 26, 2009 11:47 pm
by steeo
[quote="D_3m0_n"]aiden do you fancy giving me a hand skinning some doors sometime??
i can pop down to ya sometime and let you work away on the car while i skin the doors, just need a little guidance/how to
[/quote]
We can make it a group thing as I have 2 doors to do aswell.
Re: 61 Van resto
Posted: Fri Mar 27, 2009 3:46 pm
by kerryminigringo
No problem lads,I am not expert on door skinning but any way I can help just let me know.
Re: 61 Van resto
Posted: Fri Mar 27, 2009 3:48 pm
by kerryminigringo
Oh by the way I got this today.
More pictures to follow.
Re: 61 Van resto
Posted: Fri Mar 27, 2009 5:13 pm
by 92Coop
Re: 61 Van resto
Posted: Fri Mar 27, 2009 6:28 pm
by just_st3v3n
niiiice....

where did you get it sprayed?
Re: 61 Van resto
Posted: Fri Mar 27, 2009 10:28 pm
by kerryminigringo
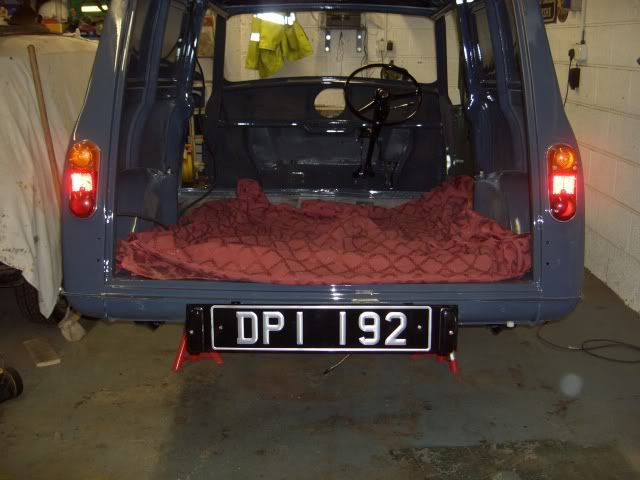
Got stuck into the van this evening and got the petrol and brake pipes on first and then I put in the rear section of the wiring loom and put on the number plate brackets and plate.
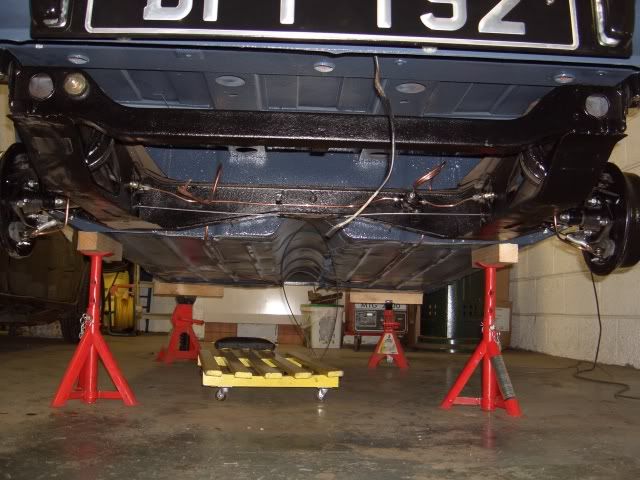
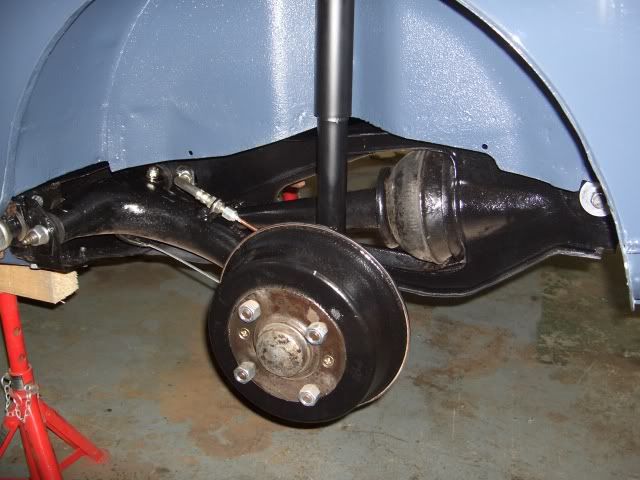
Next I got the rear subframe on and connected the brake pipe.I will leave the petrol tank for a day or two and waxoyl the rear valance.
I went to the front of the car and got the pedal box and master cyclinders on and the clevis pins in.Pity BMH cannot make the two master cyclinders the same colour.I also got the steering rack on and the chassis plates.
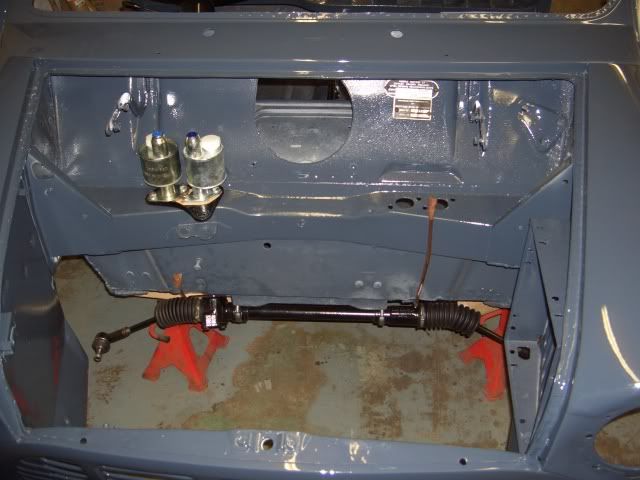
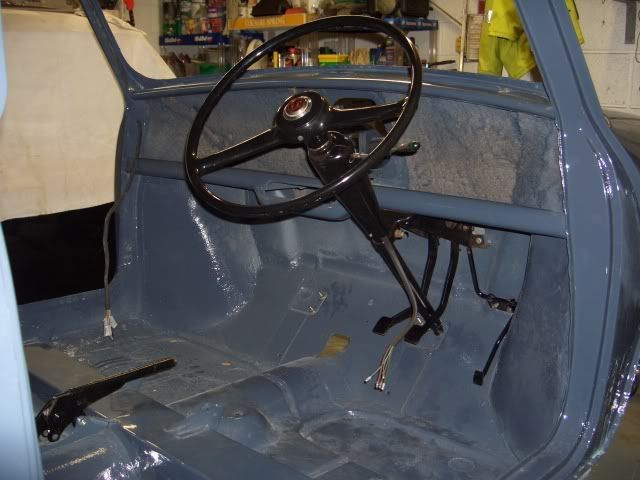
I finished off the evening by putting the steering column in and the handbrake.Next up is the front part of the wiring loom and get all the electrics back in.
Re: 61 Van resto
Posted: Fri Mar 27, 2009 10:48 pm
by DaveC
Excellent work
Re: 61 Van resto
Posted: Fri Mar 27, 2009 11:35 pm
by The Marcos Graveyard
Gawd, your not hanging around are you
Re: 61 Van resto
Posted: Sat Mar 28, 2009 1:50 pm
by woody
Have you noticed how much the kids have grown everytime you see them!
Great work, paint looks good.
Re: 61 Van resto
Posted: Sat Mar 28, 2009 9:57 pm
by mad-mini
Re: 61 Van resto
Posted: Tue Mar 31, 2009 1:00 pm
by miniroar
The colour suits its perfectly, beautiful is defo the word to use
Re: 61 Van resto
Posted: Sat Apr 11, 2009 10:52 pm
by thestillminis
kerryminigringo
I have been following your restoration, great work. You might be able to me with a small problem. One of the doors on my Mini pickup '63 has started to drop slightly making it difficult to close. Is it a hinge or pin problem or both.
Chris
Re: 61 Van resto
Posted: Sat Apr 11, 2009 11:03 pm
by steeo
Check to see if all the bolts are tight on the hinges and that the gaskets are ok.
My '72 pickup had the same problem and it turned out to be the pins, I had them drilled out and re-pinned but never really worked properly and ended up shelling out for a new set of hinges, if you are going looking for hinges be sitting down before you get the price
Re: 61 Van resto
Posted: Sat Apr 11, 2009 11:31 pm
by The Marcos Graveyard
It is possible to get a bush and pin kit for the external hinges, rather than just renewing the pins, it corrects wear in the hinge.
If you do need to replace one or more hinges, make sure that you order the correct ones, they are numbered on the inside.
Re: 61 Van resto
Posted: Sat Apr 11, 2009 11:48 pm
by thestillminis
Thanks for the interest and help
Regards
Chris