Welcome to the Irish Mini Owners Club forum. Celebrating 30 years of the Irish Mini Owners Club, 60 years of the Mini, 50 years of the Clubman and 20 years of our flagship event MTM
About 90% there with headliner, all glued in and seals holding it in place. Front, rear and drivers side trimmed. Small bit of tidying to do in A-pillars but not too bad. Still a few wrinkles, but hopefully they fall out, they appear to be from the way the fabric was folded.
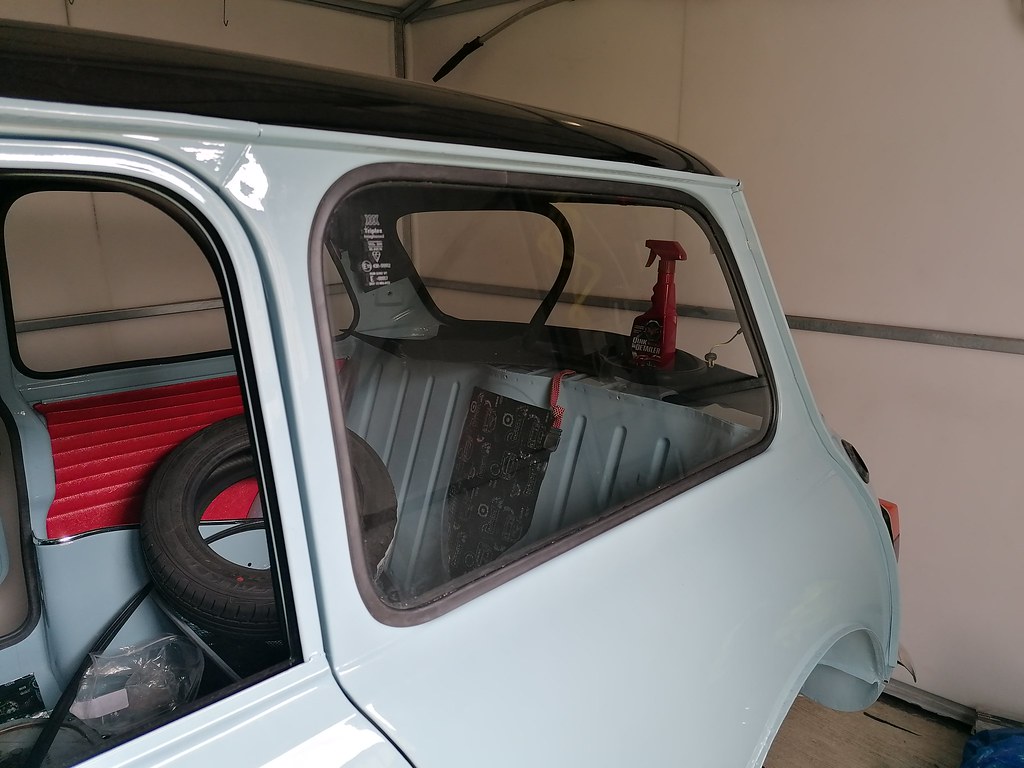
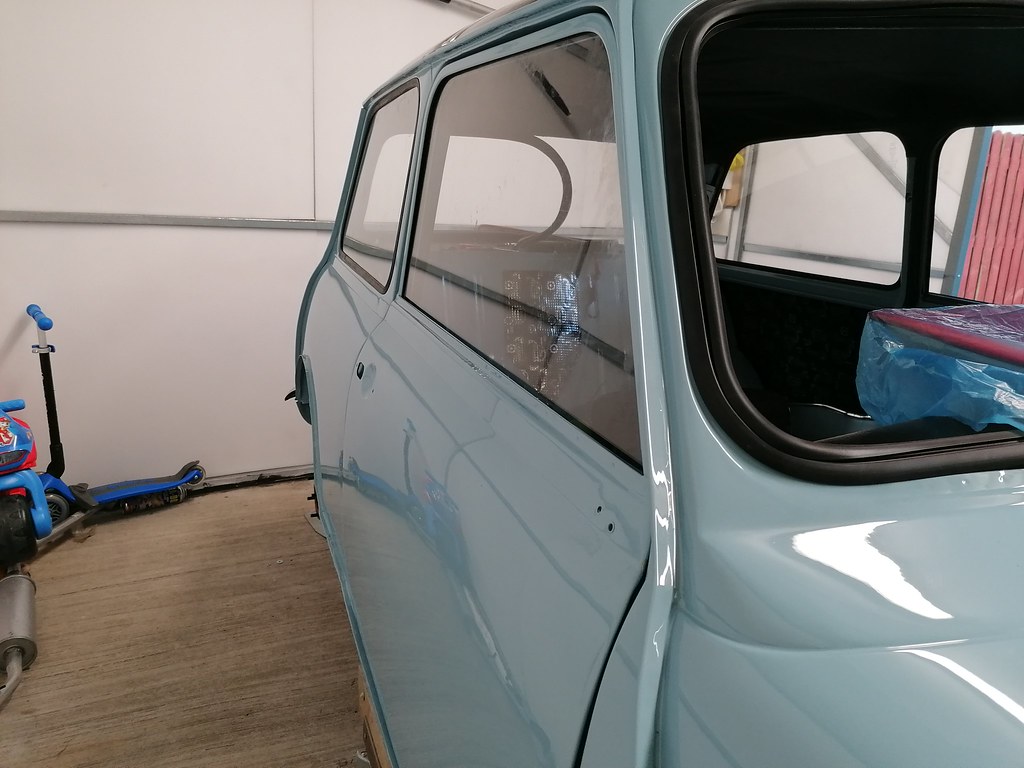
My goodness me, what a battle to get the fixed side window in. About 2 hours yesterday and another hour and a half today and it's finally in. New rubber seems to be a shade too big and very tough. Hoping the other side goes a bit smoother.
Got the other fixed window in, less of a struggle with this as I had half an idea of what to do. But it's not sitting exactly right on lower B post, needs to go in a shade more but can't get it to budge. Maybe once car is on its wheels I can get more weight behind it.
Also got drivers door window in, but my goodness it's stiff to wind up, hopefully it loosens up a bit with use..
Got door handle on passenger door. Holes for it where about 3mm out on the magnum door skin. I should have tried a handle on before paint, but there's a lot of things I should have done differently
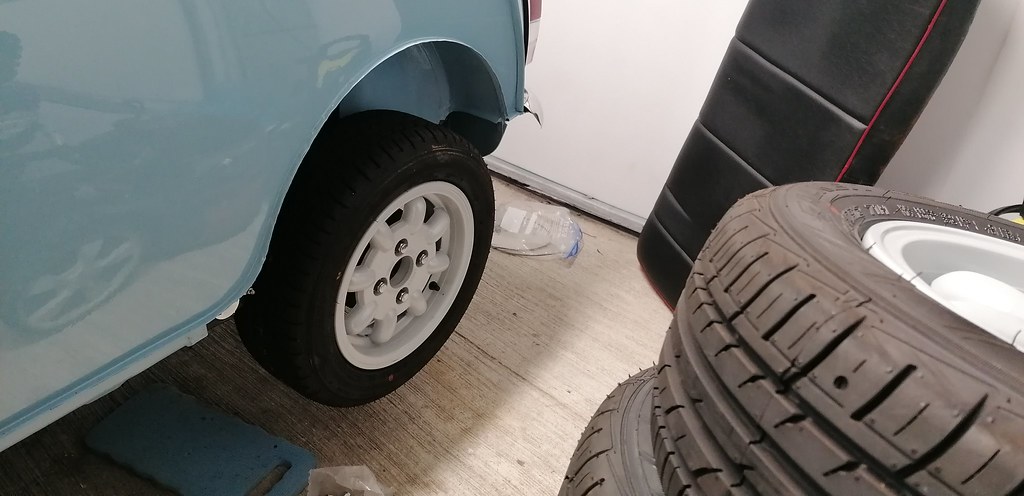
Wheels came back from powder-coaters, getting the tyres put on tomorrow. I'm measuring 35mm of tyre thread exposed so have to figure out what arches to run with.
This is with a 20mm spacer, I'm going to remove that and change studs for shorter ones..
I might hold off until its back on its wheels to measure tyre thread when it's sat on its wheels..
Passenger door levers also put on and door card test fitted. Need some lagging tape to go behind lever rods to prevent rattles.
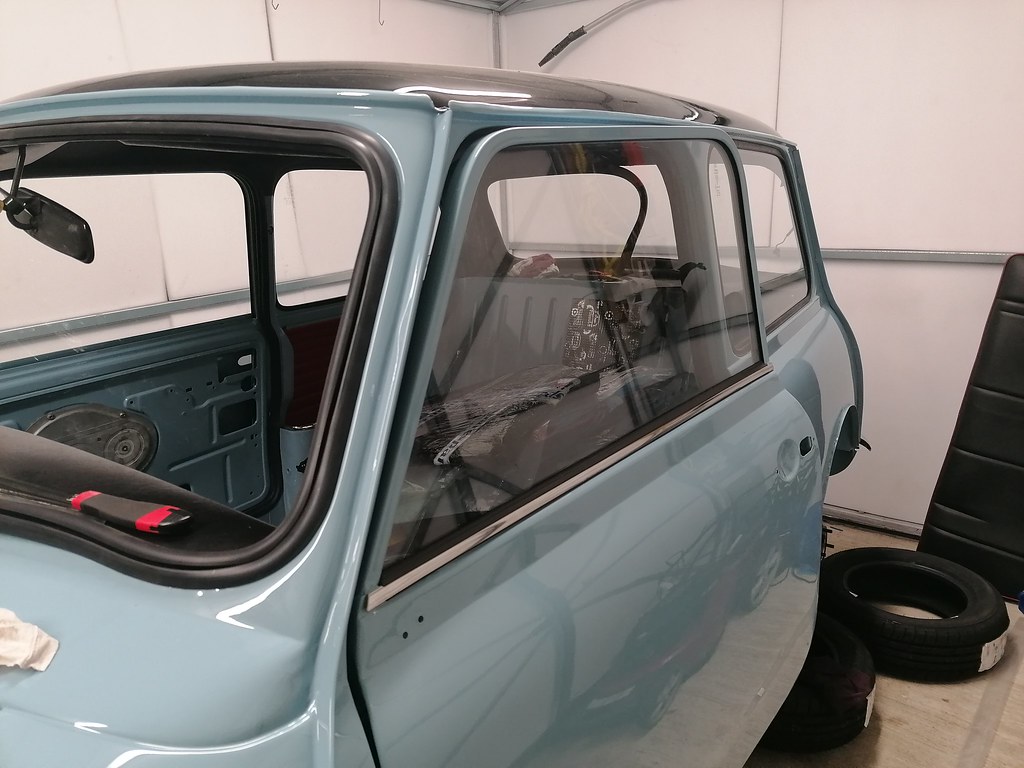
All glass in, locking strips cut and tidied up. Drivers door weather strips installed, all levers put on and connected to latch. Just waiting on a small parcel from minispares with door handle gaskets before I can put door cards on properly.
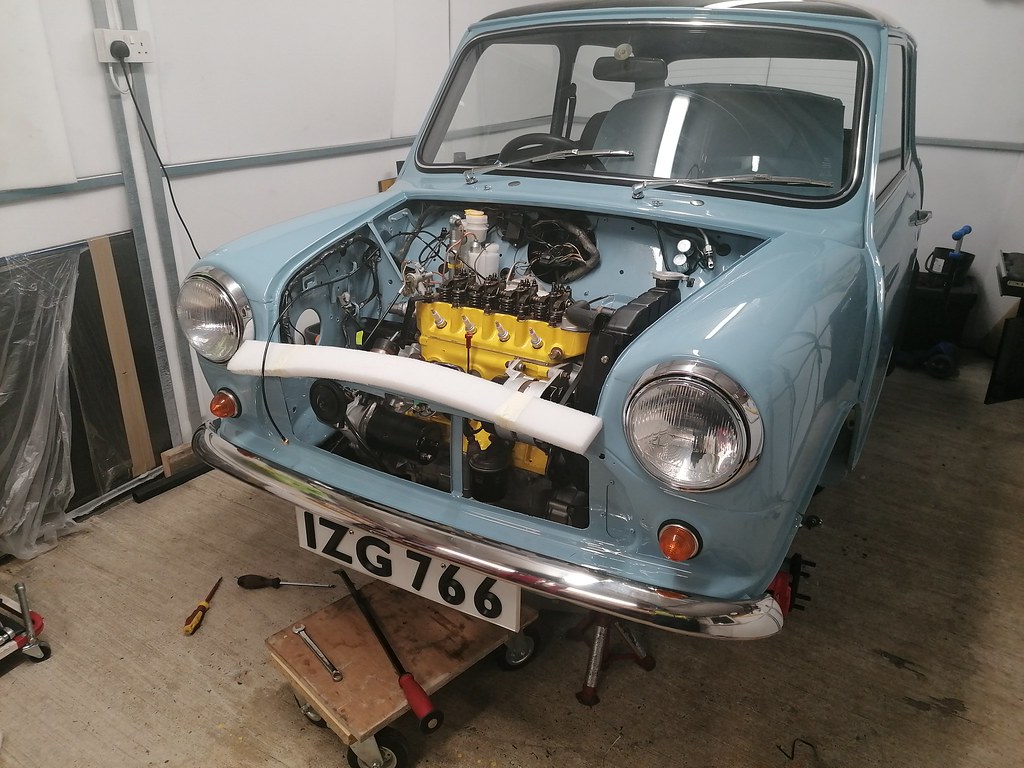
Front hub studs swapped out for shorter ones, wheels put onto car and pallet removed. It's on axles stands until the front to rear pipes and battery cable are finished, then it could be lowered onto it's wheels....but one tyre has gone down, not sure if it's the valve or the tyre bead.
Front number plate, seat locking bars, handbrake lever and cable, drivers side floor bungs and underlay. Need to find 1 bung that has gone AWOL and refill my mini gas torch for heating the seal to finish passenger side.
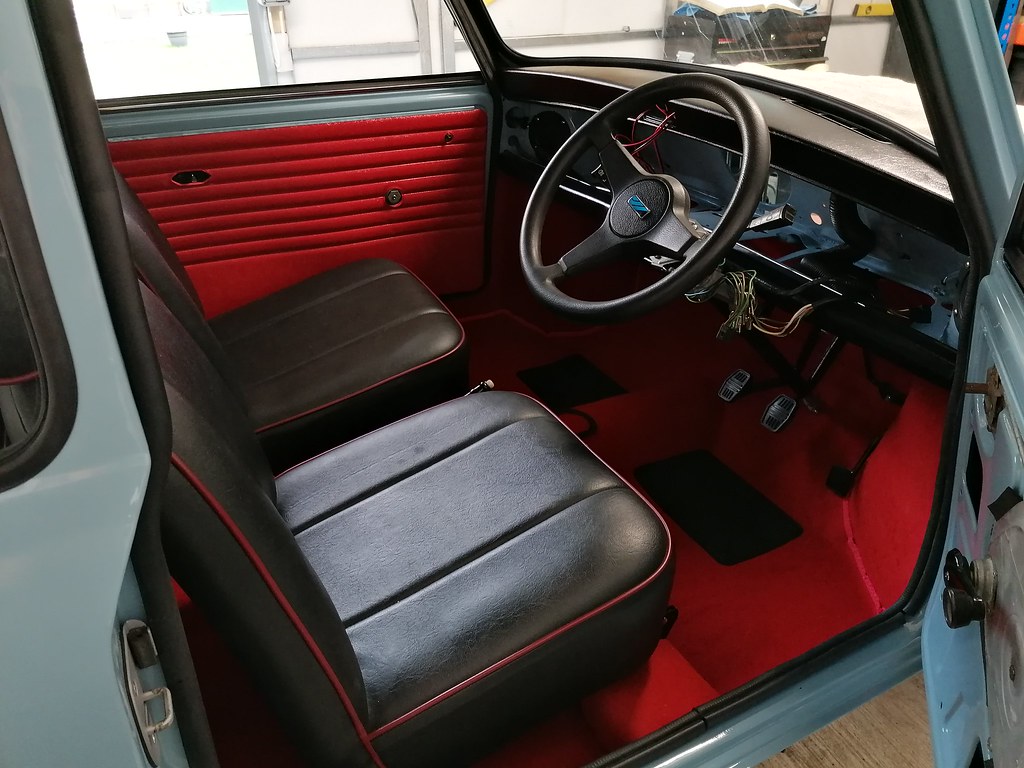
Another good run at it today, all floor bungs in and extra bit of protection with some seam sealer on the outside of them. Rear seats put in, then got the rest of the underlay in, then was time to start on the carpet. Budget set from minispares, but looks fairly decent. Bit hard to fit in places, but got there in the end. Steering rack centred and steering column put in. Wheel then centred on column. All in and torqued up.
Hopefully get the brake lines done tomorrow, then it's nearly engine fitting time!
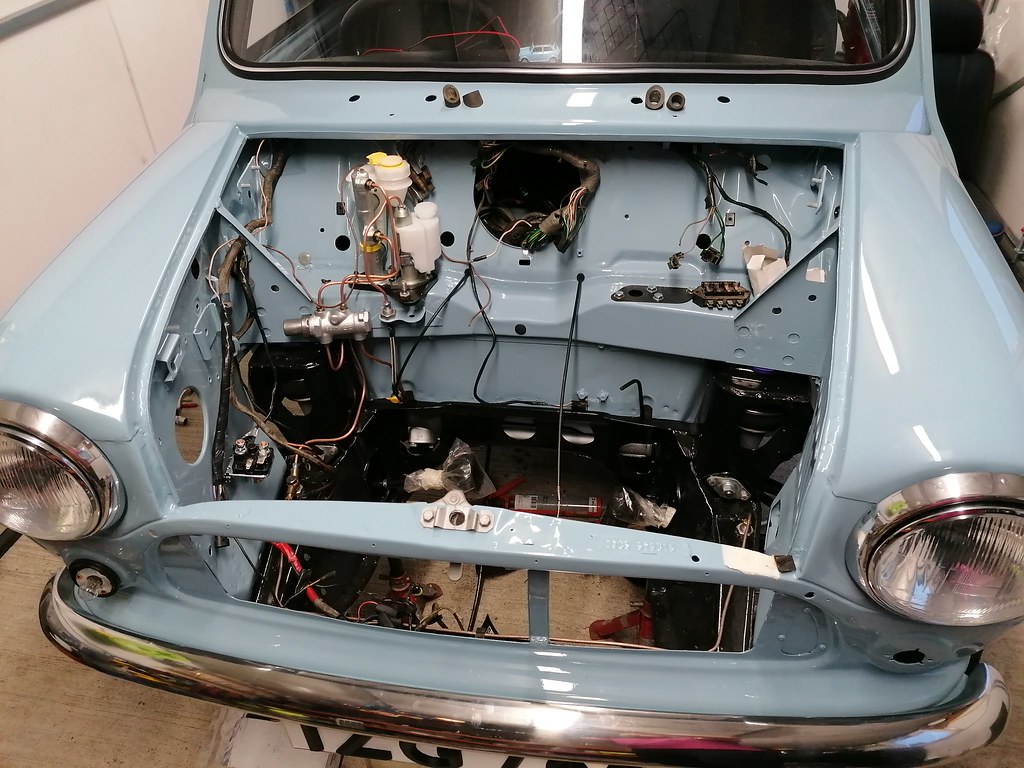
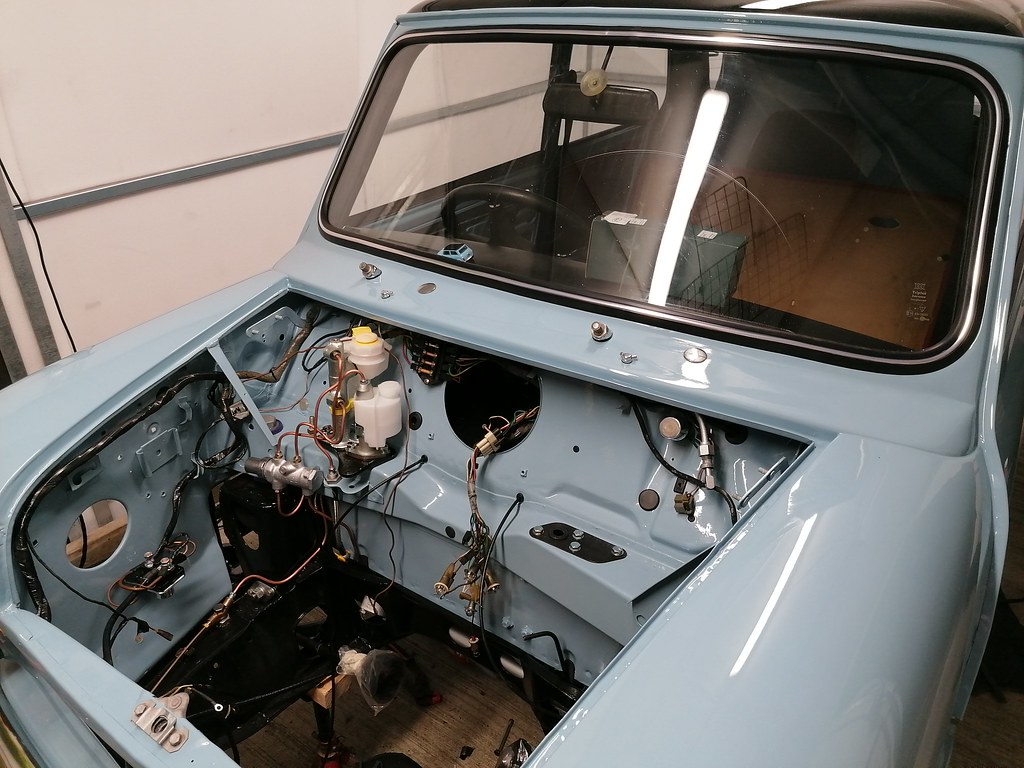
Spent most the day trying to sort out the wiring loom, checking for damaged wires and removing wires that had been badly spliced in. Wired up the new headlight loom with the sidelight holder on passenger side. Searched the entire shed looking for the drivers side sidelight holder, only to remember placing it on the actual lamp that I had temporarily put on the car. Oh well, only the 2 hours looking and doing a bit of a tidy-up.
Also finished off the rear lamp wiring, put the number plate lamp on with new rubber seal. Picked up some Dot4 brake fluid, so could possibly attempt bleeding the brakes tomorrow. Left wheel back to get a leaking valve sorted.
Some more wiring sorted today, all main switches wired up, steering wheel cowl put on. Fitted fuel tank, strap bracket needed some fettling with the dremel, was a tad too high even though I made it based on the old bracket, but its in now.
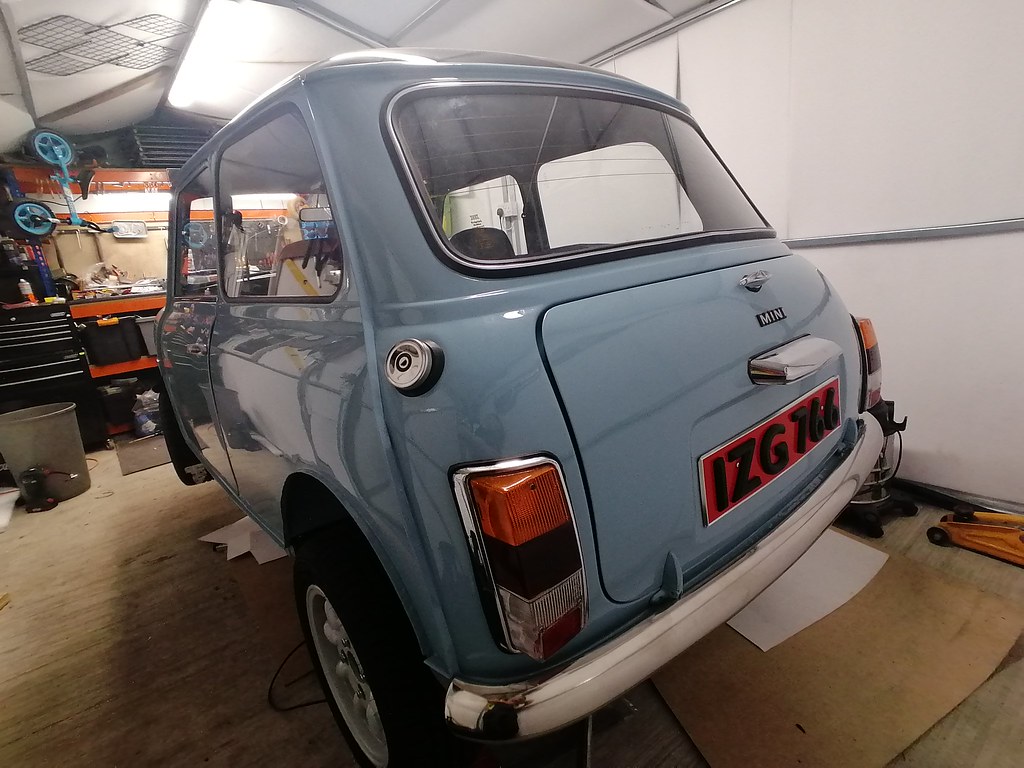
Rear badge put on, based it's location on the 1983 sales brochure. Picked up tyre from getting valve sorted and minispares parcel arrived so can crack on and get doors finished up now.
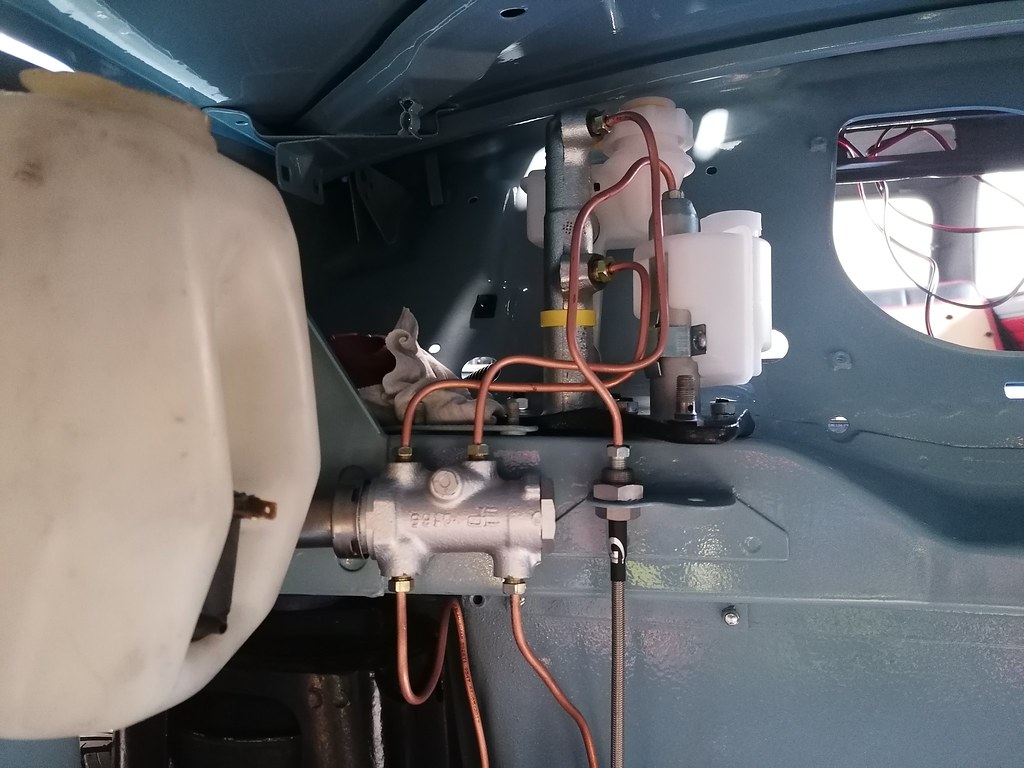
Had put the M/C to pwda valve on the wrong sides, so pipes reshaped and swapped over, then gaskets under each one. Pedal box clevis pins are A LOT easier to remove and get back in without everything is the way!!
Got the boot seal on, new indicator rubber boots and stainless locking rings and wiper hole blanks in stainless steel.
Starter solenoid bolted on, then made a start on getting the wiring loom to where it needs to be, indicator loom connectors need to be replaced, with something better than the ones from Amazon that I had started to put on - the wire connector doesn't seem to lock into place and the wire just comes out with little to no pressure.
A bit more done on wiring loom today,joined rear loom into main loom and connected up the front indicators. Wiper motor and rack cleaned up, one wheel box replaced as one had seized. Fitting kit on, washer jets D holes opened up to accept chrome style jets.
Fuse box put on and 3 clock binnacle put in between the two dash rails - had to loosen off the top rail to give it a bit more clearance to get it in, still had to squeeze it slightly.
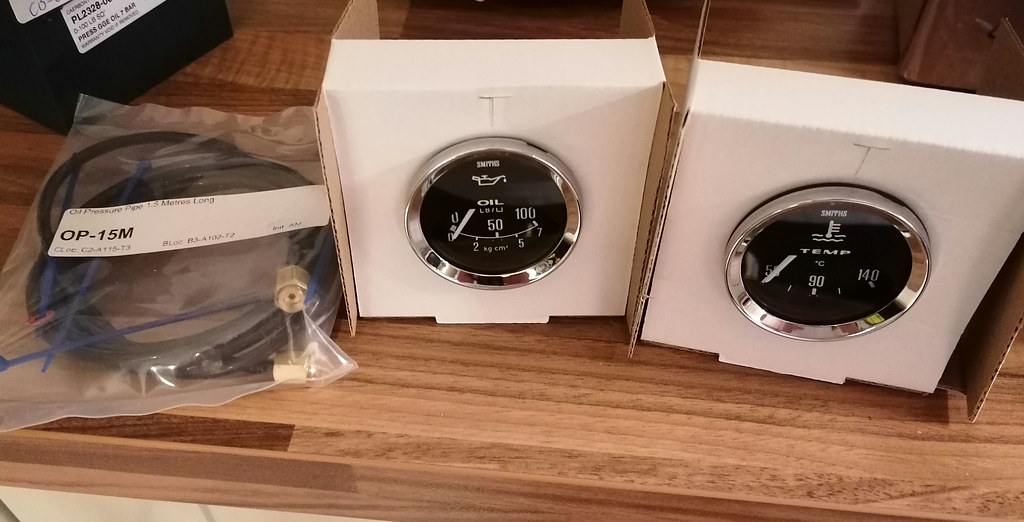
Got a nice delivery - smiths oil pressure and water temp and nylon capillary pipe
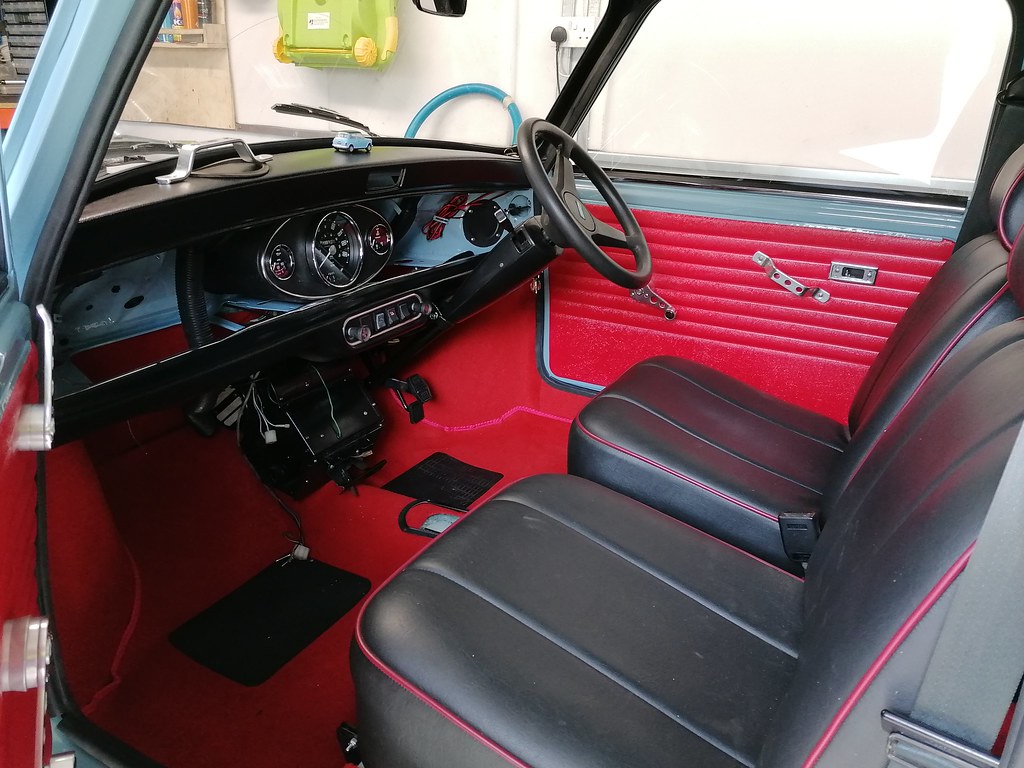
Got dials into binnacle today, very fiddley indeed. Binnacle needed to be tilted downwards to allow clock to be visible due to top dash rail. I understand now why most people run without the top rail with a 3 clock binnacle.
Inside doors wax oiled, then openings in door frame sealed up with some fibreglass reinforced vinyl, plastic liner and door cards put on. Alloy door handles put on too. Front seats reinstalled. Wipers put on, but went to put motor on but park switch housing came away from the motor body, looks like a broken clip so will probably need to replace that.
woody wrote: ↑Sun May 07, 2023 9:26 pm
The center binnacle never came with the top dash cover. Personally I prefer to cover the top rail in black leather or vynal .
Well it's in now and it ain't coming out
I have fixed it down to the lower parcel shelf, just need to make 2 small brackets to steady the top of it back to the bulkhead, then some closed cell foam to close the gap.
A 3d printed bracket to secure the binnacle to the bulkhead, offset to pickup on the captive nuts for the blanking plate. It's really steady now, just some foam insulation needed to fill the gap and reduce noise transfer...
Also put the original bulkhead sound deadening mat in, had to reshape it for the oval binnacle, tachometer mocked up in rough location.
Made up some card templates for parcel shelf and door bin covers, hopefully get some made up tomorrow.
Got the lower dash rail liners cut out and wrapped in vinyl this evening...
Also got the rear number plate on, bit tricky due to the location of the holes, having them centred across the plate would mean the screw would have to go through the Z, so dropped it down slightly to avoid this.
Drivers door window is really stiff to wind up or down, so may have to remove door card again to see what's going on
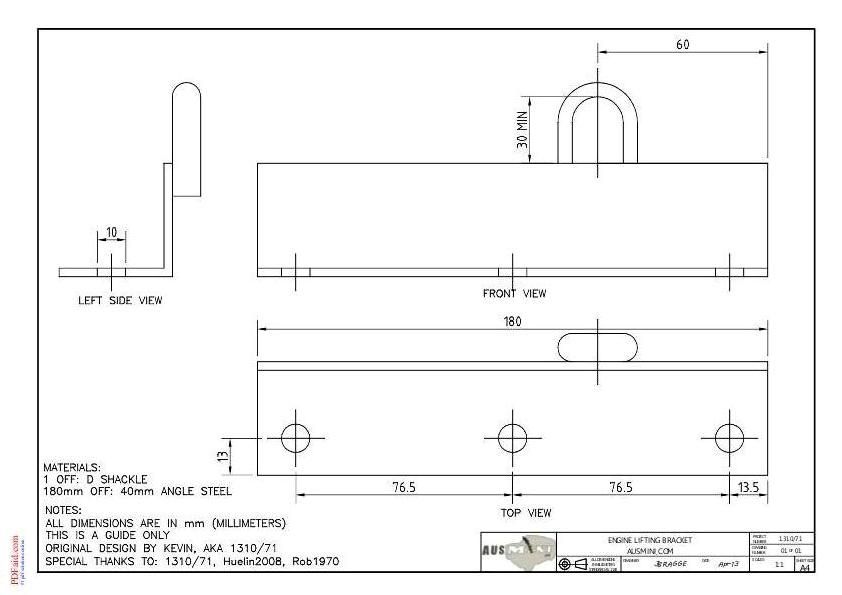
Made a start on the engine install, using the bracket show here...
and the lifting bracket;
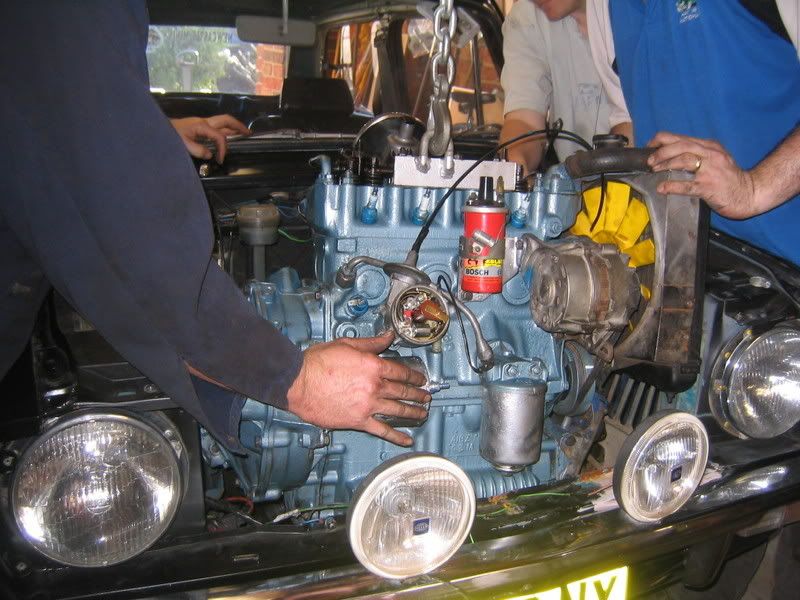
Lifting Bracket in use;
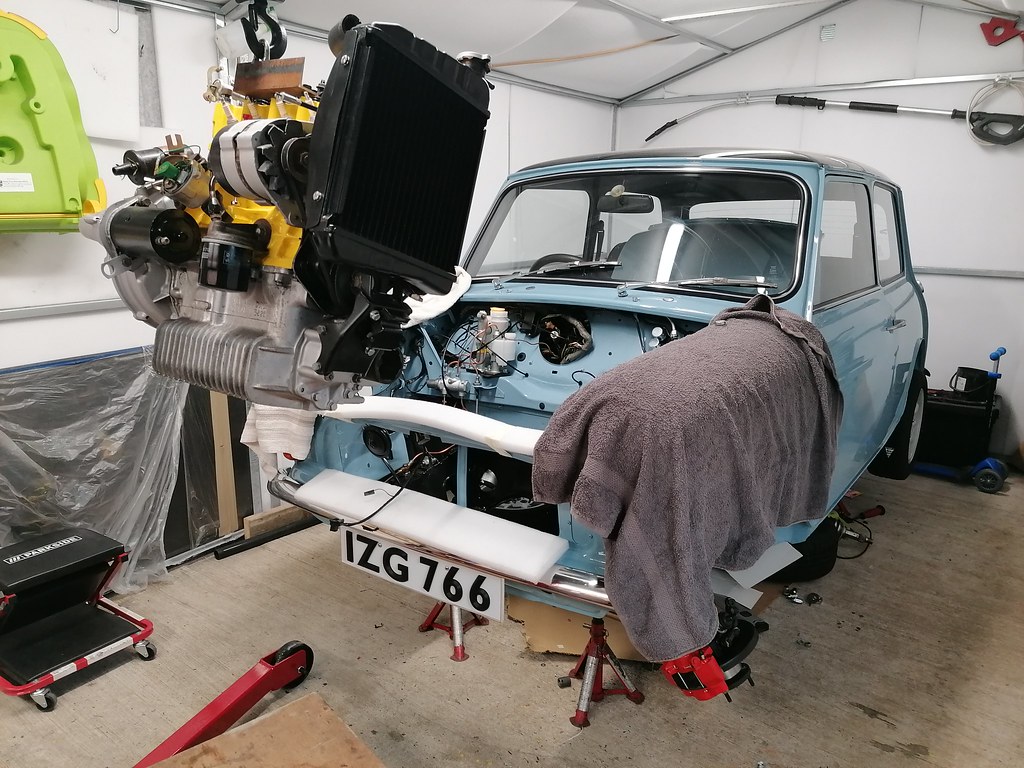
Up she goes..left it sitting for a few minutes to make sure bracket was holding firmly..
And in,
But...I used engine mounts with the captive nuts and they started to spin when I went to tighten them, I could get one side lined up but then was still out on other side. I have other mounts without the captive nuts, I'm going to lift the engine slightly and swap them out and try again...
Lifted the engine up a few inches to allow access to the engine side bolts, bit fiddley but got them out and new mounts on both sides, dropped it down and lined up pretty much straight away, small bit of prying but much easier than other mounts.
Then the struggle to get the bolts in from the inside of engine began, but got them in with some narrow vice grips and a telescopic magnet wand.
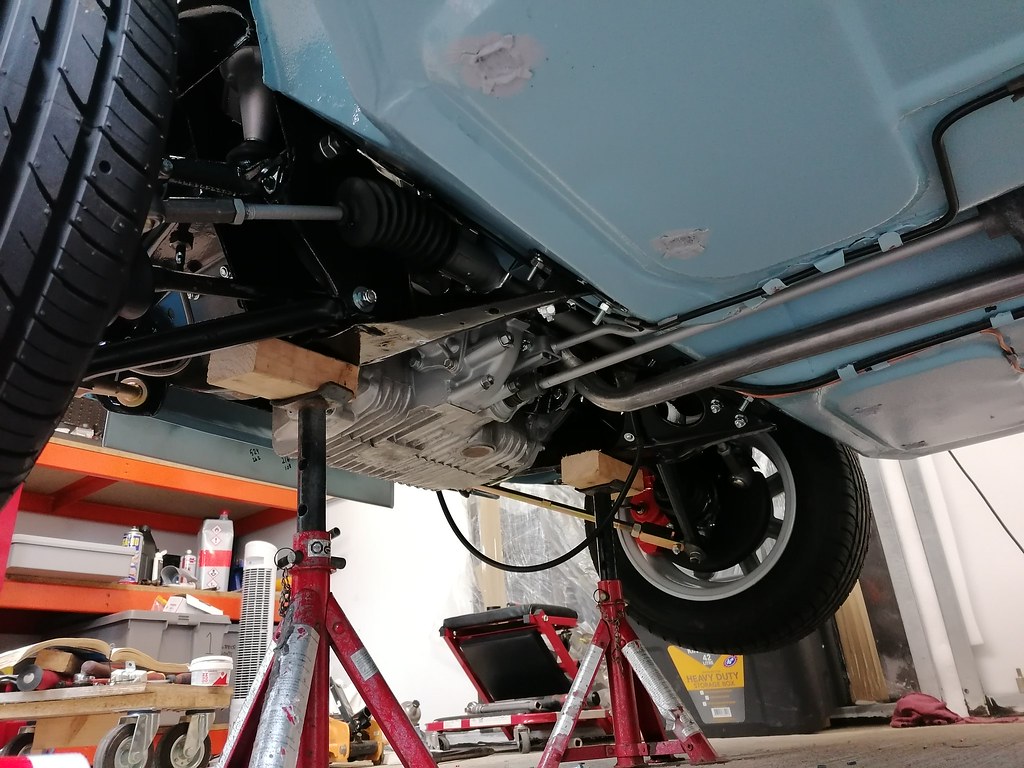
Spent most of the day under the car, driveshafts in and boots on securely, gear lever and rods put on. Had to remove the exhaust hanger bracket to get the roll pin in, got a little leak from diff housing but hopefully now that it's all bolted back on it will be fine. Basic string alignment done then front wheels back on
Then started on the exhaust fitting, just going standard 998 from minispares. Got genuine rover fitting kit, but a good few of the bolts spun on fine then would cross thread after a few turns. It's half on now, but its pushing the engine forward that I can't get the bulkhead steady in place, so I've loosened it all off again and will have another go tomorrow evening.