Welcome to the Irish Mini Owners Club forum. Celebrating 30 years of the Irish Mini Owners Club, 60 years of the Mini, 50 years of the Clubman and 20 years of our flagship event MTM
Some goodies arrived thanks to Neil in Richmond Classic Car parts.
A neatly packed brake pipe set, very good to see each part labelled clearly and labels to show which end goes where. That will come in extremely useful when forming the bends, at least I can form it knowing which end is which.
Also a new kit for the 59d4, new HT leads and spark plugs and engine steady bolt kit.
Also received a new clutch slave cylinder, push rod and radiator bolts from Bull Mofit Spares. Plenty to keep me occupied, but first I need to have a shed tidy up!
Richmond is a godsend here in Ireland for a lot of parts that would otherwise have to come from the UK and therefore saving the added charges. I got ordered a parcel of bits and had it the next day.
Cant say fairer than that
That's the Lucas 59d4 distributor stripped down, body and internals cleaned, outside of main body given a quick coat of paint. New points, condenser, rotary arm and cap. Also new cap clips. Bolted on in roughly the correct position, hopefully good enough for an engine start soon.
Had sandblasted and painted a few parts during the week, but the paint seems to be taking too long to dry, so might blast the again then get them powder coated..
What Minis have you?: I owned a 1978 Mini 850 when I was in my late teens. I owned a 1986 Mini Chelsea that I imported from the UK. Also owned a 1982 MG Metro that was bored out to 1293. Restoring a 1981 Dublin Mini City.
I have a small powder coating setup in the garage. It works great for small items. The big things I have sent to Carlow Coating in Carlow. If you are going to get parts powder-coated, I wouldn't worry about media blasting them as the powder-coating company will have to do that anyway. The steel will start rusting in 24 hours after blasting if just left lying around.
Got the small bolt and spacer sorted for the clutch slave bracket. Old oil pump bolt with an old engine steady sleeve for the spacer. Had to add an extra washer as the bolt wasn't threaded enough.
Also made a start on cleaning up the grille that would have been the proper type for year of car. Layers and layers of hammerite that even the sandblaster struggled with. Left it in a sealed bag with plenty of paint stripper smeared over it to try and soften it. Decided to split the weather shield part to get better access to the back side. Slow progress but getting there.
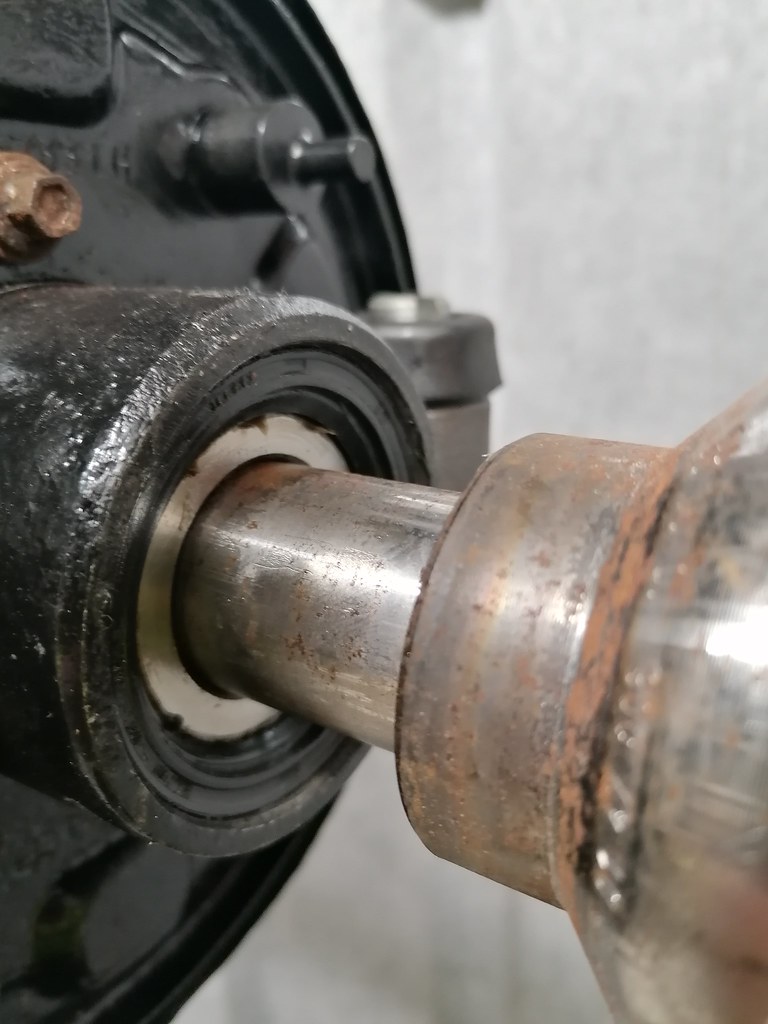
Been putting off doing the driveshafts for quite some time now, knowing how dirty and messy it would be, but got stuck into them today.
Done a quick assessment of each CV joint, outers seemed to move freely, inners felt a tiny bit stiff. Opening the inner boot first revealed the grease had turned to liquid on both of the inner joints, but once I had cleaned it up it looked fine.
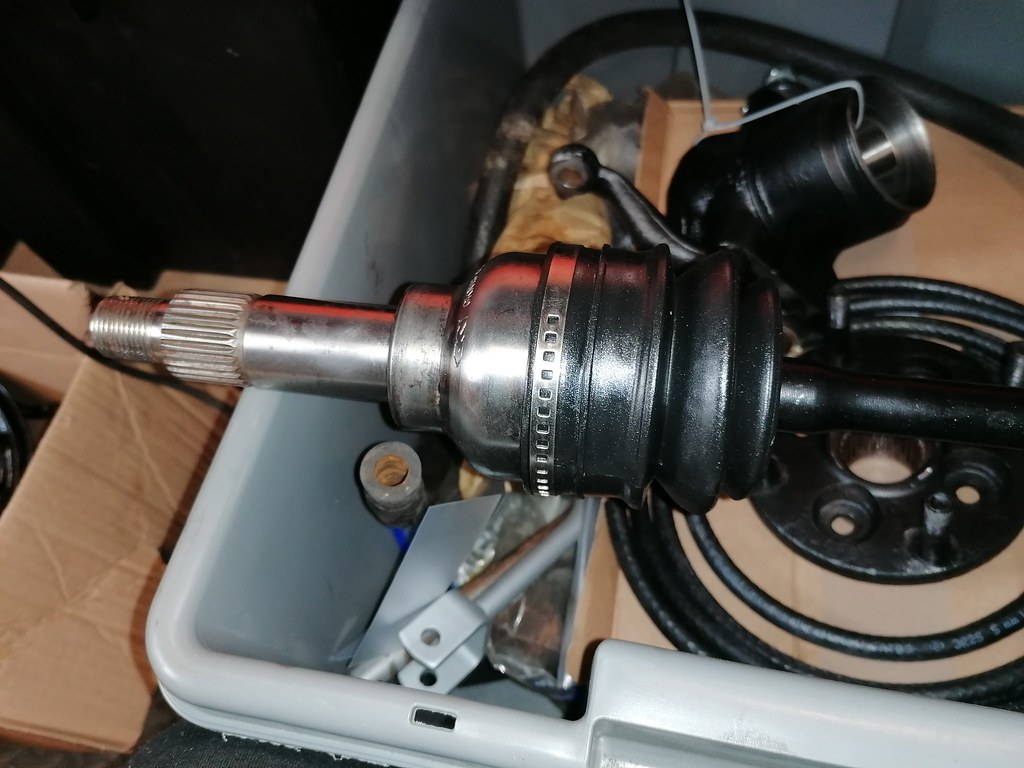
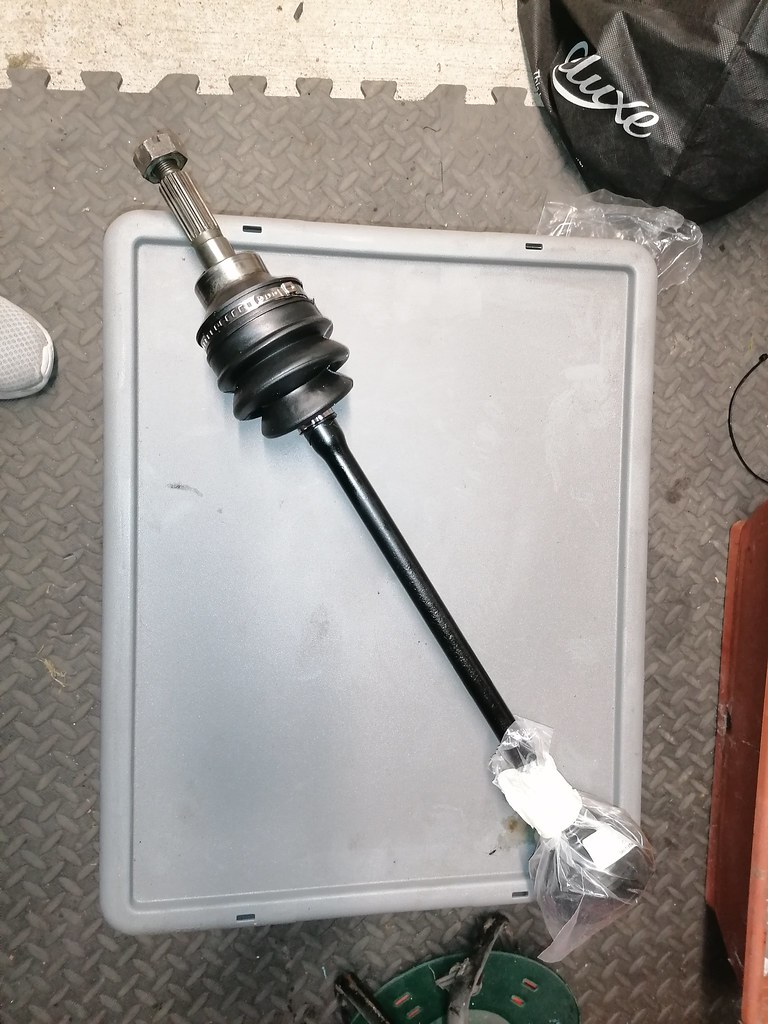
Cleaned out the outer joint too, painted the shafts and reassembled the shorter one first.
The longer one is cleaned, ready to be greased and reassembled.
Both pots cleaned and put onto the differential, this will allow me to get the engine oil filled and hopefully fired up soon.
Got the other driveshaft reassembled this evening, pot joint end wrapped in plastic bag for now.
Also filled the engine with some oil, nice leak from the rocker cover gasket, hadn't tightened up the rocker cover bolts enough..
Went to wire up the electronic oil pressure, but think I threw the gauge part of it out a few months ago it was pretty rusty and wasn't any particular make...
Managed to find a Smiths "GP" mechanical gauge and pipework, so will take off the sender unit and replace it with this then it will be time to crank it to see if I get oil pressure
My previous post didn't work for some reason.
If there is liquid in your CV it may be engine oil, there is a bung in the middle of the joint that sometimes leaks allowing engine oil to enter the CV joint
I'll have a look at them tomorrow, see if I can see anything...
The plan is to get it up and running for this year on front drums, then swap over to disks as a winter project, which would mean swapping driveshafts also, but if I can see any leakage at the moment, it may be worth doing the conversion now before it's all back in the car.
Would it be better to change to the thicker driveshafts or are the standard drum skinnier ones sufficient for a 998?
Reading some posts by Spider on TMF, he says it's possible to knock out the plug from pot and reseal it with loctite, so I think I will do that as engine is only half filled with oil, so could tilt it forward to drain it away from diff.
The pot joints had the oil seal O ring, so they may have been the original boots (nearly 40yrs) and metal bands, would the grease have broken down the thickener to become runny if still original or would it have solidified?
Got the oil pressure capillary pipe onto the engine and gauge, cranked over with a "fully charged" battery, one I had bought just after I got the mini, managed a few rotations before it ran out of power.
Stuck it on charge, but charger only charges it for a while the goes into maintenance mode, so think the battery is goosed!
Took the battery out of my daily driver and cranked it a few more times, oil started to flow up the capillary pipe eventually and was reading 55psi. Think that's good enough pressure to allow to go for a engine start.
Gotta figure out how to wire up coil ballast etc, attach exhaust and radiator before I can go any further...
55 psi is good pressure for cranking speed.
Only the early driveshaft came in narrow and wide, all pot joint shafts are the same except after market items.
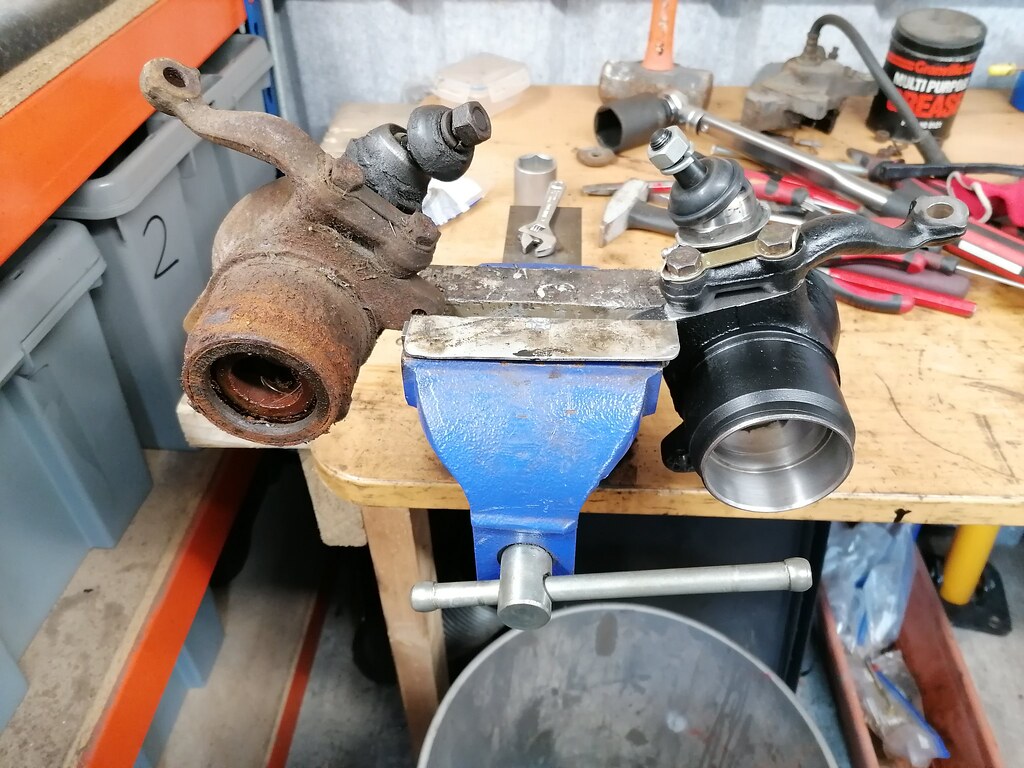
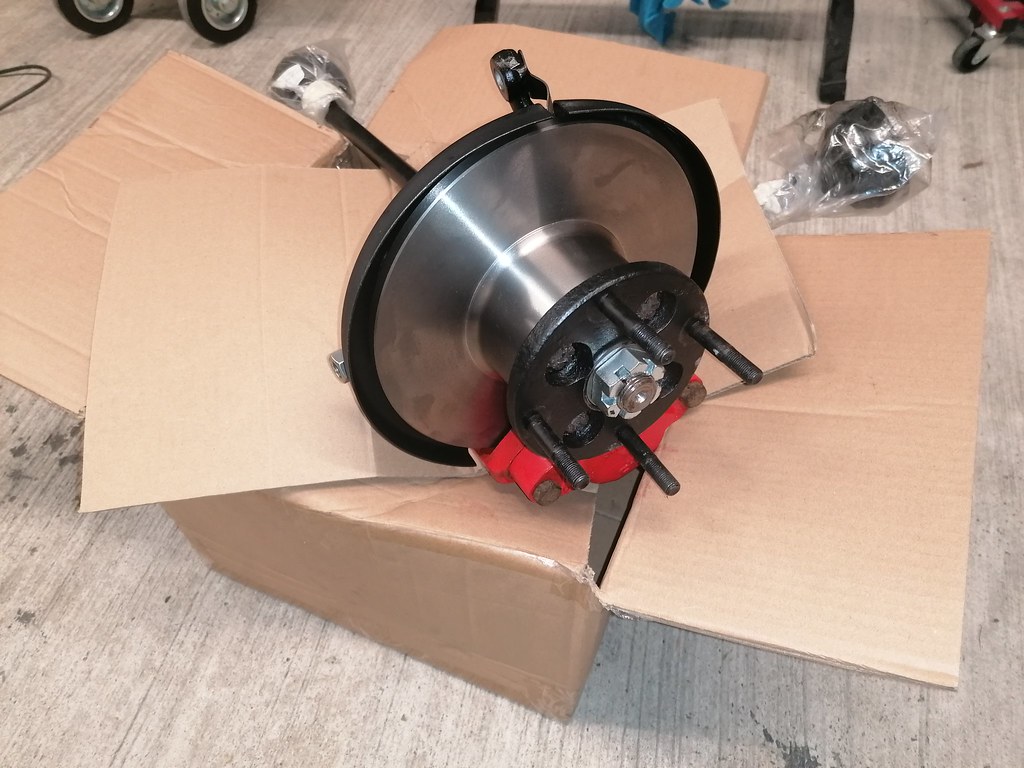
Picked up a set of 8.4" disc brakes from Woody during the week, have a pair of new GKN cv joints and can reuse the new bearings and ball joints from the drum hubs if I remove them carefully. Then CV boot should be usable as they're the universal drum/disc.
Stripped them down and started cleaning everything up. I'll need new discs and pads as old discs were 8.3mm so under the safe limit. New caliper pistons and seals and they should be good to go.
Attached the radiator and exhaust to the engine today, wired in an old coil and added some fuel to a jam jar. Cranked it over to verify oil pressure and spark, then gave it a go for starting. No joy, checked timing, 180deg out, tried again, no joy.
Took off float chamber cap and added some fuel, then used gravity feed for fuel rather than fuel pump. It started then cut out 5 seconds later. It would only start on full choke but only for a few seconds at a time. Not sure timing is 100% correct or if the carb mixture is right.
Also have a small water leak from thermostat housing studs, bit of an oil leak at the oil pickup banjo bolt.
Some research to be done on getting carb and timing set correctly....
What Minis have you?: I owned a 1978 Mini 850 when I was in my late teens. I owned a 1986 Mini Chelsea that I imported from the UK. Also owned a 1982 MG Metro that was bored out to 1293. Restoring a 1981 Dublin Mini City.
Took me a while to get mine going too. I needed the full choke too. It’s good that you can solve all these issues while the engine is out of the car. I have a video up on YouTube with the first start of my rebuilt engine.
Maybe I'm missing something here, but measurements are identical. Old Timken bearing that came out of the 8.4" disc hub is the same inner diameter as the new non-genuine minispares tapered bearing that I have in the drum hum.
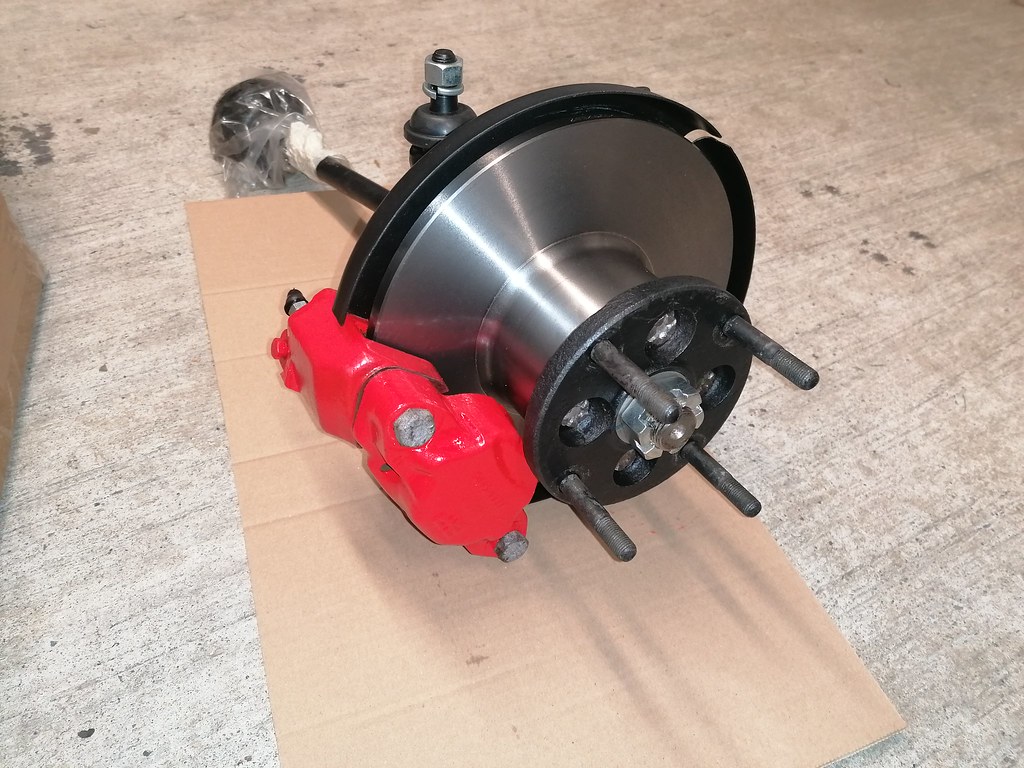
Nice bit of progress on the hub rebuild, one side fully cleaned and rebuilt apart from bearings. Couldn't get the seals out of the hub without destroying the spring inside it, but was worth a shot. A final layer of paint applied to the caliper, need to order the rebuild kit for these soon.
Swapped the longer studs from drum drive flange to disc one, then set about swapping CV joints. Opened the 1st one and found 2 plastic cable ties hidden inside, must have been in the ribs of the boot!
CV cleaned, greased and new clip to hold boot on.
Bearings put into disc hub, held in place with a cable tie for now.
Other side finished up this evening, almost forgot the spacer between bearing and inner dust seal!
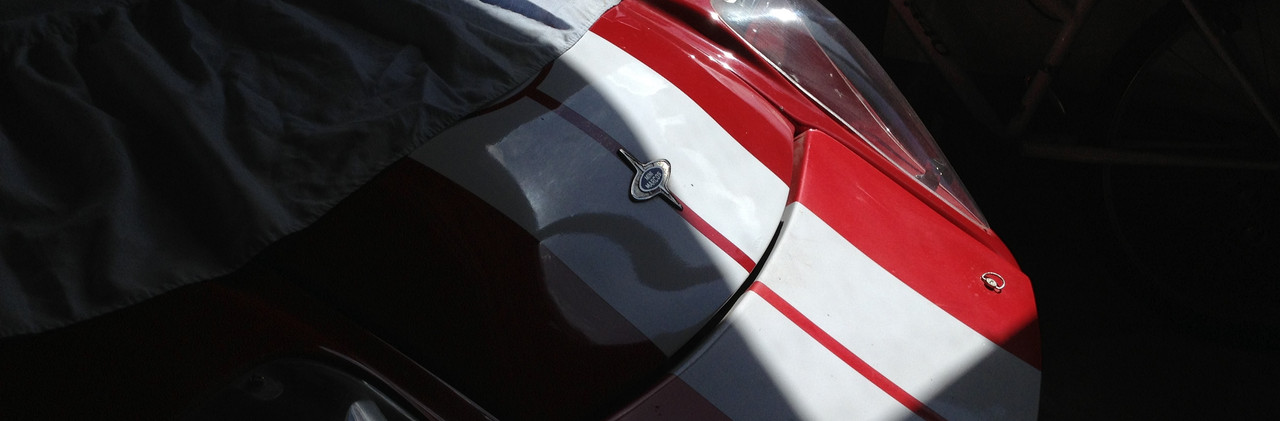
Tried some meguires plastic rx on the rear lenses, pretty impressed...
Still some scratches in it, but much shinier now. I know I could wet sand them, but it would be easy to accidentally damage the numbers or Leyland badge, so I'm happy enough to leave it as it is.
Item #2 on this, their marked as NLA and No longer required
2 21A1307 Spacer, 0.229” 5.81mm seal to inner bearing Cooper ‘S’ and 8.4” disc assembly 2 No longer required. N.L.A.
It was in the hubs with old bearings so just put it back in with new bearings. Wouldn't have made a difference as I think it was just to stop the seal going in too far
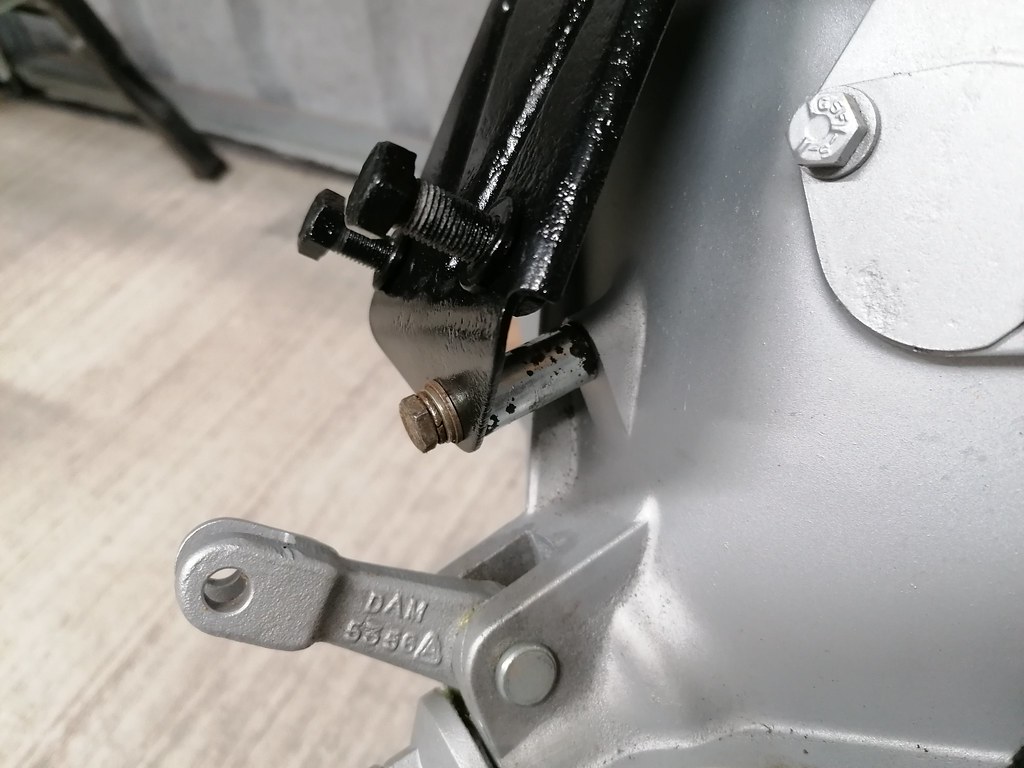
A few minor jobs done today, exhaust hanger bracket put onto the side diff cover.
Then torqued down the new clutch slave cylinder and bracket...
And some bolts and bushes for the radiator cowl, just need to sort some bolts for the top radiator bracket
Also put a new gasket on the thermostat housing, had a leak from this area and think the gasket was installed in the wrong orientation plus didn't have any gasket sealant on it...


 it was pretty rusty and wasn't any particular make...


 [/url]