
Polyurethane adhesive on the back of printed parts, should be more than strong enough.

Then added some industrial weights. Let it set overnight.
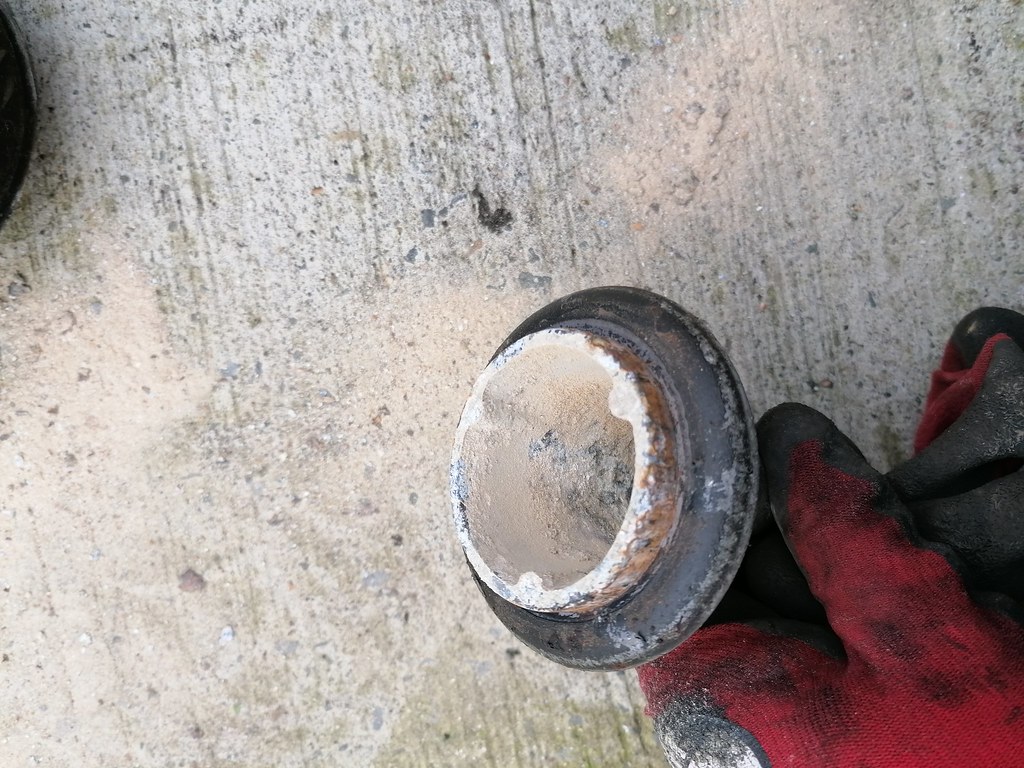
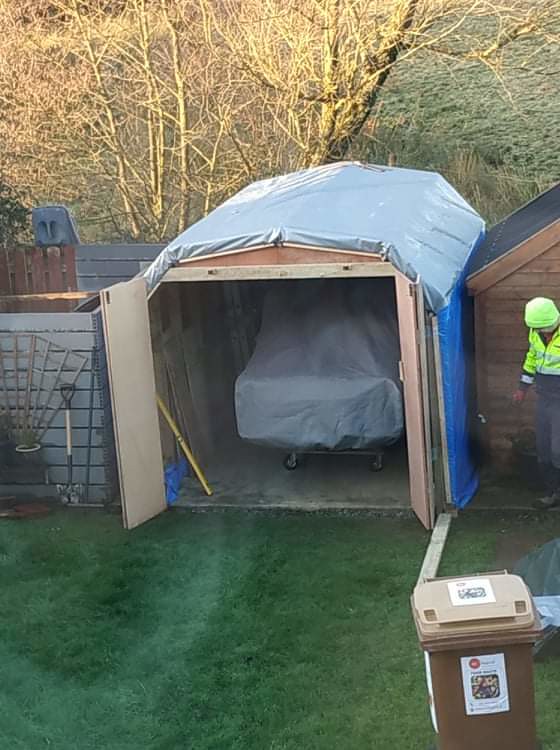
A nice, relatively clean job to do at kitchen table rather than in a cold, breezy garden shed...

Moderators: spud1979, The Marcos Graveyard, Moderators


Hi Colin,
Thanks ctwomey! Hope it will be worth all the effort once I get to drive it!ctwomey wrote: ↑Mon Nov 16, 2020 5:39 pmHi Colin,
Great work by the way.
From my own research, the 99H791PZ engine is one of the very first A+ Blocks (99H791P being the last of the A Blocks). It should have a coolant drain on the back. Usually mated with the DAM 2886 gearbox. This is what I would expect for an '80-'81 Mini 1000 and possibly up to '83.
The 99H997P is a much higher CR A+ engine with flat top pistons and an economically final drive (2.95). It would be interesting to see if the main cap is center locating tab or to one side, that would help even further. Given the engine numbers are identical except for the prefix, seems like too much of a coincidence to me. Is it verto or non-verto? Also what is the gearbox casing number?
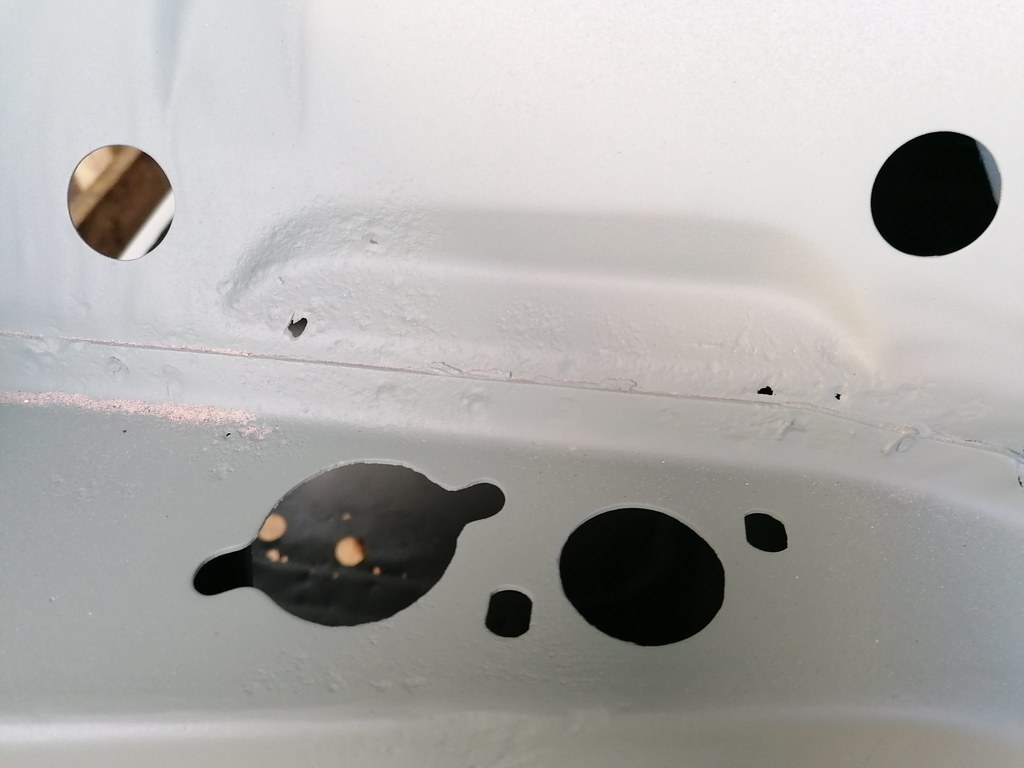
The main cap is the crankshaft main bearing caps. Older engines had the slot to hold in the bearing to the side of the cap. Later ones have the slot in the center of the cap and are considered stronger.


No doesn't match any of those numbers...strange
Yes, I have to learn to take my time, finish one job at a time, I've a very very bad habit of starting one thing and moving onto the next thing, before getting half way through the first thing!ctwomey wrote: ↑Sun Nov 29, 2020 9:08 pm Colin,
You have your work cut out for you there. All I can say is slow and steady taking your time.
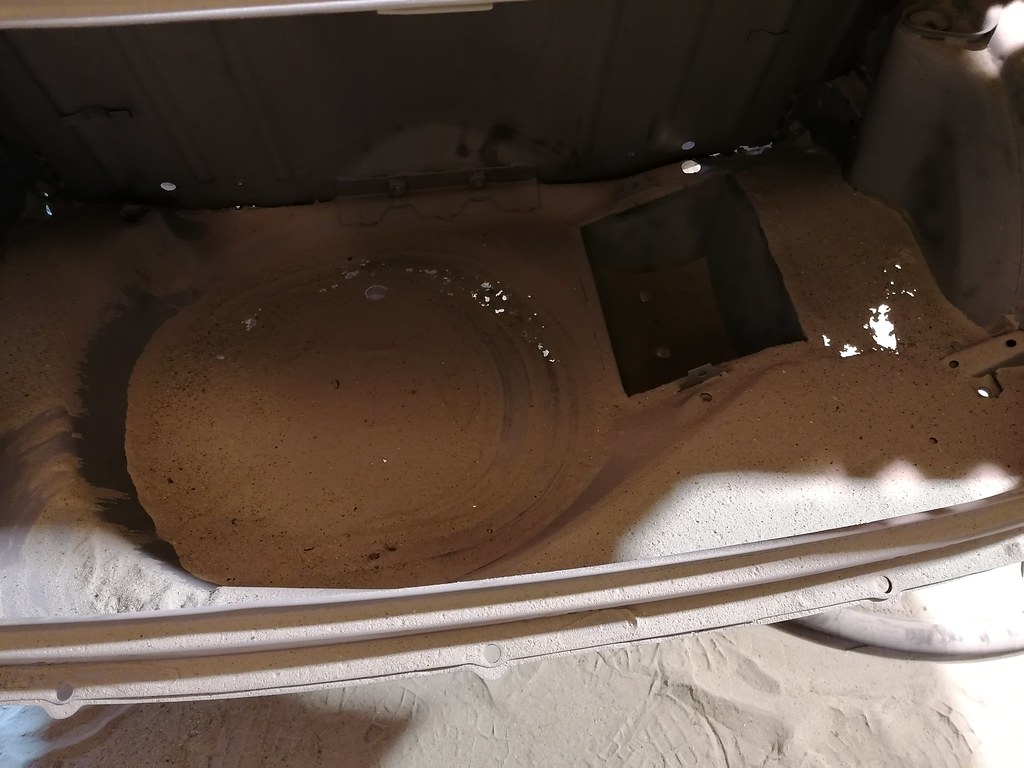
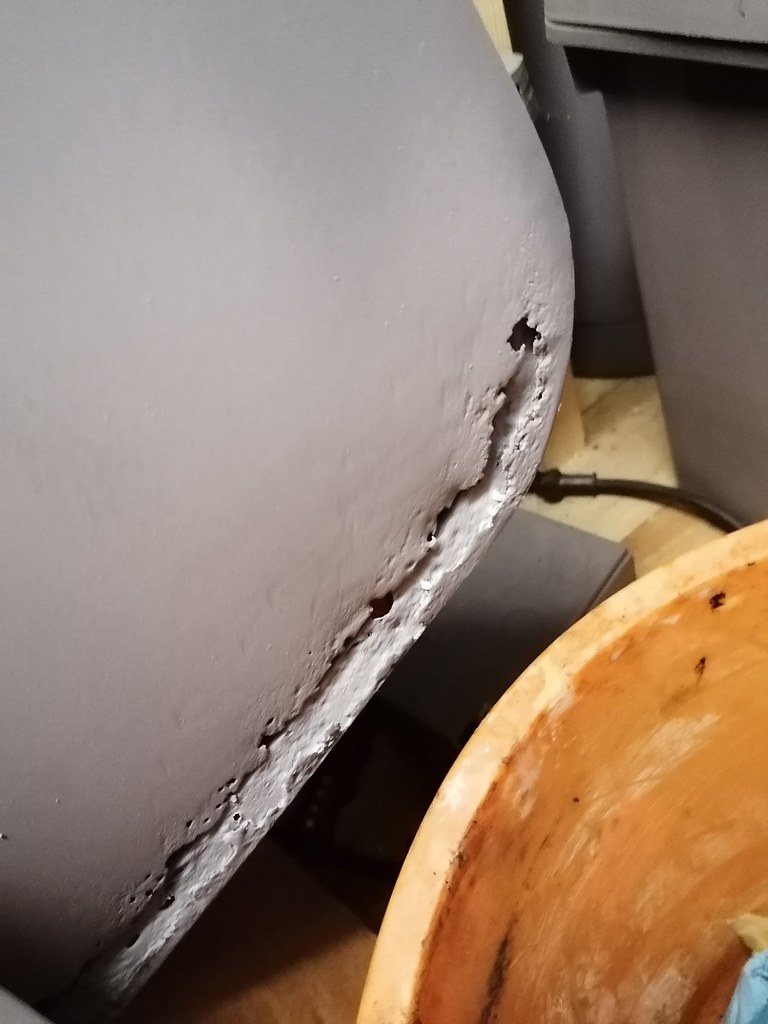
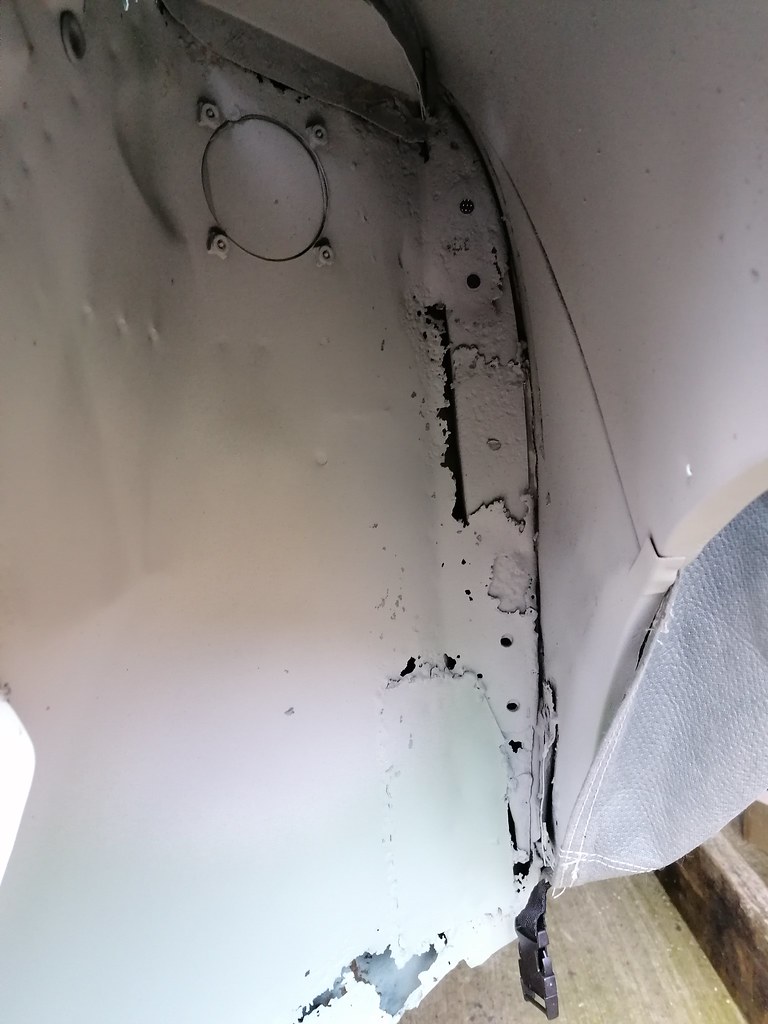
You will need quite a few panels. I hope that after the UK complete leaving the EU there is some arrangement on goods that is not too punitive. Imagine trying to import some of these parts from a non-EU country like the USA - a nightmare.


The problem with the Clarke is it only has four voltage settings. An Inverter MIG welder would have a variable voltage that would offer better control on settings that will be required for body panels. Yes, the R-Tech MIG 180 is more expensive (+ €150 ish) but it has variable voltage, euro torch connector, support for MMA and a really good regulator and is built using Siemens chips in the UK.

Users browsing this forum: No registered users and 2 guests

