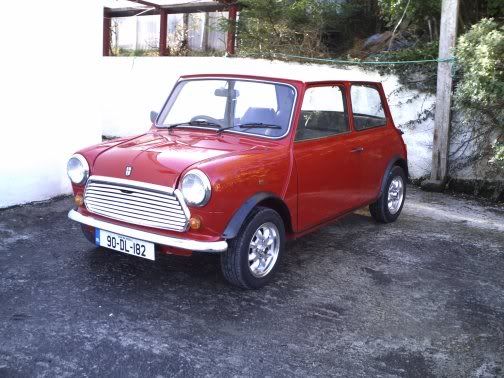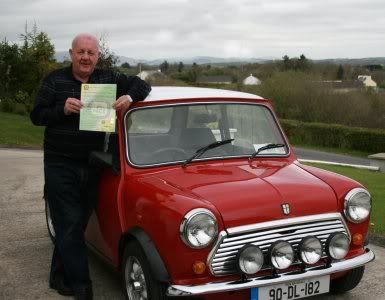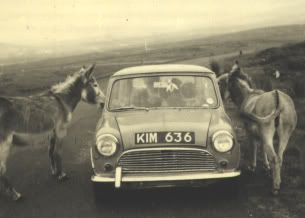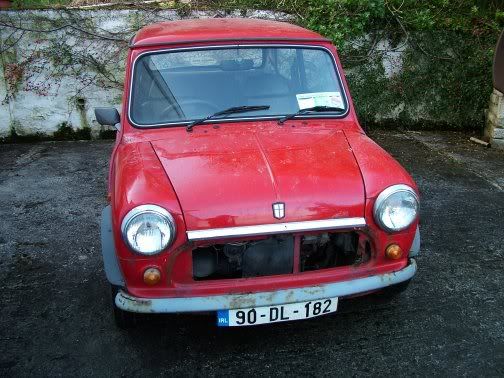
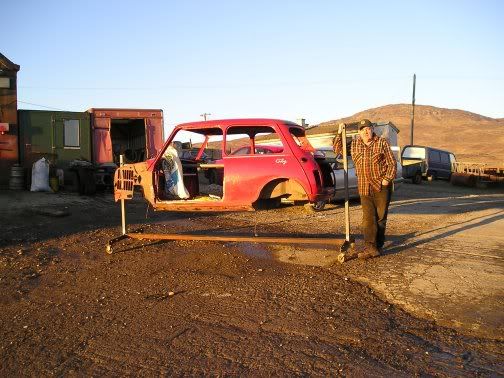
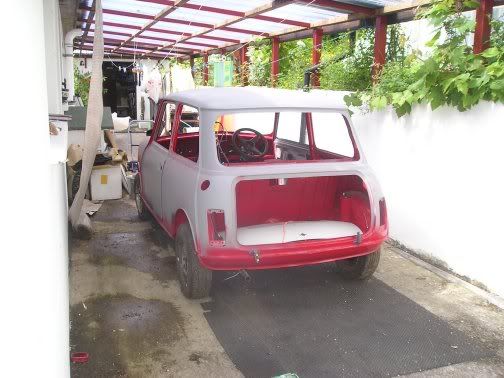
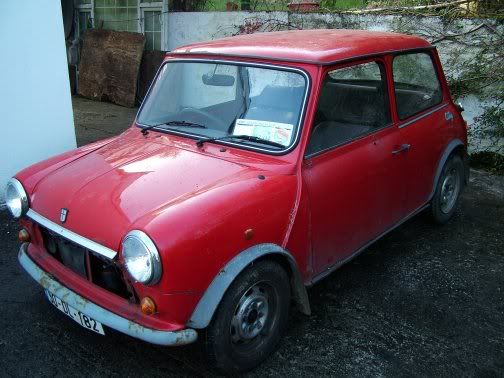
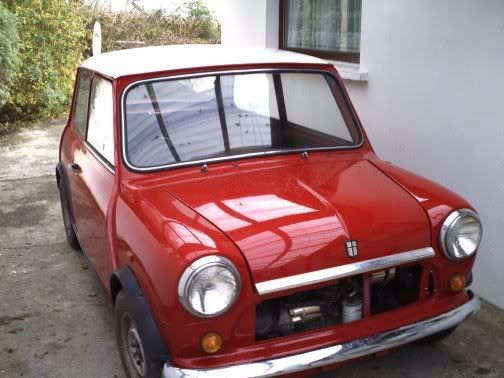
Maggie as I got her.
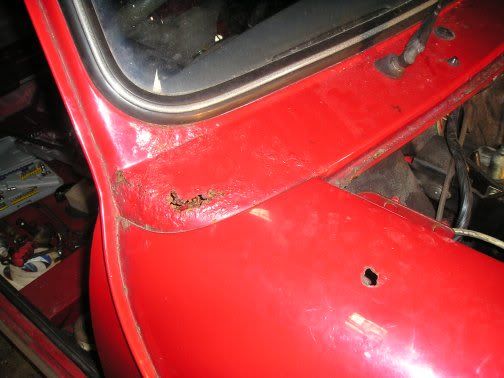
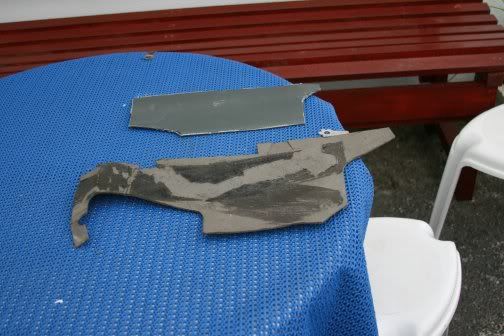
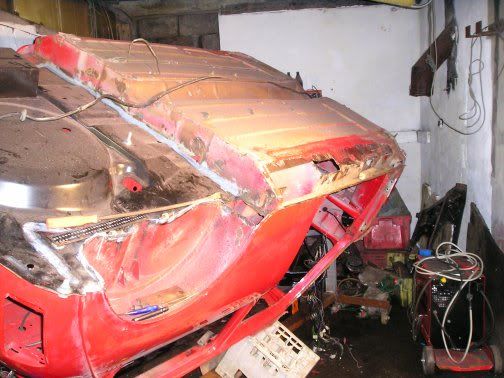
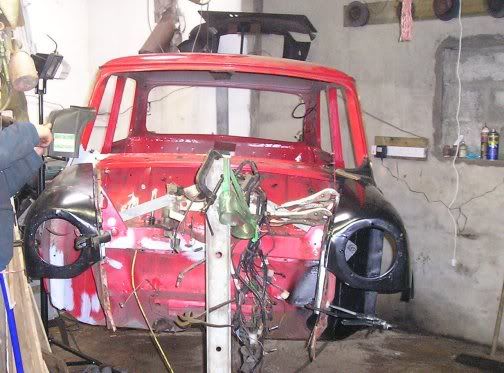
Discovering rust
rust
rust
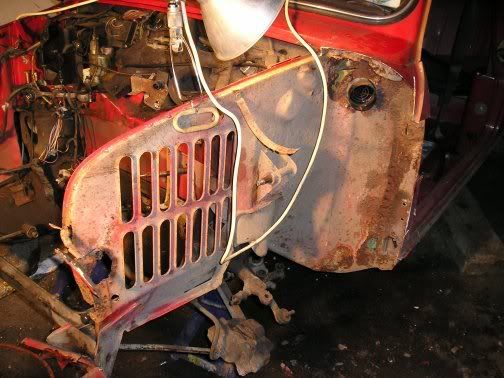
and more rust
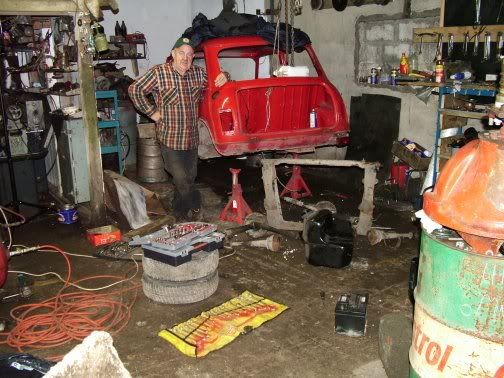
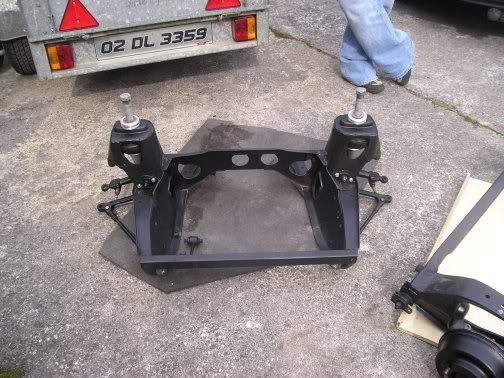
How many Mini bits can you find on the floor?
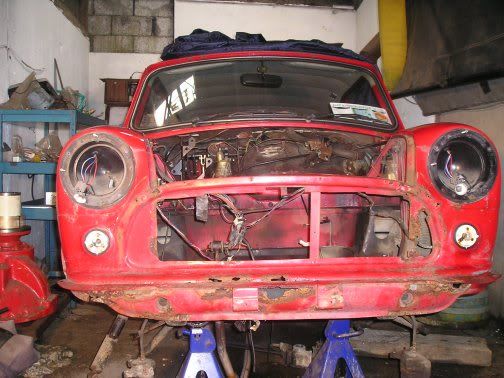
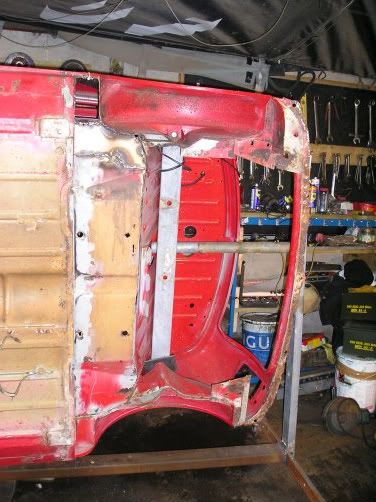
Maggie on a spit
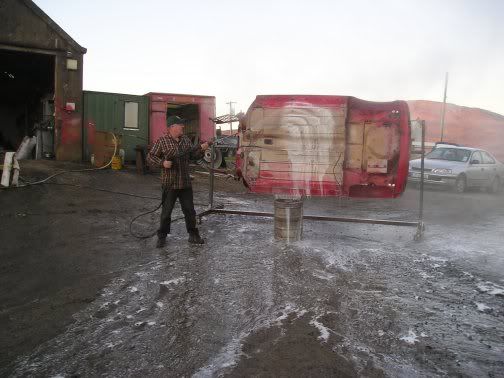
Maggie gets a hot wash
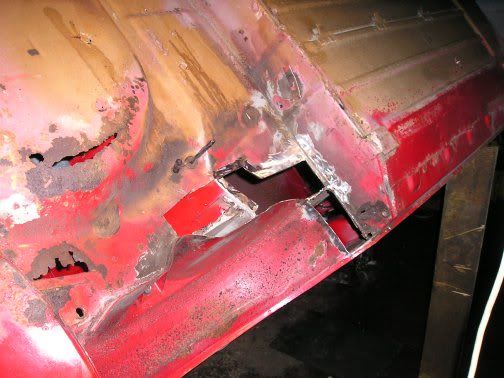
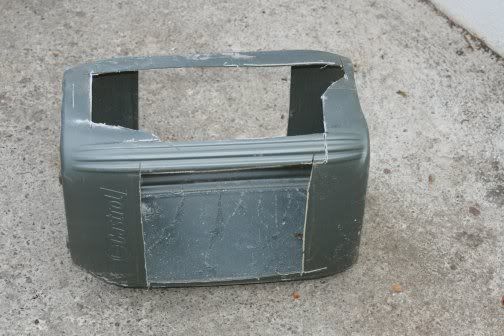
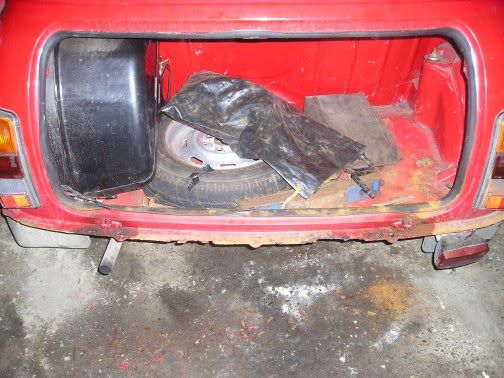
Boot floor doesn't look good
Boot floor removed
Fitting a new boot floor
Boot floor fitted
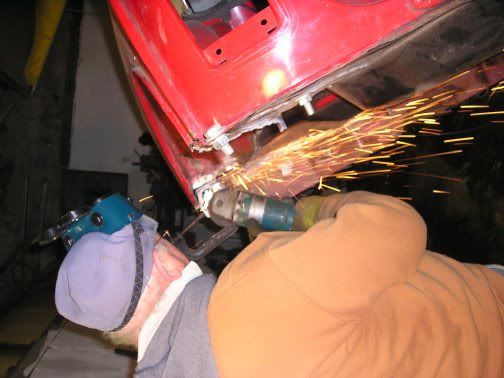
Grinding
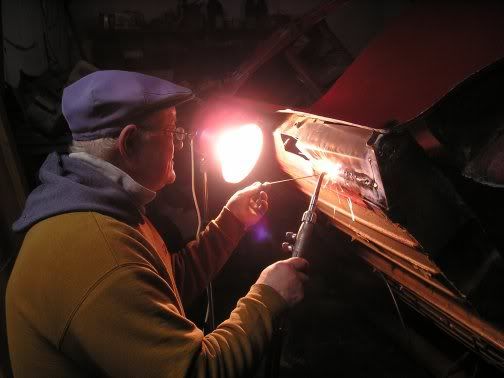
Welding
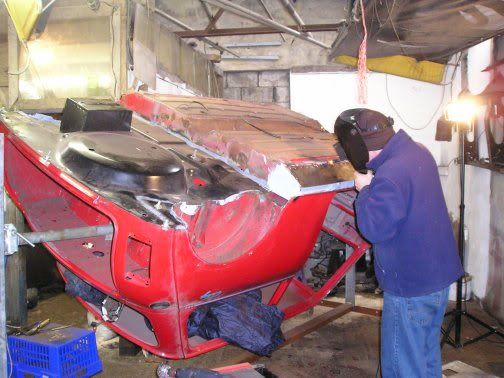
Patching

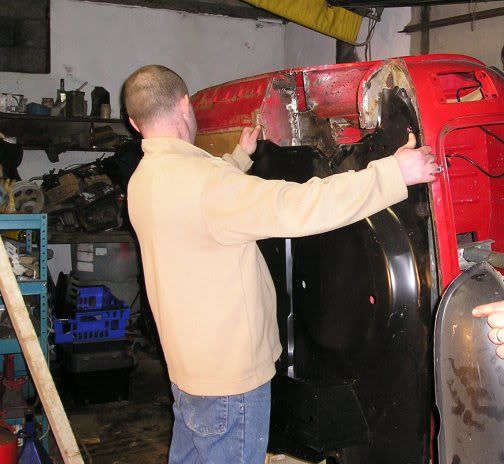
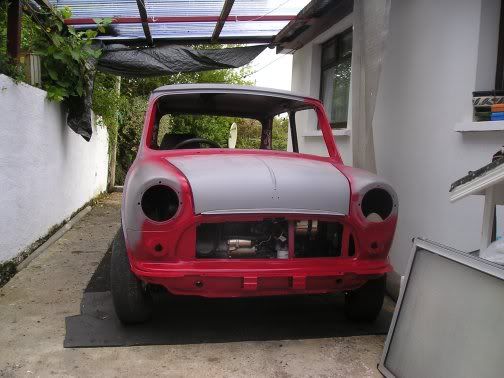
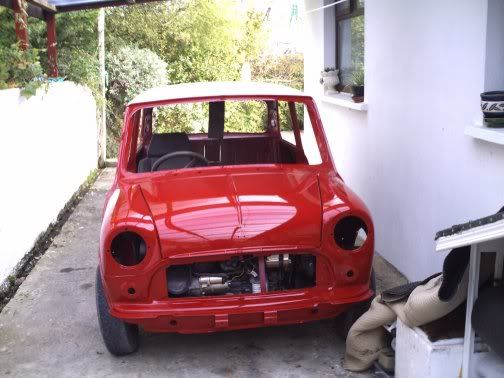
Left wing fitted
Right wing fitted
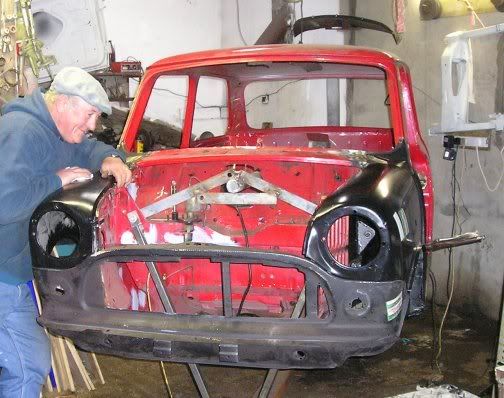
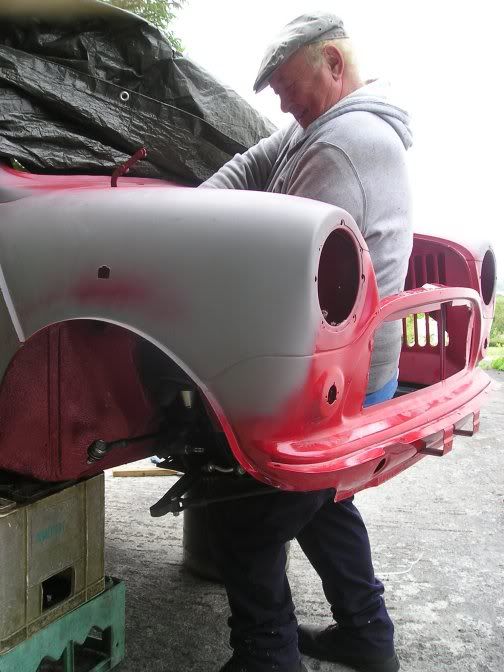
Front panel fitted and Tommy my engineer looks happy.
In September 2006 while salmon fishing on the local river I slipped down the river bank. My left leg got caught in something and I felt some pain in my left knee. The pain continued and after Christmas I finally went to a doctor. I ended up having surgery to sort out a torn cartilage. It is not possible to work at a Mini without good knees so the project was put on hold. I finally handed the Mini over to professionals (Nigel McHugh of Ardara) to finish the body work. They did a fantastic job.
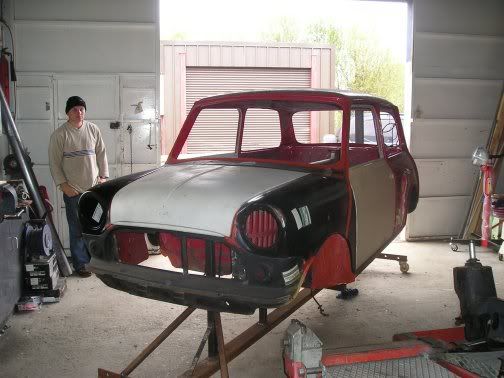
Sometime before Christmas 2009 Maggie was brought to my next-door neighbour, Seoirse Gallagher, for spraying, undersealing etc. Everything except the final coat. Again a great job. Maggie spent Christmas and New Year in his workshop.
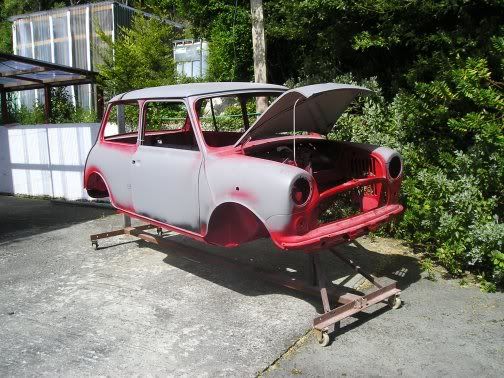
With spring (2010) came dry, sunny weather and so I was able to work outside.
Subframes were shot blasted and sprayed.
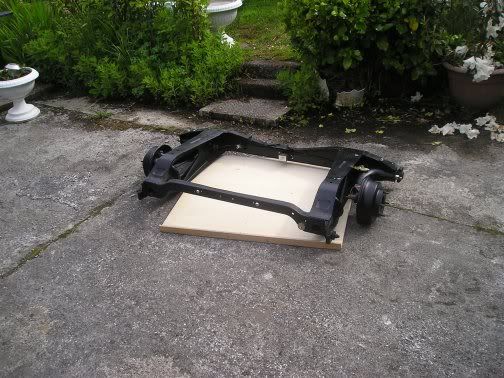
Then I began wire-brushing and spraying all the other bits that go on to the subframes.
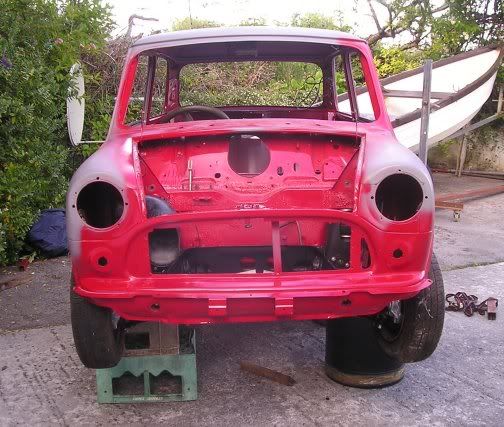
Maggie was rolled over and had rear subframe fitted with a little difficulty.

Some holes seem to have moved during the body work but my engineer/mechanic Tommy sorted that one out with ease.
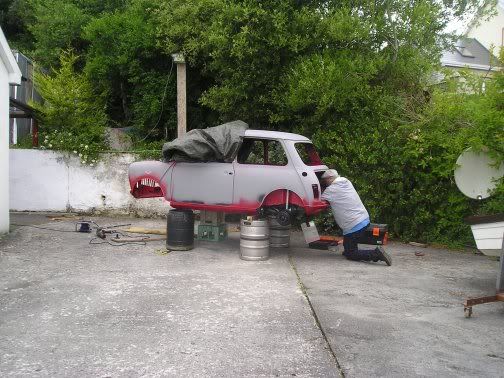
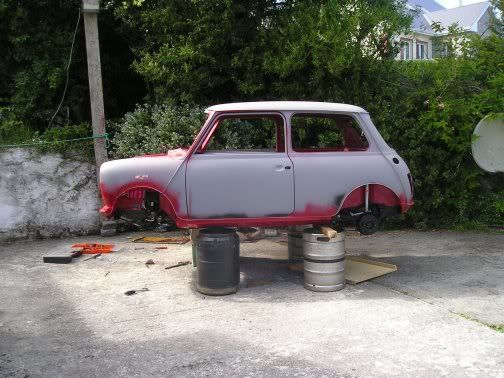
Then Maggie was taken off the spit after 5 years and placed on beer barrels.
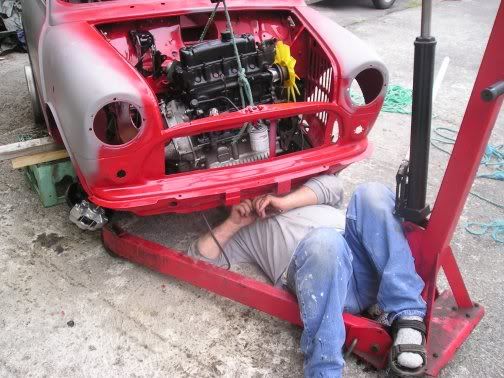
Not having a jack to lift the subframe was no problem. Positioning it under the engine-bay, Tommy stepped into it and lifted it into place while I screwed in the tower bolts.
Then began the wrestling match. The tear-drops almost brought tears. No way did they want to line up with their respective screw-holes. We almost had to resort to crowbars and slegehammers. But, we finally won the the battle.
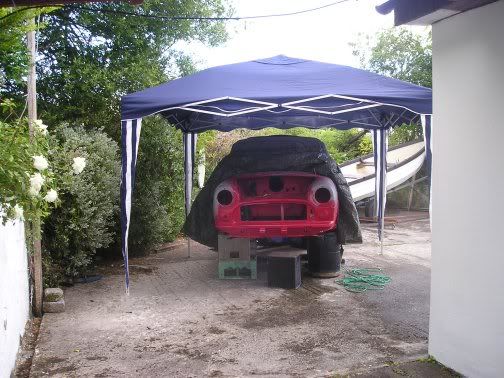
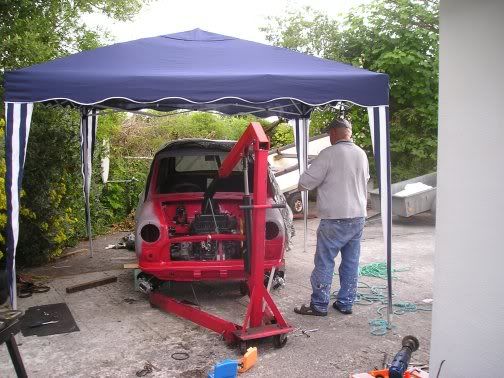
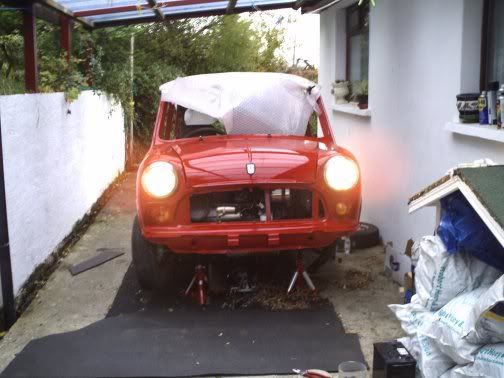
As we're working outside we decided we need an 'umbrella' for Maggie to protect her during showers. She is well wrapped up every night but during the day while working at her an 'umbrella' is the thing.
Another day spent at Maggie. Added bits and pieces here and there. 4 wheels back on. How ugly they look, those old wheels.

But a little problem has to be dealt with. Maggie's 2 front wheels are pointing in different directions. My engineer, Tommy, says it's easily remedied.
What is this below? I believe it is a Chineese Puzzle!!
And what is this below?
I know................... it is a lot of trouble!!
A week or more has passed since my last upload. I've been busy gathering bits 'n pieces, cleaning and spraying. Then today (28th June 2010) my mechanic/engineer, Tommy, arrived and we did a huge day's work.
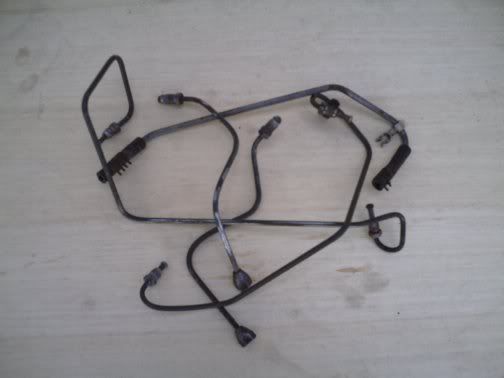
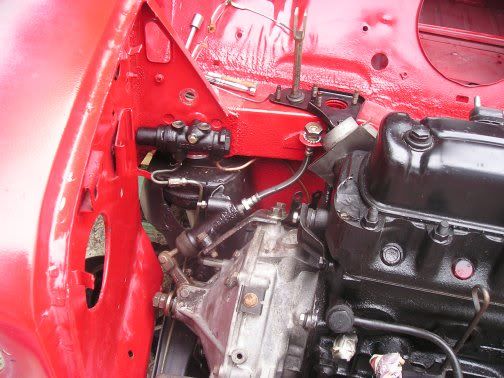
Below - finishing the copper brake pipes.
Connecting pipes to Pressure Reducing Valve.
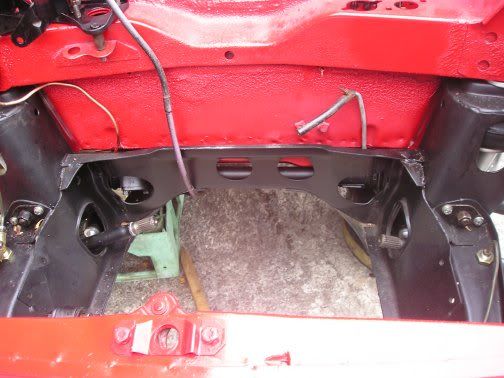
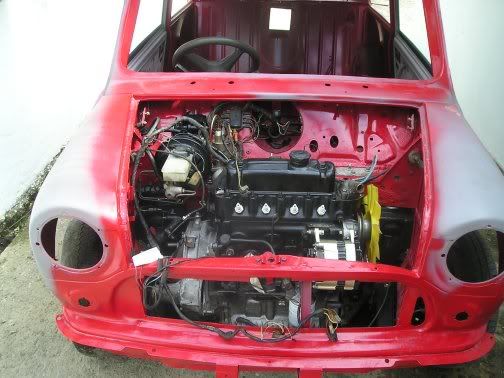
Engine-bay ready for engine (battery cable seen here at back of engine-bay was clipped around the subframe to starter location.
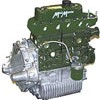
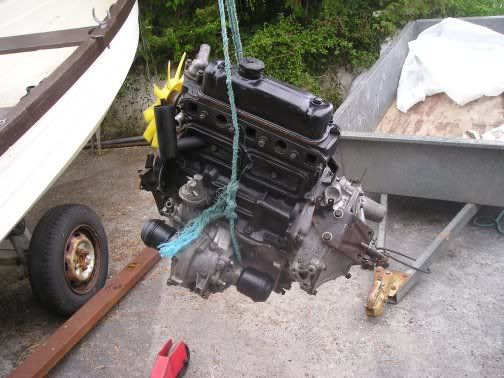
Engine lifted from trailer.
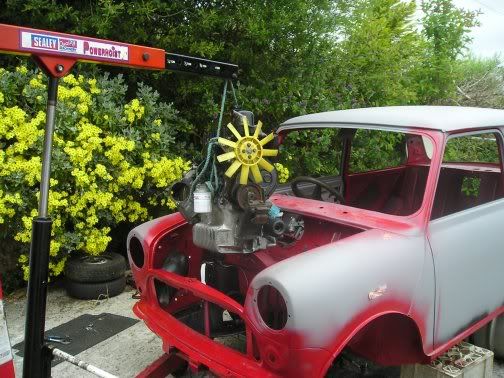
Maggie had to be lowered and engine tied tight to the hoist in order to clear the front panel.
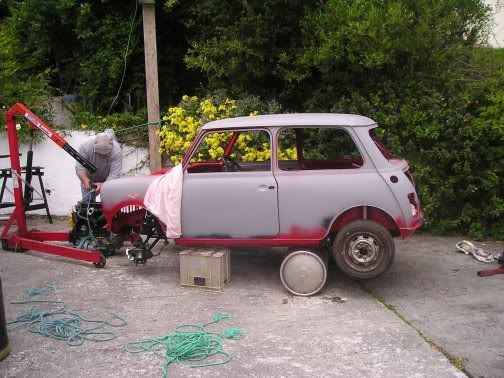
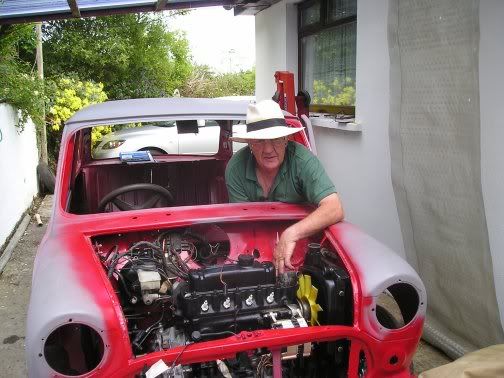
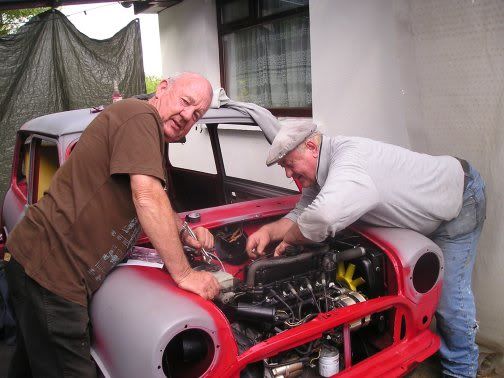
Maggie gets a 'heart transplant'
Tommy gets doing all the 'donkey work' while I take photos.
Everything worked well, thanks to all the planning and preparation.
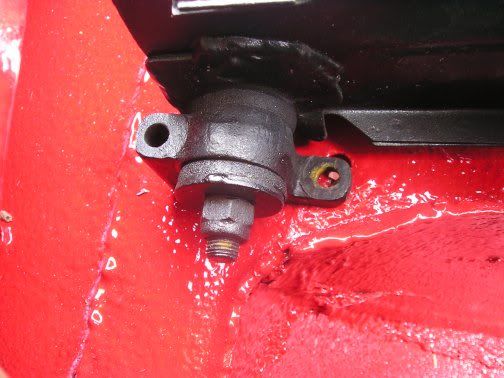
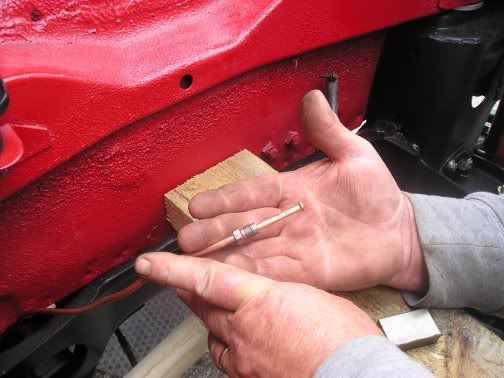
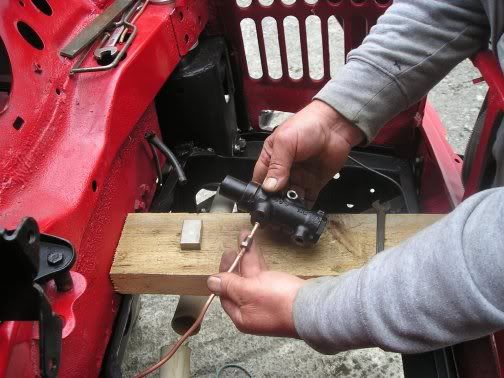
Slave cylinder fitted
Brake servo fitted

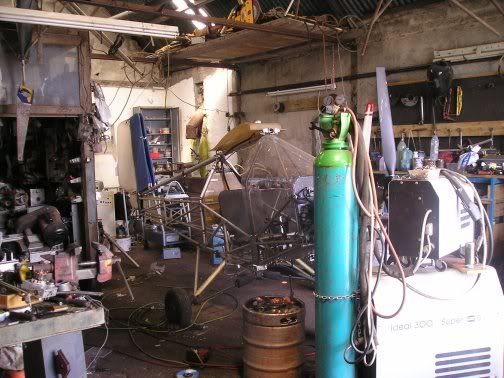
Back to Tom's shed to do little jobs, fix a hole on the exhaust, remove a sheared bolt from the rad, and a few other minor bits. Tom's shed has become no tidier that when 'Maggie' was being stripped there 5 years ago. Where 'Maggie' once stood is now a small aircraft awaiting attention. In another shed is a half-built helicoptor - 'Choppy'
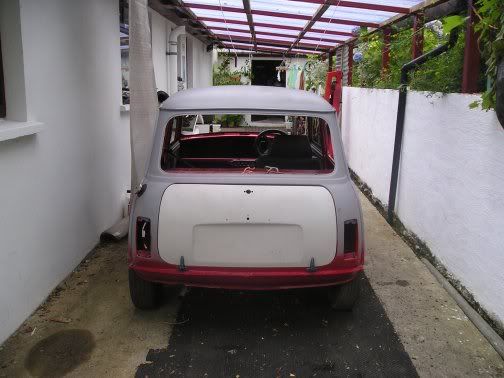
As the weather has been unsettled during the last week I decided to move 'Maggie' in under the car-port. So Maggie is back on 'all fours' and under shelter. If good weather returns it's easy to move her out where there is more space.
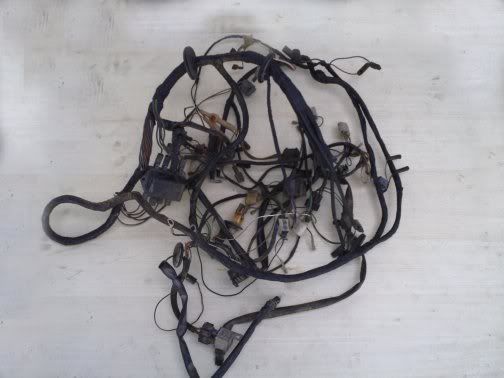
My biggest job at present is figuring out the loom - what goes where.

With no glass, access is easier. Here fitting the collar that holds exhaust pipe to the manifold.
Day after day, hour after hour, fitting, unfitting, refitting. If only I knew what to do and how to do it I would have alot more done. Then I met some setbacks. Having fitted the clutch master and slave cylinders I filled the former with fluid and with Tommie's help began to 'bleed'. But it didn't work. Took off the cylinder, discovered the bit that moves up and down (I don't know the right name, plunger or piston, maybe) had seized during the 5 years it had been lying around idle. Had to resort to one of my suppliers, Mervyn Johnston (a legend in Irish rallying) who supplied me with new rubbers and washers. Then all worked fine.
Also had problems with the manifold. When I came to fit the servo pipe I realised there was no-where to fit it. Again off to Mervyn who gave me a replacement with the hole for the servo pipe. Having fitted that manifold discovered it was too large for the exhaust pipe and the collar which hold the two together. Back to Mervyn who drilled a hole it the first one which is now fitted and working happily.
My other supplier is another legend in autotest driving - Ken Irwen. Both have a vast knowlege of Minis.
Eventually came to the stage where we felt the engine could be started but try as we may nothing would happen. The problem seemed to be in the firing order. Yes, we tried the standard Mini firing order, checked every book. phoned a friend, tried all sorts of combinations, tried different distributor caps. Finally after 7 hours (over 2 days) Tommy brought a distributor cap from an old Morris Minor engine which he uses to drive a lathe. We put on the leads as they were on the Morris engine. No good. Swapped the two end leads and she 'coughed' as if running on 2 pistons. Swapped the 2 middle leads and she started and runs beautifully. (Note the fan ) We are puzzled.

It is now the 5th August 2010 and much has happened since my last post, though there's little to photograph. It seems to be always 3 steps forward and 2 steps back and sometimes even, 3 steps back.
When we tried to bleed the brakes the piston in the master cylinder wouldn't work. So it was off to my supplier, Mervyn Johnston who managed to get a 'kit' (rubbers, washers etc.) from somewhere in England and sorted my problem. Mind you I haven't bled the brakes yet.

Decided to fit the throttle cable only to discover the sleeve was missing. Eventuall ordered and received a new cable.

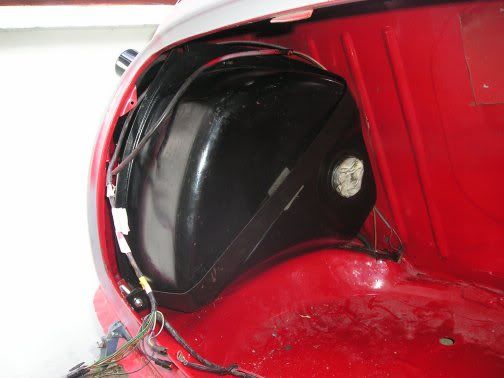
Fitted the fuel tank. Loads of problems. Because I had fitted a new boot floor the bracket for holding the strap was missing. Thankfully I had kept that part of the old boot floor and so was able to re-use the bracket. Now because it was a new boot floor it had an elongated hole between the fuel tank and the back seat. It puzzled me until I 'phoned a friend' who told me that it was meant for the later Minis with fuel injection. He advised me to make a plate with two suitable holes (one for the fuel line and one for the breather pipe). As always that took ages. Finall I got the tank fitted, poured in a gallon of petrol, started the engine and everything worked perfectly.
Next I noticed my radiator leaking. Again it was off to Mervyn who soldered a joint at the bottom. I refitted it and problem solved.
Then I decided to fit the speedo cable only to find out that I should have done so before the engine was fitted. To do it now would'nt be easy. The radiator had to come out, a job, by now, I was getting used to. Only problem, water, water everywhere. Fitted the cable but it took about an hour to stop the pipe joints from leaking.
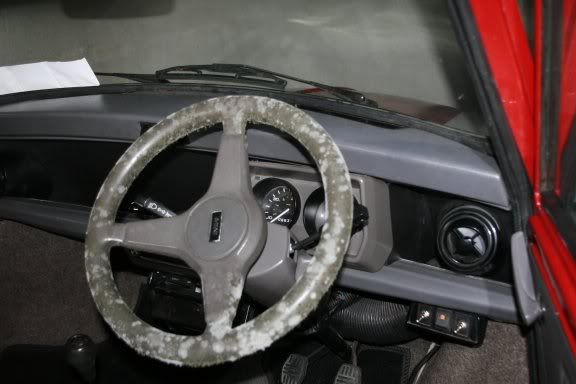
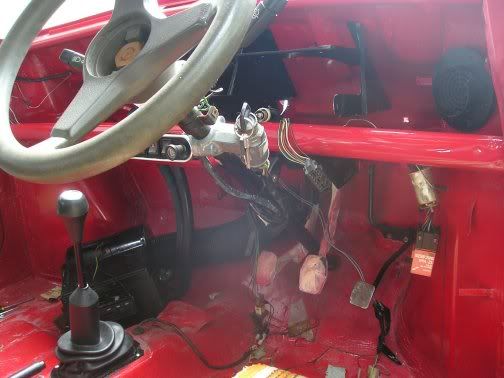
My big problem at present is all these cables hanging under the dash; where do the go? And would anyone happen to have a spare boss to suit the centre of my steering wheel?
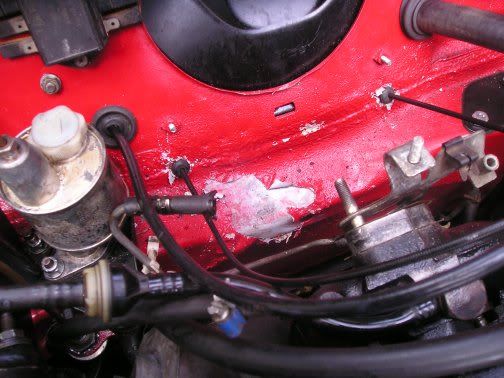
Tom and I spent a few hours bleeding the brakes. Nothing worked for a long time and then everything began to work. Good brakes now. Then decided to tune the carb. Noticed petrol dripping from the bottom of the carb. removed carb to investigate. Noticed paint pealing off the bulkhead where the petrol had dripped.
Spent an hour at the carb. Finally discovered a rubber gland (no. 44 in the Hayne's manual) had perished while lying about over the last 5 years. Another run to Mervyn today.
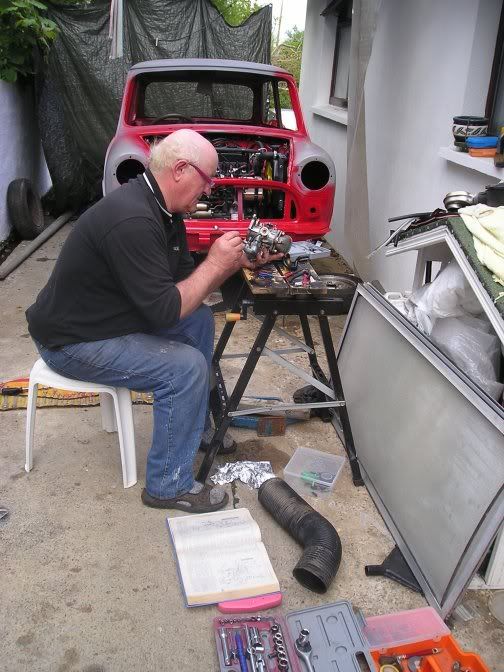
Below: Tom studies the carb. How many Mini bits can you spot lying about?
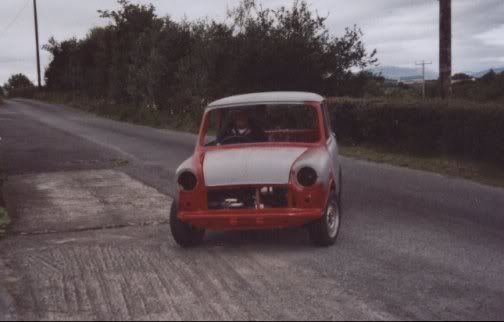
A quick run to Mervyn and the carb was sorted. Fitted it and Maggie started up nicely. Then decided to drive around the house. Another set back - no reverse gear. I had 5 forward gears but no reverse. To make a very long story short - we discovered the rod (don't know the reight word for it) connecting the gear shift with the gear box was upside down. So jacked up the car removed rolling pin (with difficulty) and revolved the connecting rod. Yes - it worked. And today for the first time in 5 years I drove Maggie up and down the road. Tomorrow Maggie goes for her final coat of paint.
Yes, at long last Maggie is 'drivable' (if there's such a word). Tom drove her up and down the road. Now she is ready to go for her final coat of paint.
After my last post, Maggie was moved to Seoirse's next door for spraying. Weeks have past and nothing has happened until the last few days. At last Maggie has a fresh coat of paint. One more coat and she will be back home. Then begins the job of replacing lights, bumpers, interior etc.
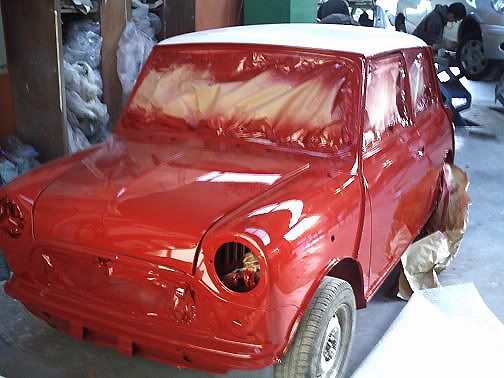
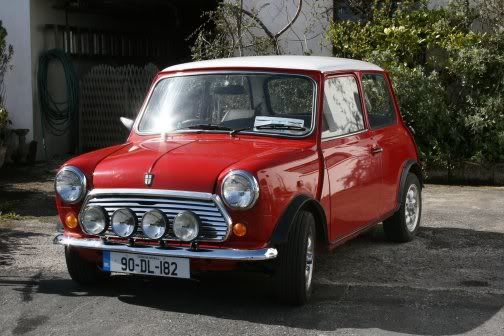
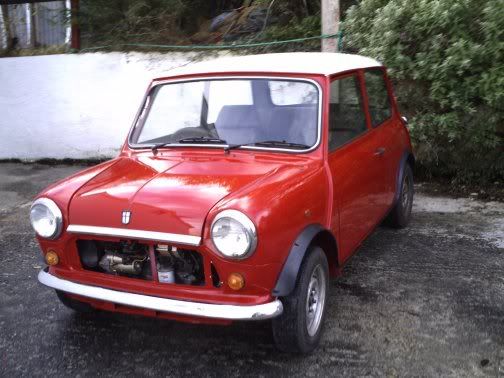
And at last Maggie has her final coat and is back at my back door.
Maggie was then transported to Mervyn Johnston to have the engine tuned, wheels aligned, lights focused, roof lining and all glass fitted.
Below: the old and the new
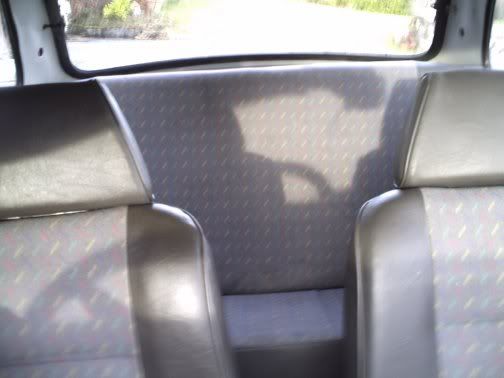
Spent hours at original seats; cleanig, spraying sub-frame and getting them ready to fit. A few cigarette burns were covered over with a little paint of the same colour tone as the fabric.

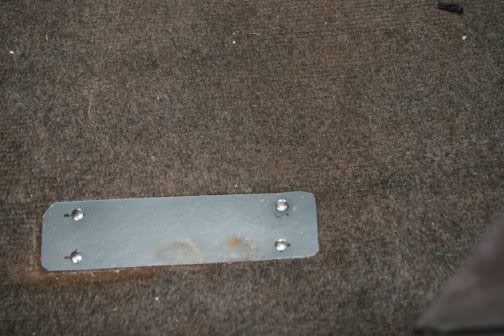
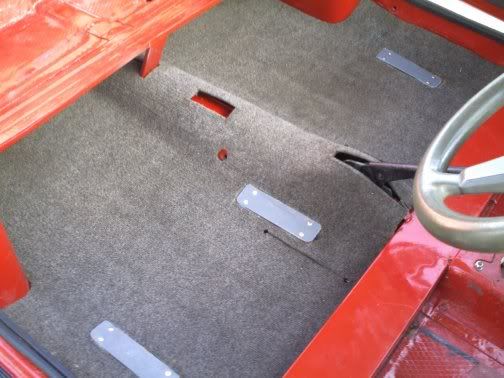
Spent hours at the carpets. By now I know every cleaning agent available and how to use it. 15 years of grime and dust etc. were removed. The 4 plastic panels on which the front seats rest were badly broken and worn. My friend and 'chief engineer' Tom arrived at my house with his pickup. In the back was an empty 5 gallon plastic drum with flat sides. Just what I needed. From it I cut out new panels. A friend who does leather work fixed the panels to the carpet with studs.
Seats back in place.
Grille, arches and wheels added.