Welcome to the Irish Mini Owners Club Forum. Keep an eye out of on coming events!!!!

1983 Mini City

This section is for Mini projects and restorations and also the place to show off your pride and joy.

Moderators: spud1979, The Marcos Graveyard, Moderators

Post Reply
User avatar
colinf1
NON Member
Posts: 421
Joined: Mon Aug 24, 2020 10:27 am
Whats your location?: Dundalk
Region: Eastern
What Minis have you?: 1983 Mini City 1000
Contact:

Re: 1983 Mini City

Post by colinf1 »

Have now completed the main shaft rebuild, all parts looked in really good condition, baulk rings and needle rollers all looked perfect.

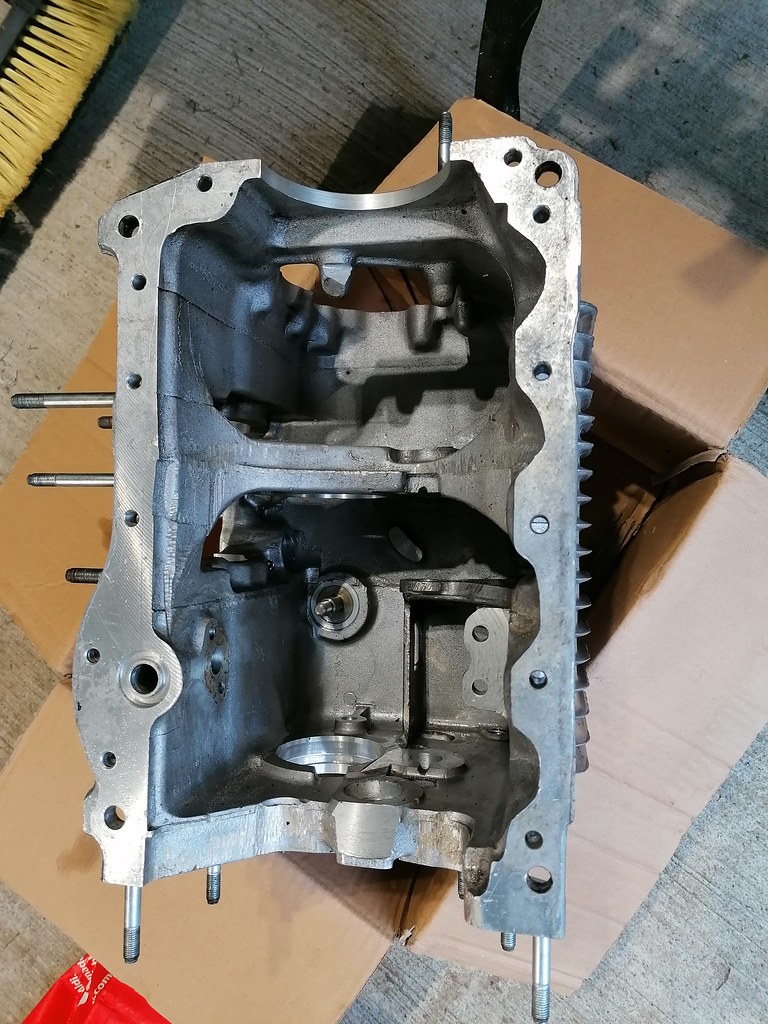
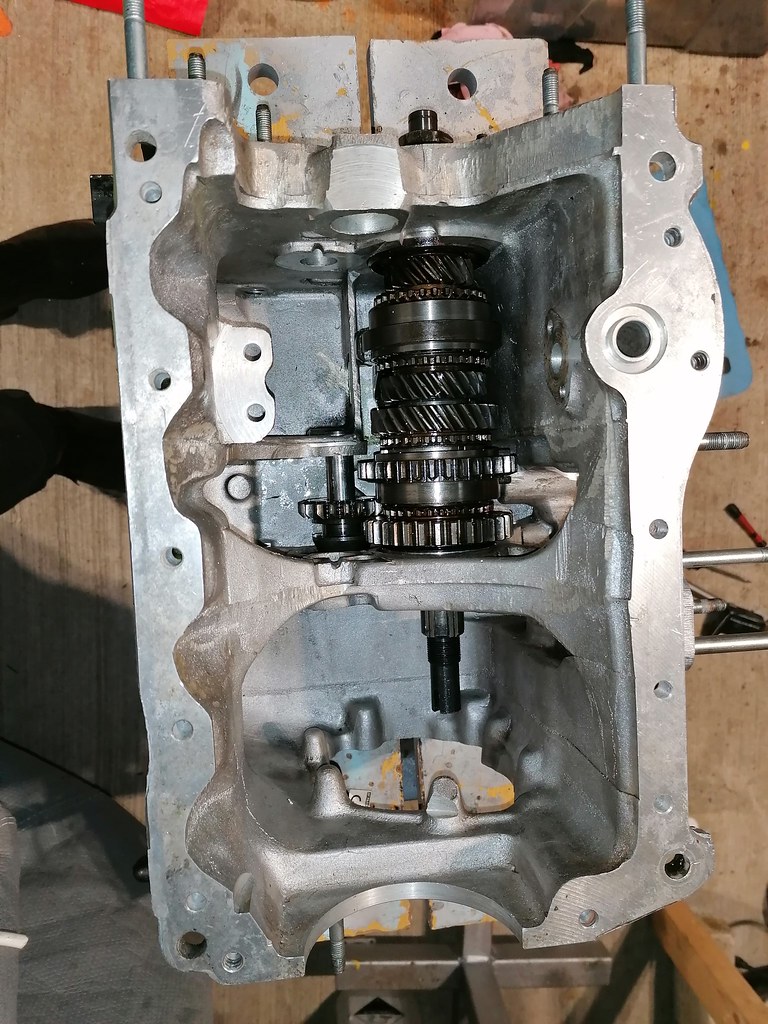
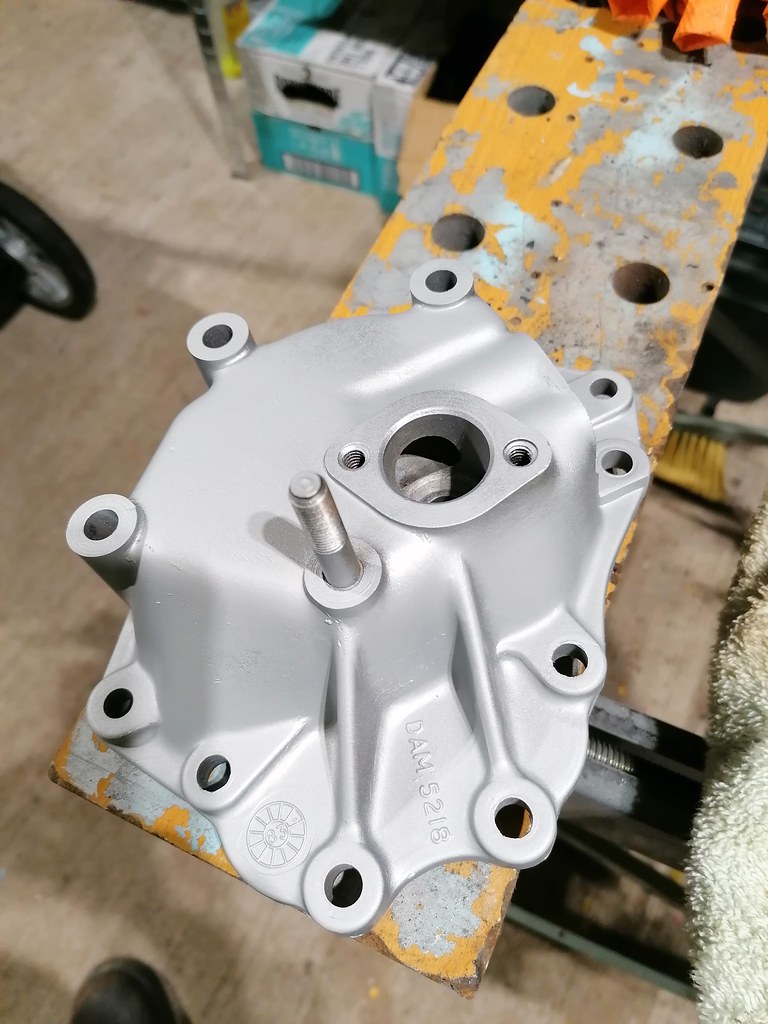
Haven't got round to cleaning the casing to start putting stuff back in the box.

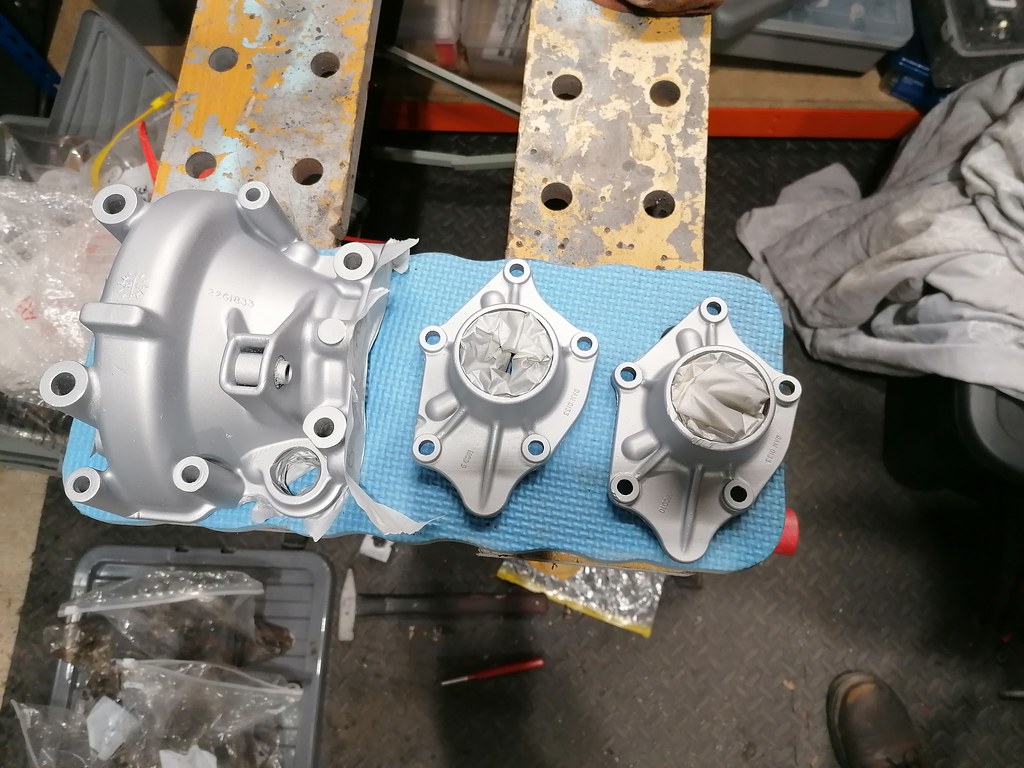
While waiting for an engine hone tool to arrive I took a look at the clutch housing, mainly removing the idler bearing. Things didn't go too good and ended up with a crack in the clutch housing 😡🤦🏻

Will look at my options here to either replace it or get the crack Tig welded, it doesn't seem to be fully cracked as it didn't leak some fluid I had left in it overnight.

Image

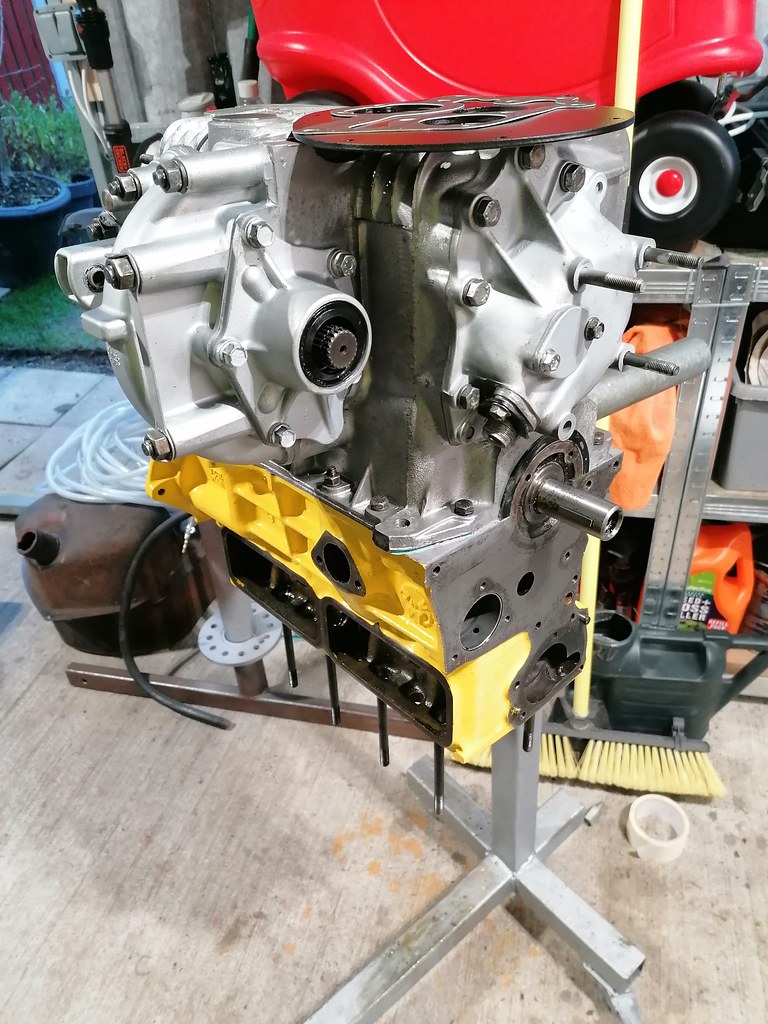
Moving onto the engine block with the arrival of the engine honing tool. A quick 30second hone on each bore and it looked good.

Image

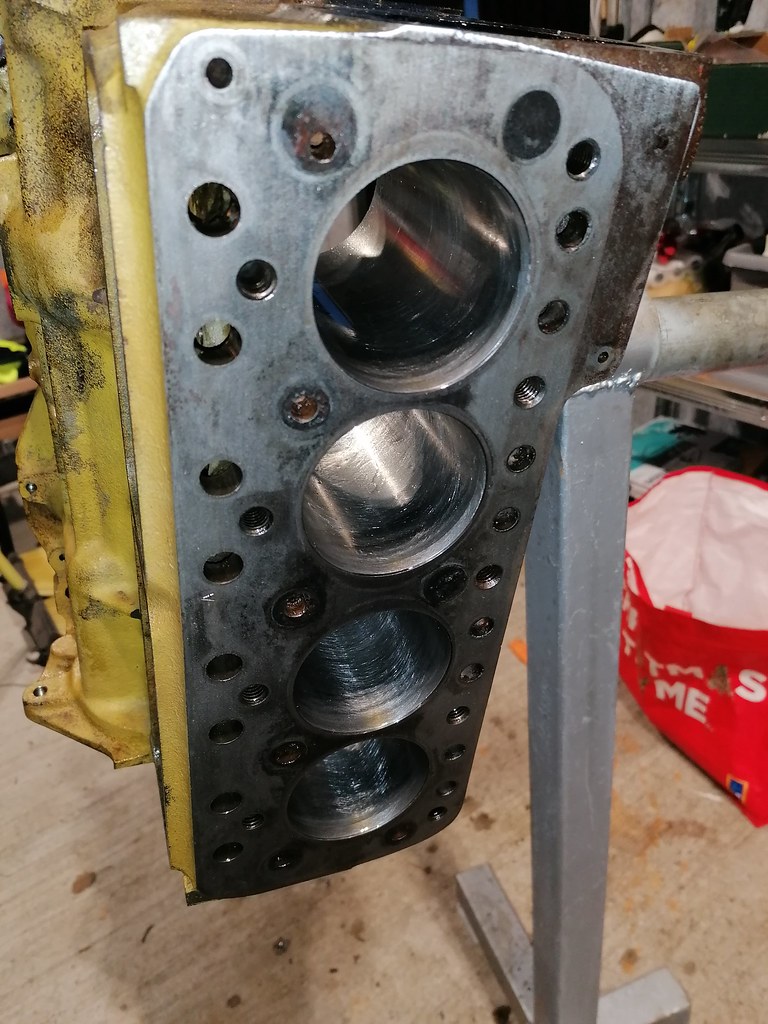
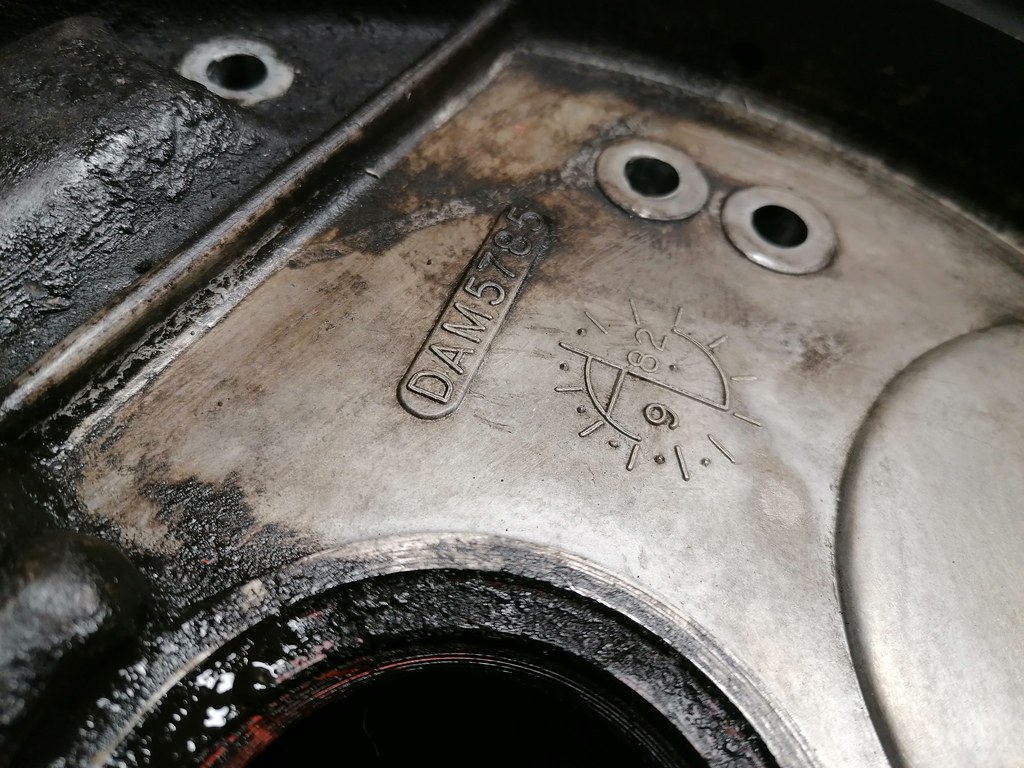
Then went around all the tapped holes and carefully cleaned them out. Took off engine number tag and water pump dowels, then gave all the machined surfaces a light cleaning with wet dry and wd40.

Degreased all and washed out all surfaces, then went round the inside of the block and bores with engine oil

Image

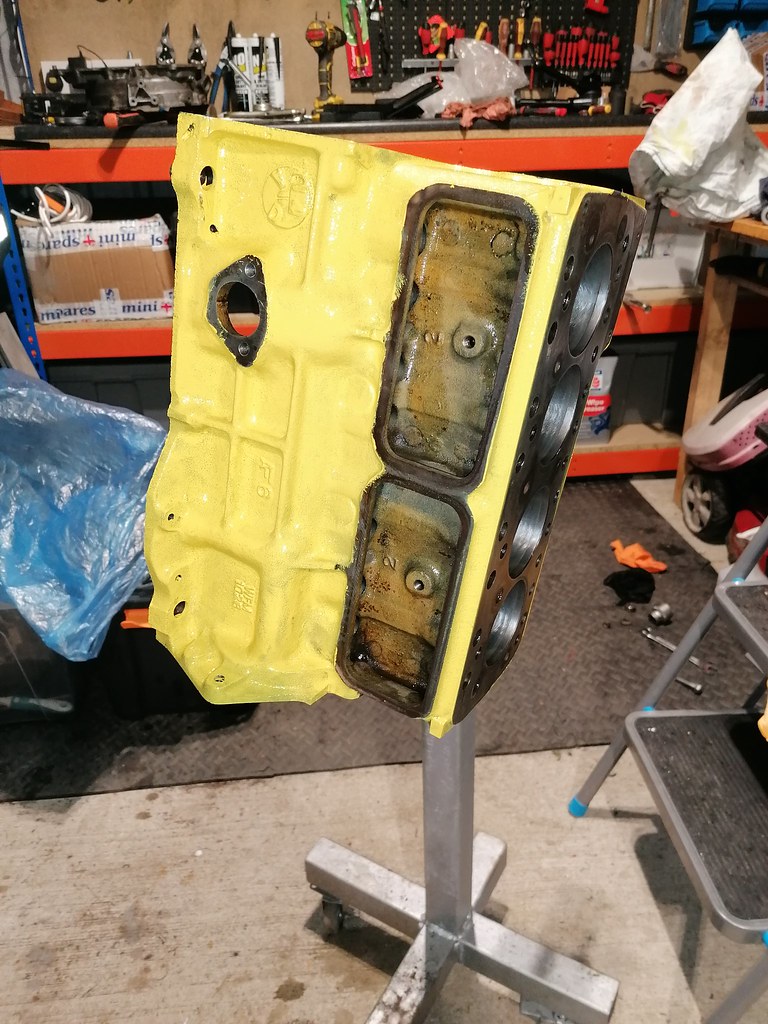
Paint time...of course yellow isn't everyone's cuppa tea..
Not the original shade of mucky brownish yellow, so shouldn't look too bad once it's complemented with black and silver parts.


Image
User avatar
colinf1
NON Member
Posts: 421
Joined: Mon Aug 24, 2020 10:27 am
Whats your location?: Dundalk
Region: Eastern
What Minis have you?: 1983 Mini City 1000
Contact:

Re: 1983 Mini City

Post by colinf1 »

Was putting off cleaning the gearbox housing for the past few weeks but finally got stuck into it today.

Degreaser to get the main gunk out, then a wash with sugar soap, then a quick acid clean, rinse off with water then plenty of brake cleaner sprayed everywhere and let it drip dry.

Image

Few areas which I couldn't get to with paint brush or toothbrush, but overall nice and clean.

Image

Then I had some fun playing pickup the ball bearings from the double roller. The inner races weren't clipped together but with lots of f'ing and blinding I got there in the end...

Image

Hopefully get the rest of it completed tomorrow and I can set that to the side waiting reattachment to the engine.

Ordered the wrong type of main bearings, all side tags when I needed 3 center and 3 side tags. So correct main bearings ordered, so hopefully they won't be too long coming.
Image
User avatar
colinf1
NON Member
Posts: 421
Joined: Mon Aug 24, 2020 10:27 am
Whats your location?: Dundalk
Region: Eastern
What Minis have you?: 1983 Mini City 1000
Contact:

Re: 1983 Mini City

Post by colinf1 »

Some more cleaning done in preparation for the diff rebuild.

Side covers cleaned and painted, old seals removed and bushes inspected.
Bolts cleaned and painted too. There is an odd bolt among the 10 for side covers, looks to be metric rather than UNC like others, but doesn't appear to be any holes retapped to accept it.

Image

Diff casing also cleaned and painted, again looks to be in perfect condition.

Clutch wok had been cleaned a few weeks ago but never got round to painting it. It had a small amount of oxidisation but a quick wire brush cleaned this off and gave me a good key for painting.

Image

Noticed all dates on the casting are '82, just a pity about the crack in the clutch housing, be nice to keep it all original.

Image

Image

Clutch wok is 13/82

And the crack...

Image

How much clearance is between this point and back of flywheel?
Image
User avatar
woody
IMOC Paid Member
Posts: 2819
Joined: Mon Feb 07, 2005 11:55 pm
Whats your location?: Drogheda
Region: Eastern
What Minis have you?: Traveller
Turbo
Hornet
Equinox
MINI Clubman
Location: LOUTH
Contact:

Re: 1983 Mini City

Post by woody »

Looking at the way its machined I would think not much. I may have broke a seized 82 engine, I'll check dates the next time I'm in my lockup
TECHNICAL MODERATOR
User avatar
colinf1
NON Member
Posts: 421
Joined: Mon Aug 24, 2020 10:27 am
Whats your location?: Dundalk
Region: Eastern
What Minis have you?: 1983 Mini City 1000
Contact:

Re: 1983 Mini City

Post by colinf1 »

woody wrote: Fri Dec 31, 2021 8:27 pm Looking at the way its machined I would think not much. I may have broke a seized 82 engine, I'll check dates the next time I'm in my lockup
Cheers, that would be great!
Image
User avatar
colinf1
NON Member
Posts: 421
Joined: Mon Aug 24, 2020 10:27 am
Whats your location?: Dundalk
Region: Eastern
What Minis have you?: 1983 Mini City 1000
Contact:

Re: 1983 Mini City

Post by colinf1 »

Got the clearance checked on main shaft bearing cover and layshaft today, 0.005" on main shaft so 0.005" shim added.
Layshaft is around 0.003" so that's fine too.

Disassembled the diff, replaced old cross pin with new upgraded version,new fibre washers on either side also.

Went to reassemble everything onto the gearbox and turns out I don't have any gaskets 🤦🏻‍♂️

I had a set in my cart on minispares but I think I swapped it out with the upgraded green&black gasket kit and didn't think to add the extra gaskets for diff/Speedo drive housing.

Will order these soon, but as usual there will be something else that I need once that order has been processed!
Image
User avatar
colinf1
NON Member
Posts: 421
Joined: Mon Aug 24, 2020 10:27 am
Whats your location?: Dundalk
Region: Eastern
What Minis have you?: 1983 Mini City 1000
Contact:

Re: 1983 Mini City

Post by colinf1 »

Clean the Speedo drive cover, came up nice and clean, then a quick blast of silver spray before putting it to the side waiting for gaskets.

Image

Started cleaning a piston, some rings snapped when taking them off. Lots of gunk in the oil control ring. Took out the gudgeon pin for inspection, all good

One complete piston ring set installed, new con rod bearings also, only 3 more to go...

Image
Image
ctwomey
NON Member
Posts: 296
Joined: Thu Jan 03, 2019 9:44 am
Whats your location?: Ballybrittas, Co. Laois
Region: Eastern
What Minis have you?: I owned a 1978 Mini 850 when I was in my late teens. I owned a 1986 Mini Chelsea that I imported from the UK. Also owned a 1982 MG Metro that was bored out to 1293. Restoring a 1981 Dublin Mini City.
Contact:

Re: 1983 Mini City

Post by ctwomey »

colinf1 wrote: Mon Jan 03, 2022 7:17 pm One complete piston ring set installed, new con rod bearings also, only 3 more to go...
If you have a micrometer for the big end journals I would certainly measure them to see if they are within tolerance. What's the wear on the mains too? worth getting the crank journals polished if they are within spec. Otherwise, it's a re-grind and oversize bearings.
User avatar
colinf1
NON Member
Posts: 421
Joined: Mon Aug 24, 2020 10:27 am
Whats your location?: Dundalk
Region: Eastern
What Minis have you?: 1983 Mini City 1000
Contact:

Re: 1983 Mini City

Post by colinf1 »

Finally feel like I've achieved something!

Image

Have end plate ready to go on, just need to finish cleaning all bolts for that.

All new gaskets, new Speedo drive oil seal, half moon seal and gearbox o ring, diff output seals.

Planning on giving all alloy parts a final paint once clutch housing/wok is on just to get all nuts and bolts painted too.
Image
ctwomey
NON Member
Posts: 296
Joined: Thu Jan 03, 2019 9:44 am
Whats your location?: Ballybrittas, Co. Laois
Region: Eastern
What Minis have you?: I owned a 1978 Mini 850 when I was in my late teens. I owned a 1986 Mini Chelsea that I imported from the UK. Also owned a 1982 MG Metro that was bored out to 1293. Restoring a 1981 Dublin Mini City.
Contact:

Re: 1983 Mini City

Post by ctwomey »

Nice work!

What gearbox casing is that? I wonder if they switched to the DAM5626 by 1983 or they still using the DAM2886 or even another casting.
User avatar
colinf1
NON Member
Posts: 421
Joined: Mon Aug 24, 2020 10:27 am
Whats your location?: Dundalk
Region: Eastern
What Minis have you?: 1983 Mini City 1000
Contact:

Re: 1983 Mini City

Post by colinf1 »

It's a DAM5626, no year marking on it but every other cover is marked '82 or '83..

I have to countersink the timing plate for duplex chain and take the bump out of the cover, both of which have a fresh coat of paint and powder coating...🤦‍♂️🤦‍♂️
Image
ctwomey
NON Member
Posts: 296
Joined: Thu Jan 03, 2019 9:44 am
Whats your location?: Ballybrittas, Co. Laois
Region: Eastern
What Minis have you?: I owned a 1978 Mini 850 when I was in my late teens. I owned a 1986 Mini Chelsea that I imported from the UK. Also owned a 1982 MG Metro that was bored out to 1293. Restoring a 1981 Dublin Mini City.
Contact:

Re: 1983 Mini City

Post by ctwomey »

Yes it’s always a choice to stick with the simplex or move to a duplex chain setup. Given these are 998 (+20 thou) and the bhp will probably never exceed 60 bhp even with stage 1 and a few other mods I stayed with a simplex but have used one of those non stretch chains.

Is it a vernier duplex? Handy for getting the cam timing spot on. I had to order an offset woodruff key.
User avatar
colinf1
NON Member
Posts: 421
Joined: Mon Aug 24, 2020 10:27 am
Whats your location?: Dundalk
Region: Eastern
What Minis have you?: 1983 Mini City 1000
Contact:

Re: 1983 Mini City

Post by colinf1 »

ctwomey wrote: Mon Jan 24, 2022 9:58 pm Is it a vernier duplex?
No, the budget wouldn't allow for this lol, so will have to get a offset key if needed
Image
User avatar
colinf1
NON Member
Posts: 421
Joined: Mon Aug 24, 2020 10:27 am
Whats your location?: Dundalk
Region: Eastern
What Minis have you?: 1983 Mini City 1000
Contact:

Re: 1983 Mini City

Post by colinf1 »

Got the passenger side radius arm and front swivel hub rebuilt today.

A bit of touching up to do on the paint then they can be put back in the storage boxes ready for the rebuild.

Hopefully get the rest of the engine built up so I can put that to one side and get back onto the bodywork!
Image
User avatar
colinf1
NON Member
Posts: 421
Joined: Mon Aug 24, 2020 10:27 am
Whats your location?: Dundalk
Region: Eastern
What Minis have you?: 1983 Mini City 1000
Contact:

Re: 1983 Mini City

Post by colinf1 »

Not a great day, crankshaft timing gear broke the casting along the woodruff key, don't think it should have cracked that easily...

Image[/url]

Got a couple of parts cleaned and primed after soaking in a mild acid bath for a few days to remove the rust, then my Dad slipped on the snow and broke his leg in 2 places! To top it all off my son was extremely cranky due to teething, so all in all not a great day 🤣🤣
Image
ctwomey
NON Member
Posts: 296
Joined: Thu Jan 03, 2019 9:44 am
Whats your location?: Ballybrittas, Co. Laois
Region: Eastern
What Minis have you?: I owned a 1978 Mini 850 when I was in my late teens. I owned a 1986 Mini Chelsea that I imported from the UK. Also owned a 1982 MG Metro that was bored out to 1293. Restoring a 1981 Dublin Mini City.
Contact:

Re: 1983 Mini City

Post by ctwomey »

colinf1 wrote: Sat Feb 19, 2022 8:03 pm Not a great day, crankshaft timing gear broke the casting along the woodruff key, don't think it should have cracked that easily...

Image[/url]

Got a couple of parts cleaned and primed after soaking in a mild acid bath for a few days to remove the rust, then my Dad slipped on the snow and broke his leg in 2 places! To top it all off my son was extremely cranky due to teething, so all in all not a great day 🤣🤣
Not a great day Colin. Hope your dad is doing ok.
User avatar
colinf1
NON Member
Posts: 421
Joined: Mon Aug 24, 2020 10:27 am
Whats your location?: Dundalk
Region: Eastern
What Minis have you?: 1983 Mini City 1000
Contact:

Re: 1983 Mini City

Post by colinf1 »

Got my clutch housing back from being TIG welded today, need to see if there is enough clearance now between the where the housing has been welded and clutch/flywheel assembly. It's been ground back so there is <1mm of the weld bead proud.

Image

I'm going to use some blueback to see how much clearance there is with everything dry fitted, hopefully I won't need to tighten the flywheel that I'll need to use the puller on it to get it off...
Image
User avatar
colinf1
NON Member
Posts: 421
Joined: Mon Aug 24, 2020 10:27 am
Whats your location?: Dundalk
Region: Eastern
What Minis have you?: 1983 Mini City 1000
Contact:

Re: 1983 Mini City

Post by colinf1 »

I've managed to misplace, or in other words lose, a locating dowel for the flywheel housing...

Searched everywhere in my shed, pulled out benches and boxes but it's nowhere to be seen.

I have the one that goes on the inner near the crank, so I'll measure that up and hopefully turn one up on the lathe at work...
Image
User avatar
colinf1
NON Member
Posts: 421
Joined: Mon Aug 24, 2020 10:27 am
Whats your location?: Dundalk
Region: Eastern
What Minis have you?: 1983 Mini City 1000
Contact:

Re: 1983 Mini City

Post by colinf1 »

Got on the lathe on my lunch break, this is attempt number 2...it's pretty much spot on. 1st attempt I turned it around once I had the smaller diameter side done, this put it slightly out-of-line, around .25mm, so tried again, machining it all and keeping everything in the same axis.

Image

I wonder how long before I find the original one....
Image
User avatar
colinf1
NON Member
Posts: 421
Joined: Mon Aug 24, 2020 10:27 am
Whats your location?: Dundalk
Region: Eastern
What Minis have you?: 1983 Mini City 1000
Contact:

Re: 1983 Mini City

Post by colinf1 »

Got a good run at the engine today, new clutch kit, clutch oil seal, flywheel housing, timing set and tightened up, timing cover on and tightened up, clutch housing on...

Image
Image
User avatar
colinf1
NON Member
Posts: 421
Joined: Mon Aug 24, 2020 10:27 am
Whats your location?: Dundalk
Region: Eastern
What Minis have you?: 1983 Mini City 1000
Contact:

Re: 1983 Mini City

Post by colinf1 »

Got the head rebuilt and back on the engine. Valves lapped in, new stem seals. Head back on engine now and has its 1st coat of yellow.

Image

Started clearing out the shell ready for welding...
Image
ctwomey
NON Member
Posts: 296
Joined: Thu Jan 03, 2019 9:44 am
Whats your location?: Ballybrittas, Co. Laois
Region: Eastern
What Minis have you?: I owned a 1978 Mini 850 when I was in my late teens. I owned a 1986 Mini Chelsea that I imported from the UK. Also owned a 1982 MG Metro that was bored out to 1293. Restoring a 1981 Dublin Mini City.
Contact:

Re: 1983 Mini City

Post by ctwomey »

Should be able to get the engine up and running on the floor.
User avatar
colinf1
NON Member
Posts: 421
Joined: Mon Aug 24, 2020 10:27 am
Whats your location?: Dundalk
Region: Eastern
What Minis have you?: 1983 Mini City 1000
Contact:

Re: 1983 Mini City

Post by colinf1 »

hopefully, do you think it would run ok with just the exhaust manifold and downpipe? yet to buy a backbox for it...
Image
User avatar
Billy
IMOC Paid Member
Posts: 4649
Joined: Mon May 09, 2005 12:49 pm
Whats your location?: Roscommon
Region: Western
What Minis have you?: 1967 Morris Cooper, 1967 Austin Mini auto, 1968 Wolseley Hornet x2, 1981 Clubman Estate
Location: Roscommon
Contact:

Re: 1983 Mini City

Post by Billy »

Looks amazing.
User avatar
The Marcos Graveyard
IMOC Paid Member
Posts: 4718
Joined: Fri Feb 04, 2005 10:05 am
Whats your location?: Longford
Region: Eastern
What Minis have you?: 1971 Mini Marcos.
1984 Mini Sprite
Modifications: 1380cc
Weber45
S/C CR gearbox and drop gears
Location: Longford
Contact:

Re: 1983 Mini City

Post by The Marcos Graveyard »

colinf1 wrote: Mon Mar 07, 2022 12:44 pm hopefully, do you think it would run ok with just the exhaust manifold and downpipe? yet to buy a backbox for it...
Will just be noisey. Woody used to have a jig that he checked motors in, simple ignition system and a rad, can't remember if there was a throttle or not.
Image

A fully carbon fiber Mini Marcos shell weighs just 7.25kg.
Post Reply

Who is online

Users browsing this forum: No registered users and 3 guests